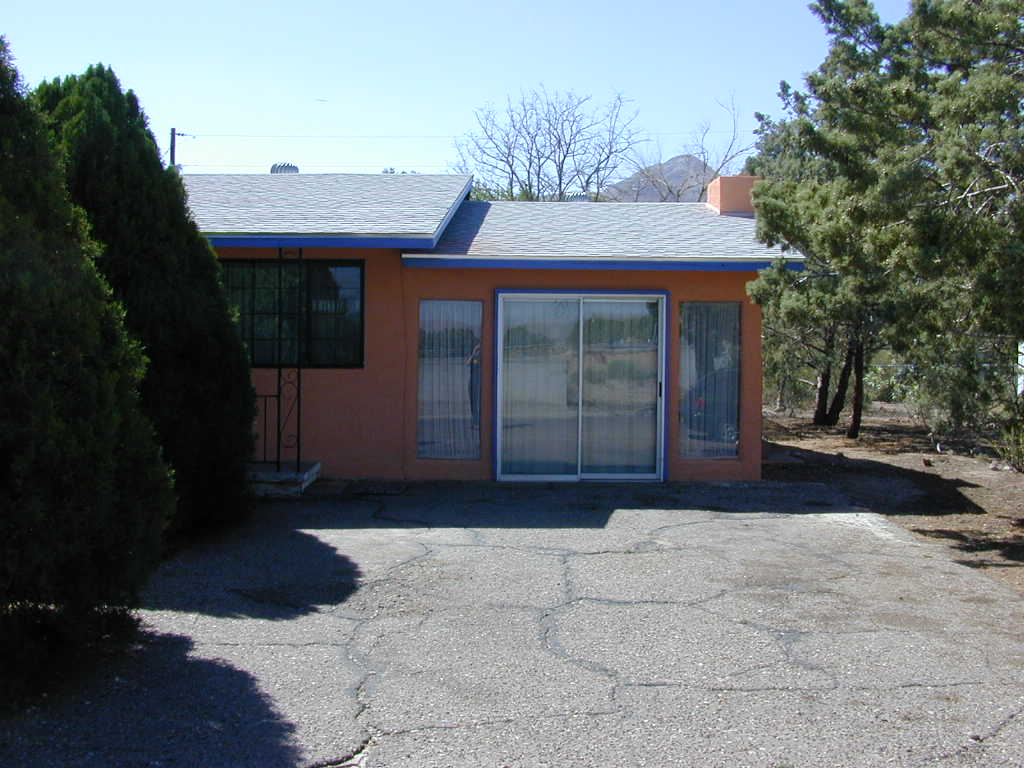
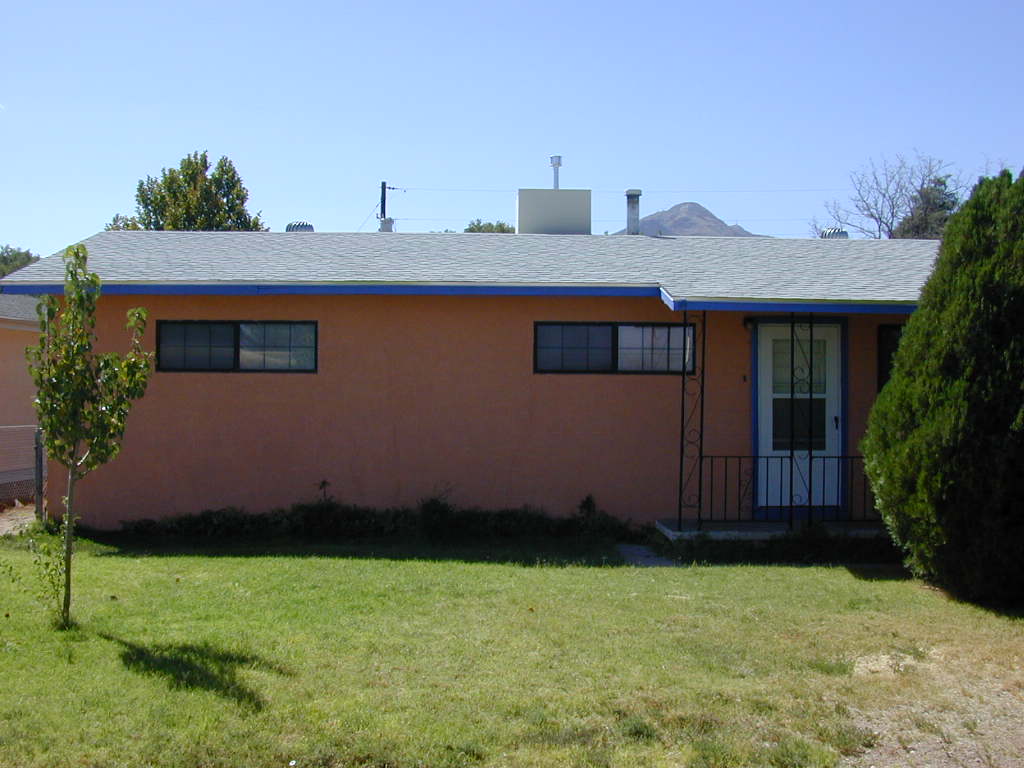
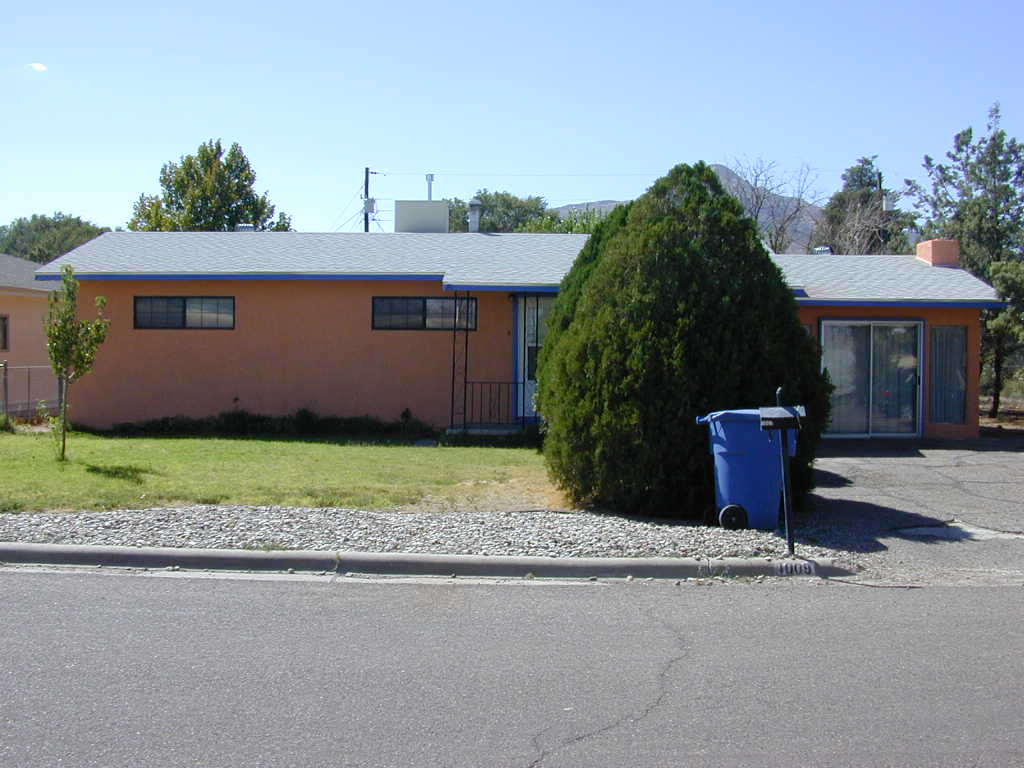
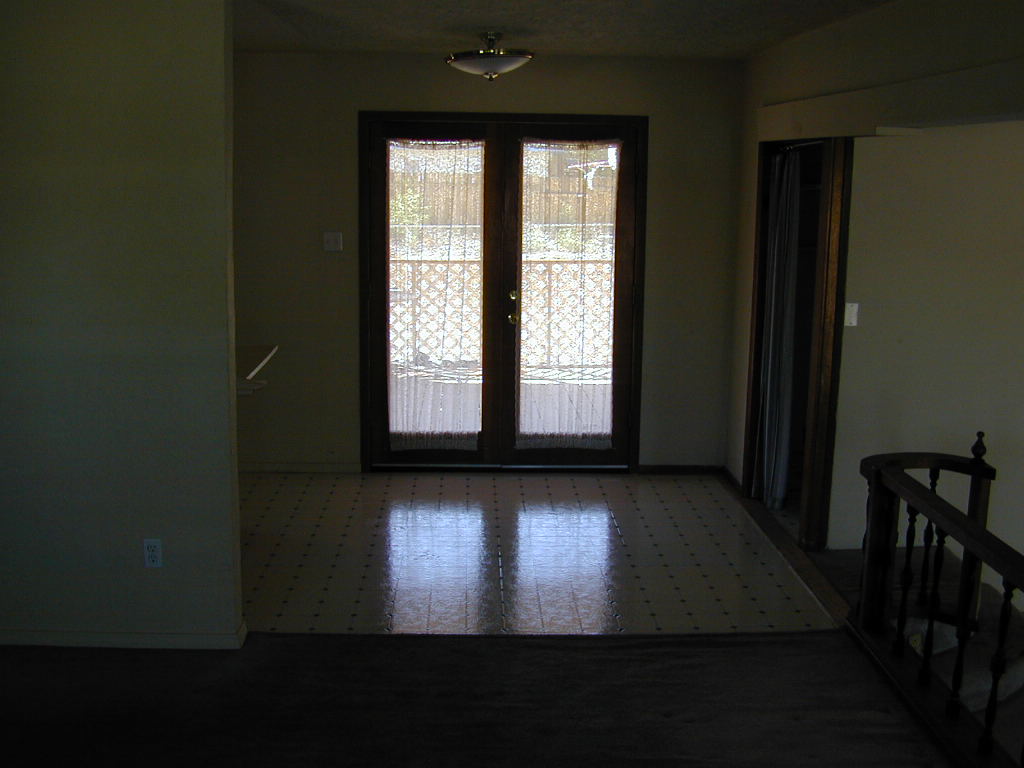

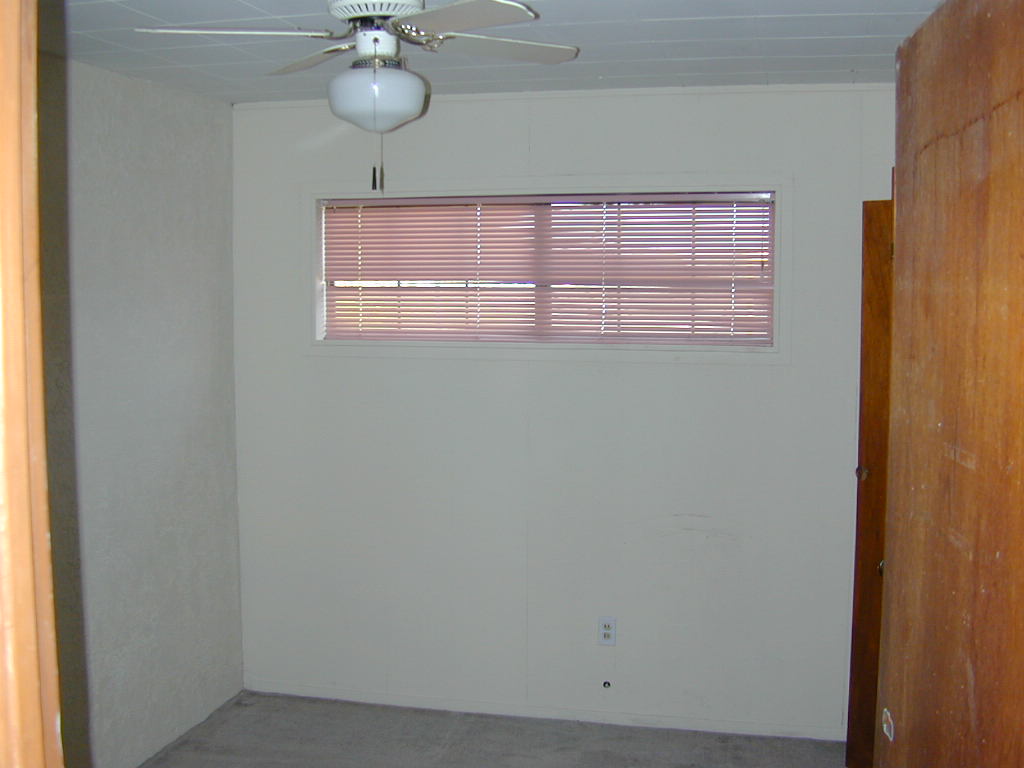
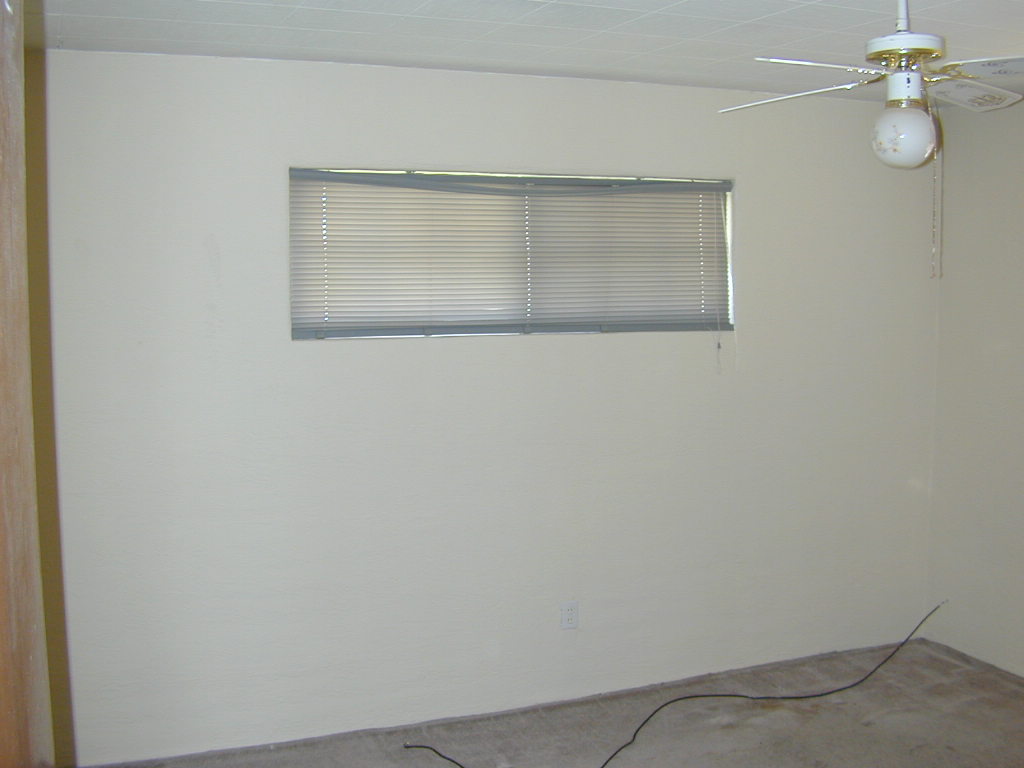
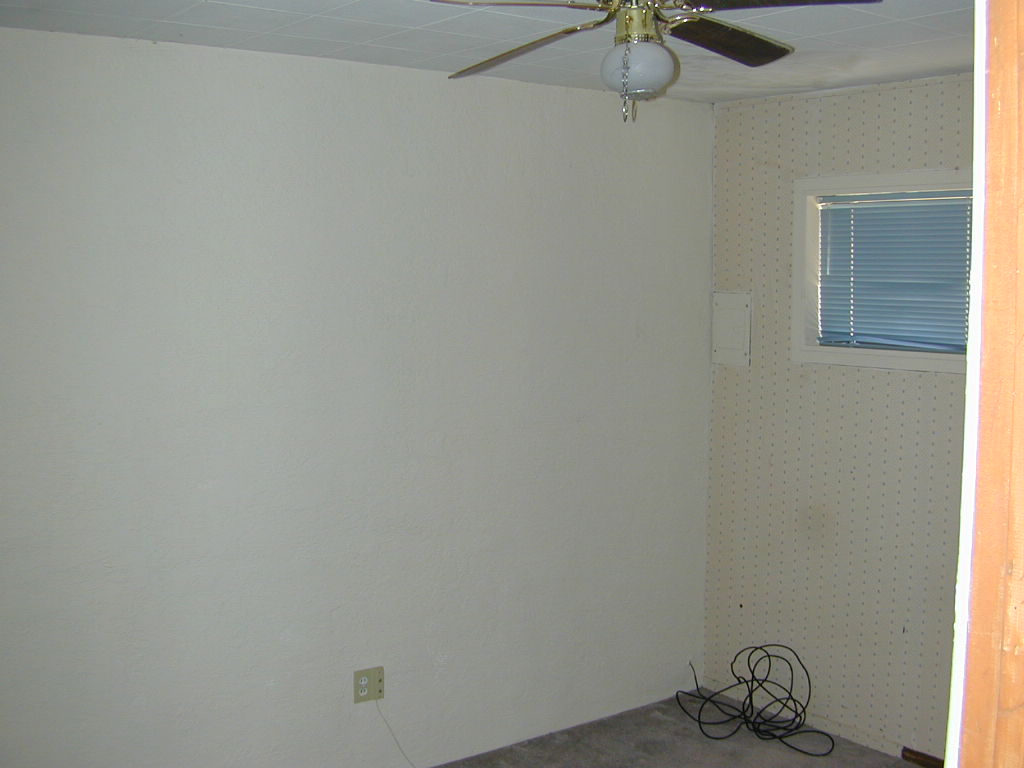

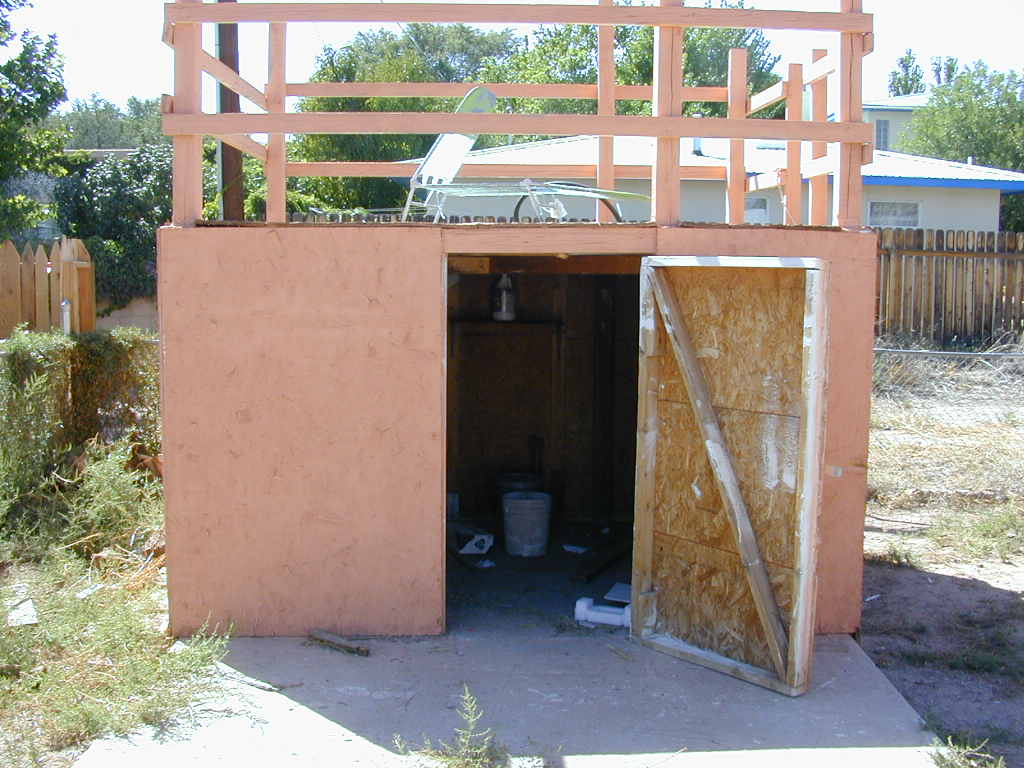
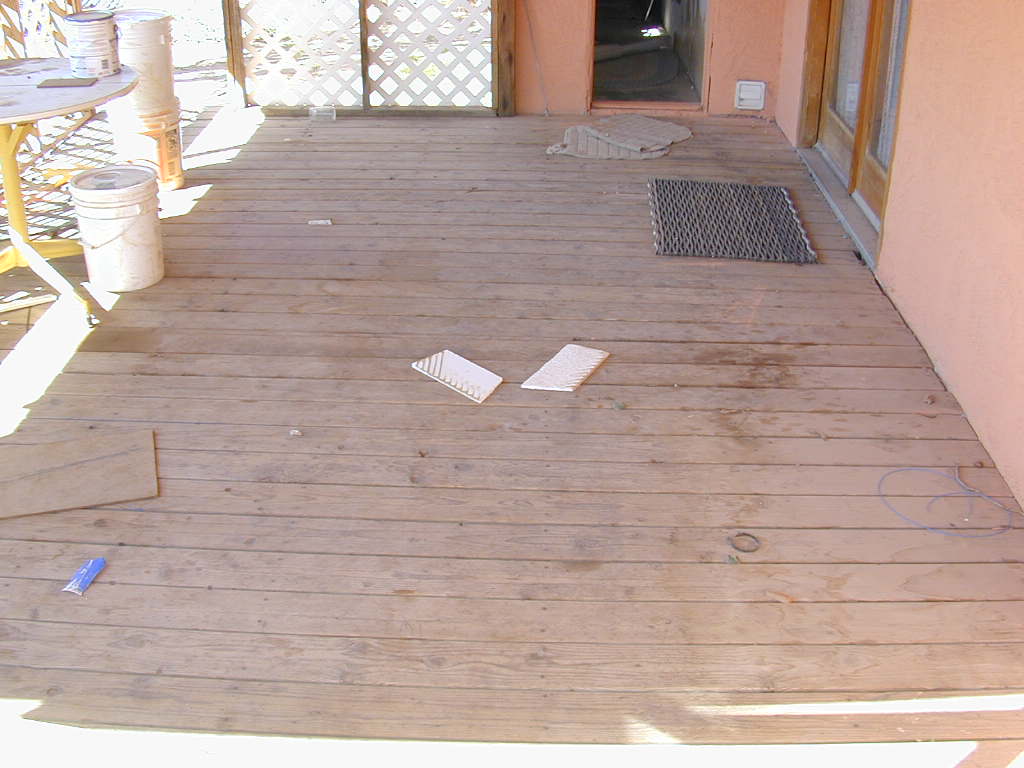
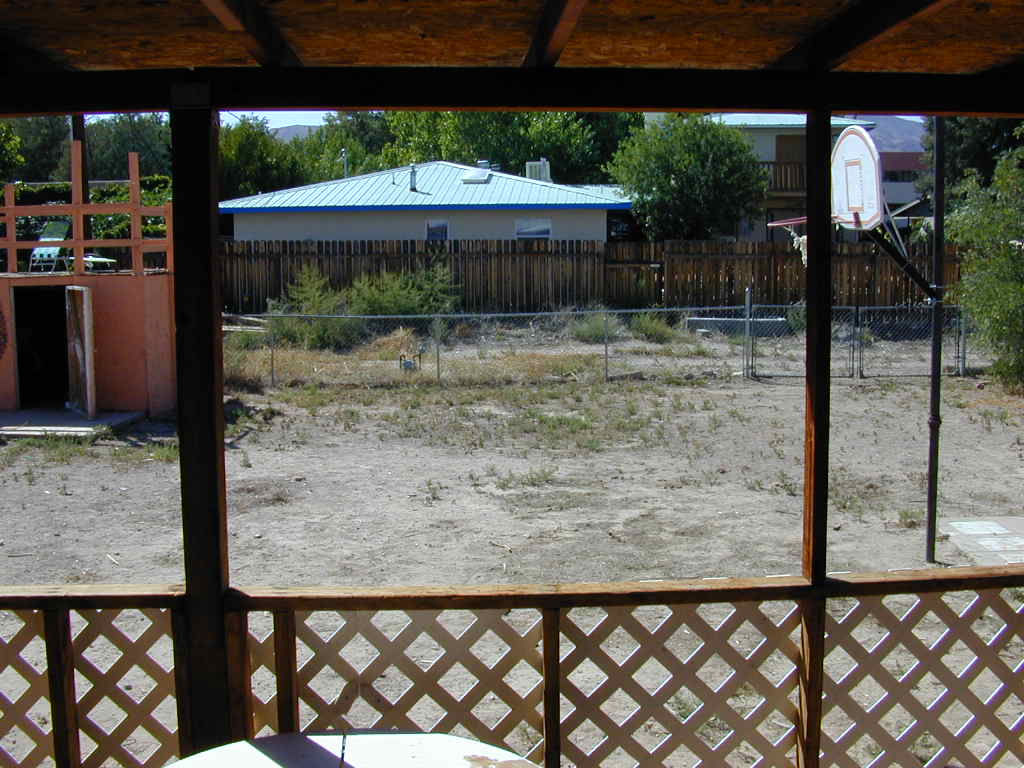
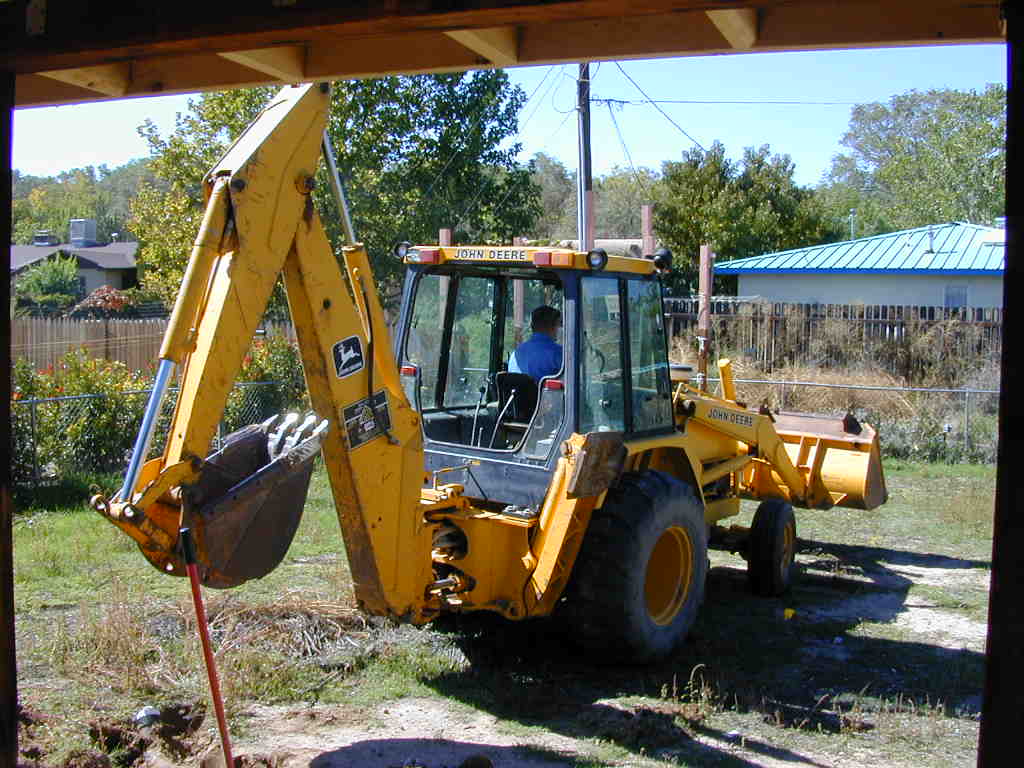
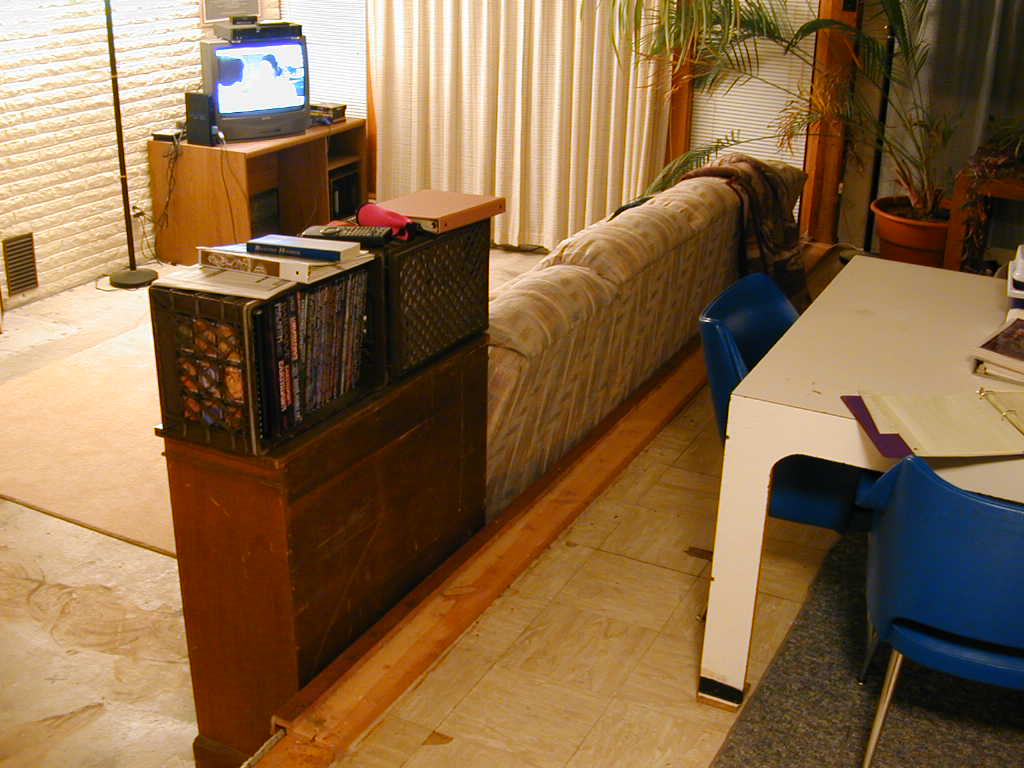
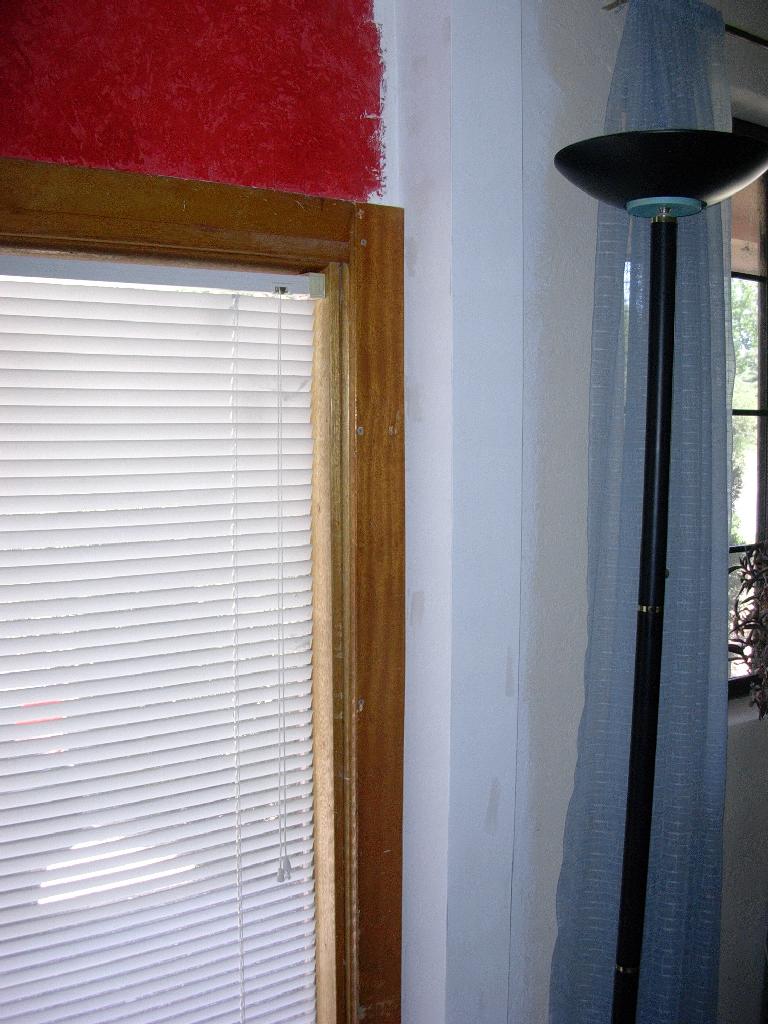
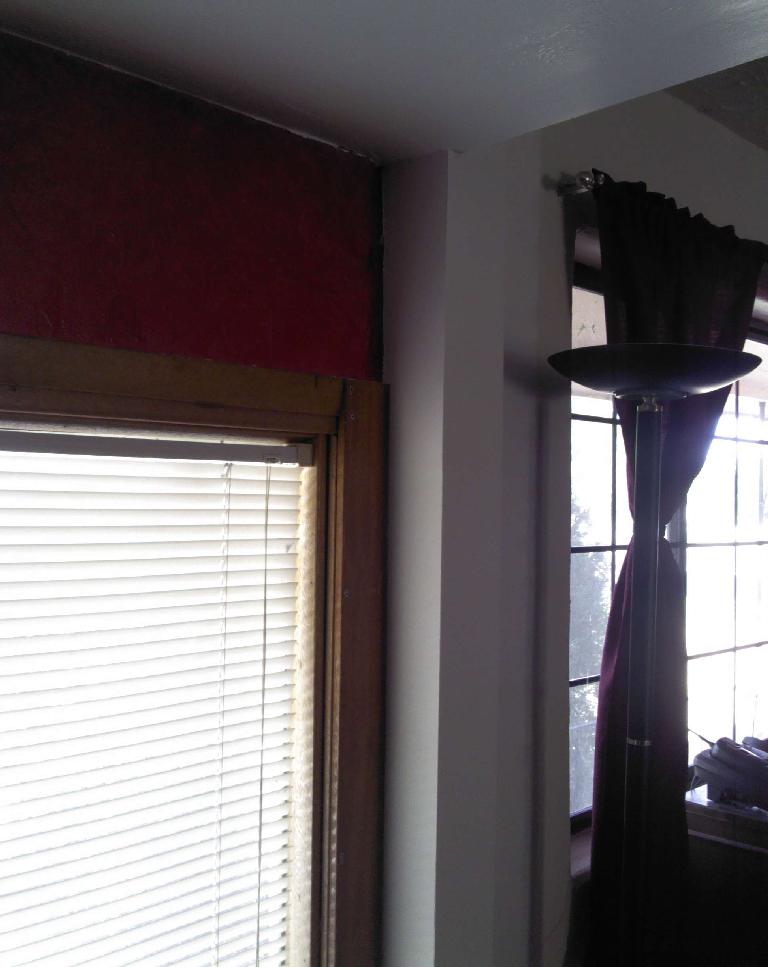
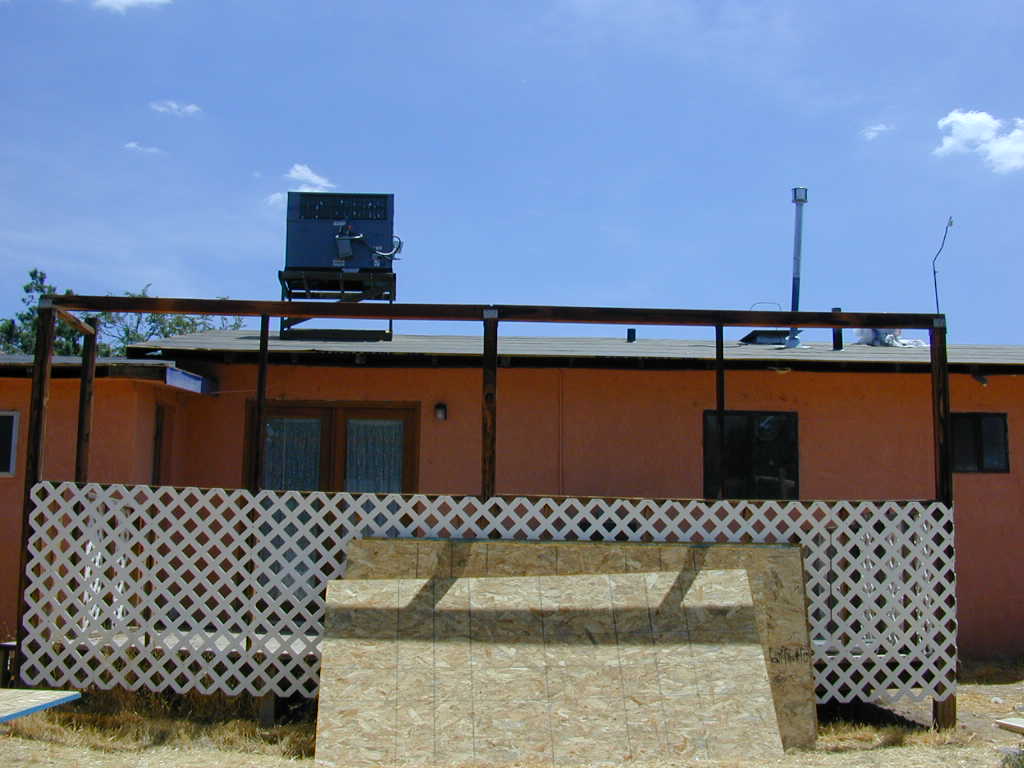
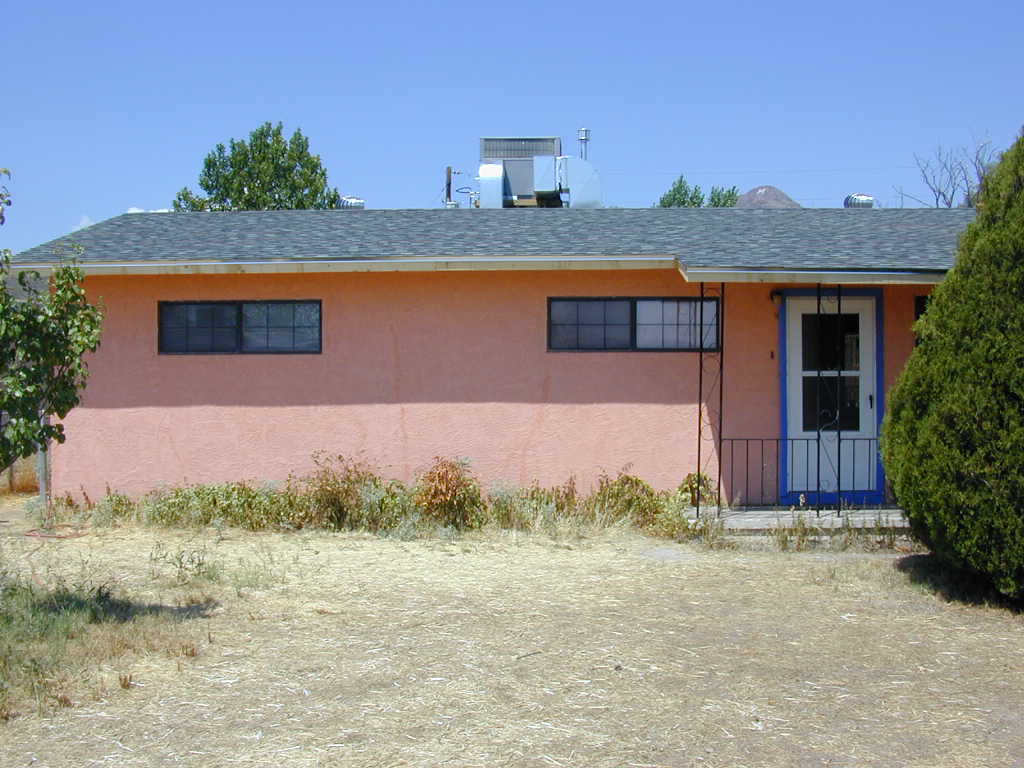
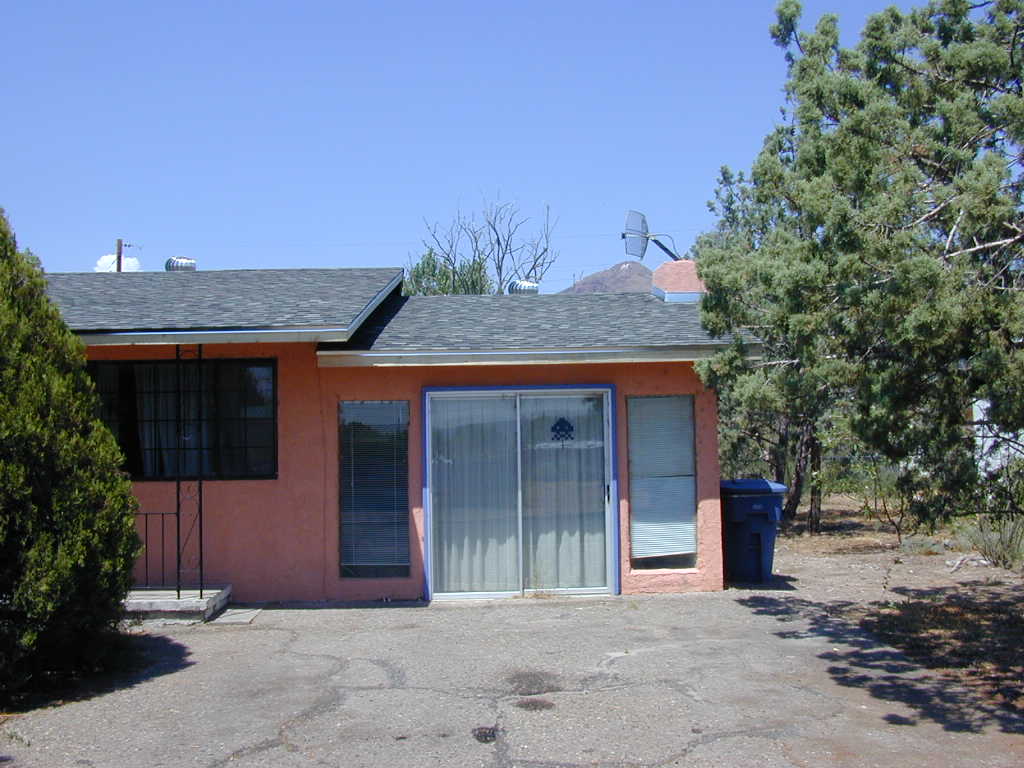
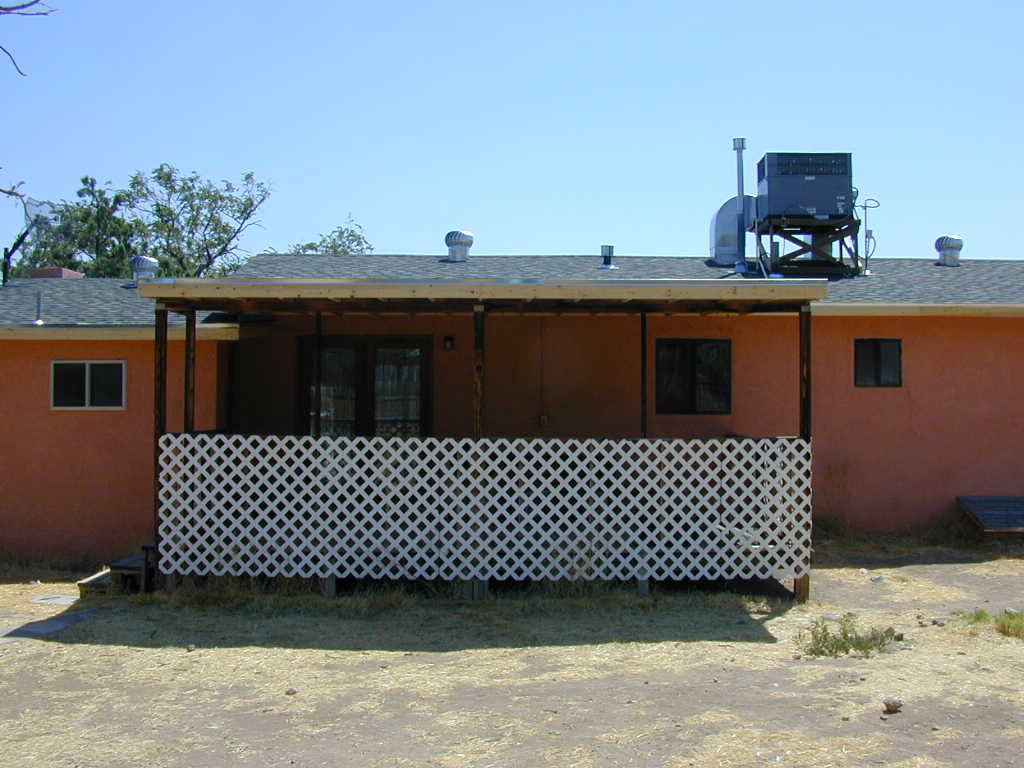
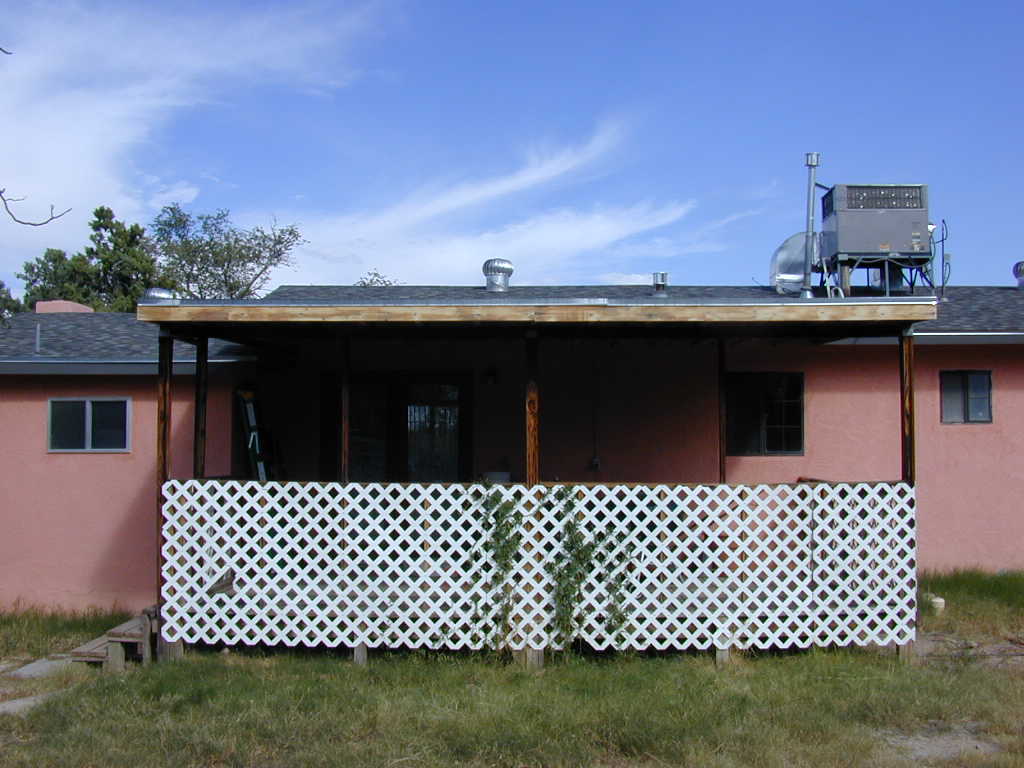
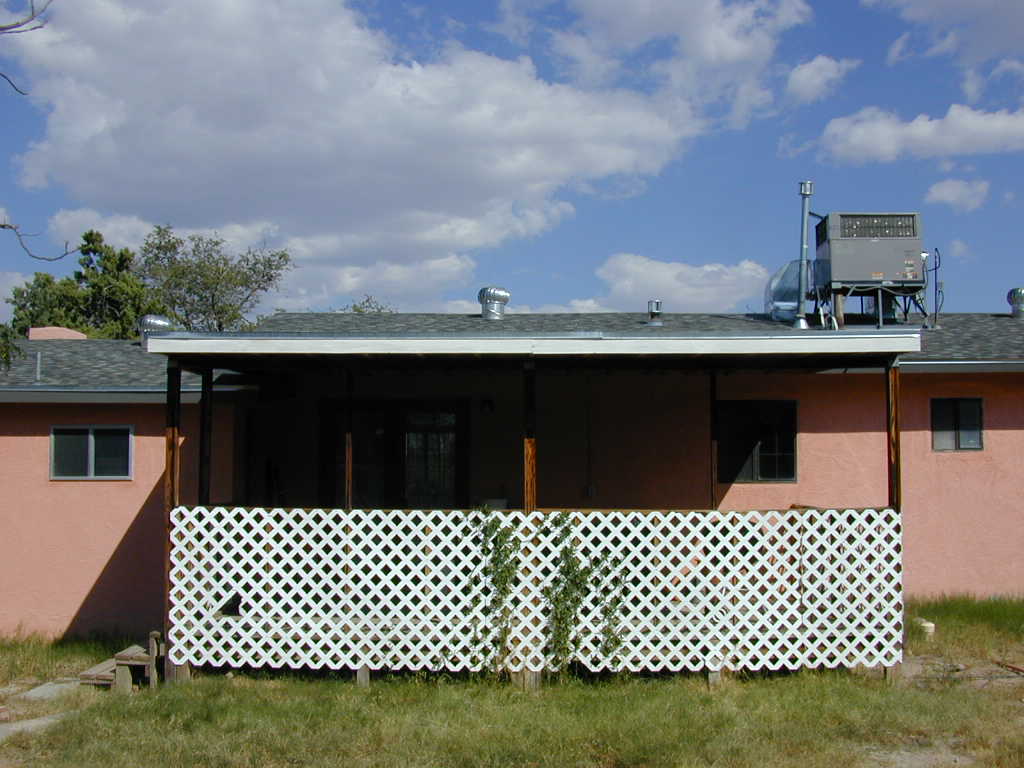
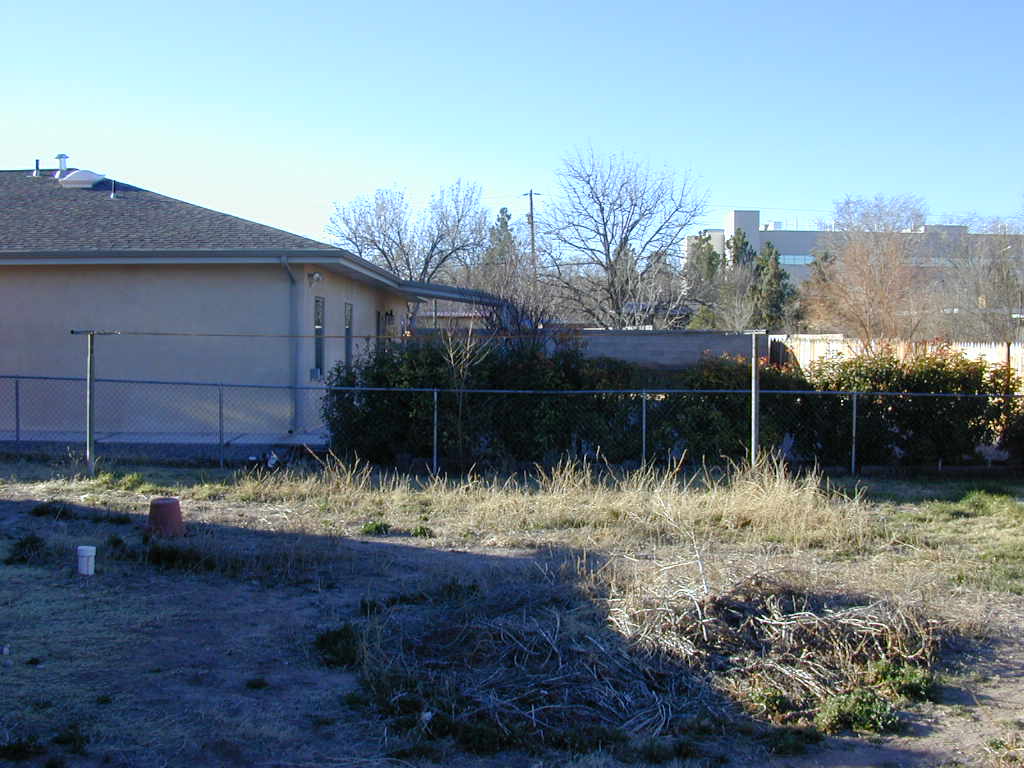
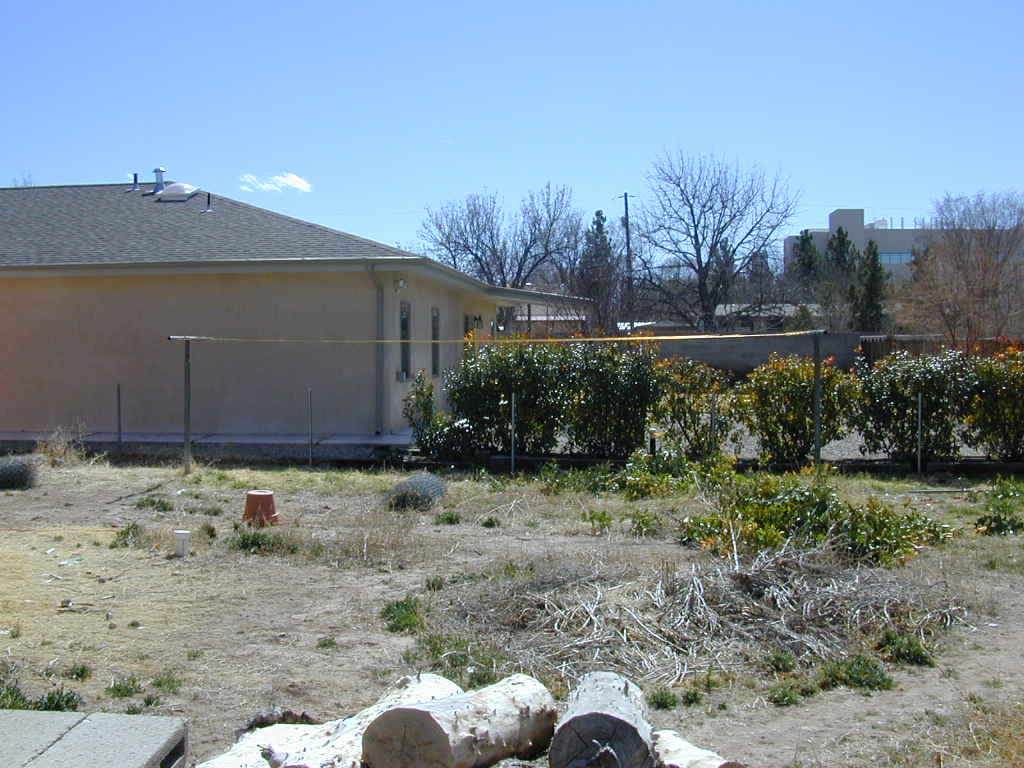
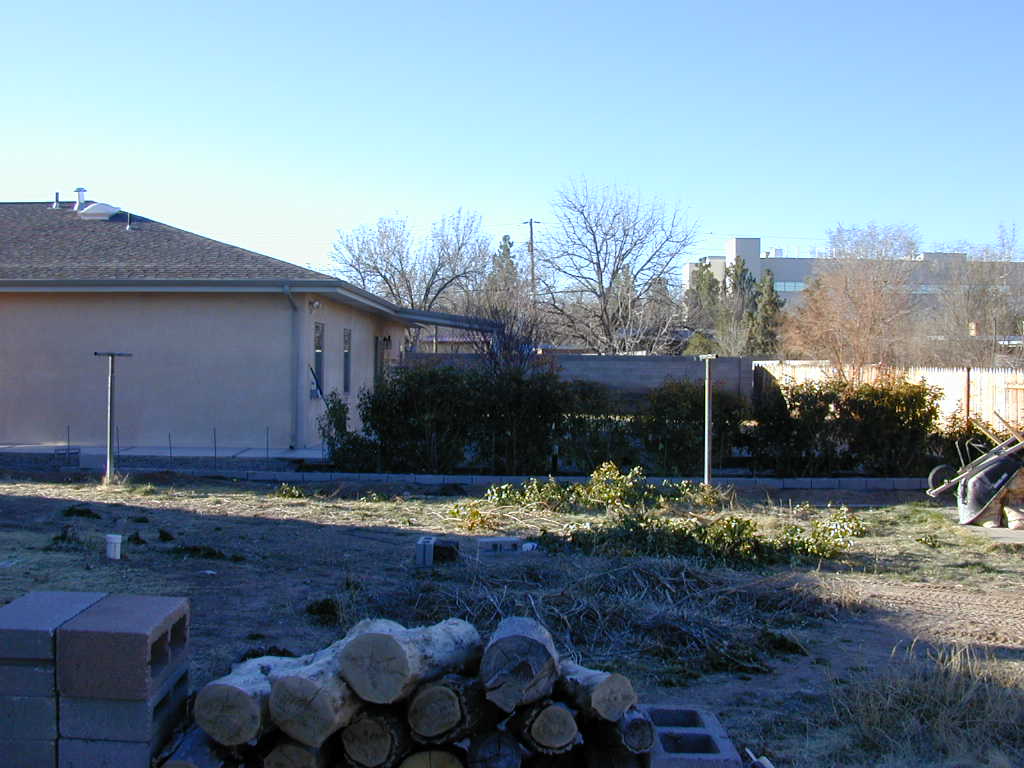
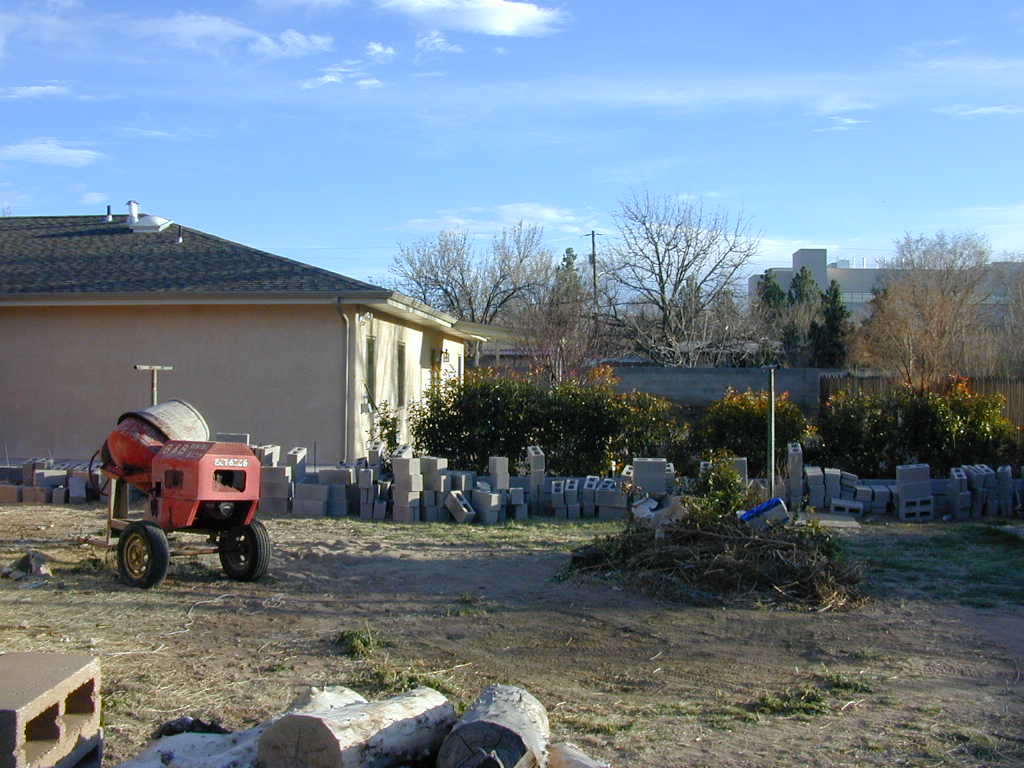
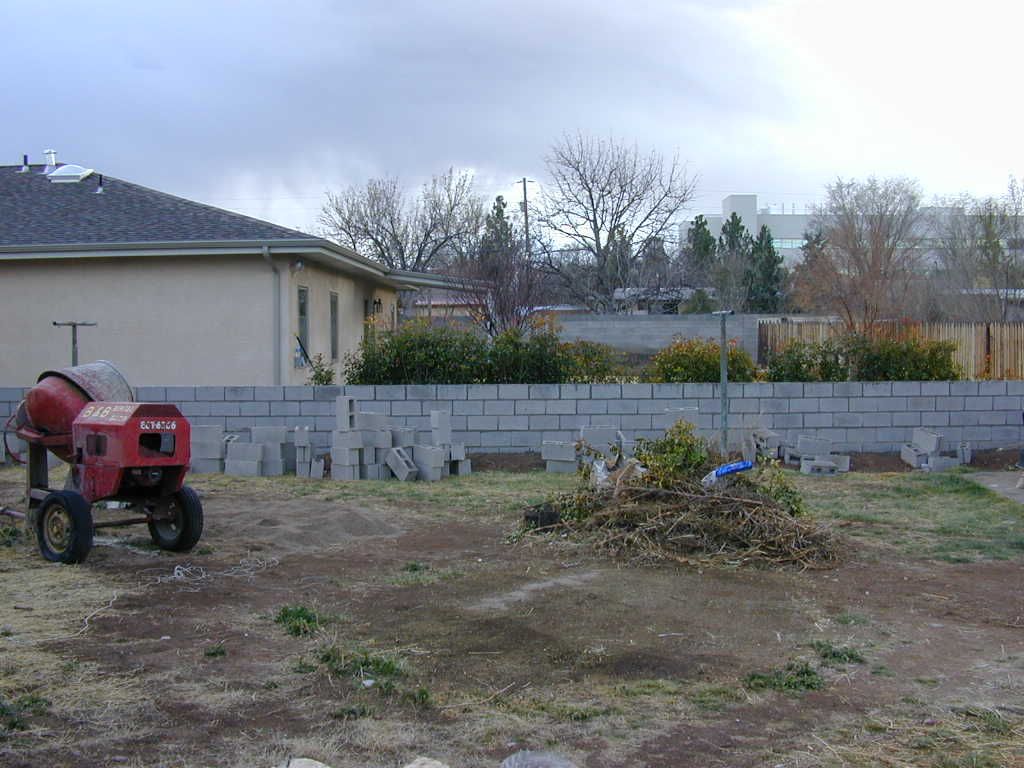
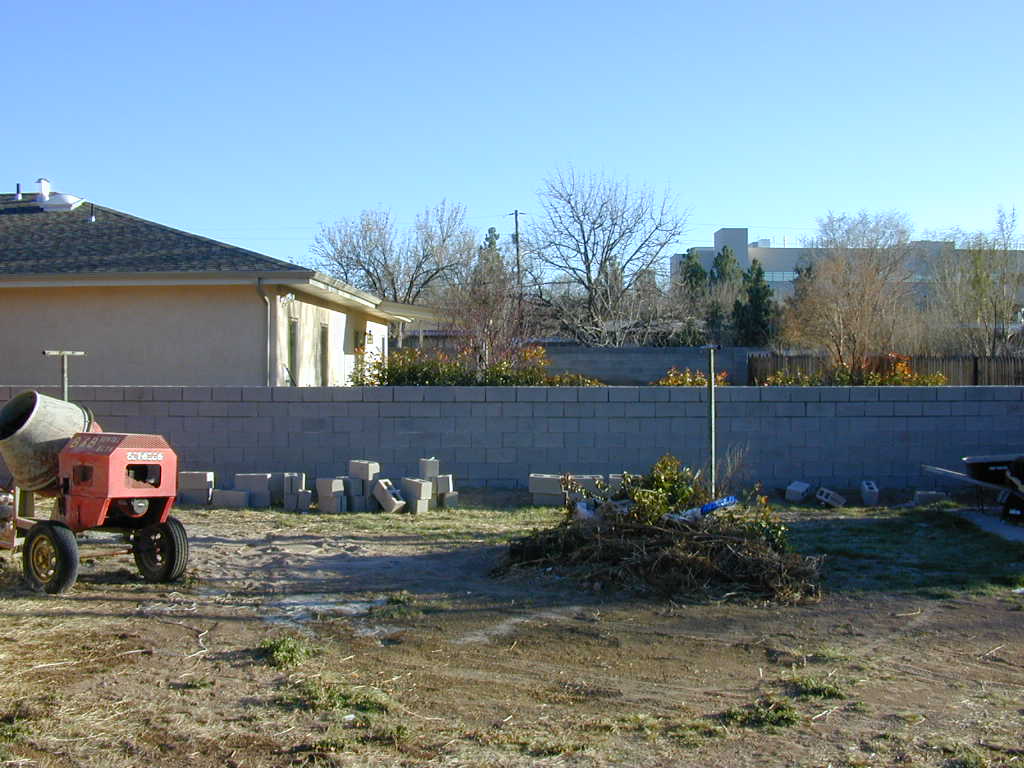
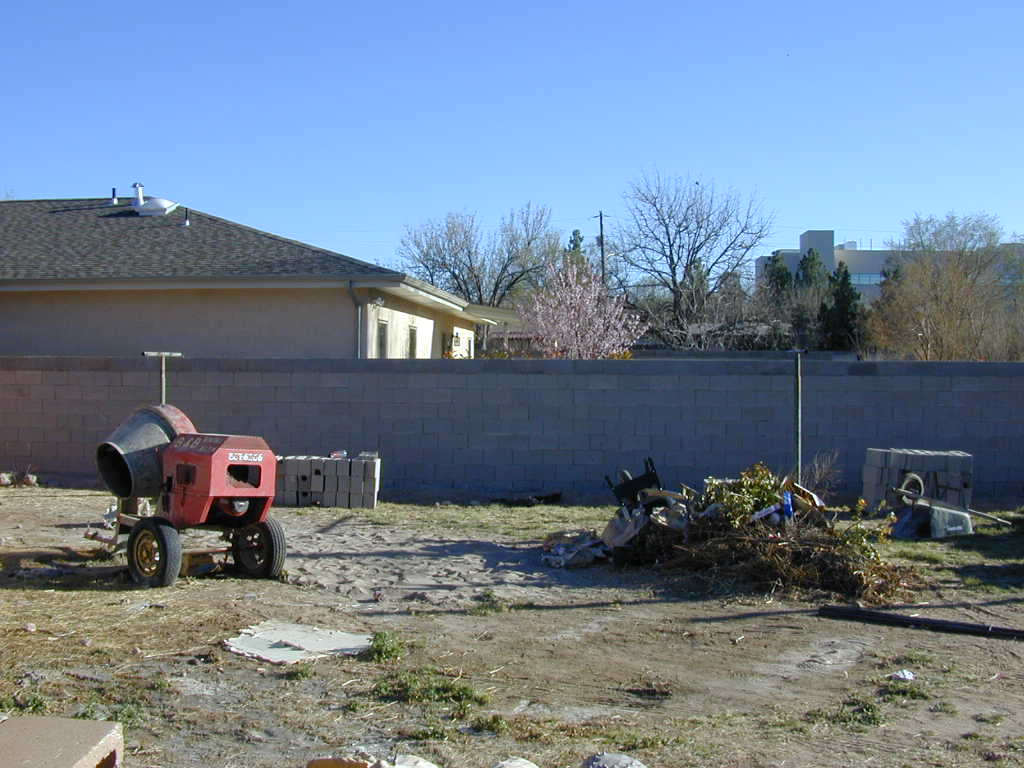
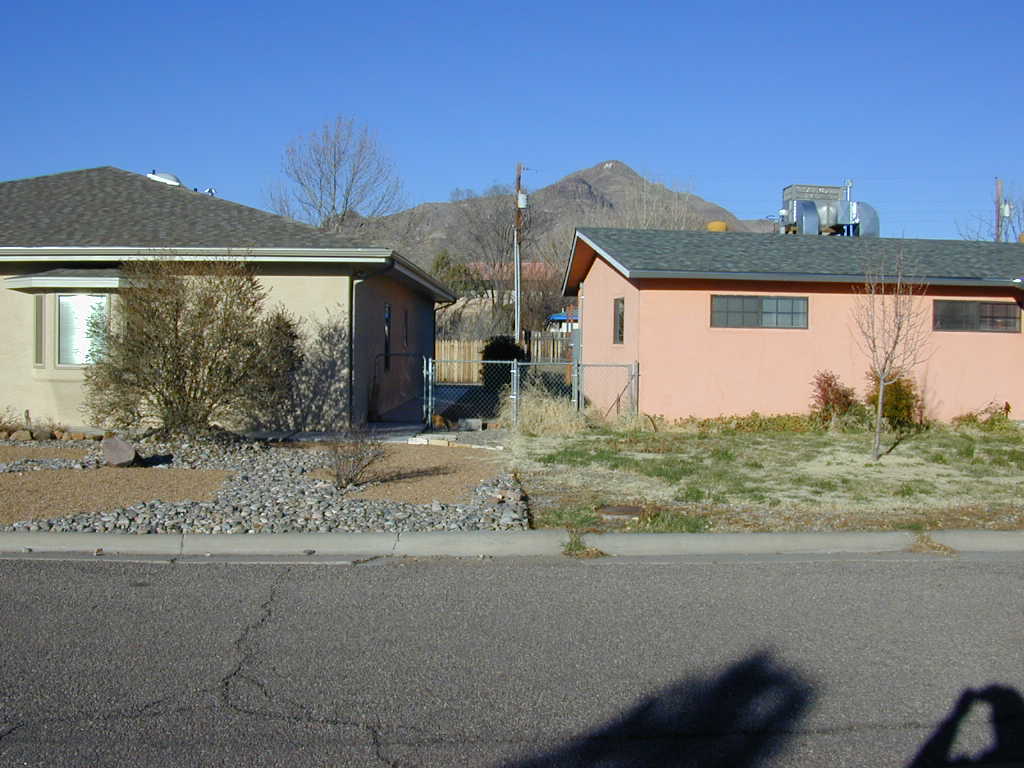
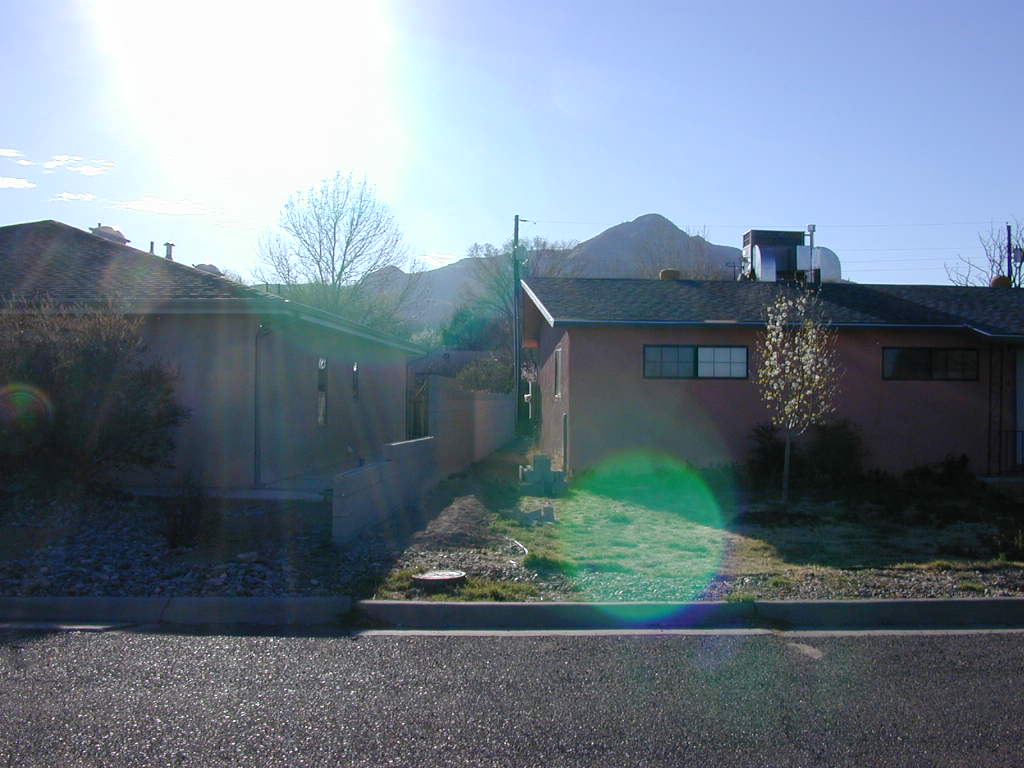
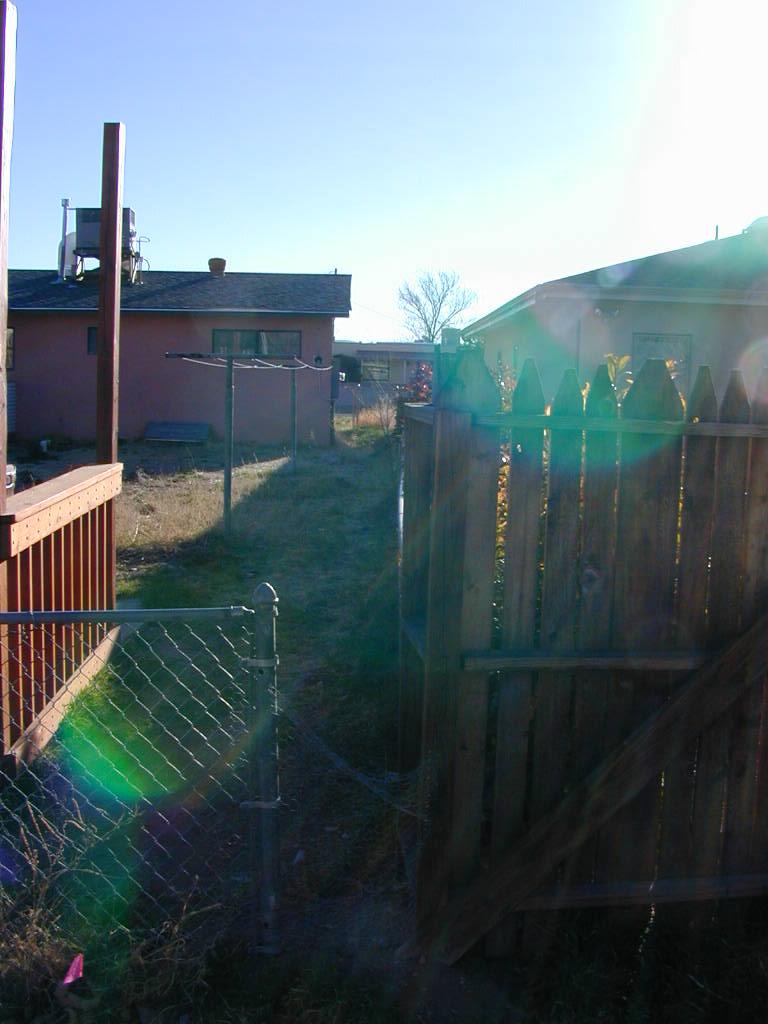
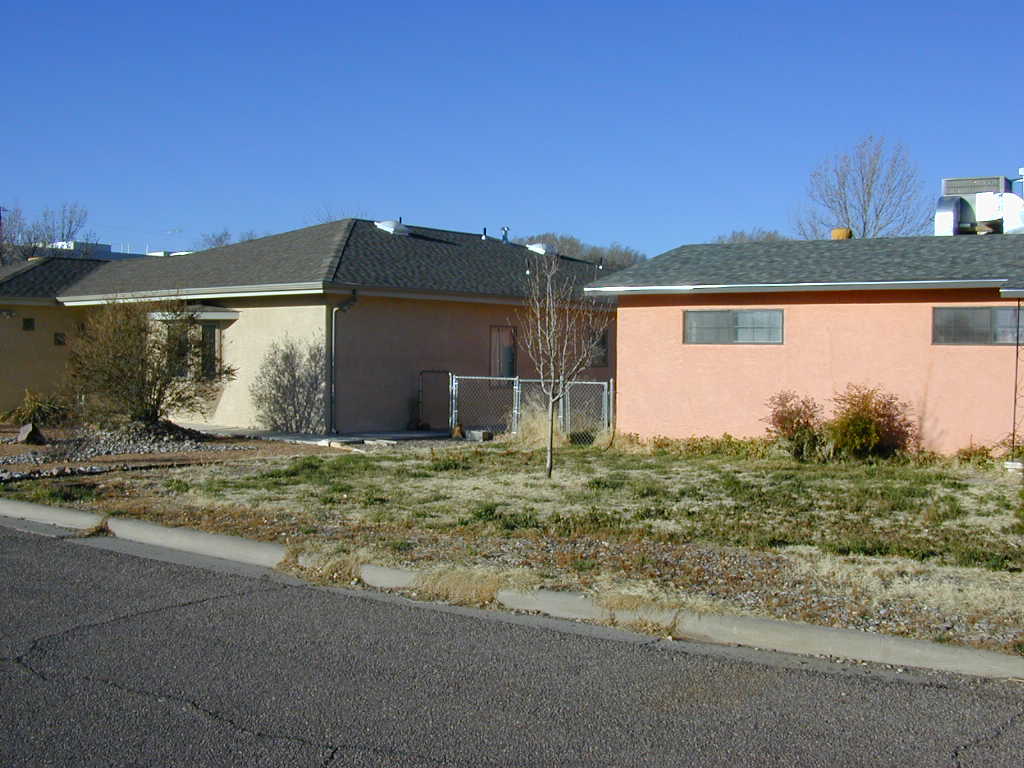
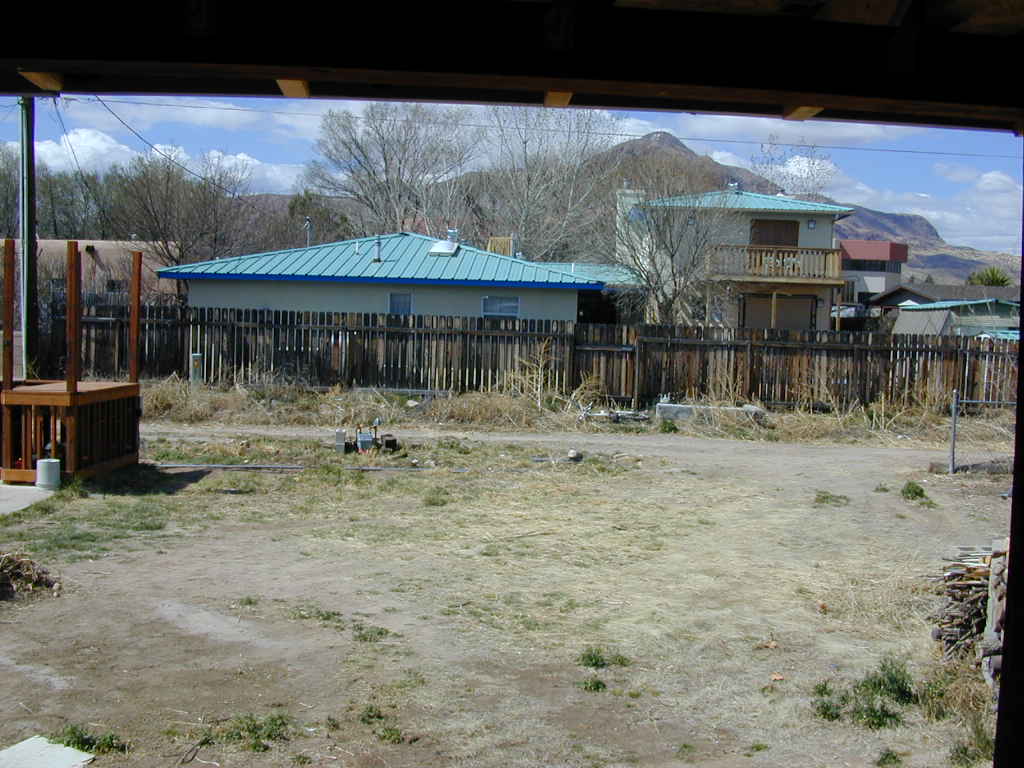
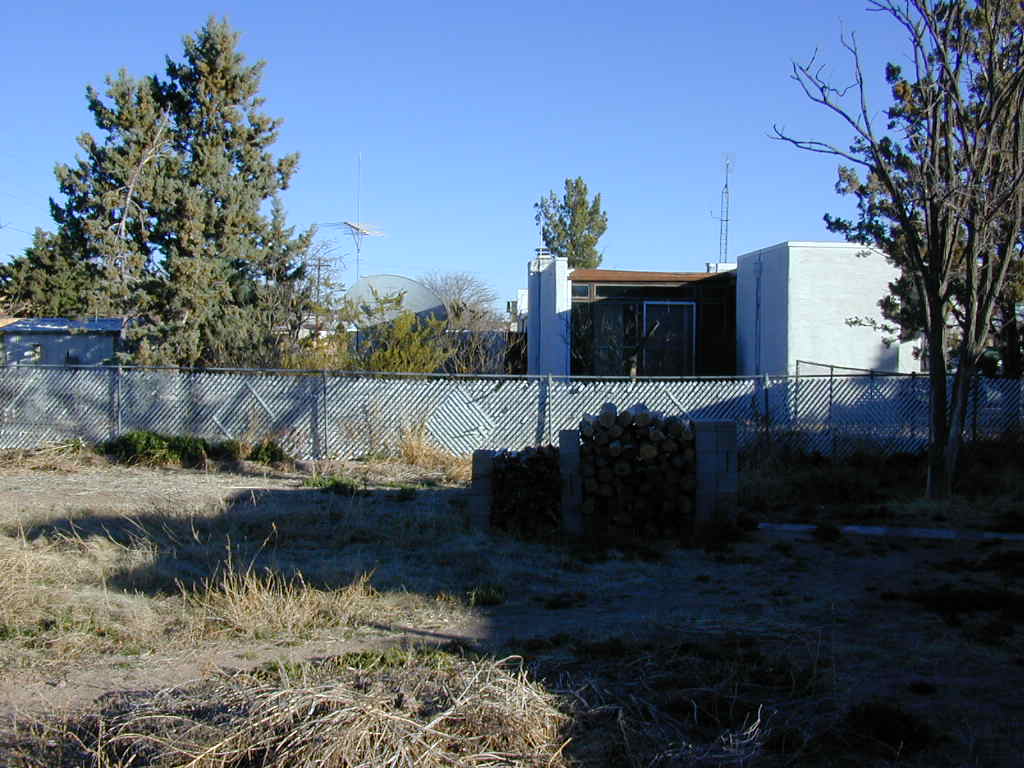
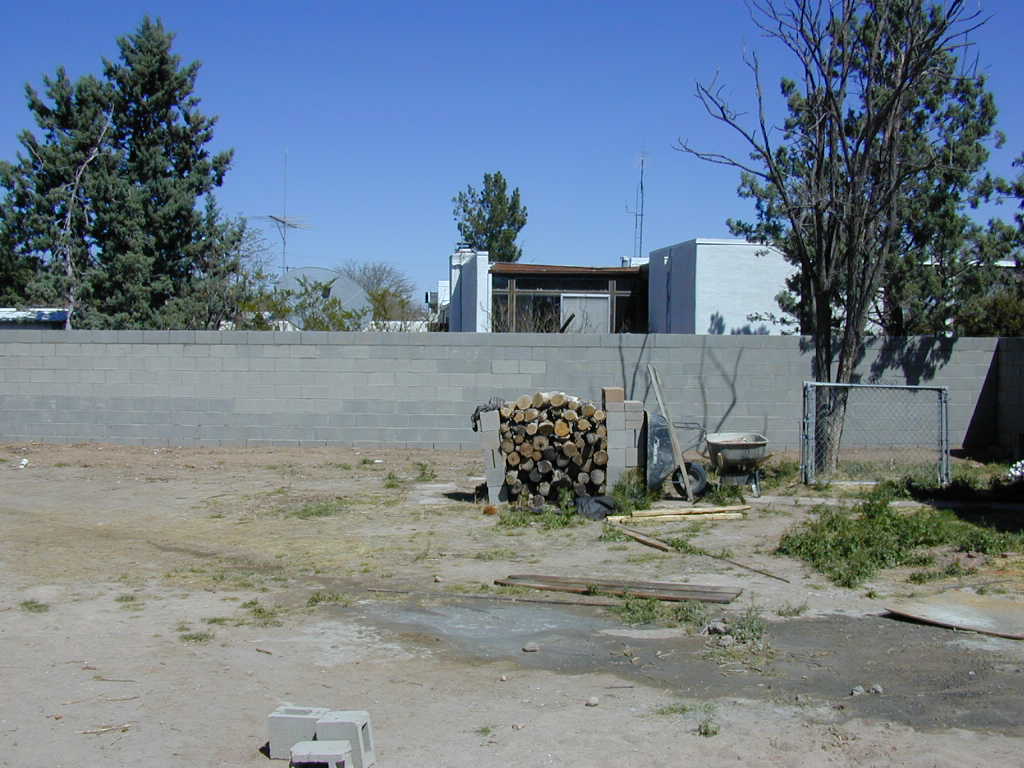
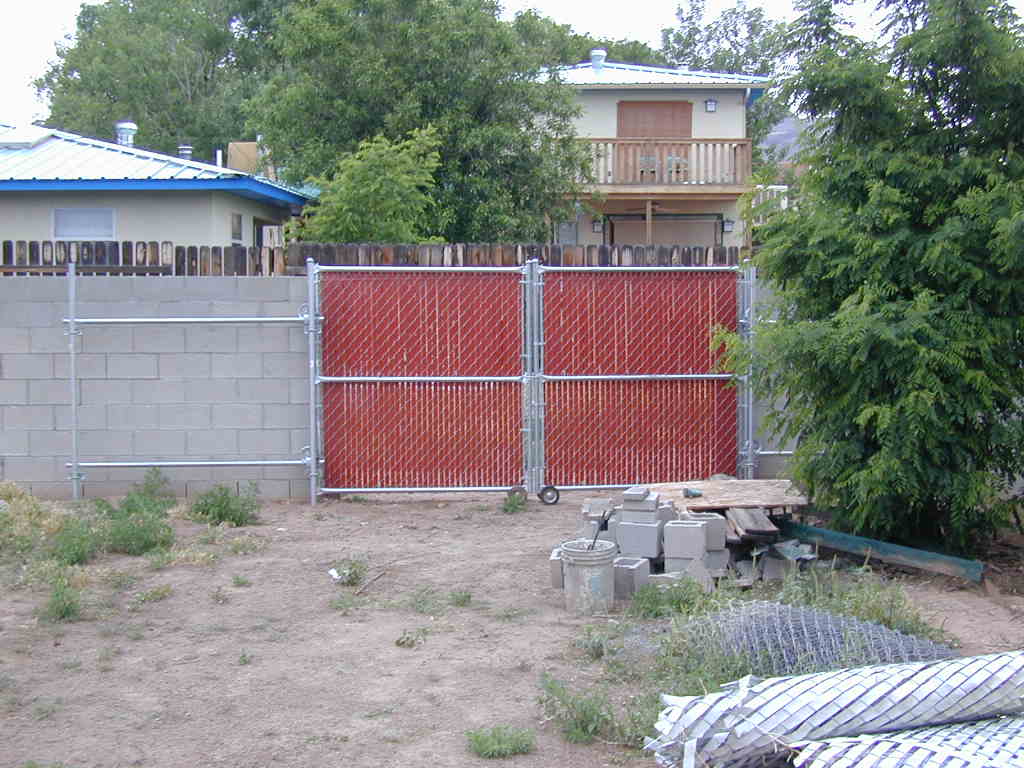
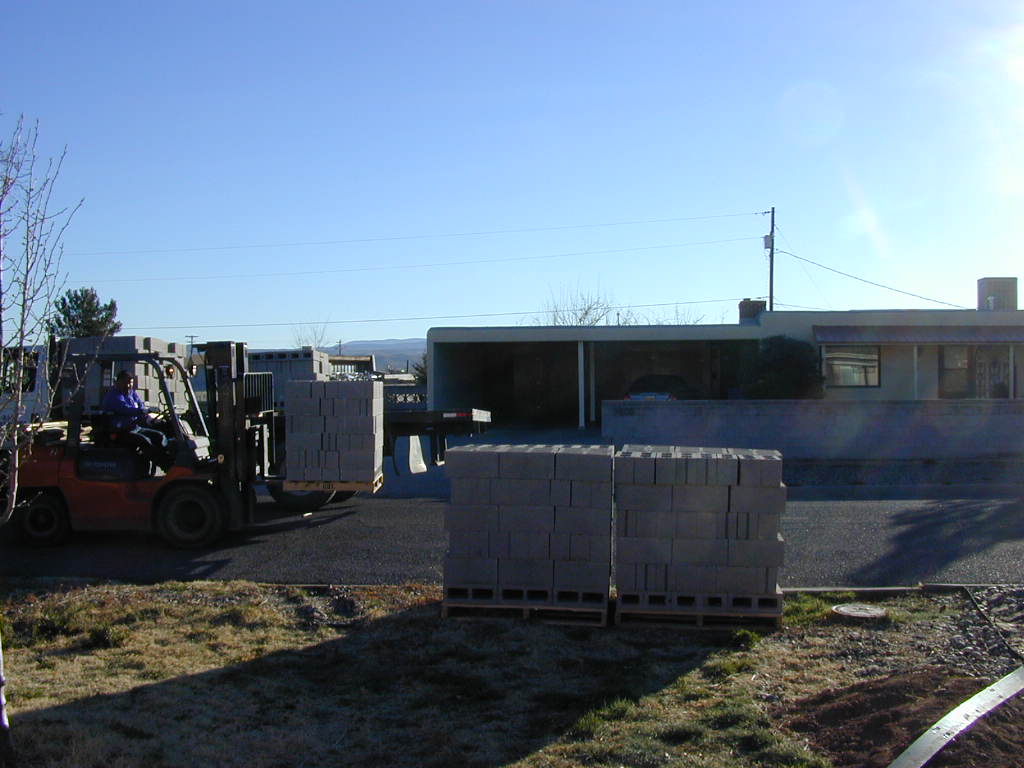
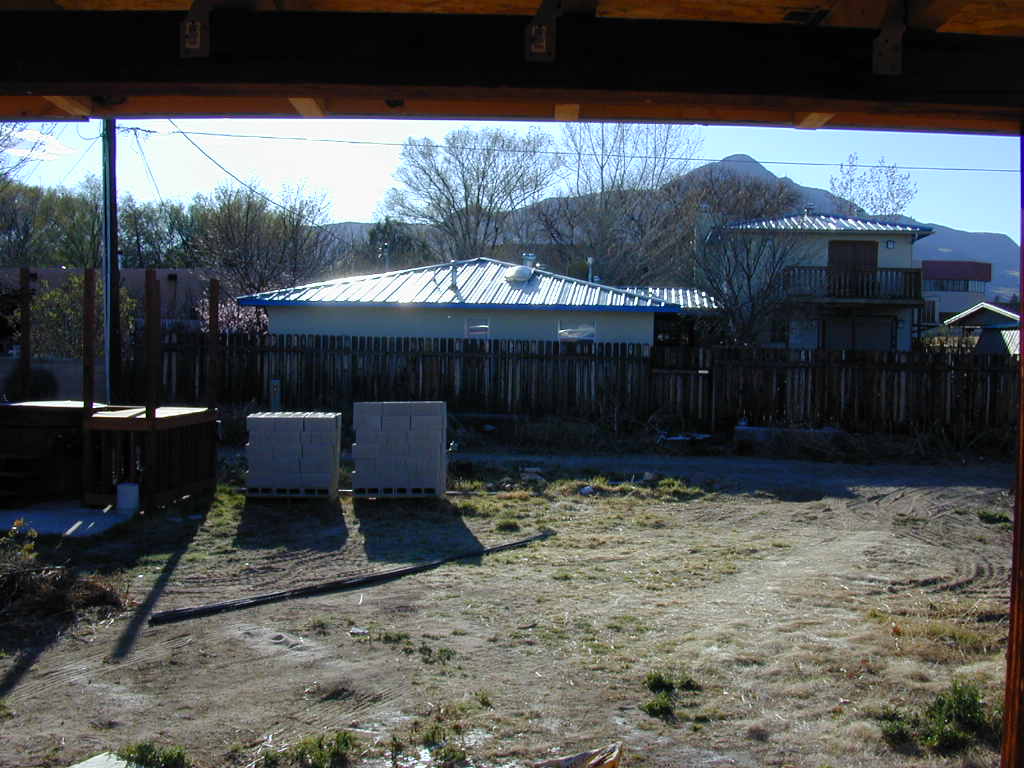
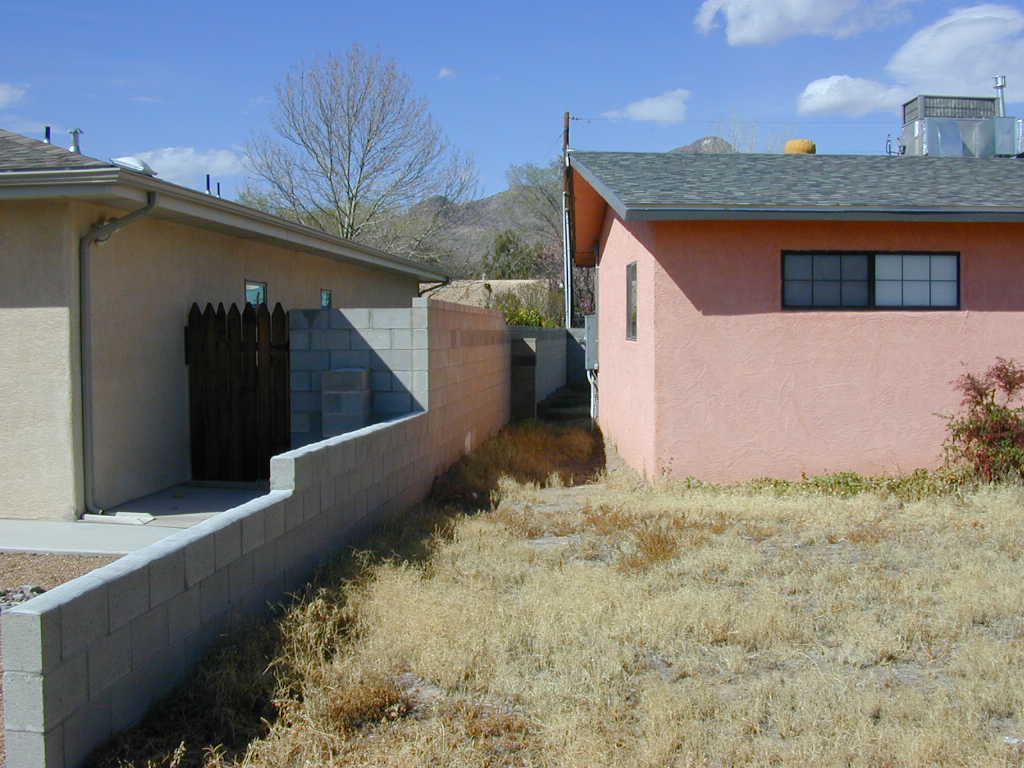
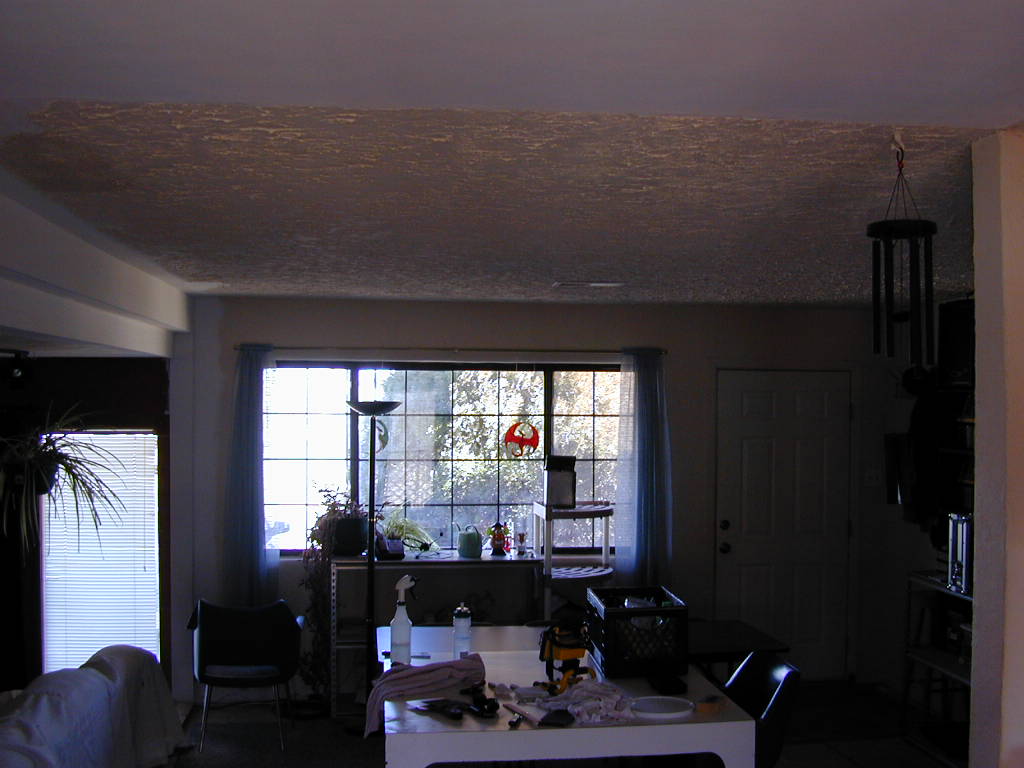
These are photos I took of the property before I moved in about September 2003. Any stuff you see in these photos was stuff left by the previous occupents.
|
|
|
|
|
|
|
|
|
|
|
|
|
|
|
|
|
|
|
|
|
|
|
|
|
|
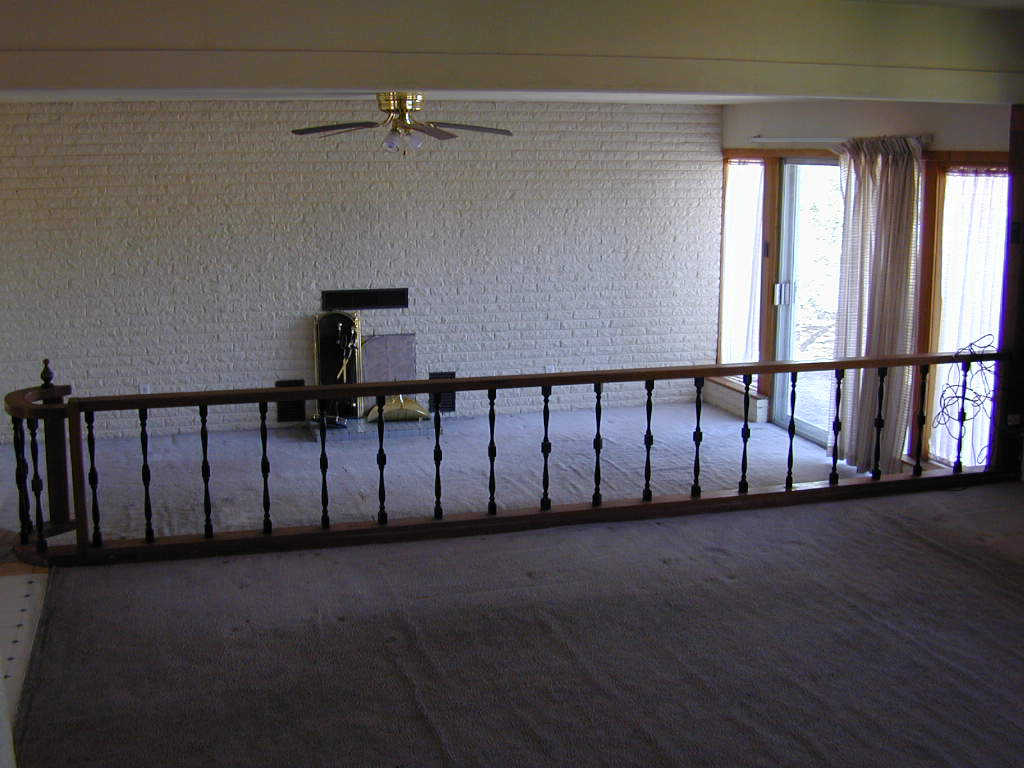
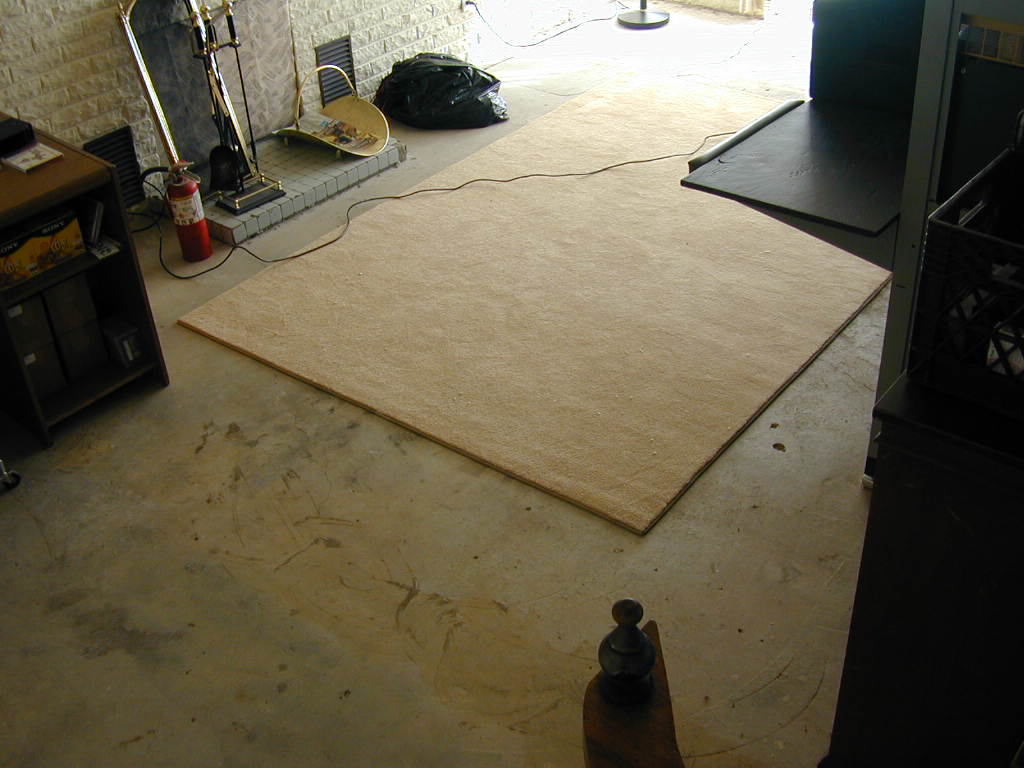
I think the first thing I did was to remove the stank-ass carpet that was in living room and the den. The carpet was paper-thin in places, wrinkled all over and smelled of mold and dog. I didn't even wait until I had replacement rugs I just grabbed the crowbar and up it came. The rugs were added weeks later. Turns out the living room had old 70's linoleum tile underneath.
|
Living room/den before |
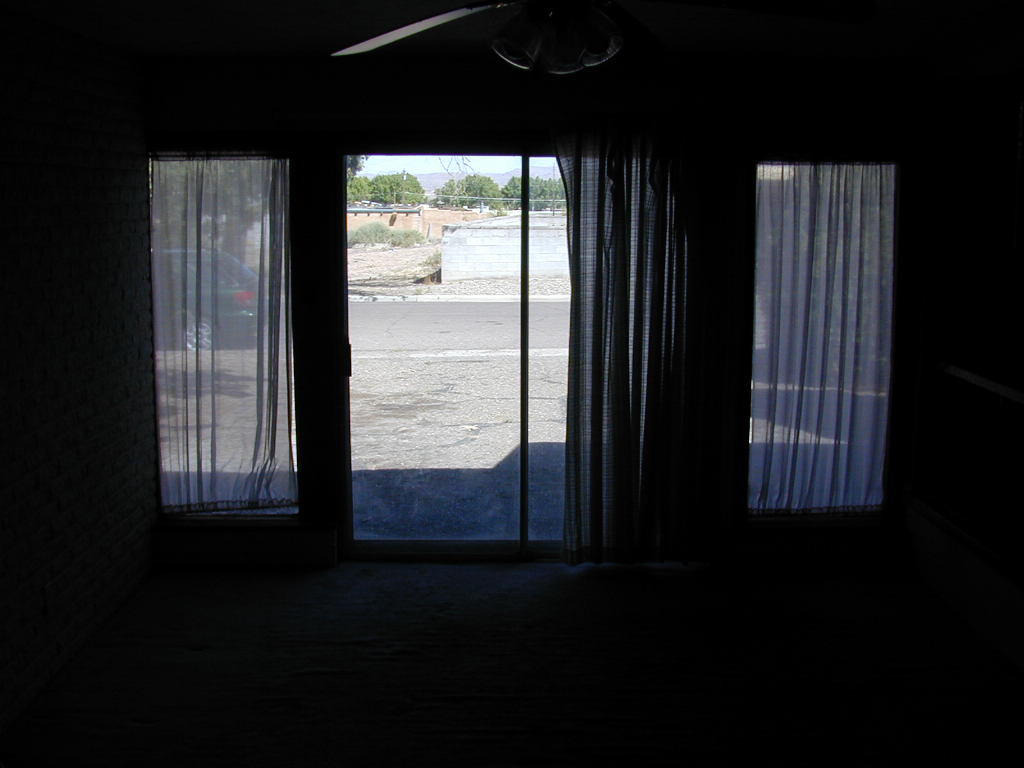
Living room before |
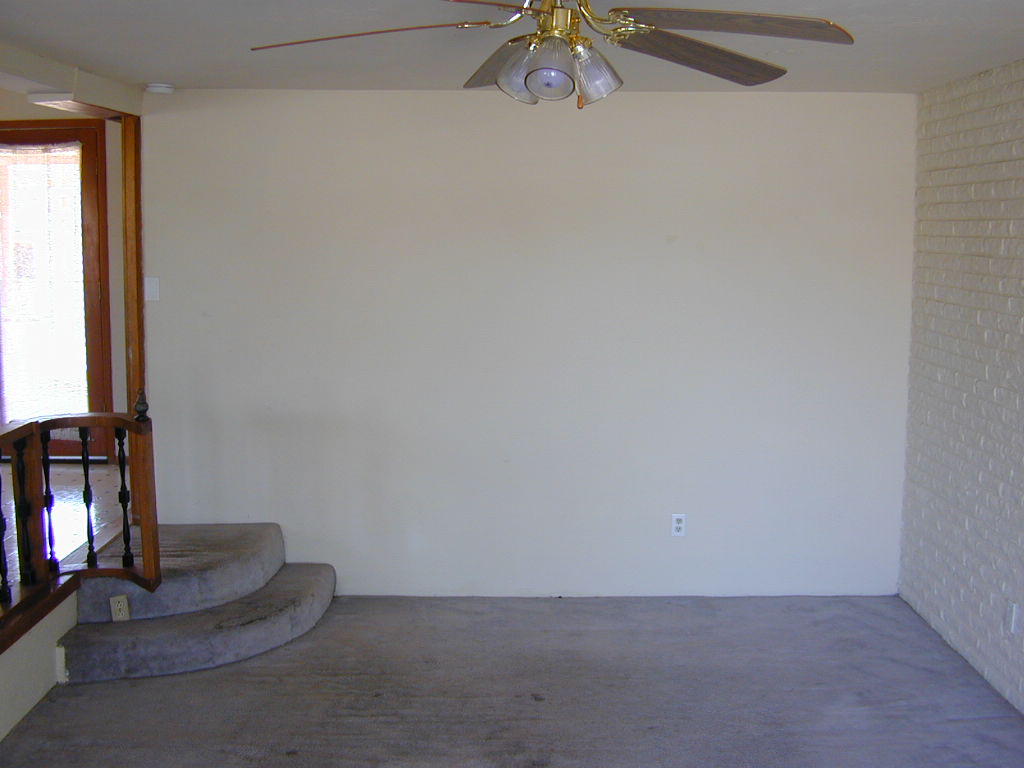
Living room stairs before |
 den after |
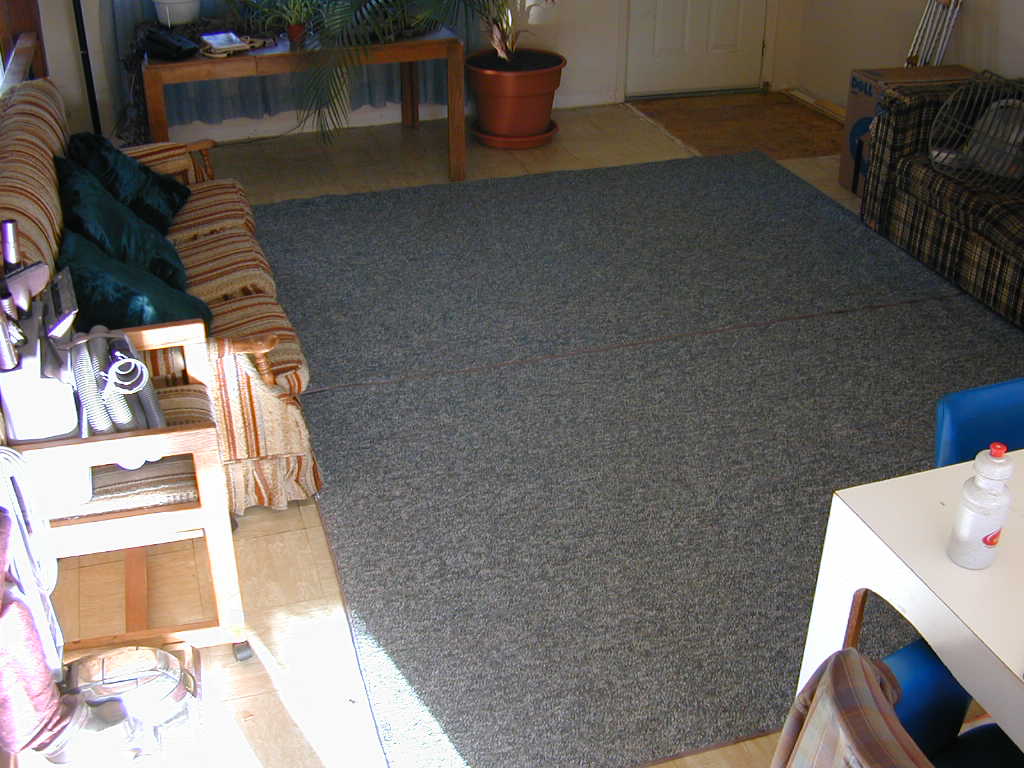 Living room after |
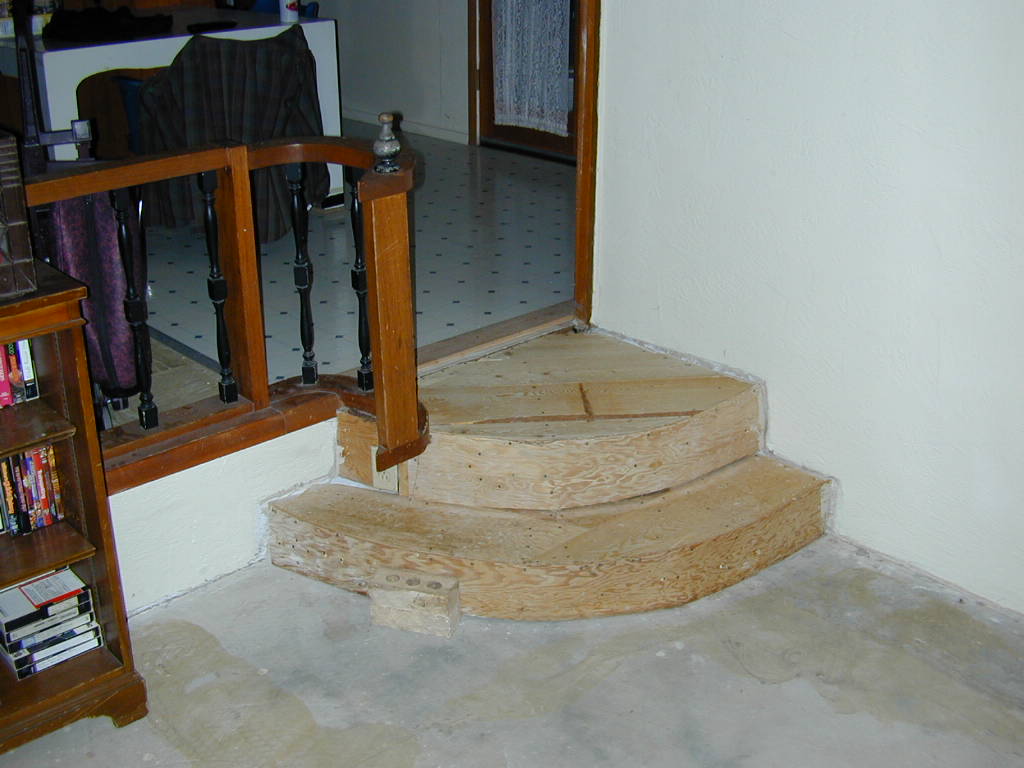 Living room stairs after |
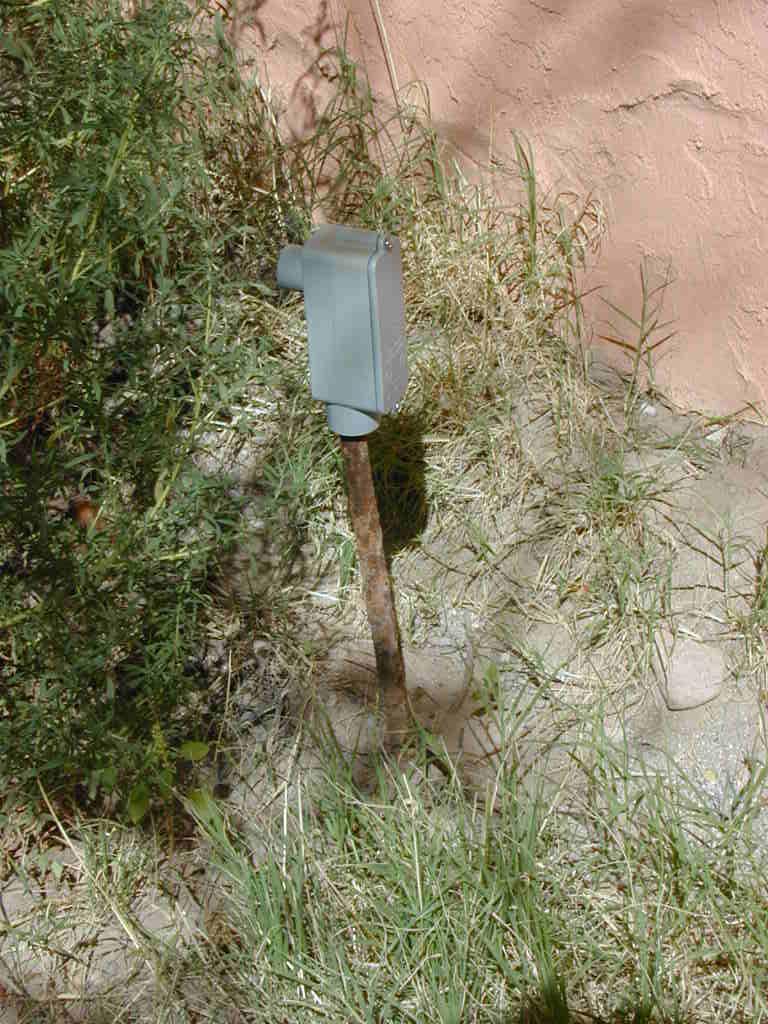
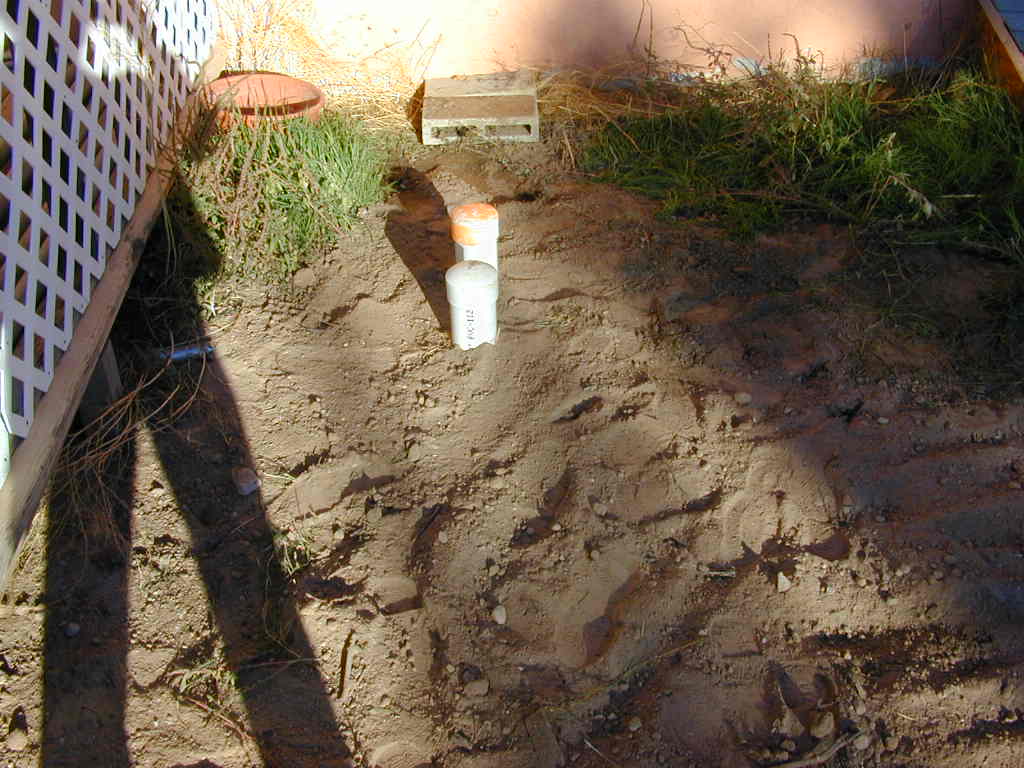
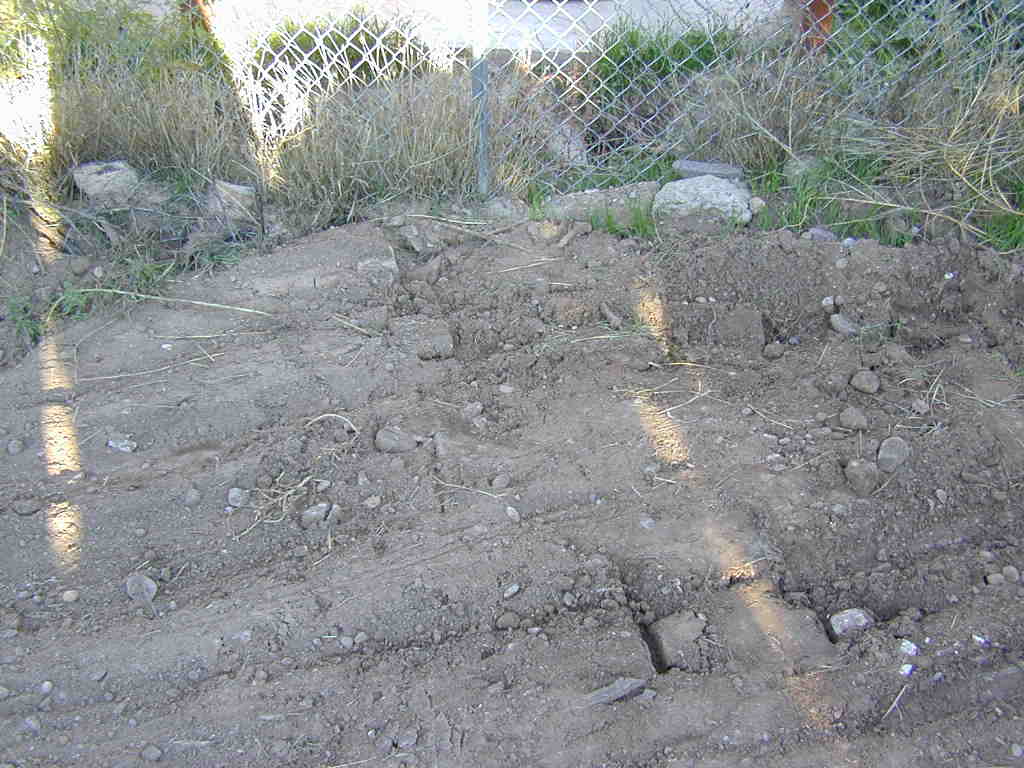
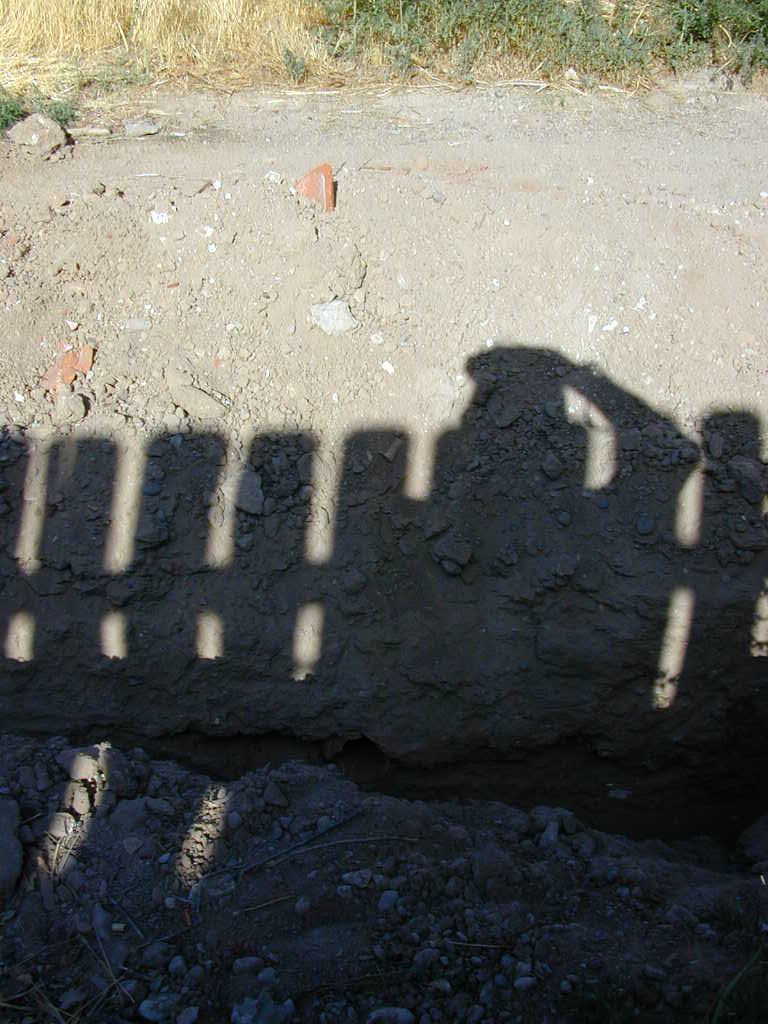
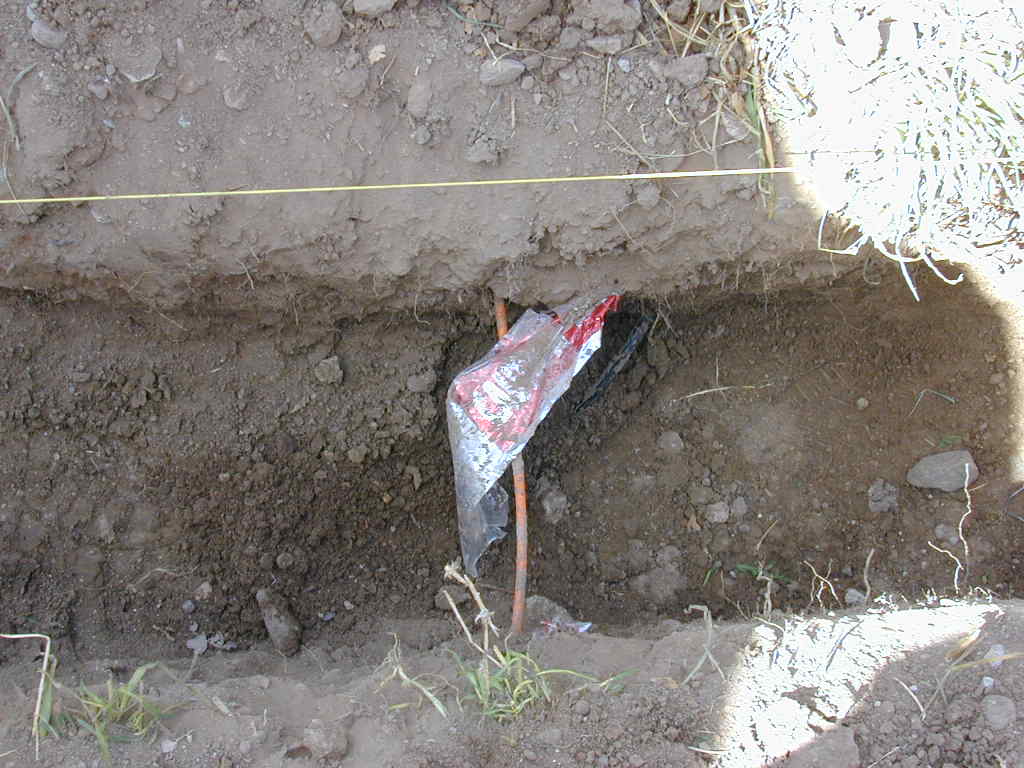
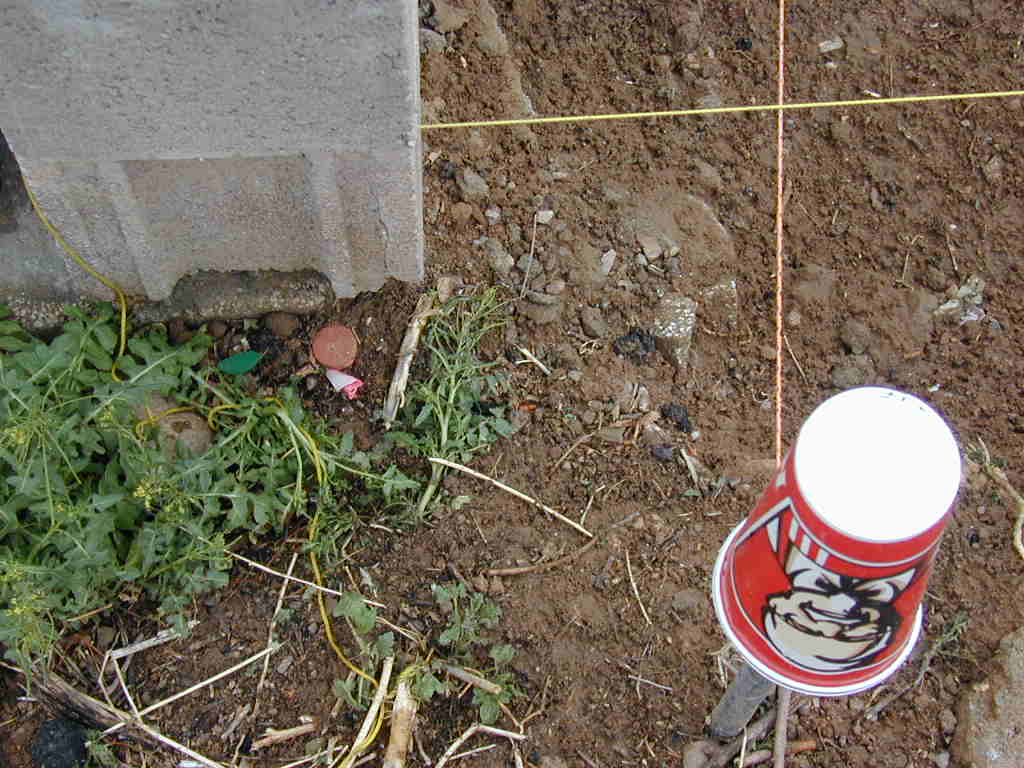
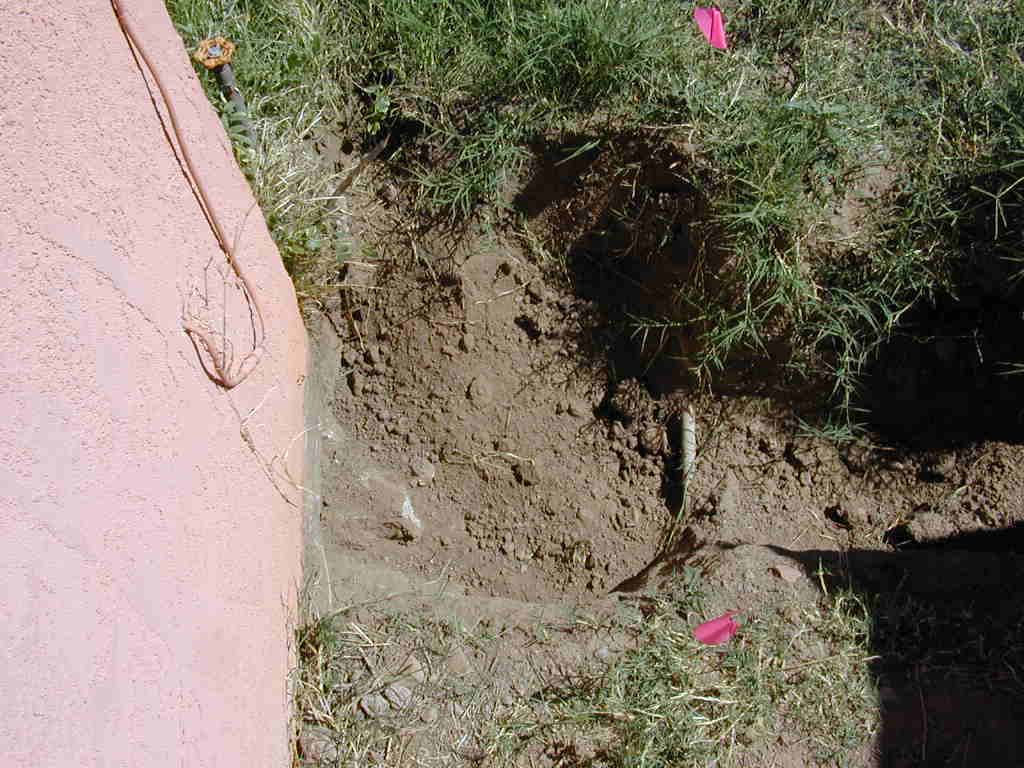
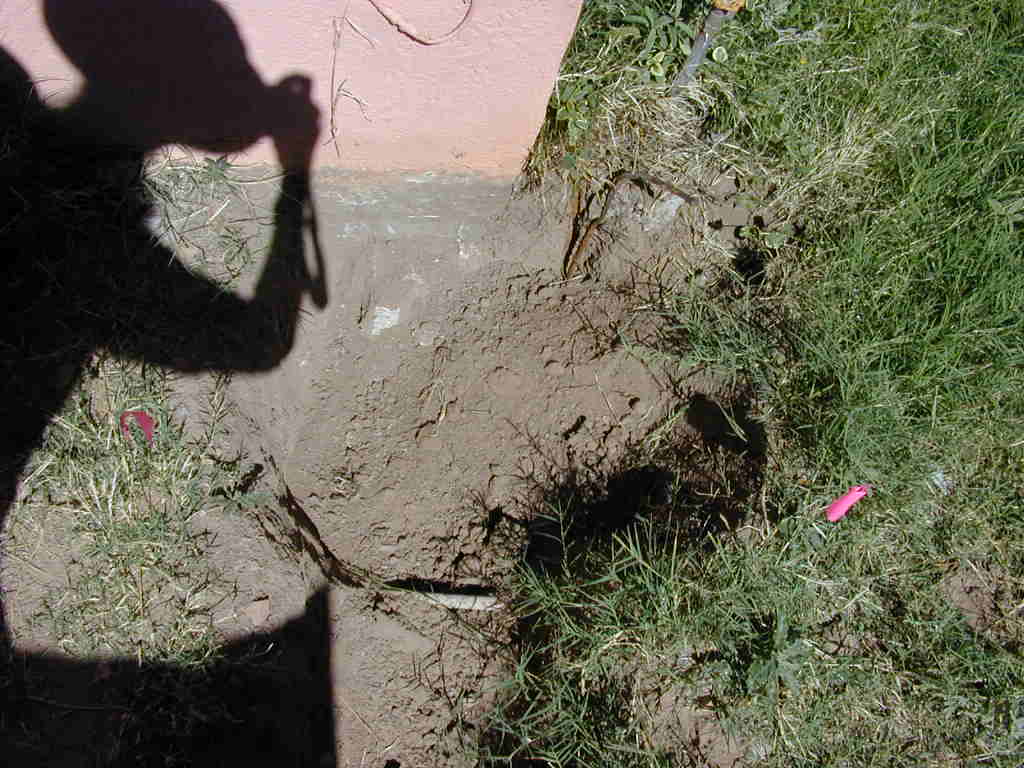
One day, shortly after moving into my new home, I was raking junk in the back yard and came accross a wire. No, big deal right, unless...
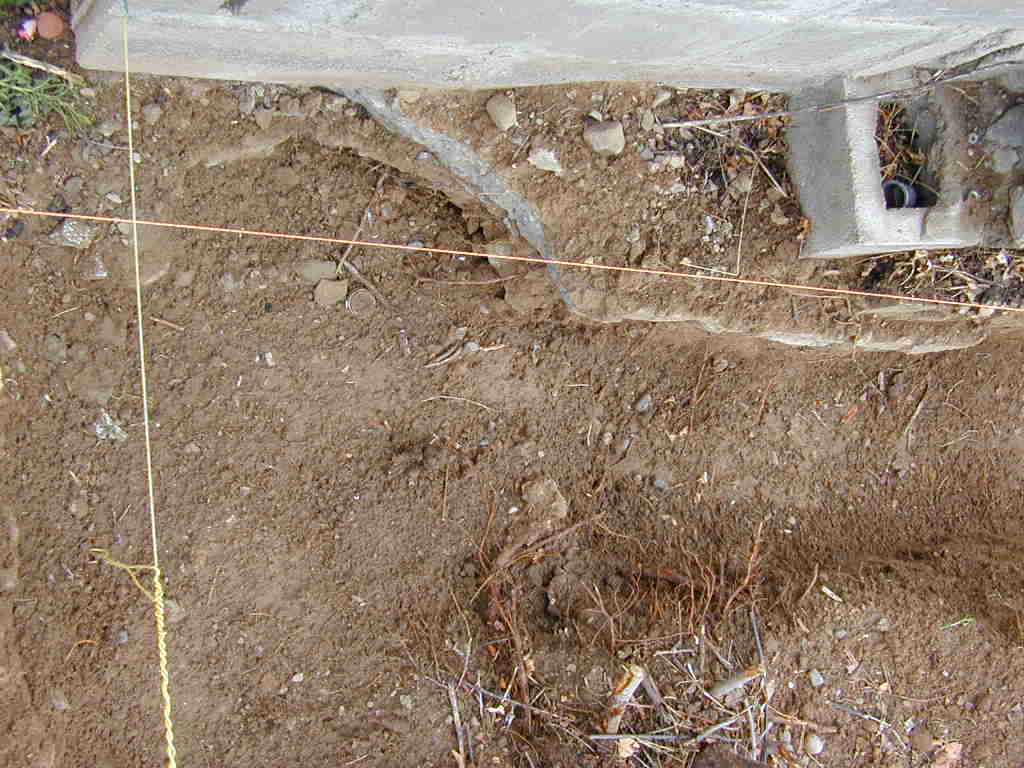
Yes a quick test with the volt meter tells me that this silly wire coming out of the ground about 12 feet from the house is HOT. Crap. So I dug it up and watched it disappear right into the concrete slab. Crap. Did I also mention that it was burried in EMT (morons). So, I played breaker tag and found that it is on the same circuit as half the living room. Crap.
So, I did what any good new home owner would do. I capped it and forgot about it.
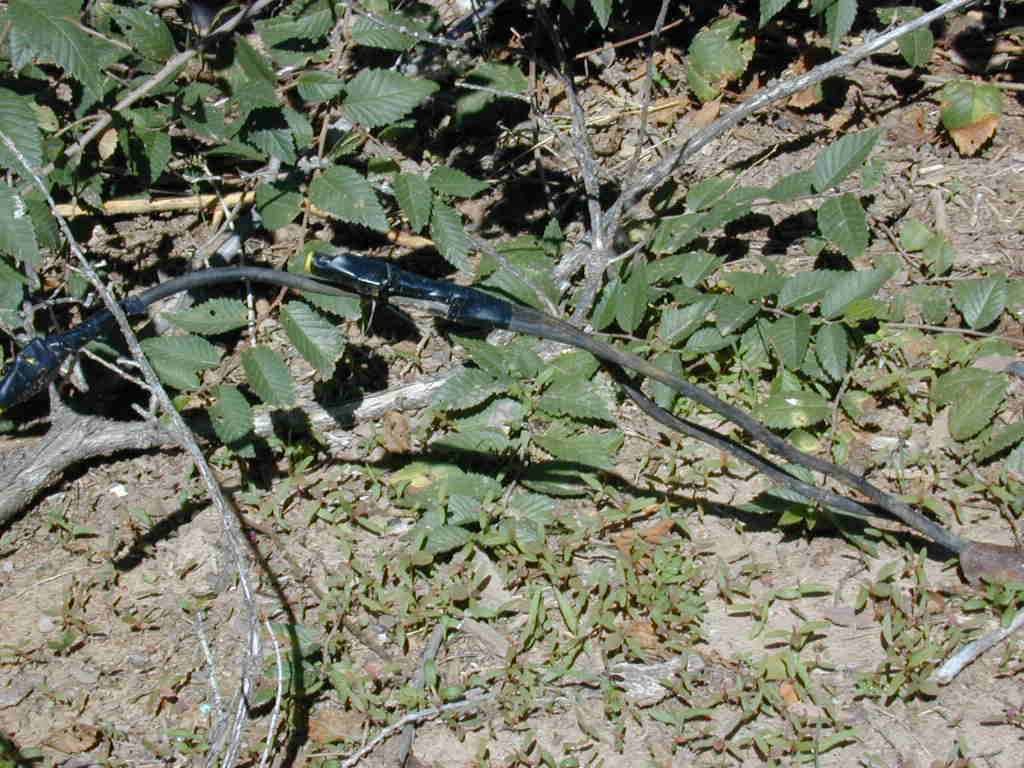 wire found |
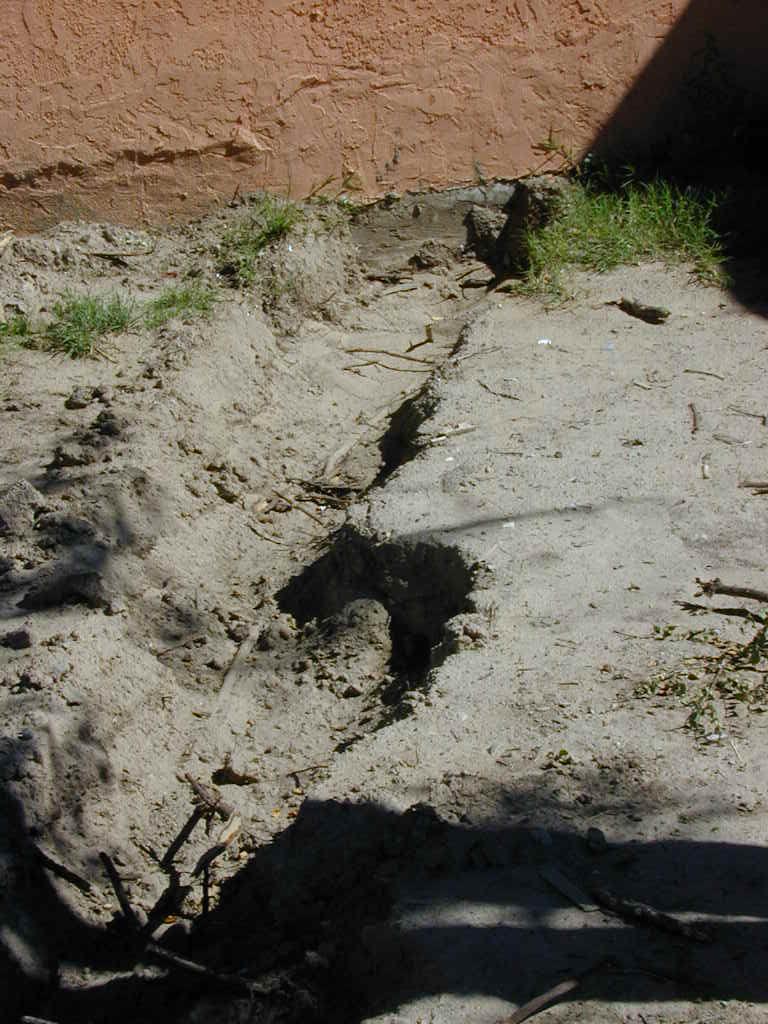 wire dug up |
 wire capped off |
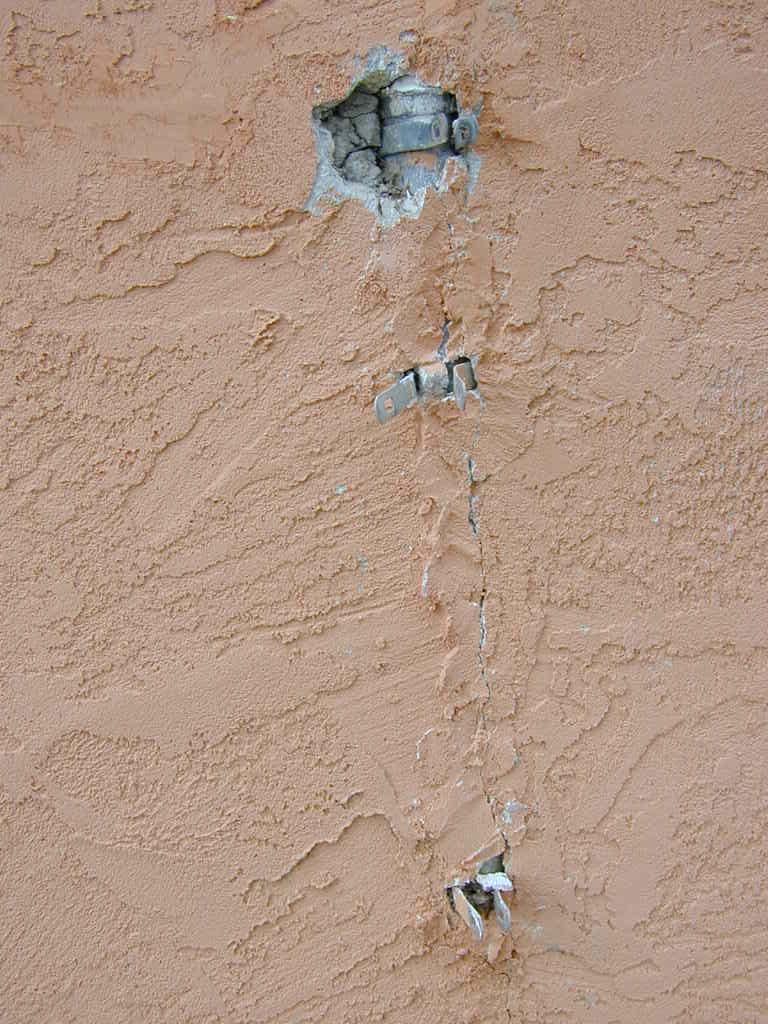
After two water line breaks in the laundry room I finally started to renovate the whole room. In the process I found where that back yard wire connected. It came up through the concrete slab and into a single gang box in the wall between the north half of the room and the exterior closet. I cut it, removed as much as I could and spray foamed the hole. I don't have a picture of the srapy foamed hole however.
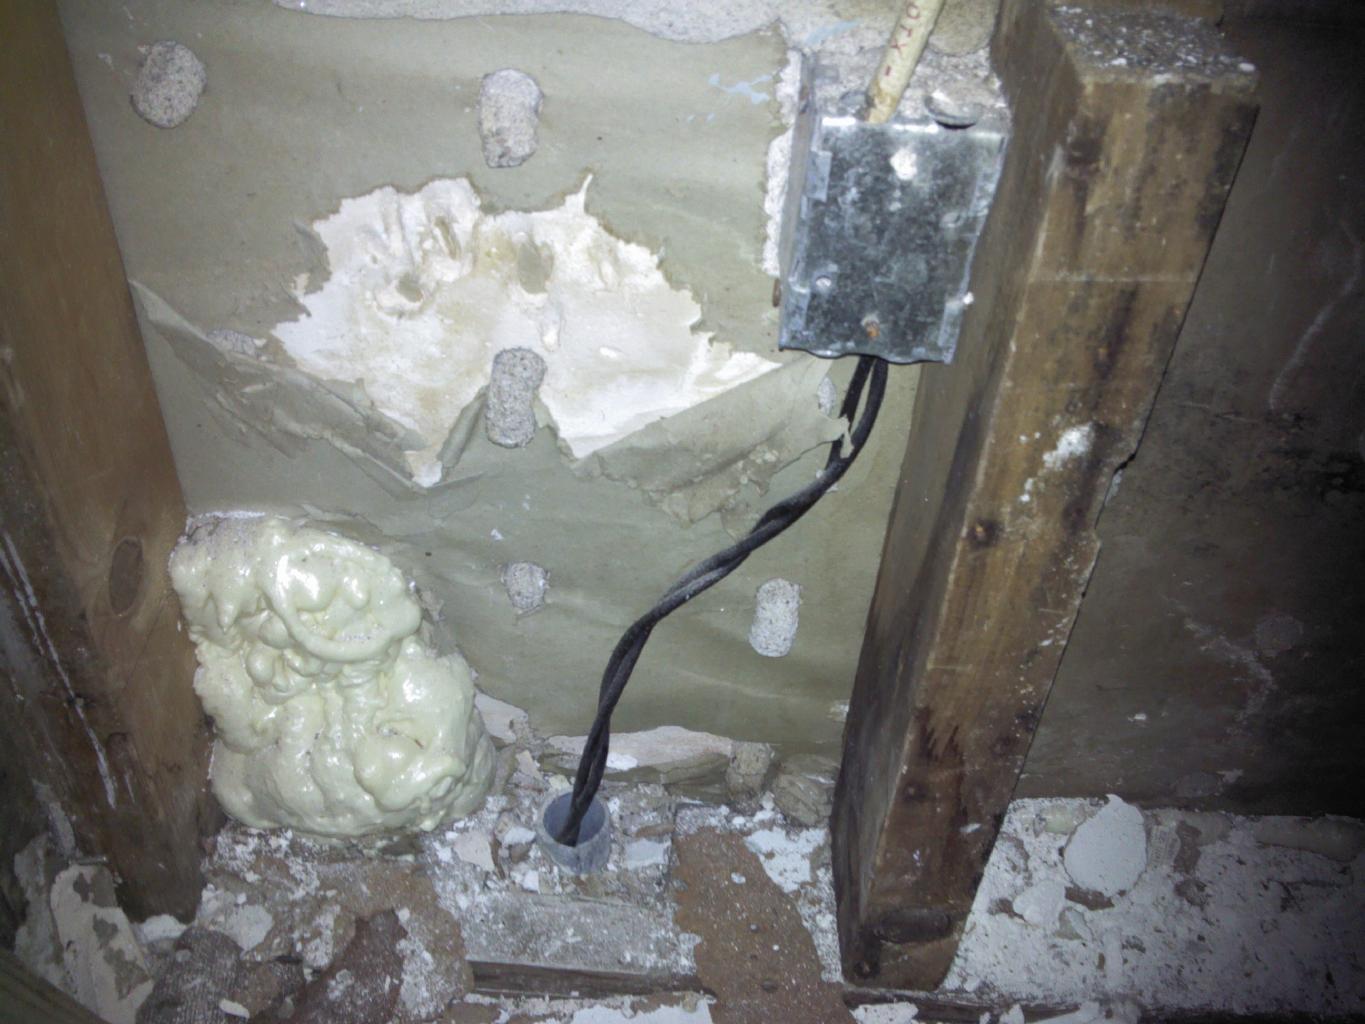 Other end of wire |
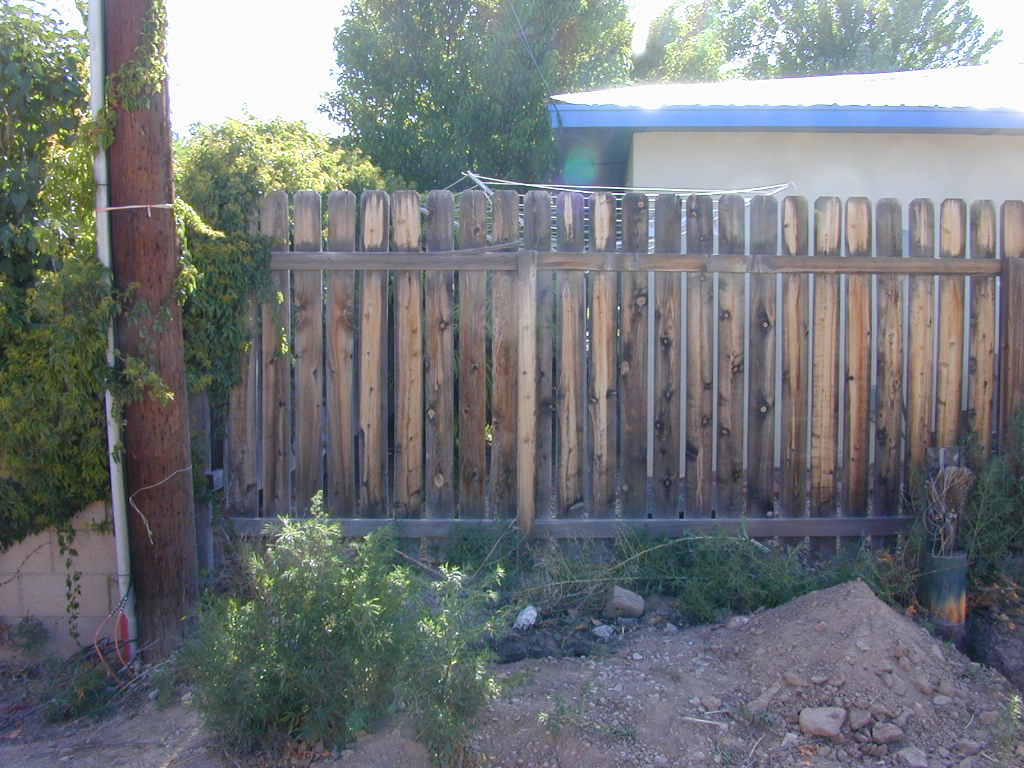
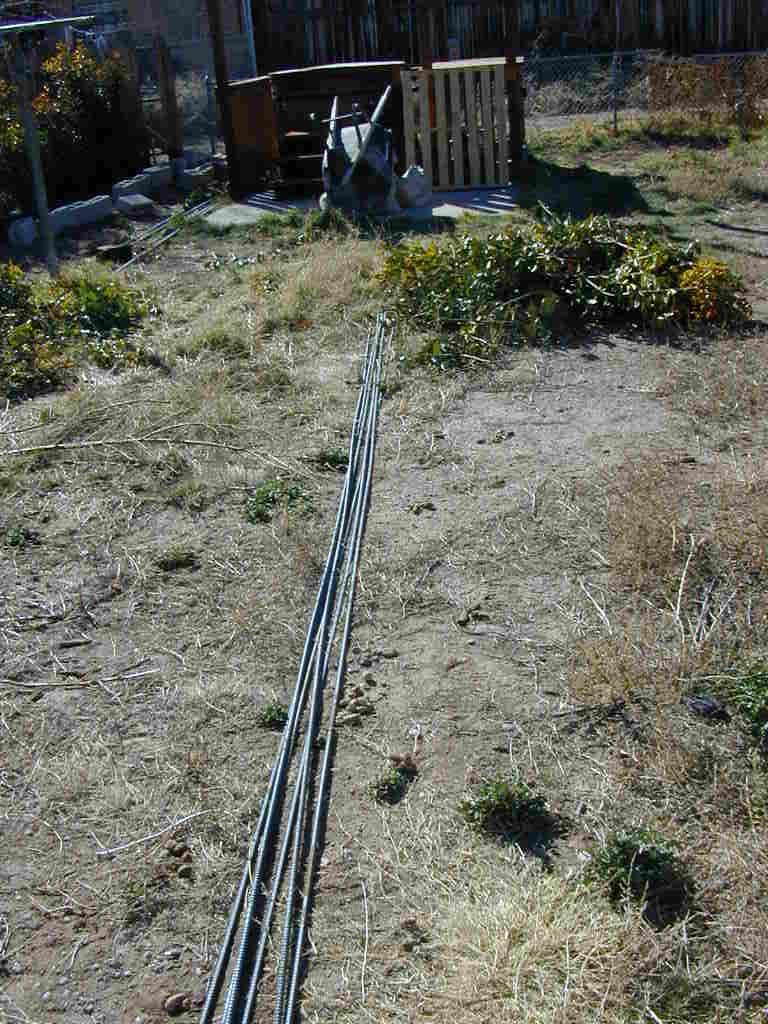
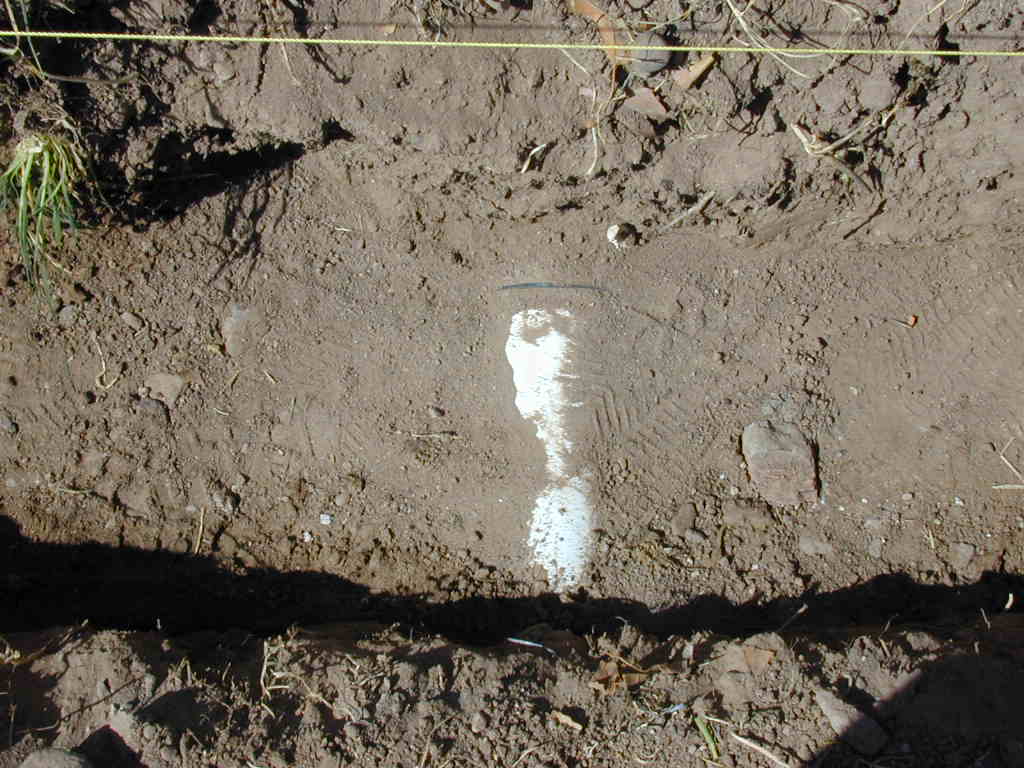
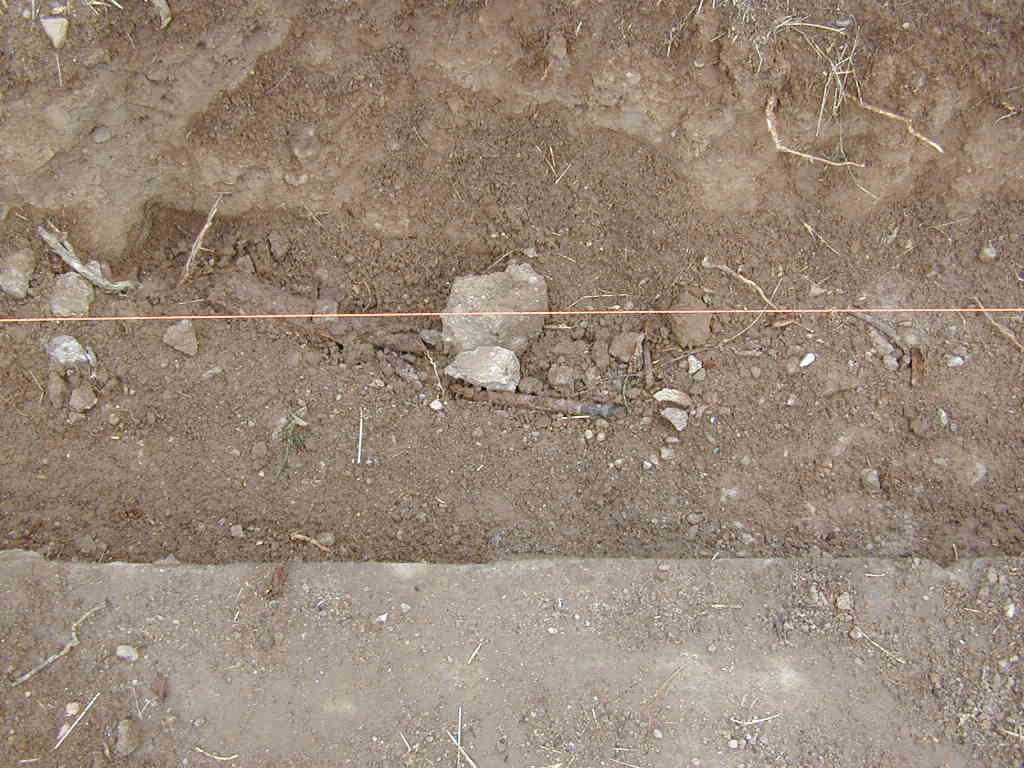
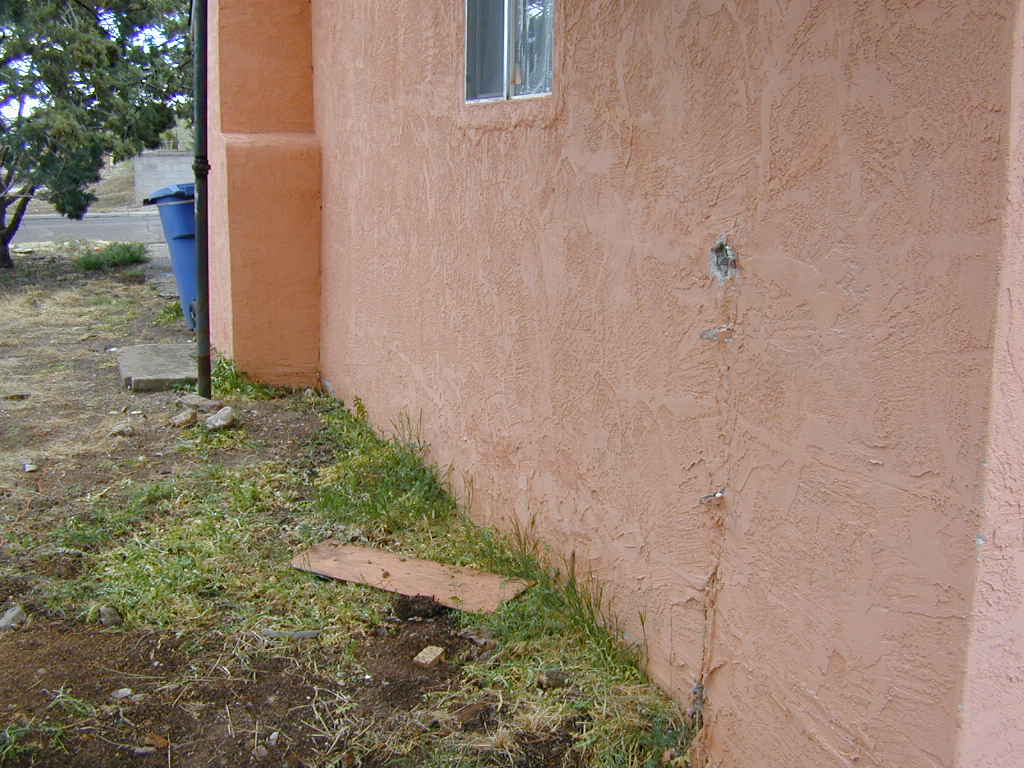
Then, two years later, I decided to start putting a walkway around the house, largely to keep water and vegitation from the foundation and to hopefully look nice. This was the final opportunity to remove the rest of the now disconected wire.
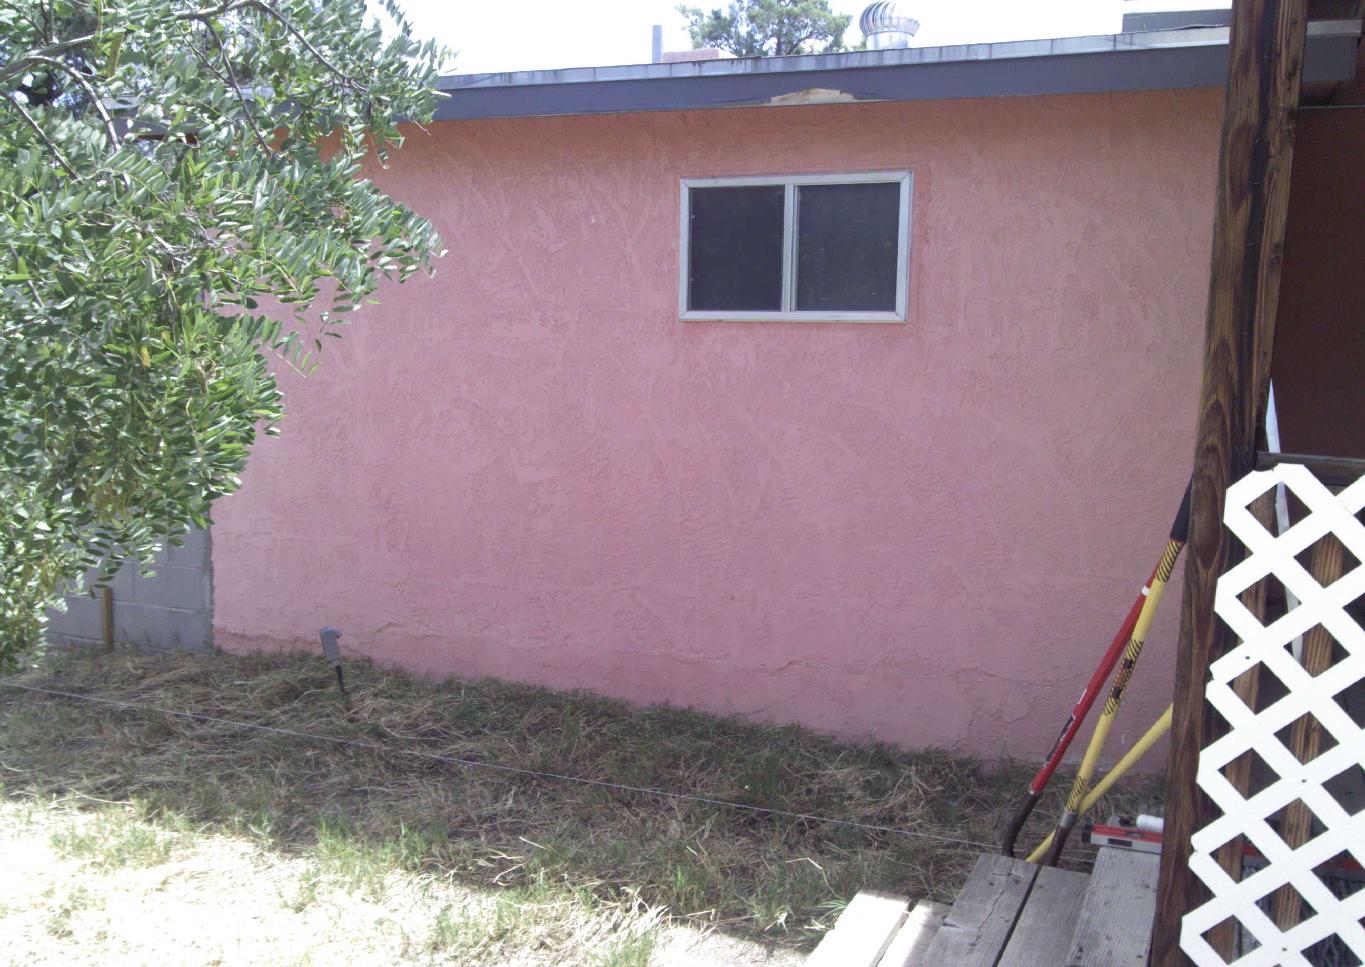 Before removal |
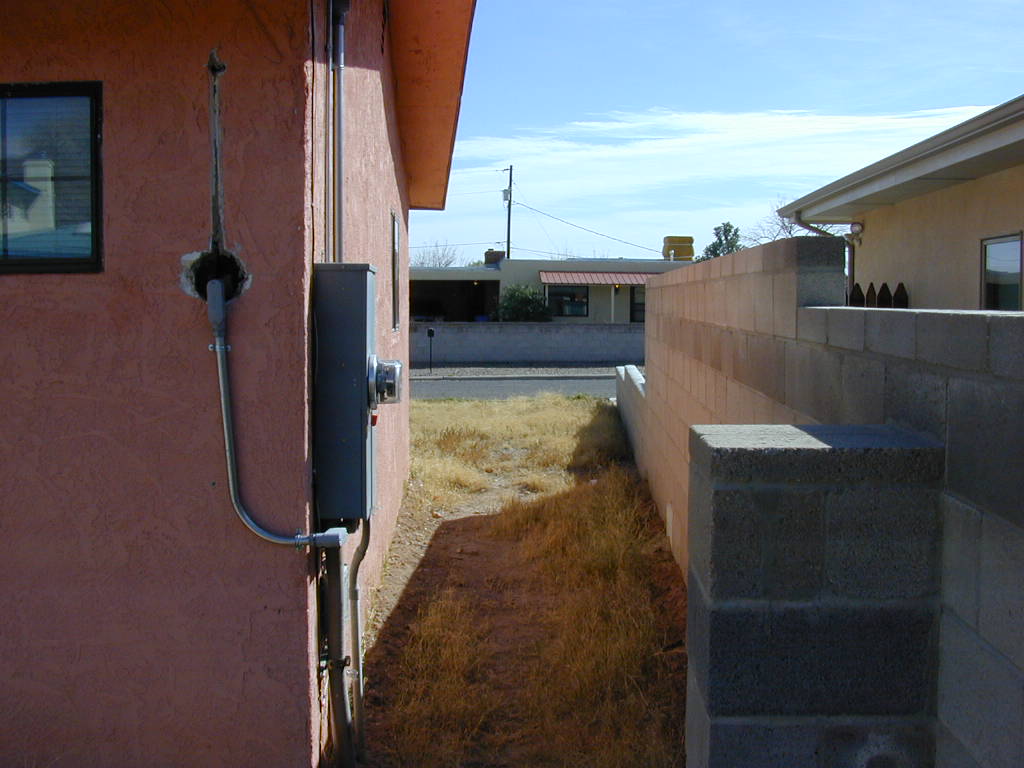
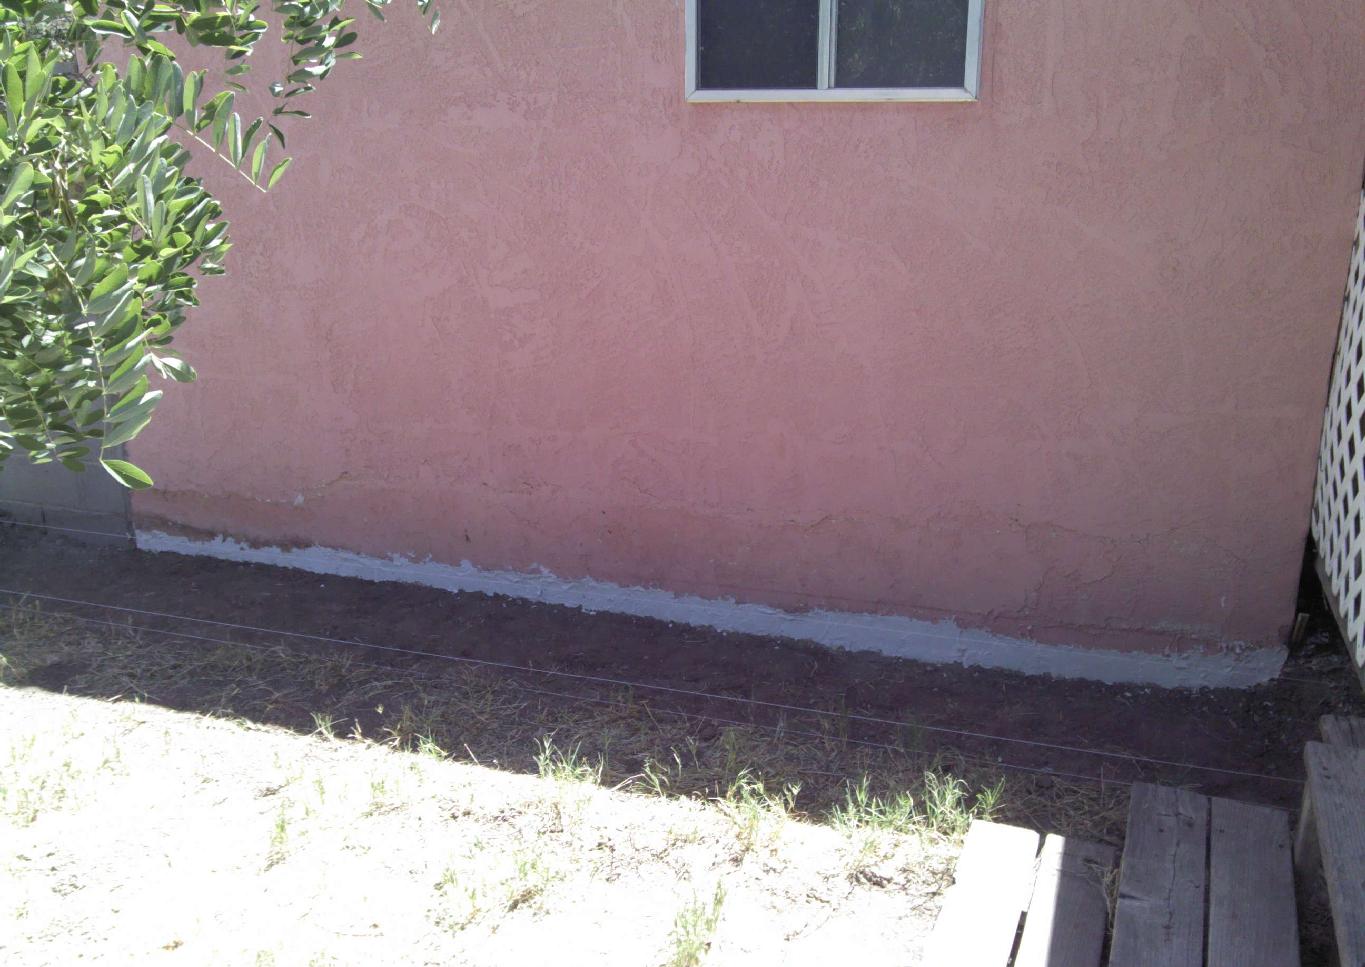 After removal |
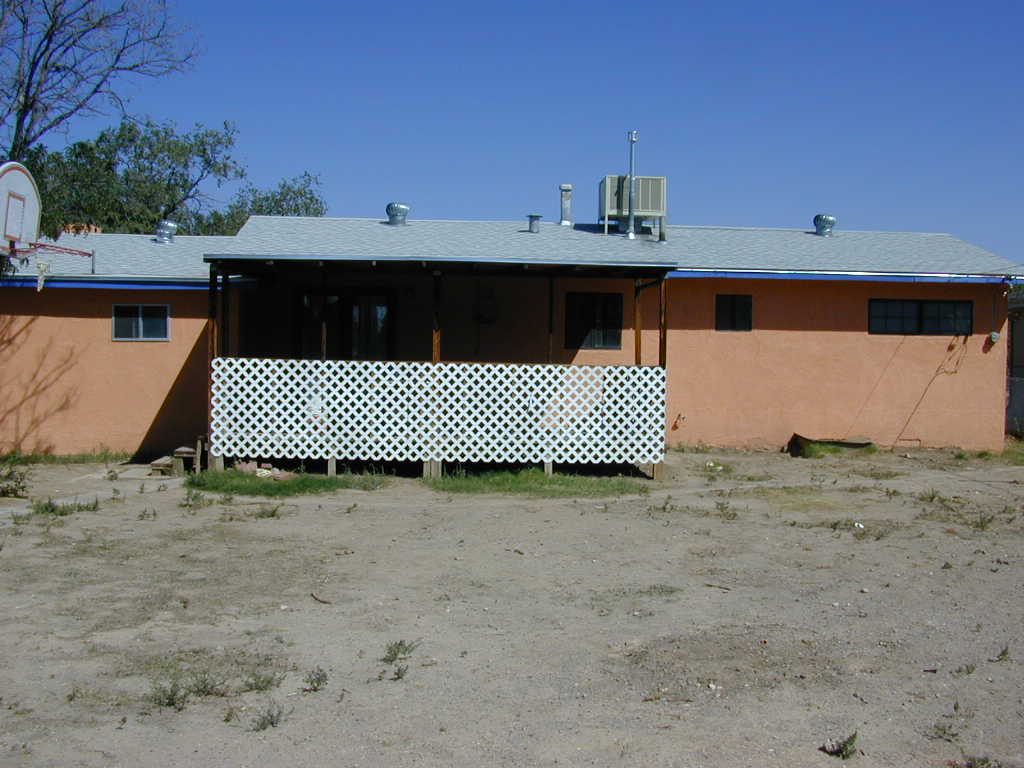
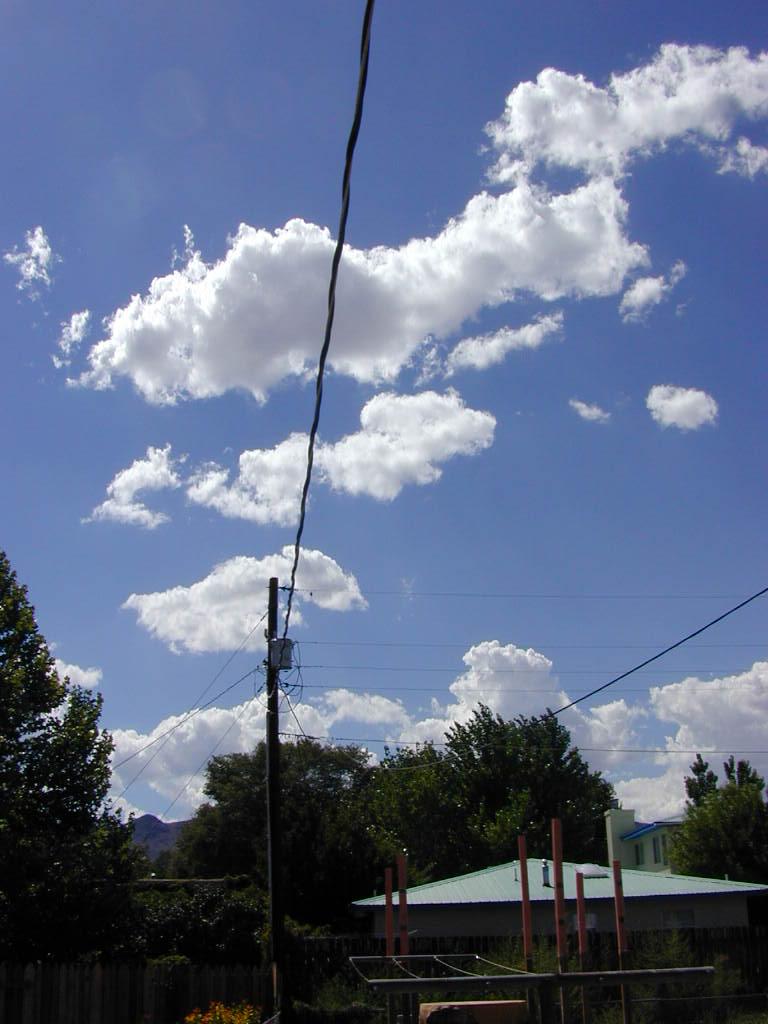
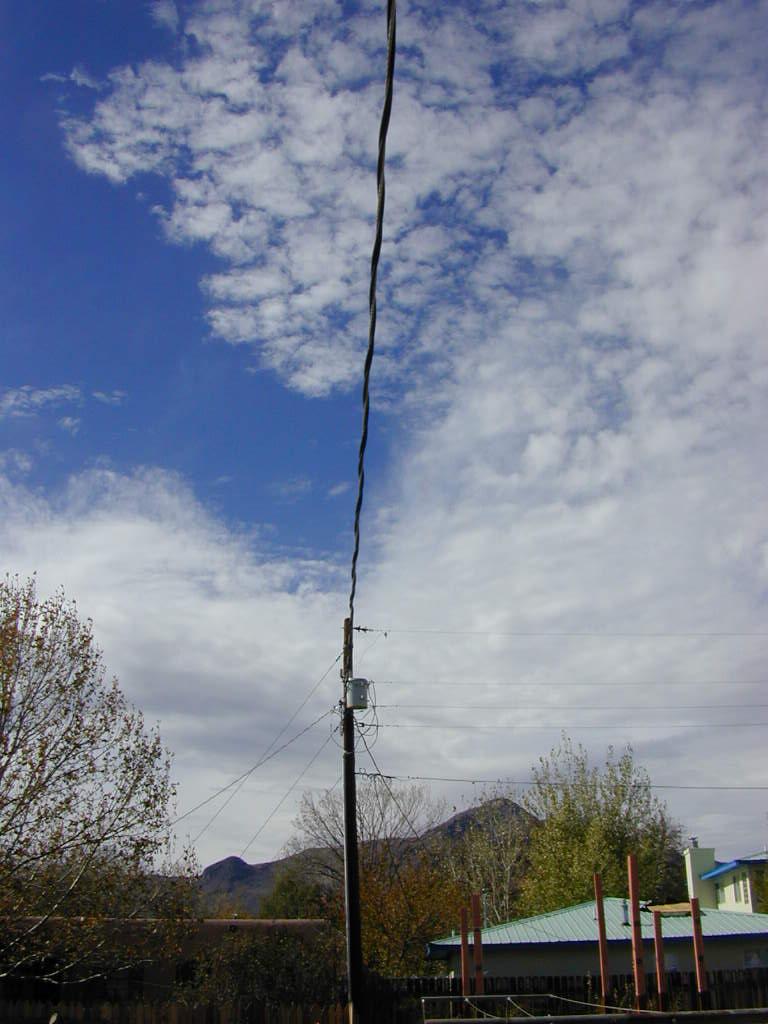
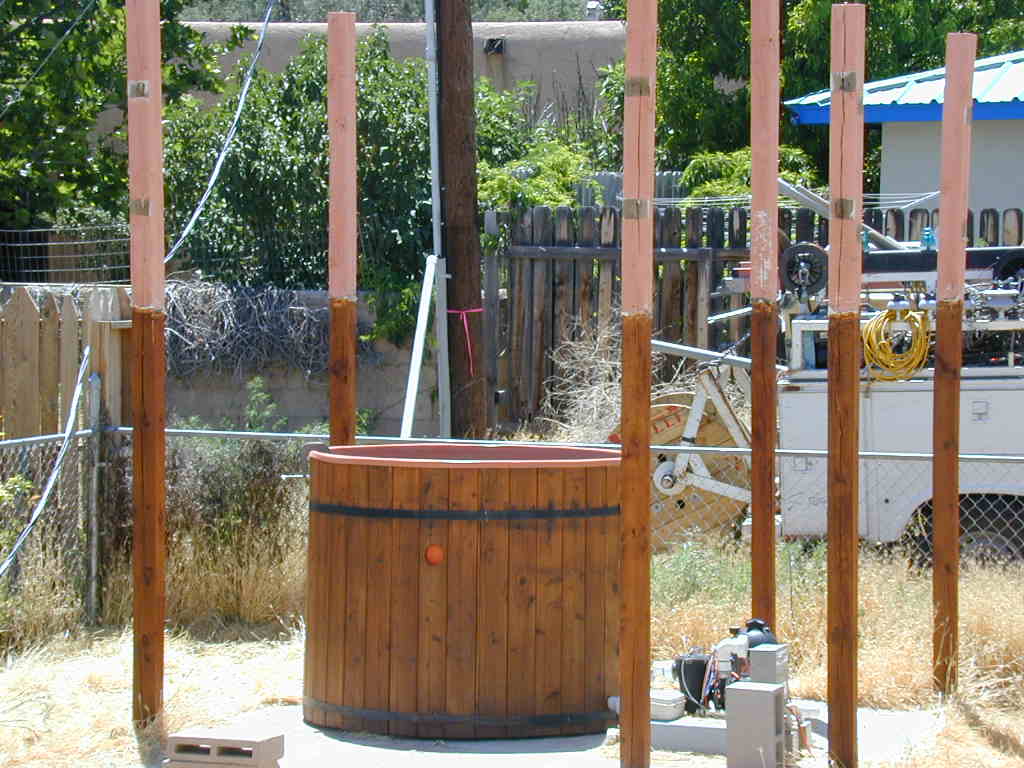
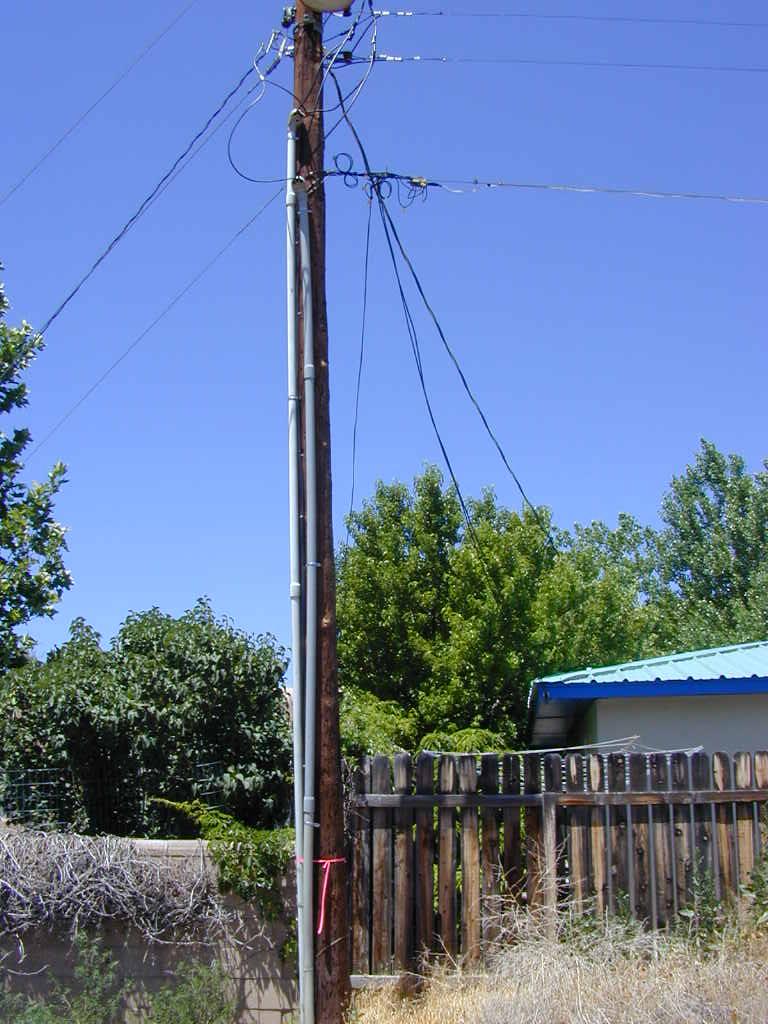
Of course no house is complete without broadband internet access. Fortunatly I had this crazy basketball hoop setup in the back yard anchored to 4 inch steel pipe. The pipe was anchored like three feet into the ground with concrete. I am not joking when I say this was the most structurally sound object on the property. It was a real bitch getting out of the ground. But once out it made a very nice pole for my wireless antenna.
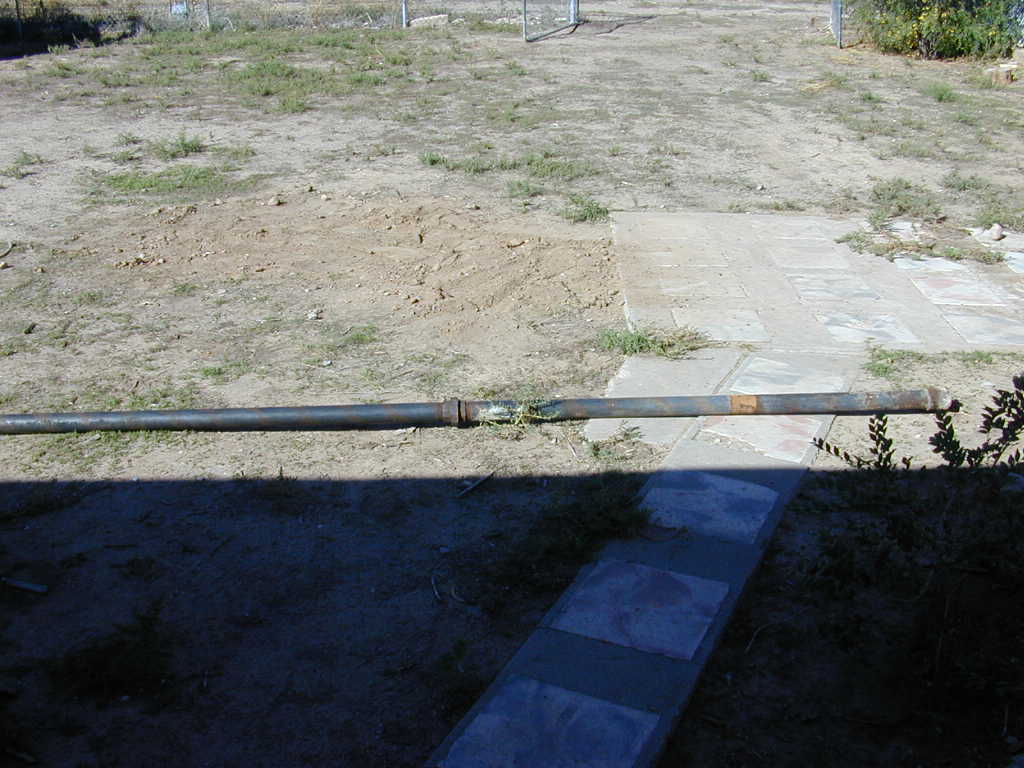 uprooted pipe |
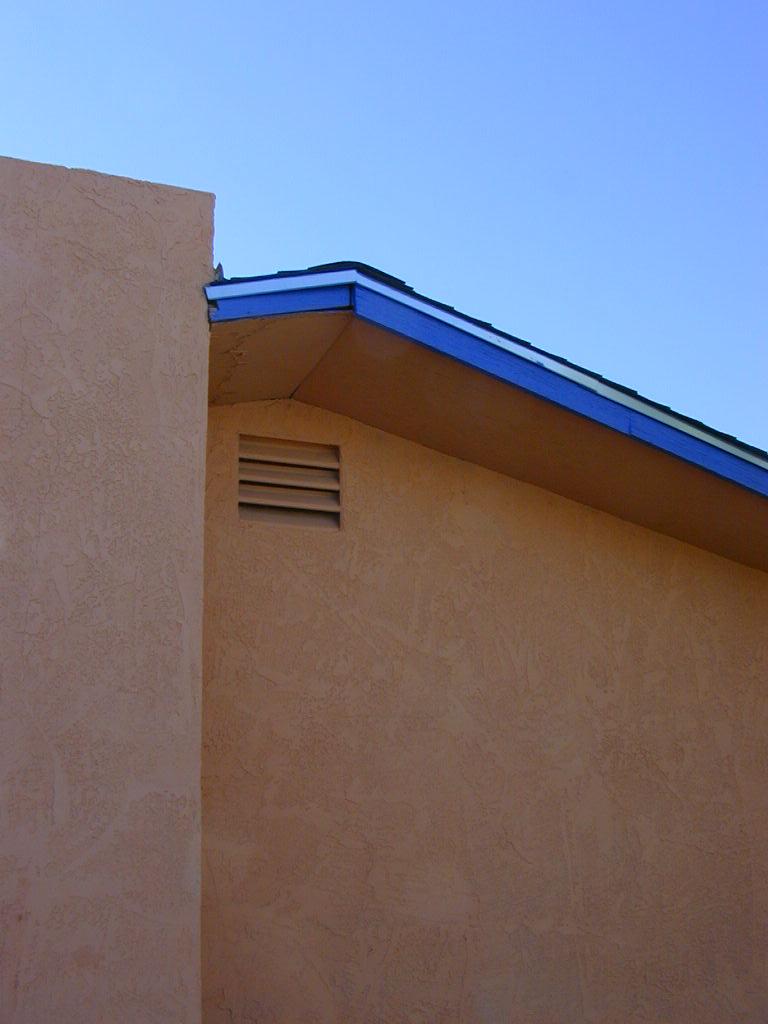 before |
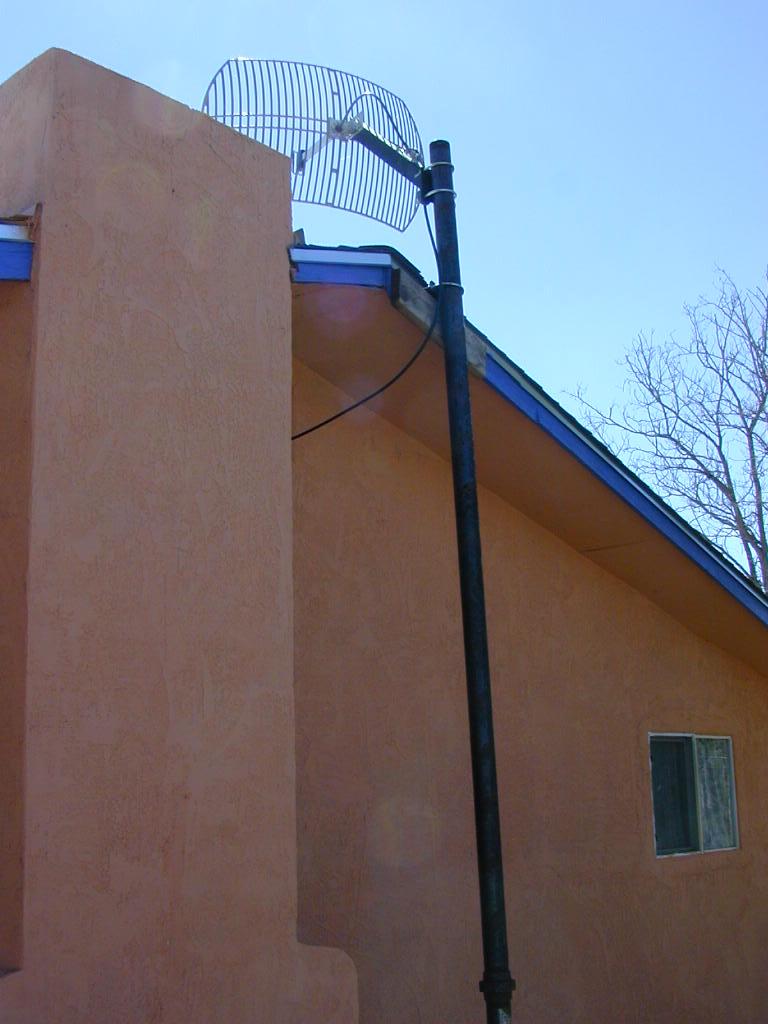 after |
My wireless provider discontinued their service. I have since taken down the antenna.
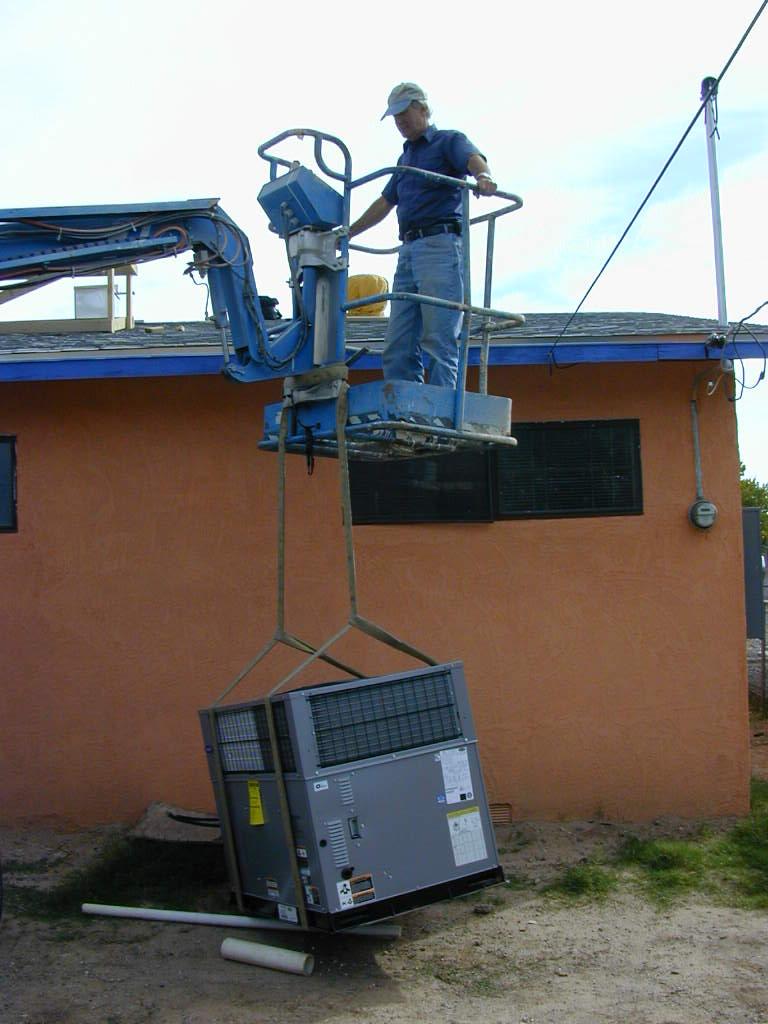
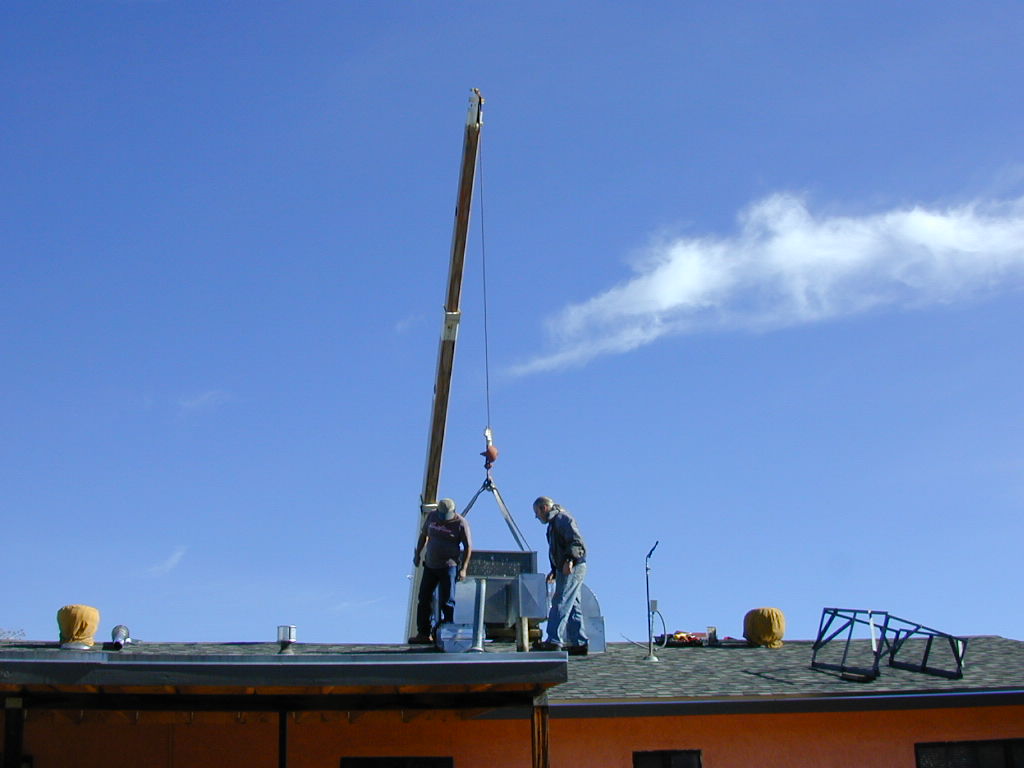
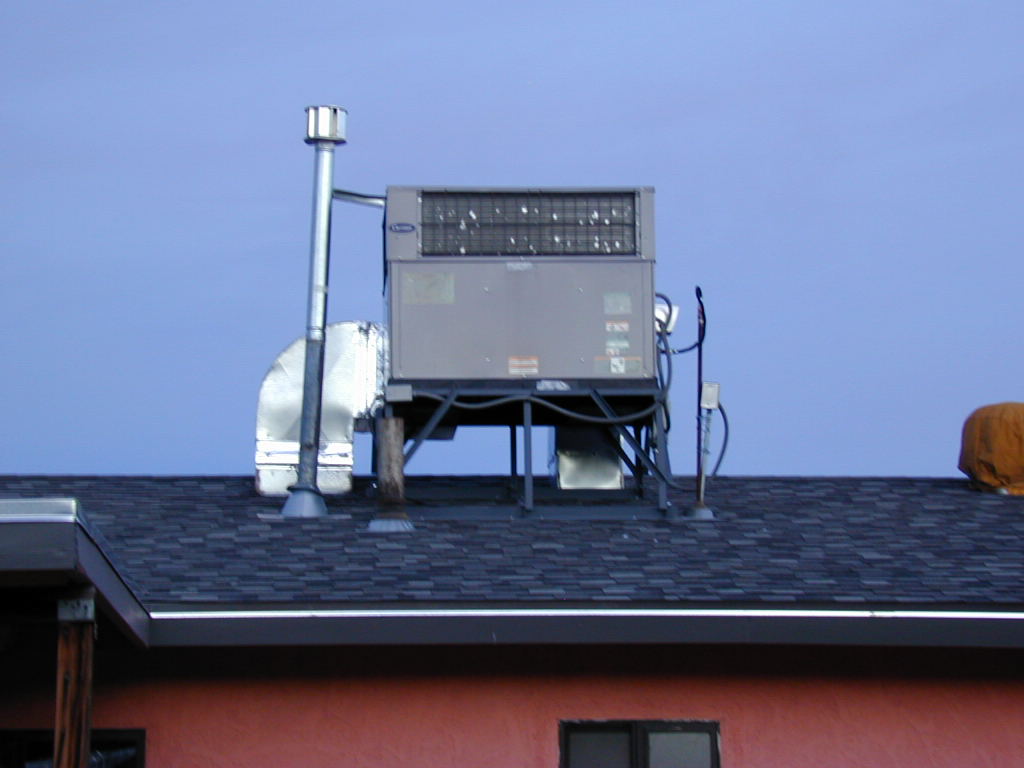
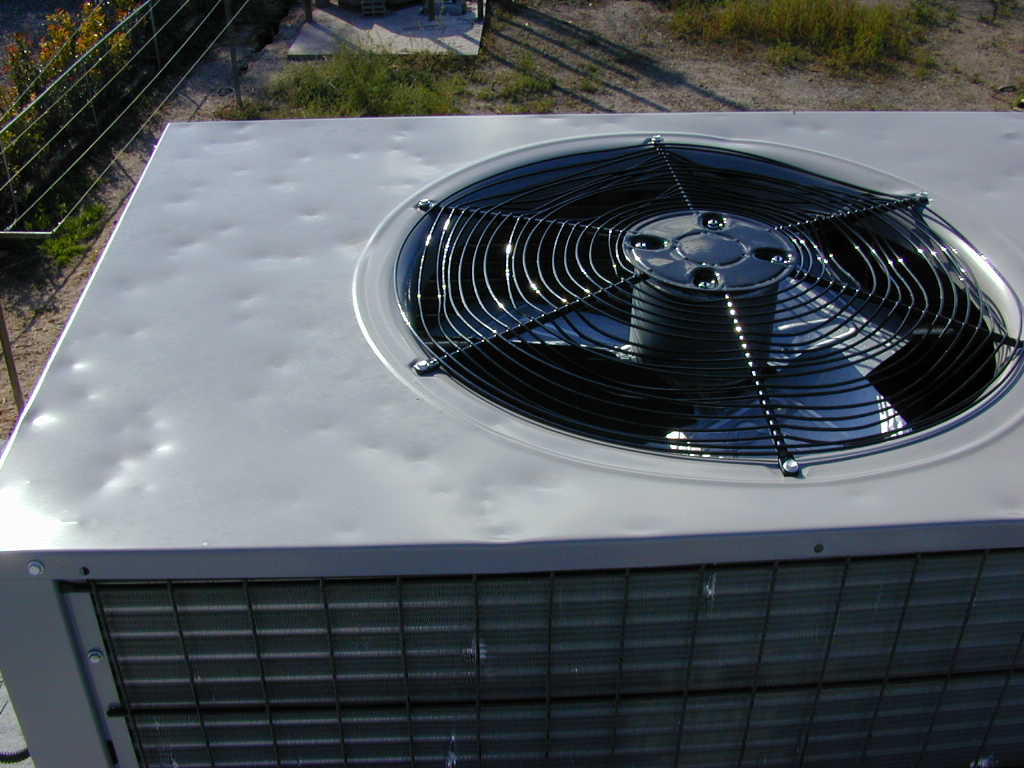
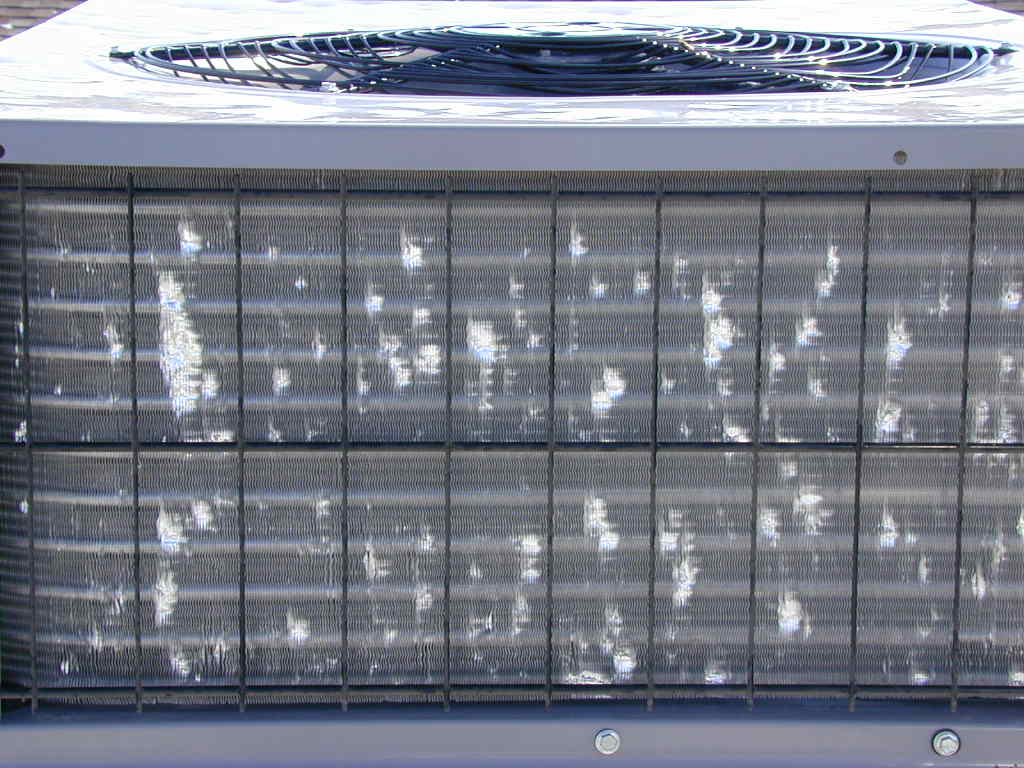
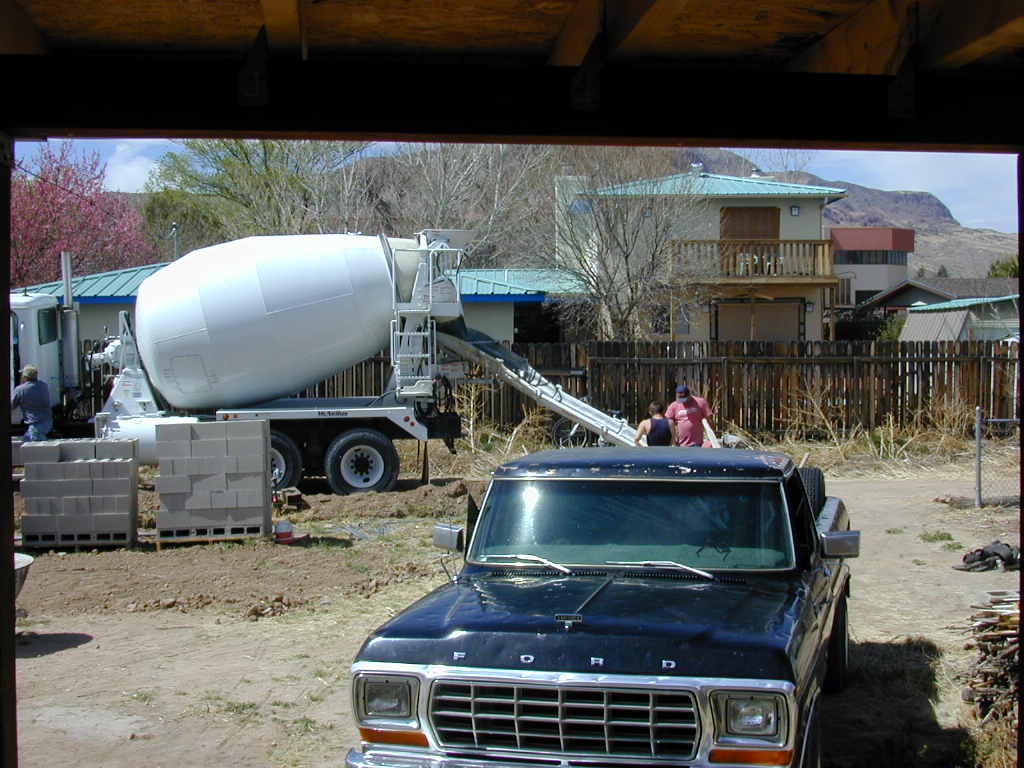
December 2003: The only heat the house came with was one small fireplace in the den and one "gravity fed" gas wall heater in the hallway. That's it! These people must have been from Alaska or something. The house got down right frigid. So, the first major project was a heater. I decided to go with a roof mounted dual purpose (gas forced air and refrigerated air) unit. Before I could do that, I had to upgrade the electrical service to the house.
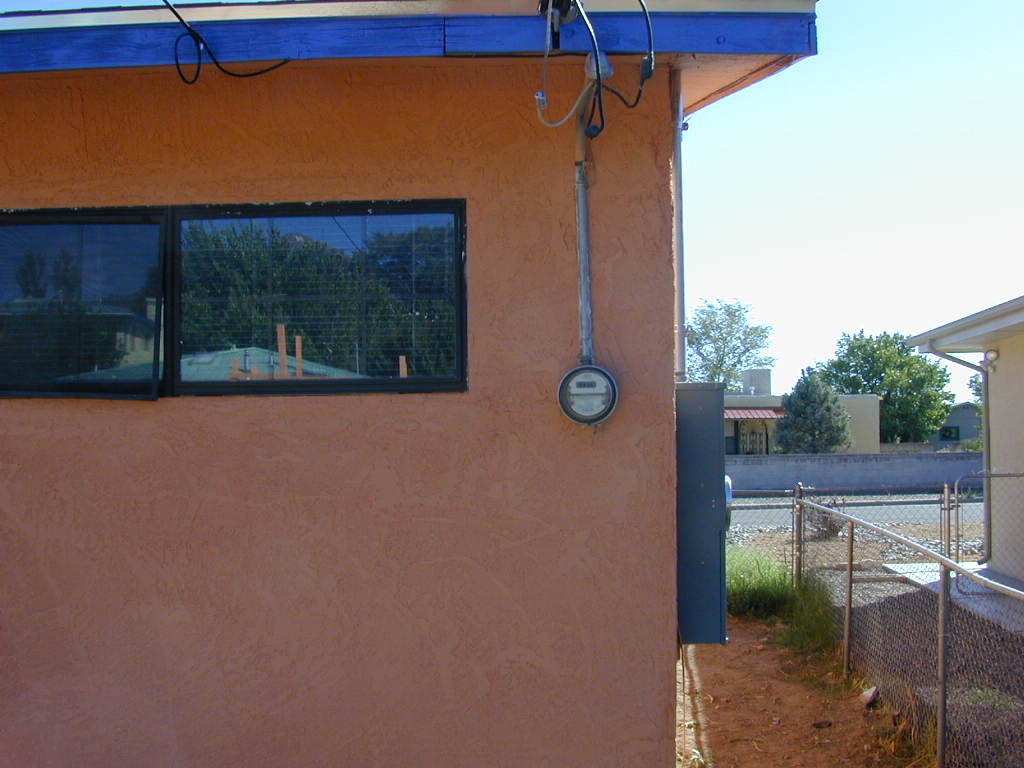 Old meter |
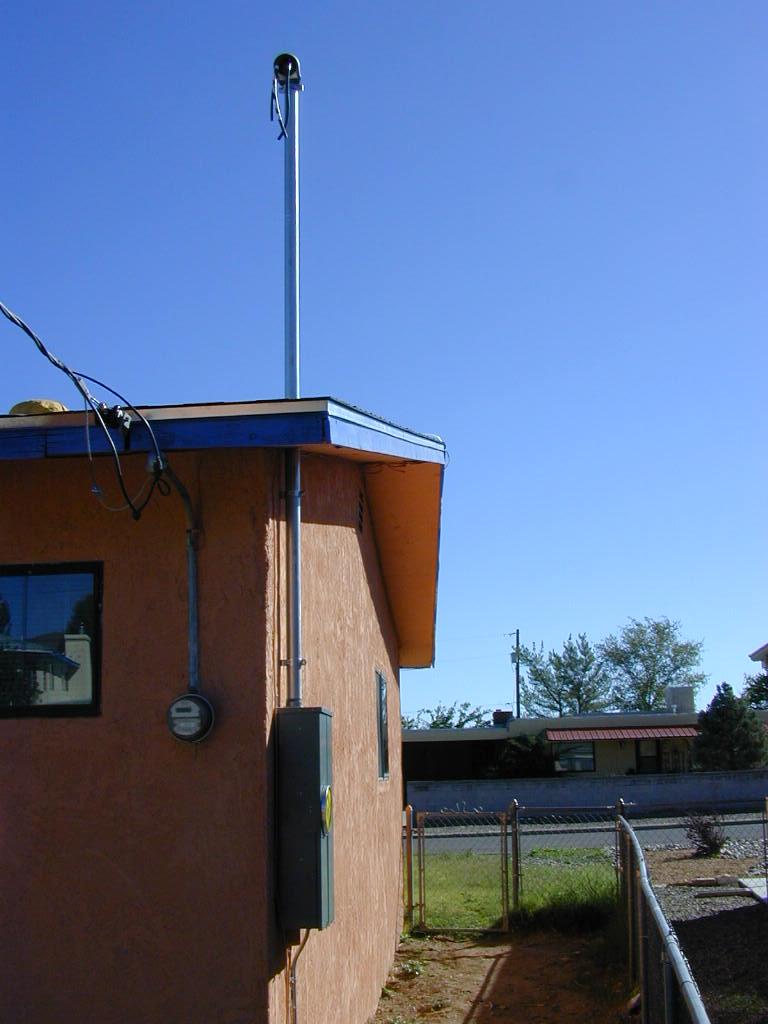 New Box |
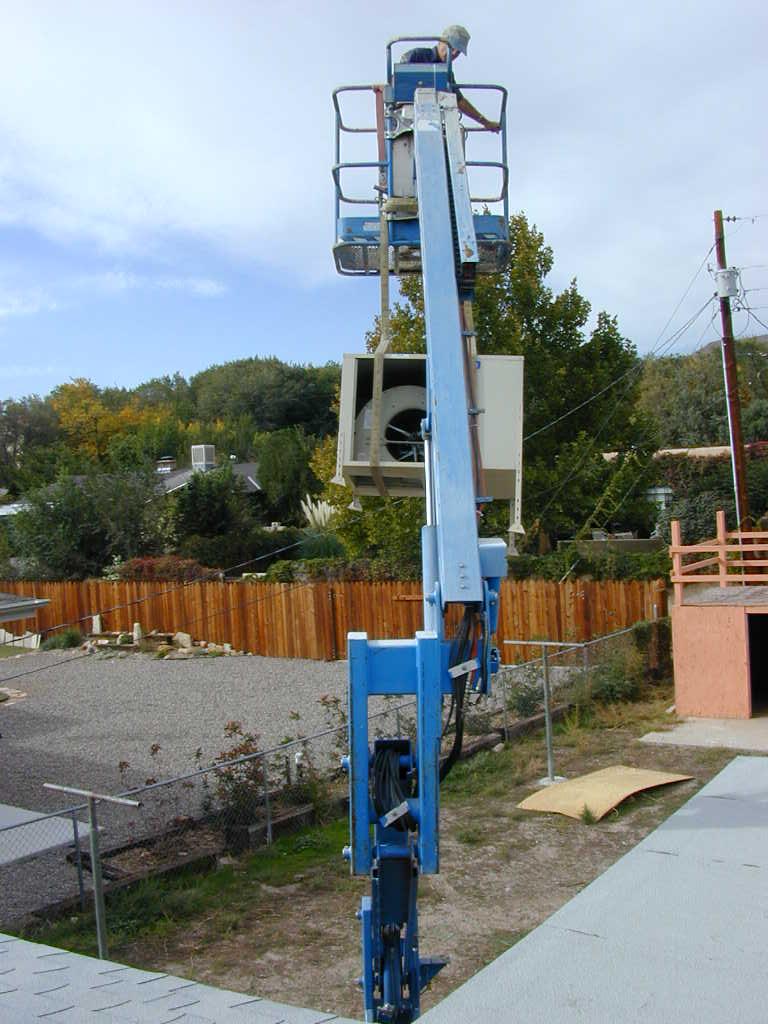
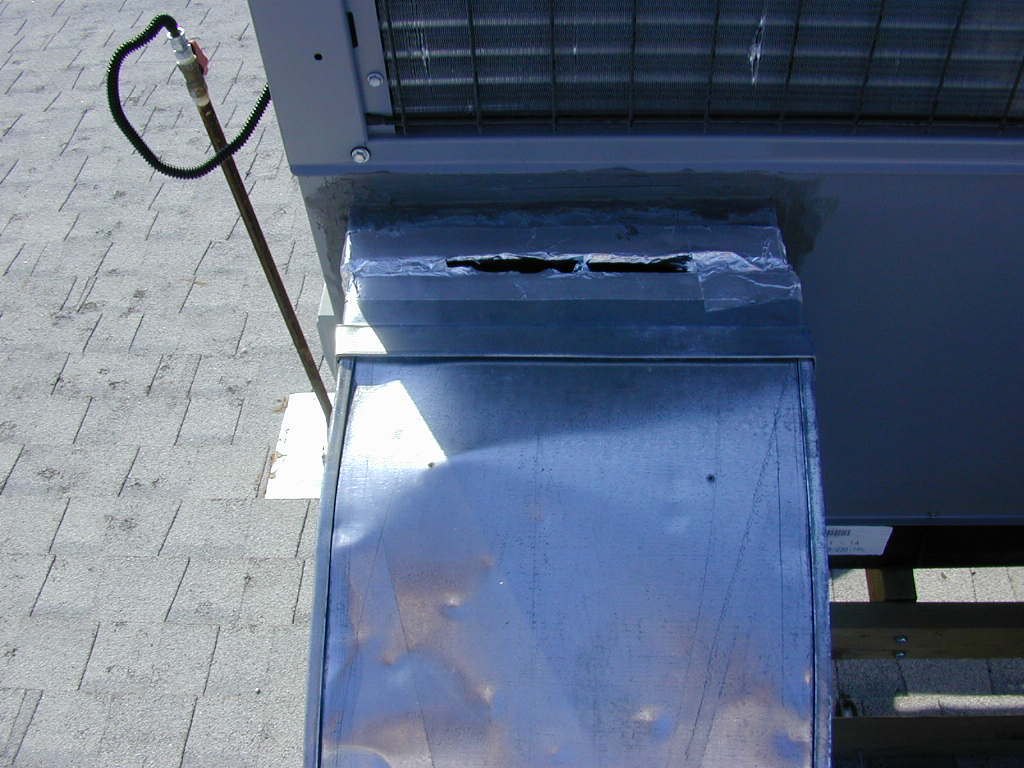
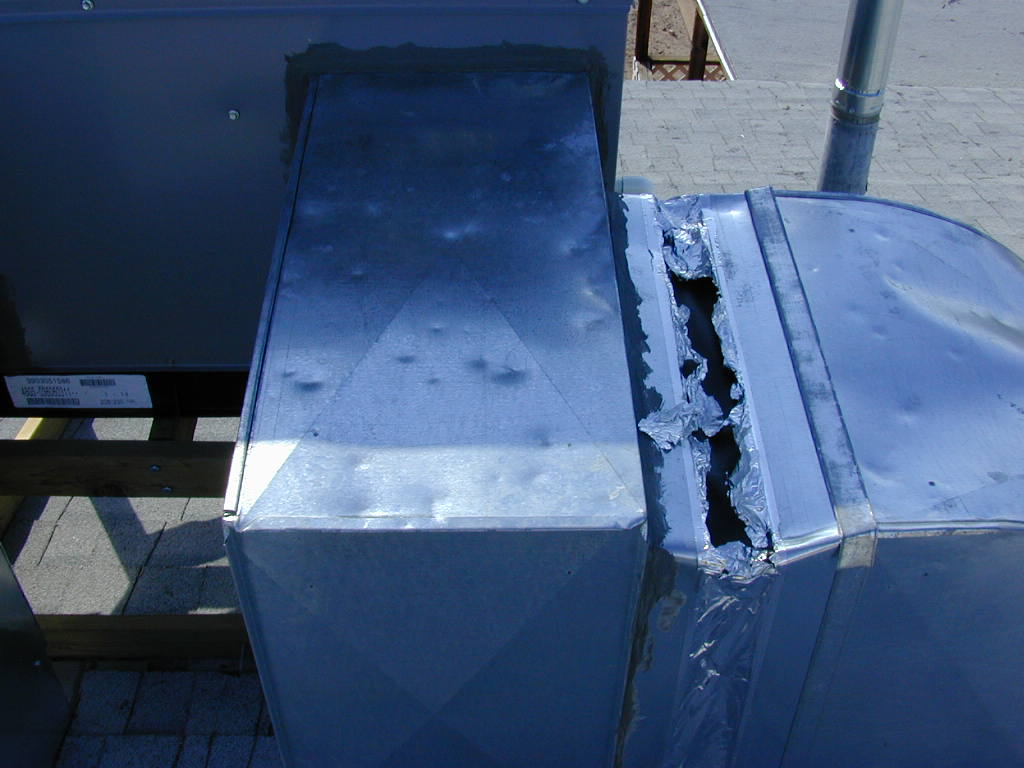
October 2003: The house came with a rather nice Mastercool II swamp cooler, but it had to go to make way for the new unit. Once it was installed I spent the next month running ductwork throughout the house.
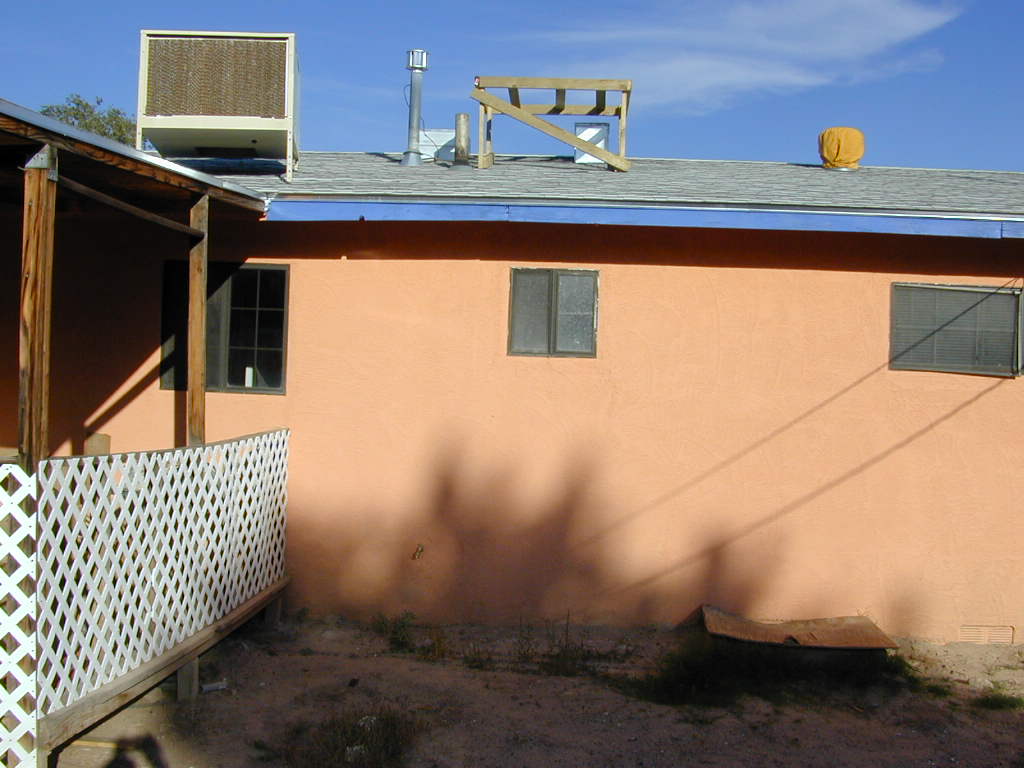 Mastercool II |
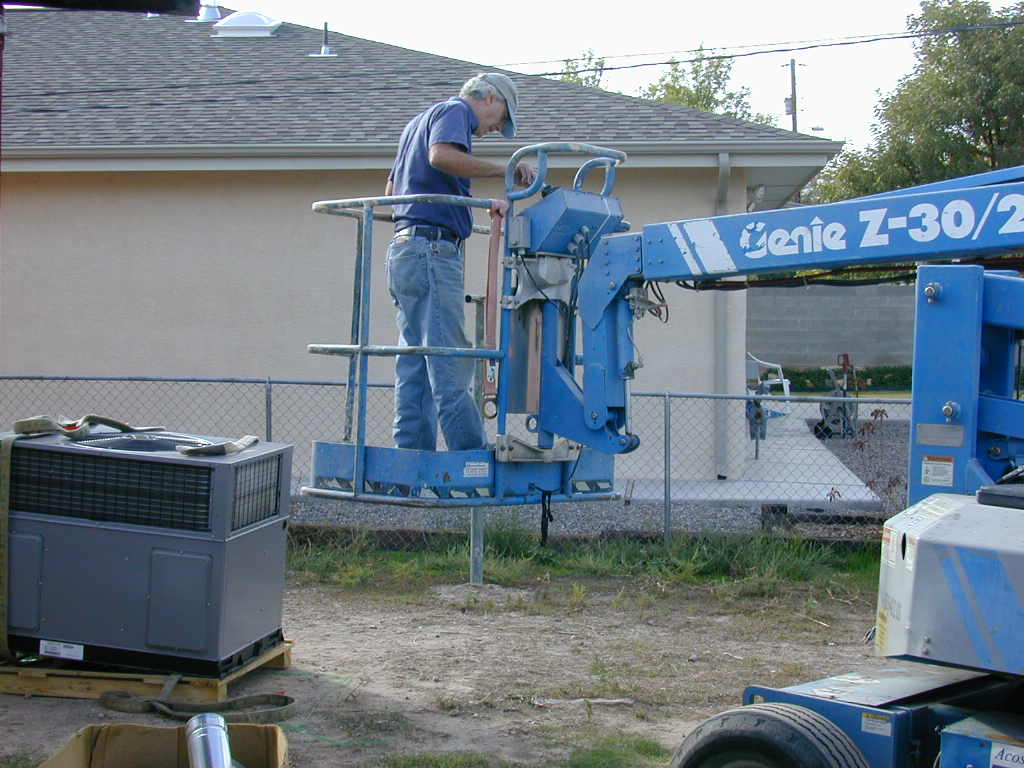
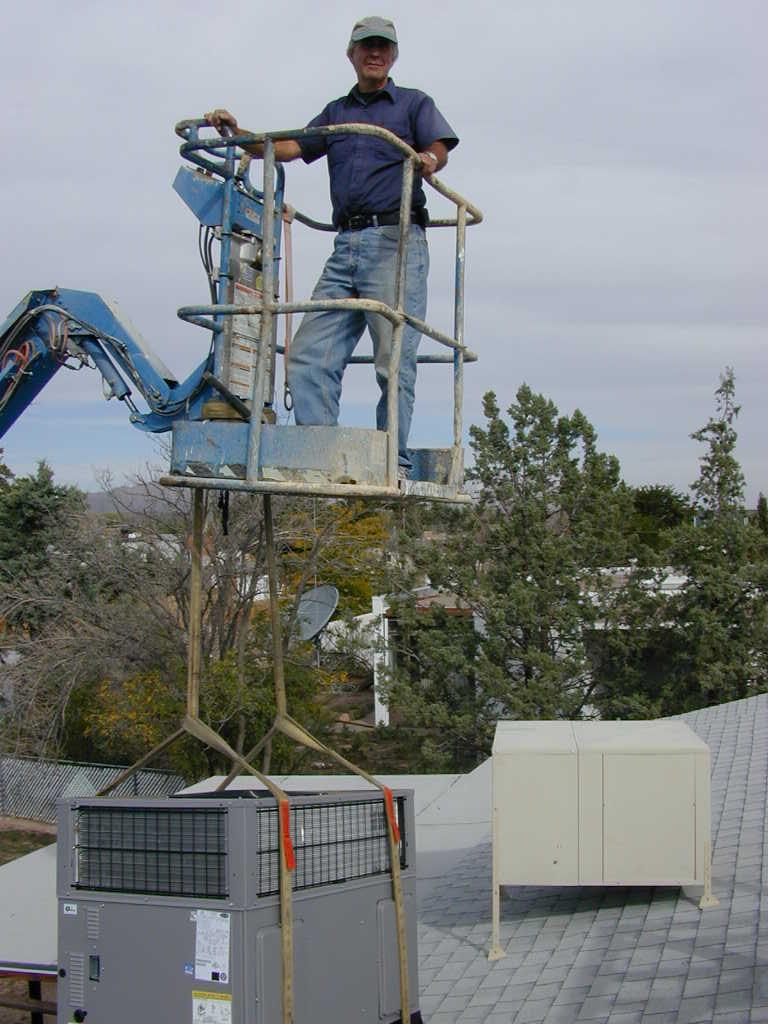
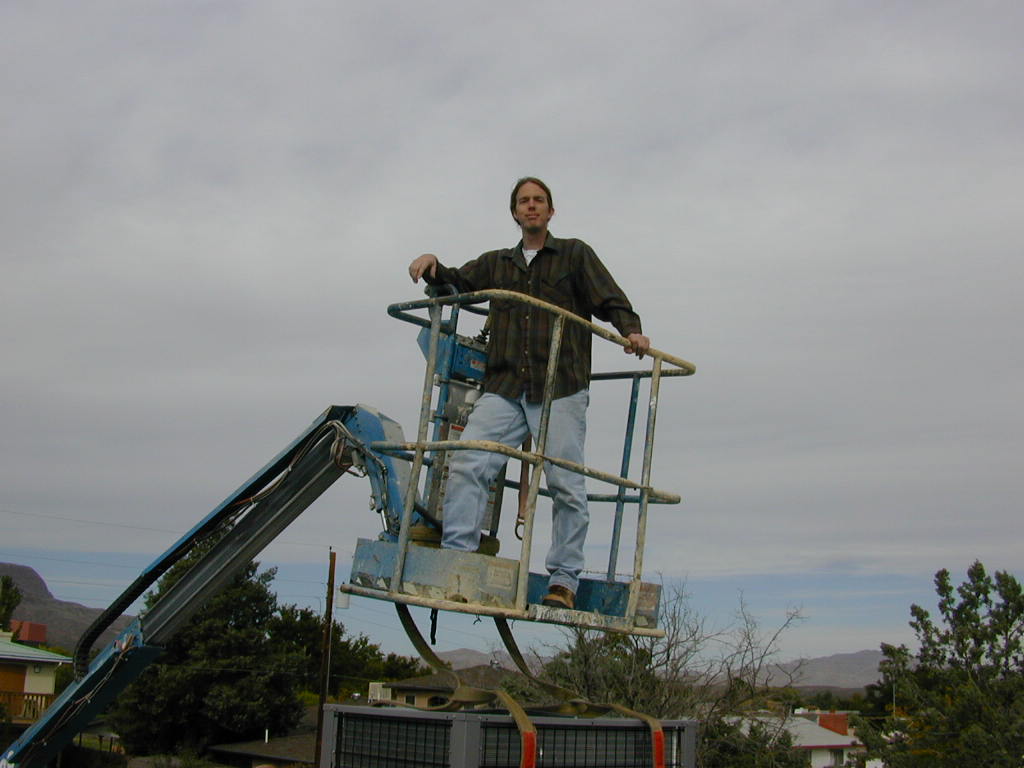
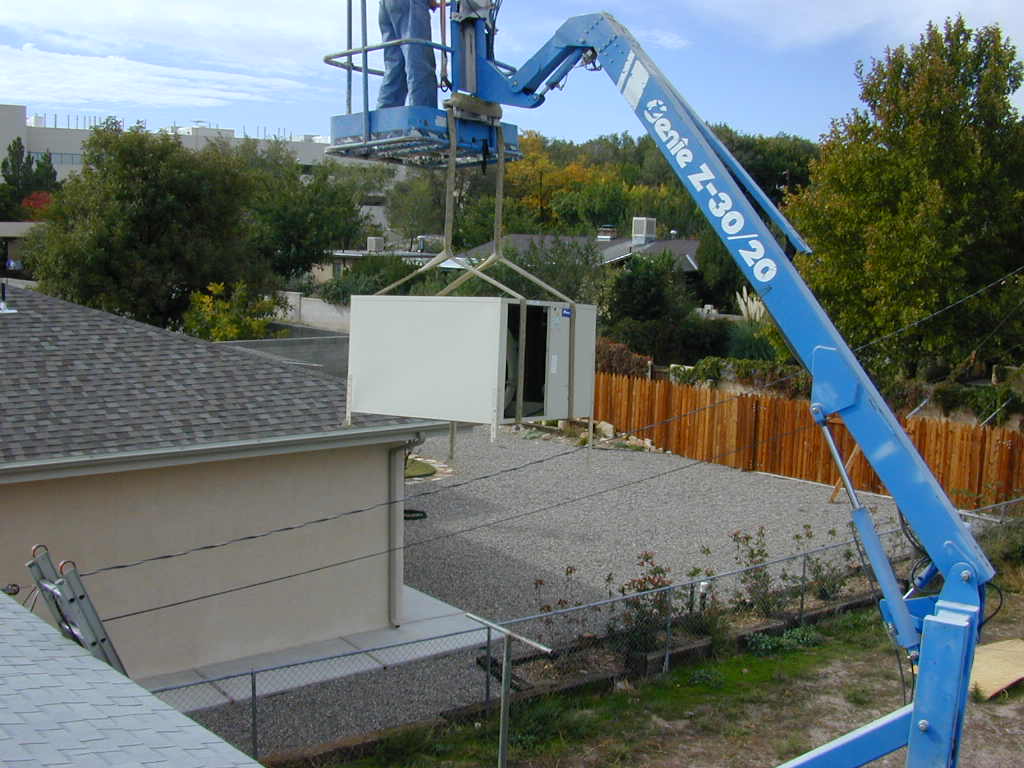
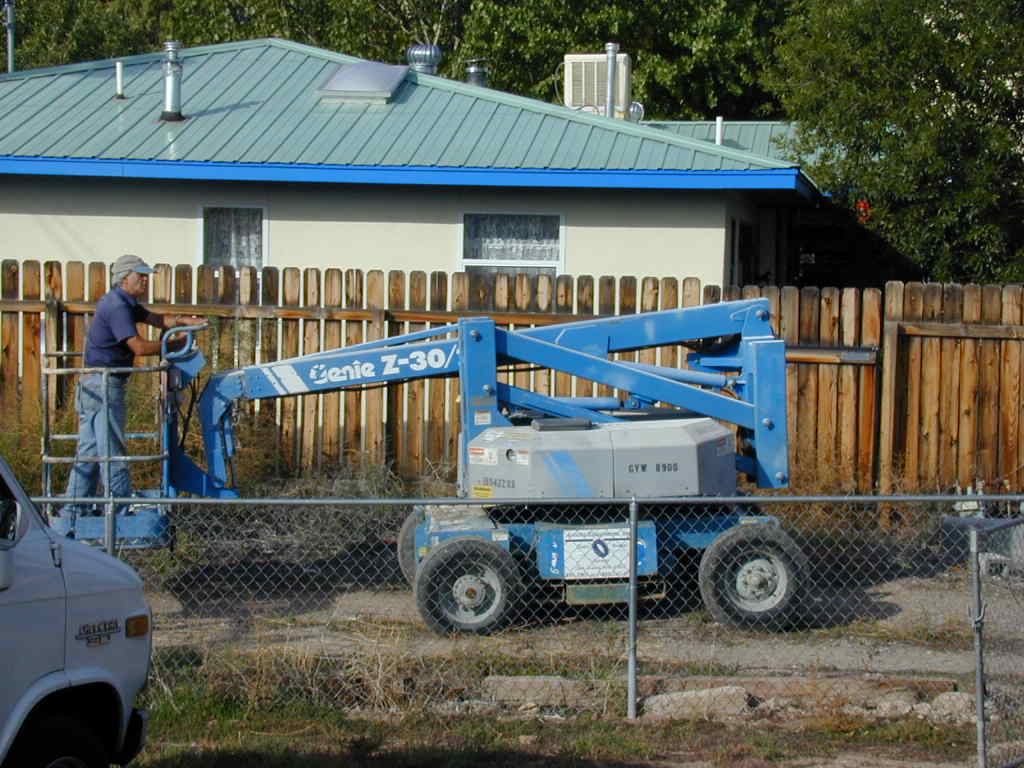 Rented a crane |
 |
 |
 |
 |
 Remove the old unit |
 |
 Wheeeee! |
 |
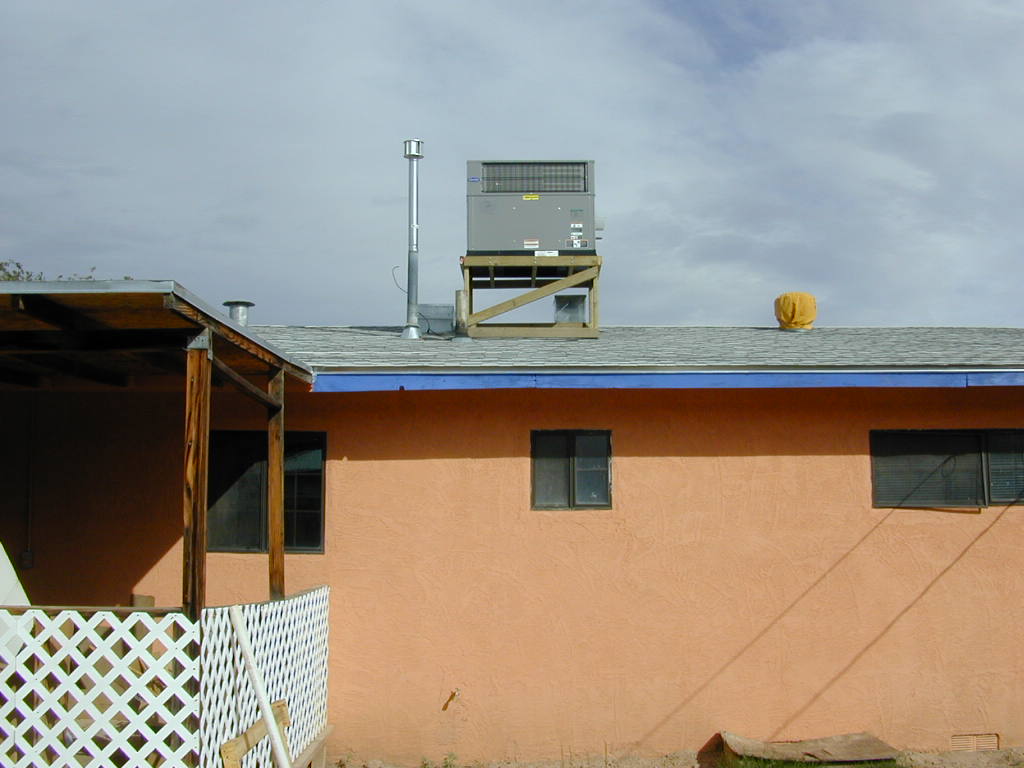 Finished |
December, 2007: I never really trusted the wooden frame that was built for my AC unit even after I added stronger lag screws. So, I had a local HVAC guy install a proper metal frame.
 Move the unit |
 New metal stand |
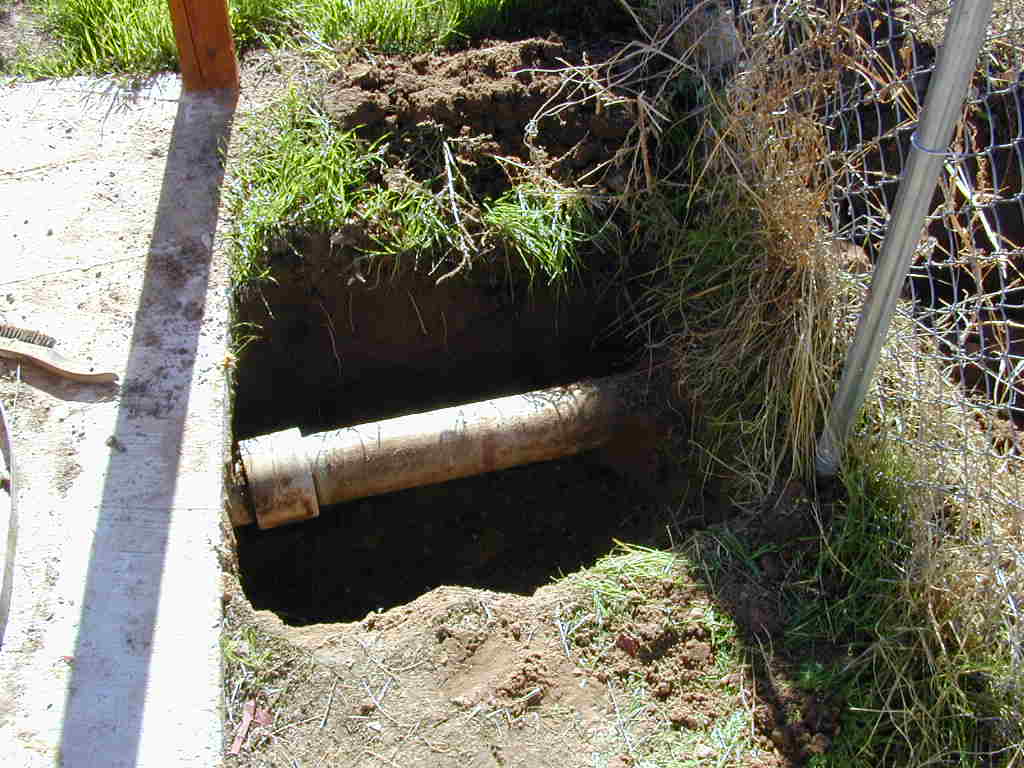
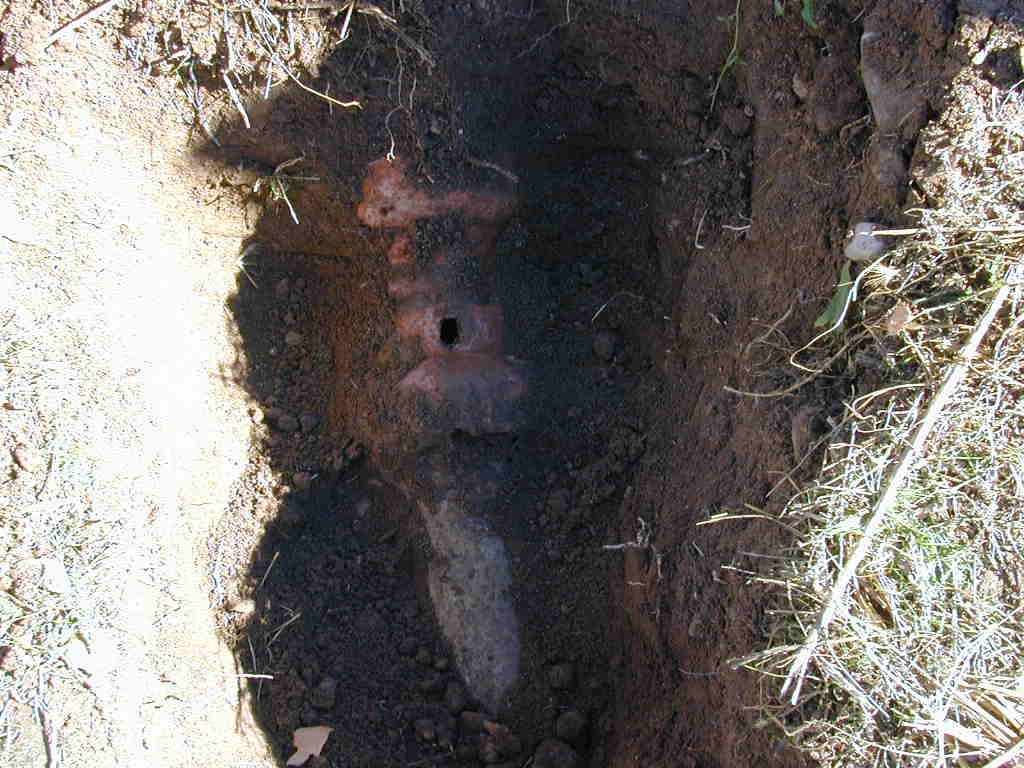
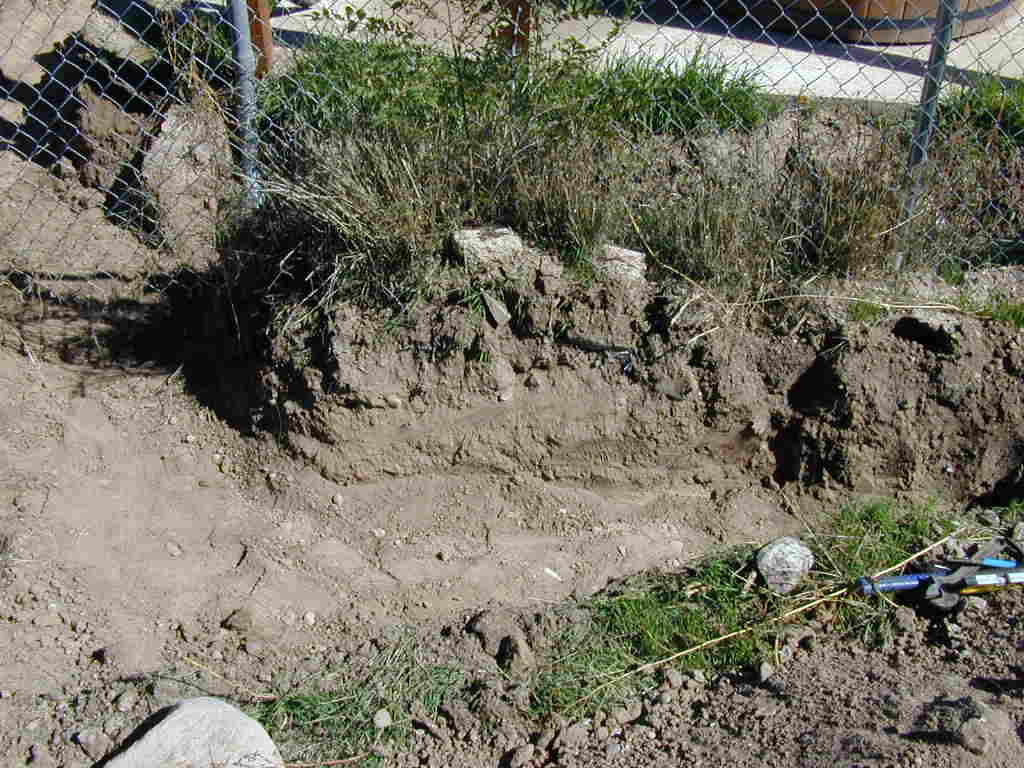
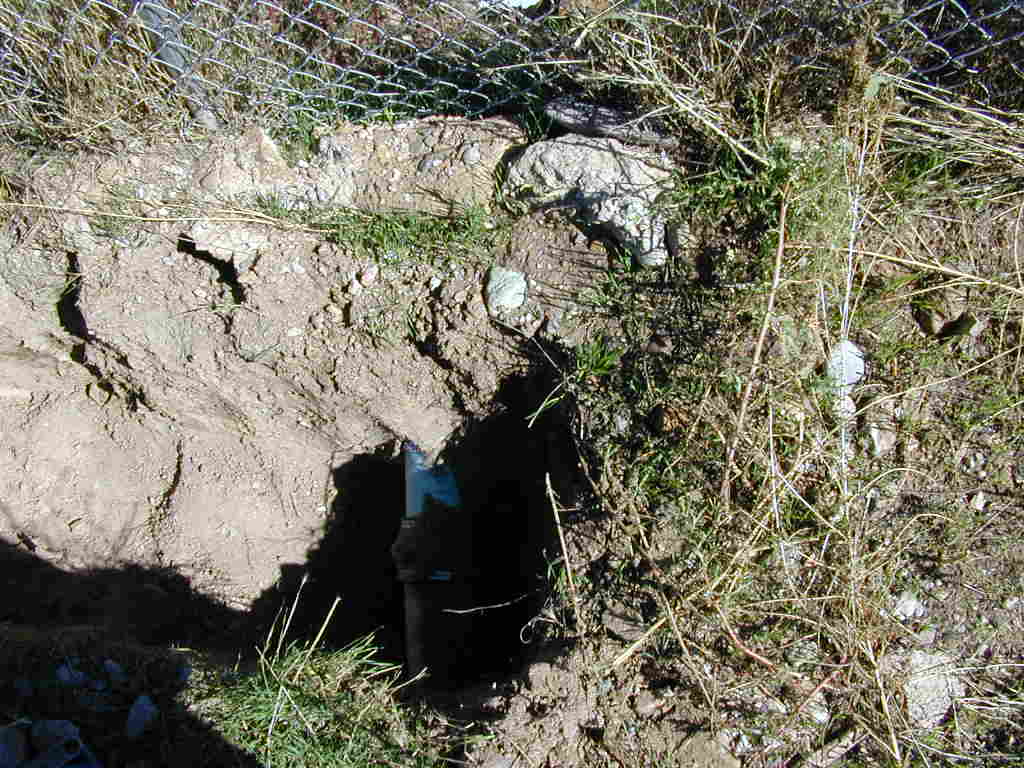
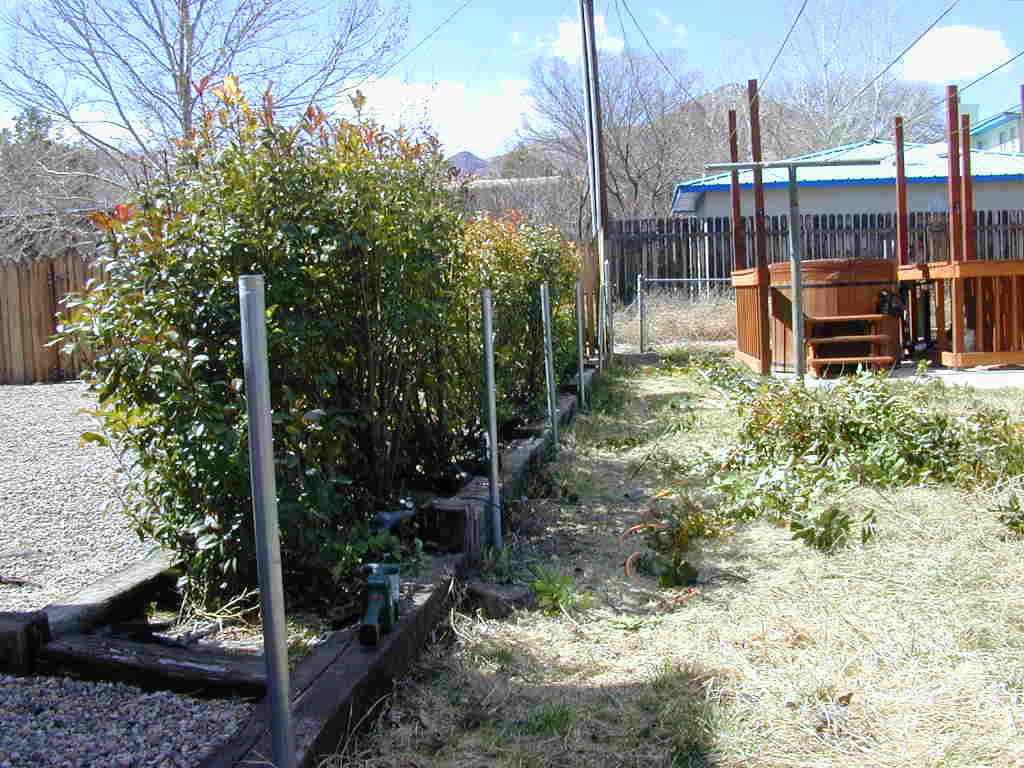
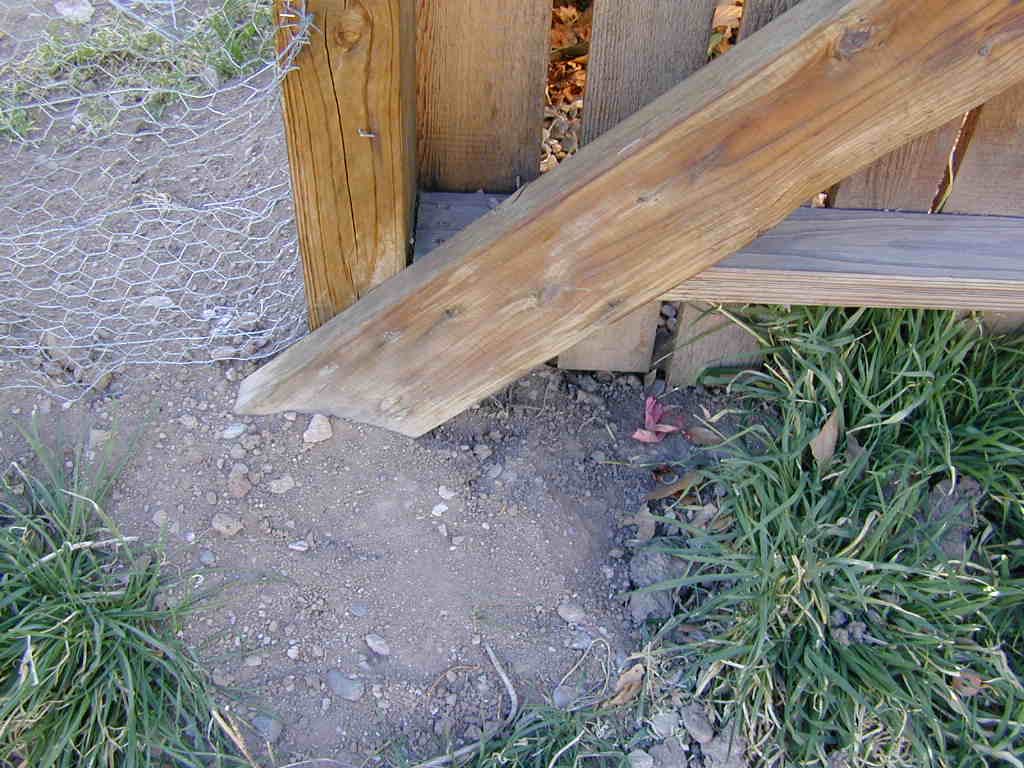
Ever wonder why one part of your yard is a lot greener then the rest; especially when the rest is a blasted wasteland? Yup, you guessed it; Sewer leak.
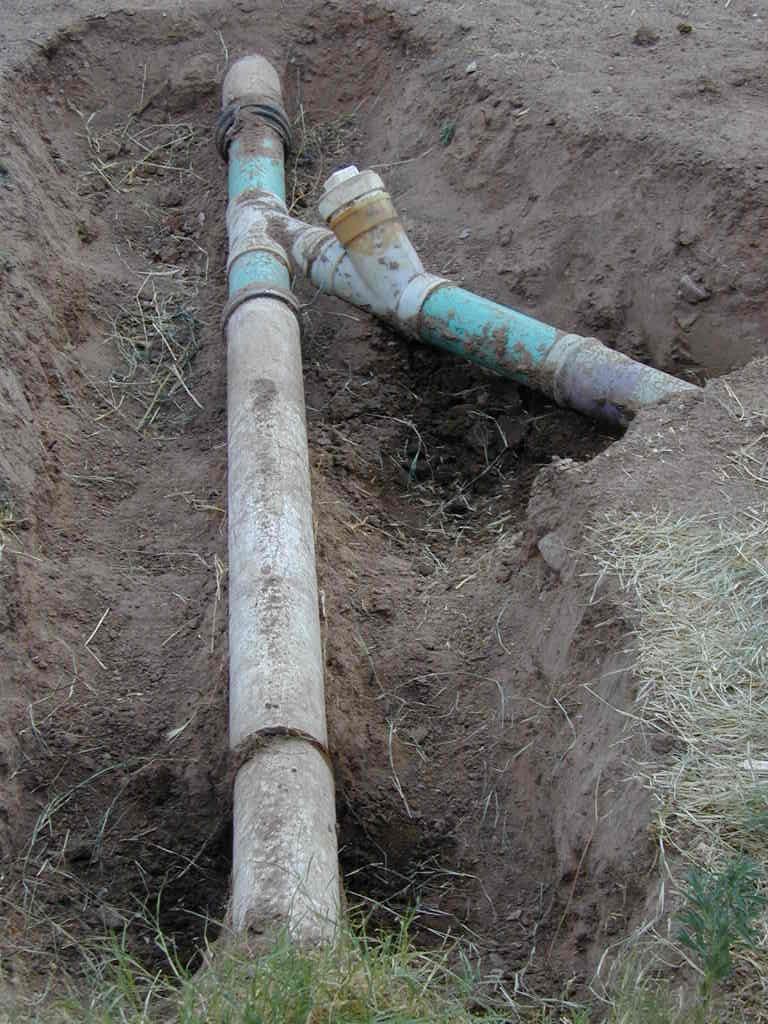 Broken clay/PVC pipe |
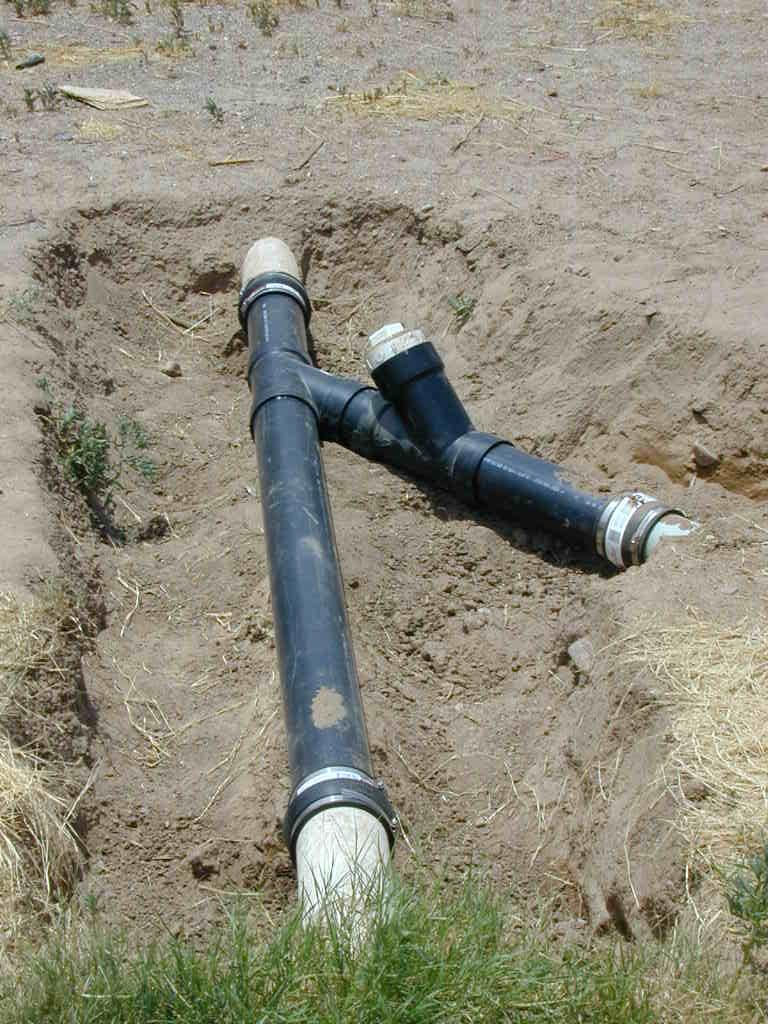 New ABS pipe |
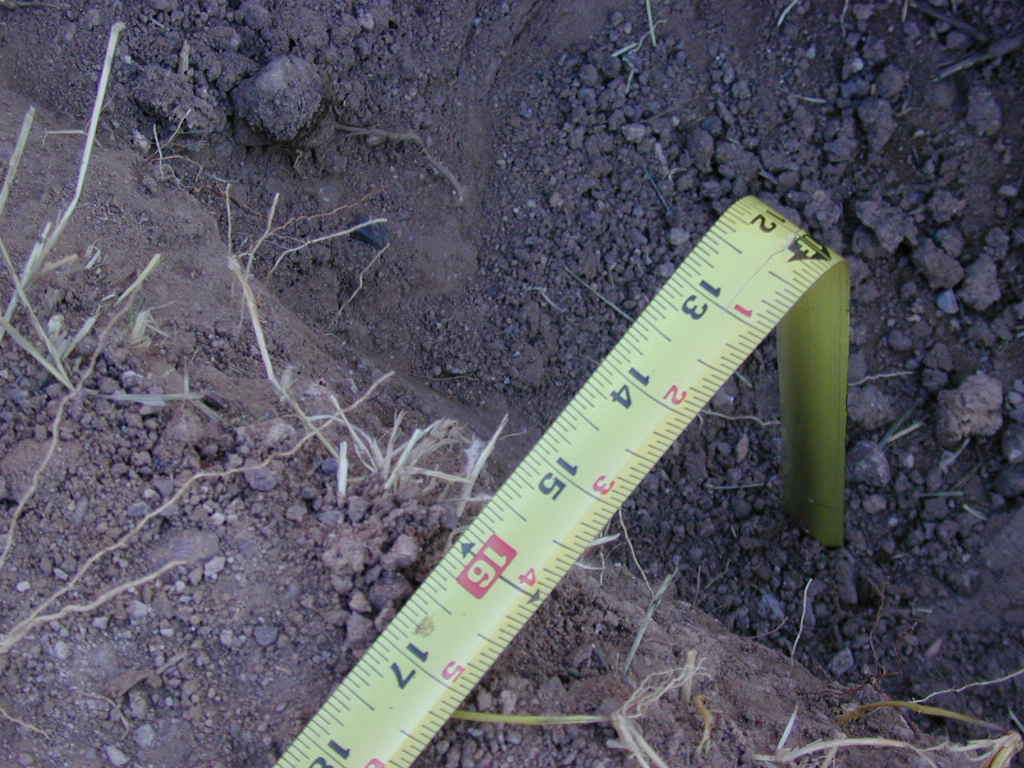
 at propery line |
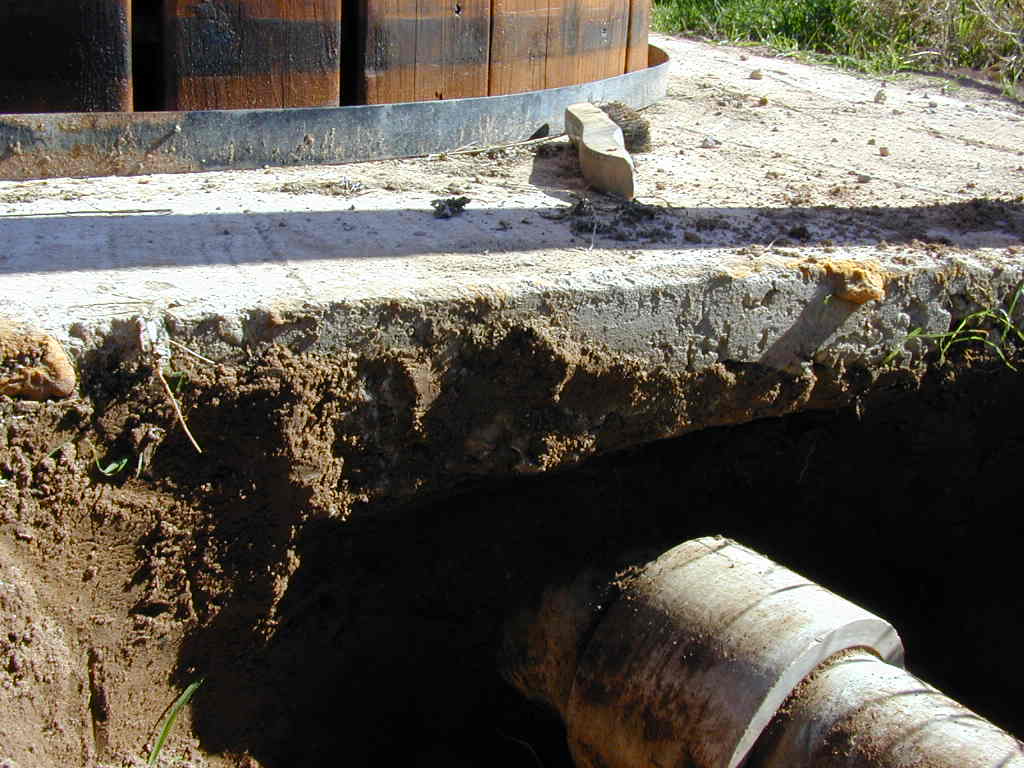 only 3 inches underground |
 A hole the city fixed |
(October 2005)
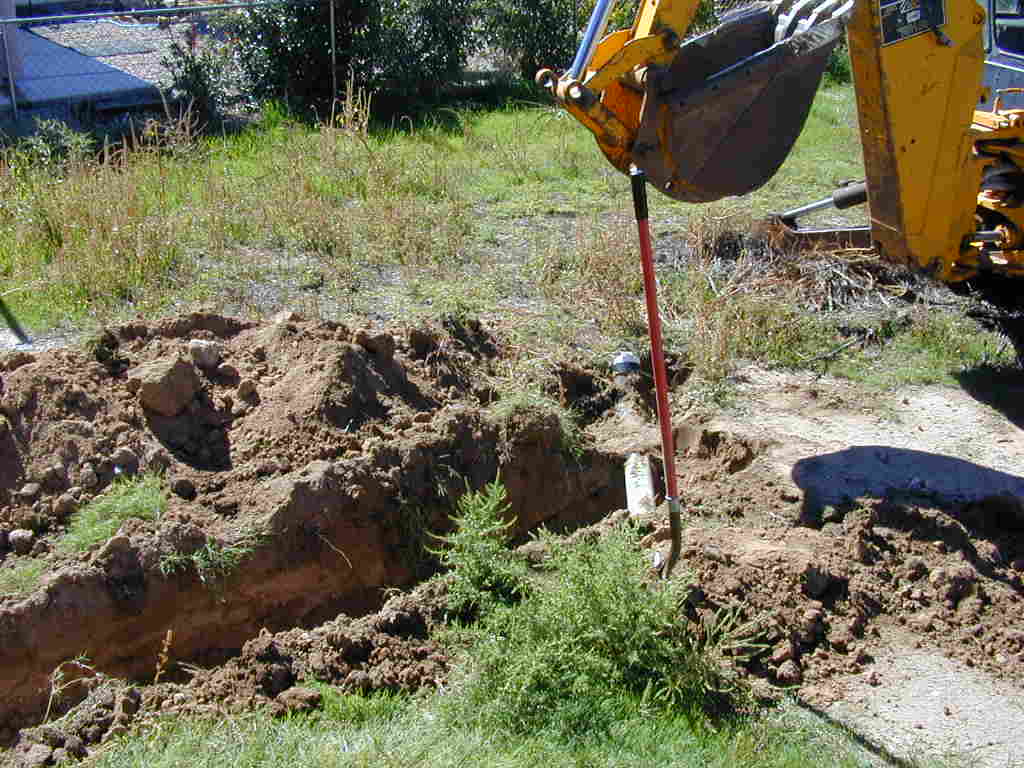
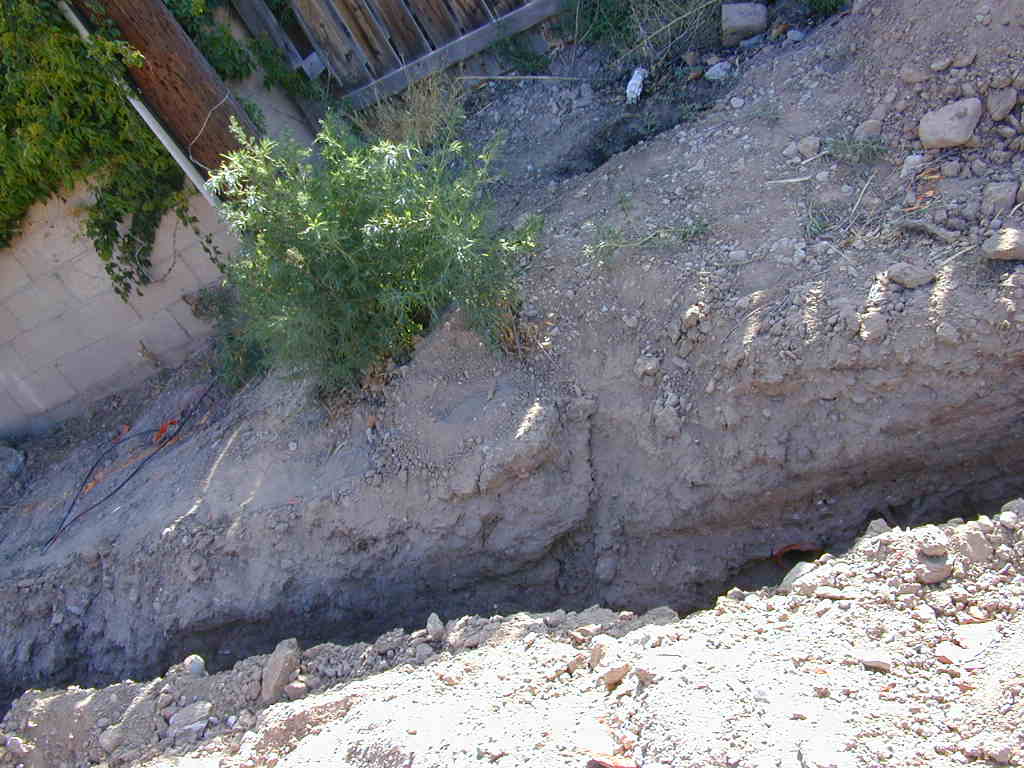
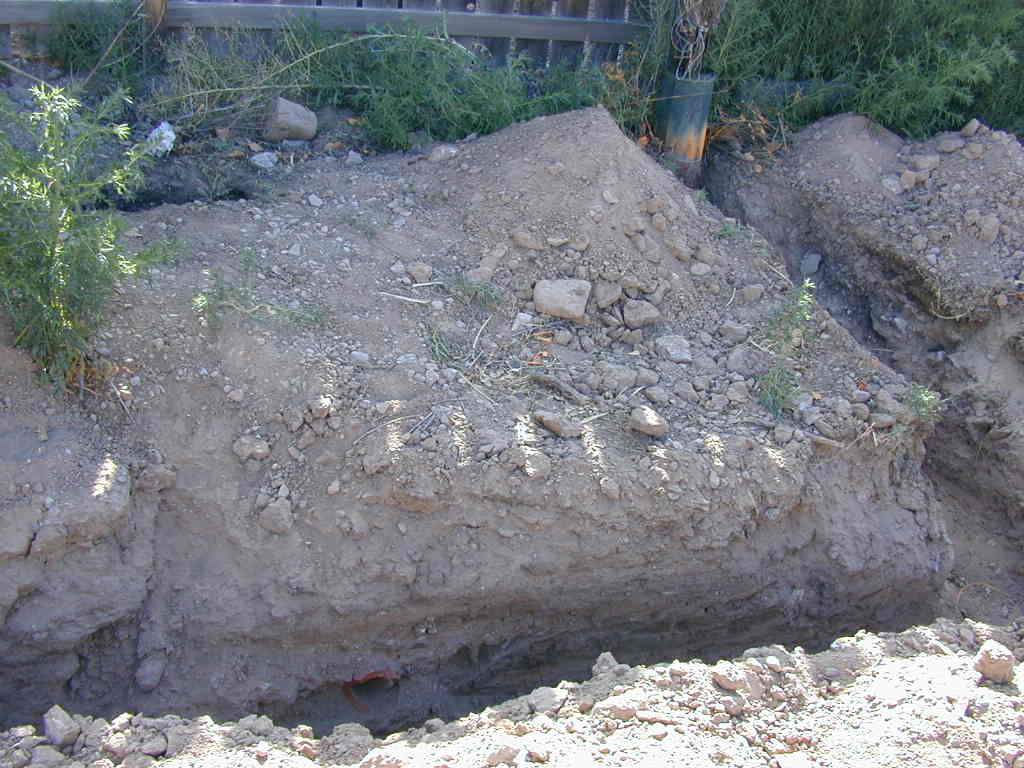
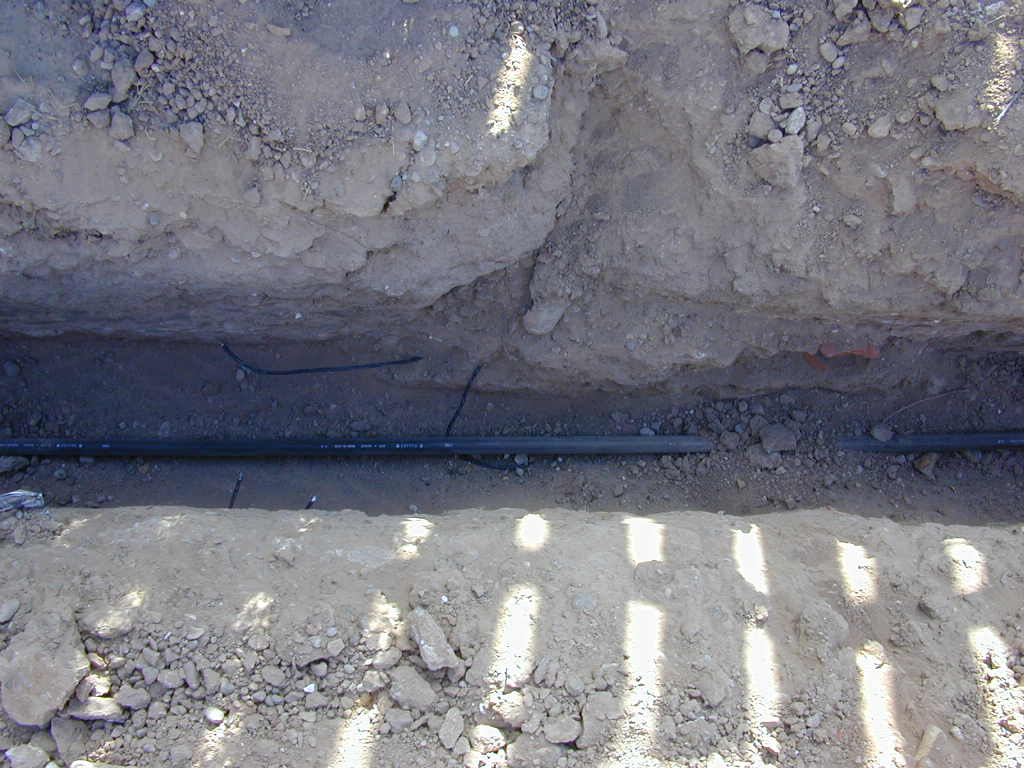
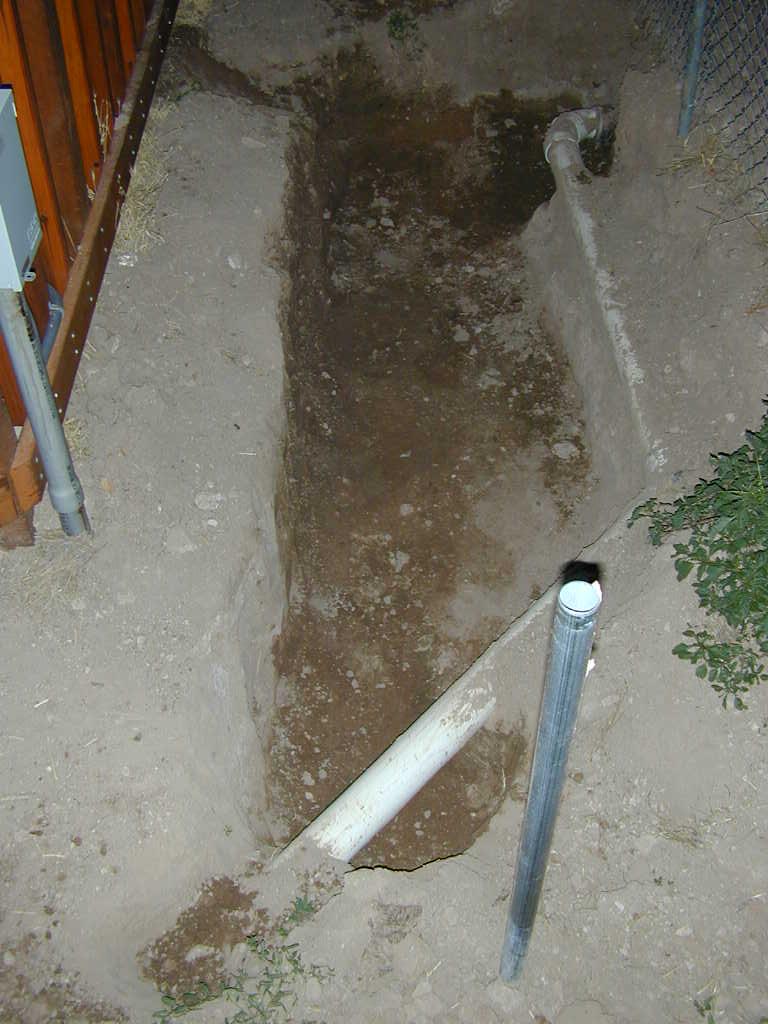
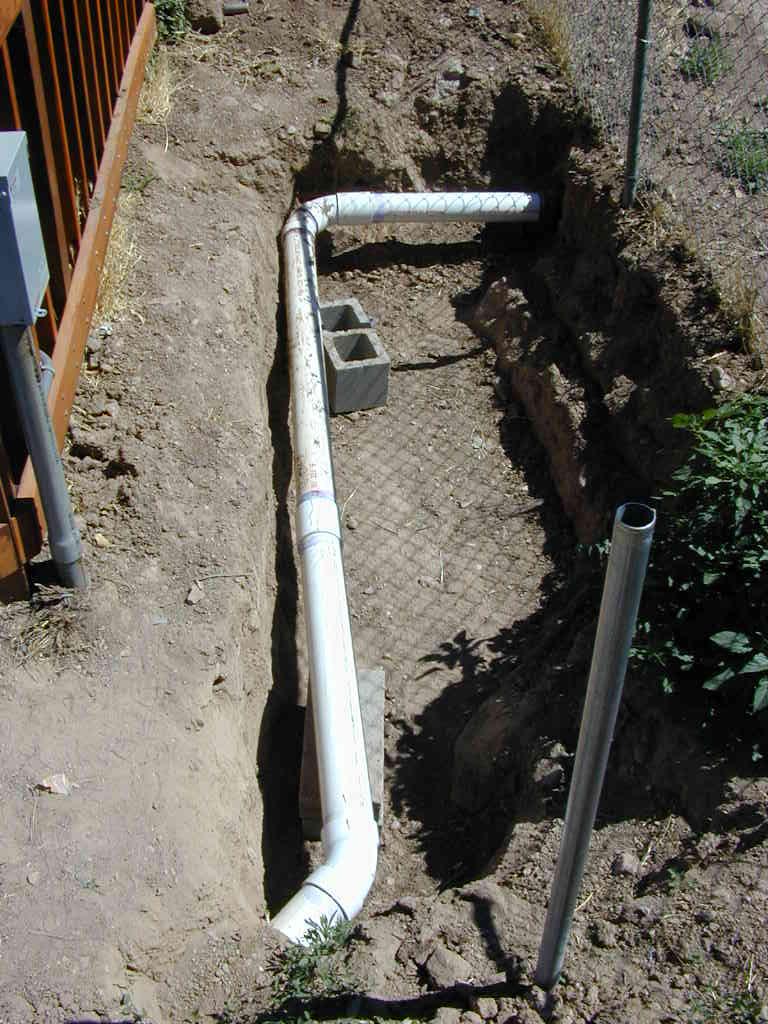
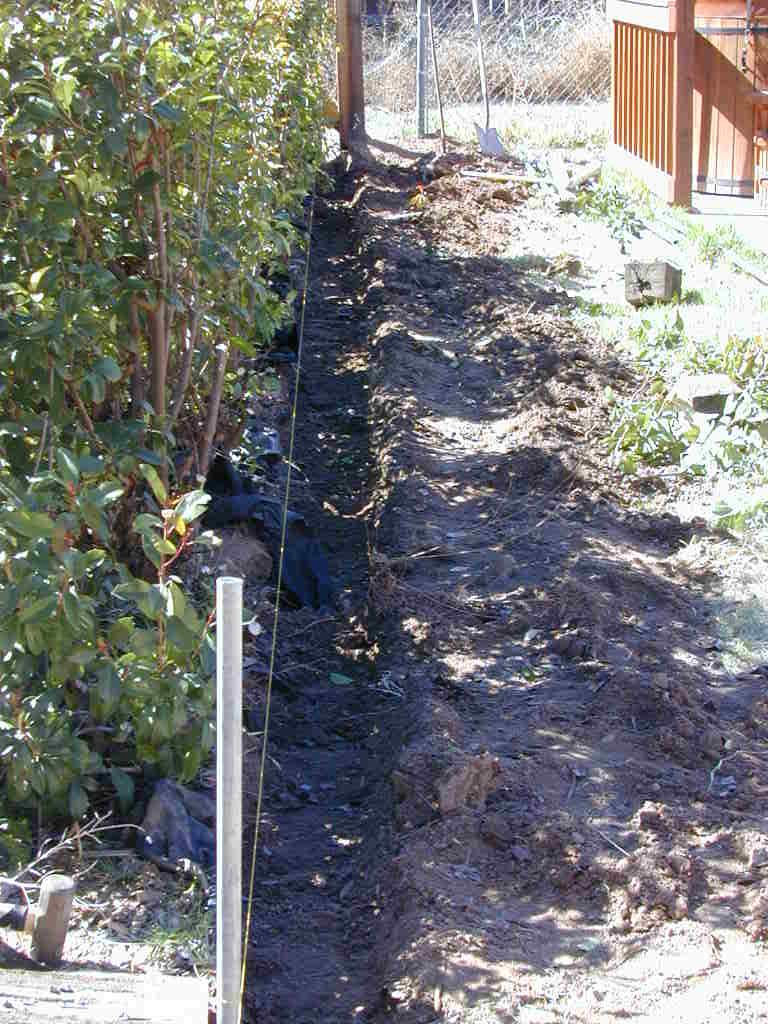
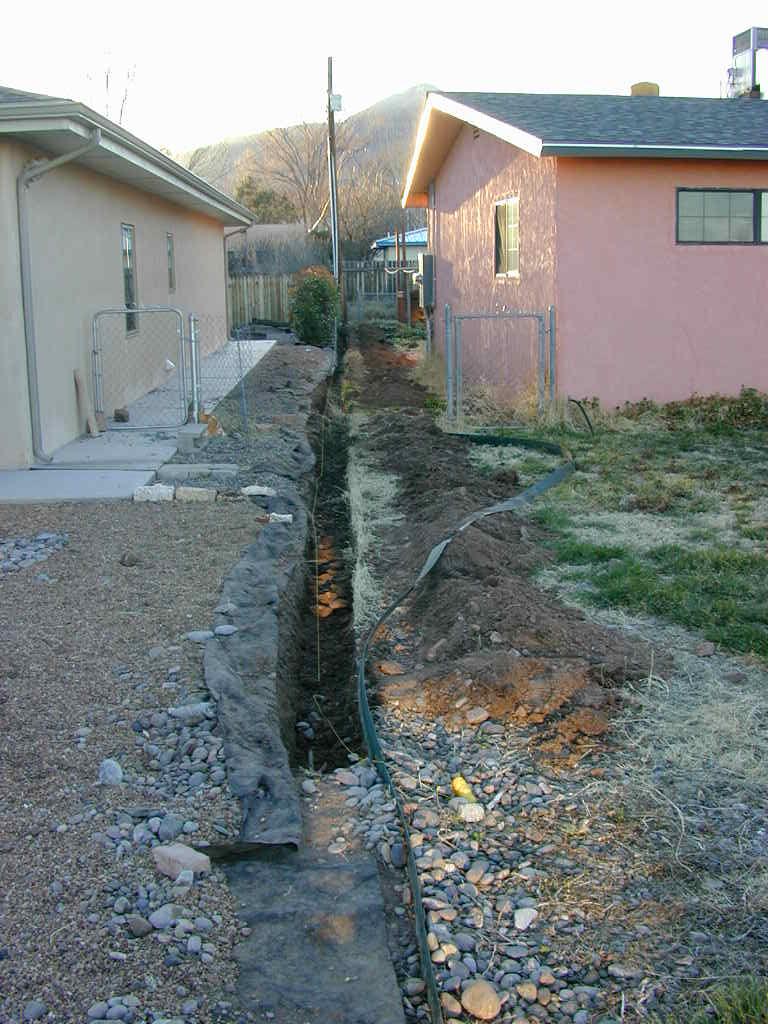
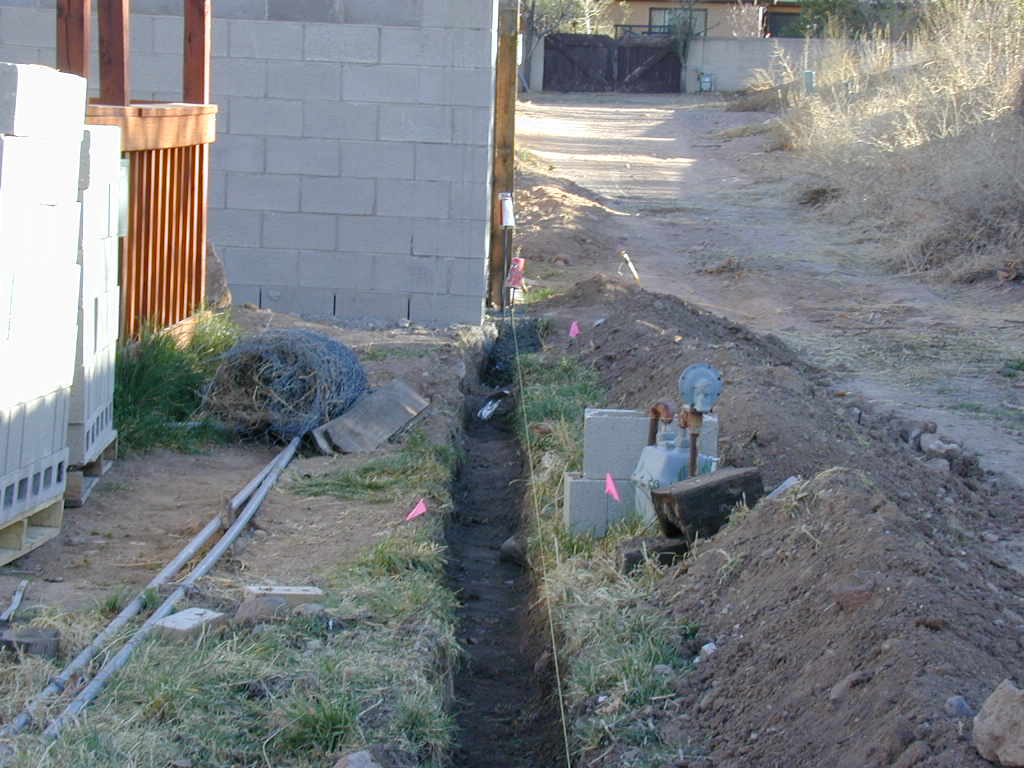
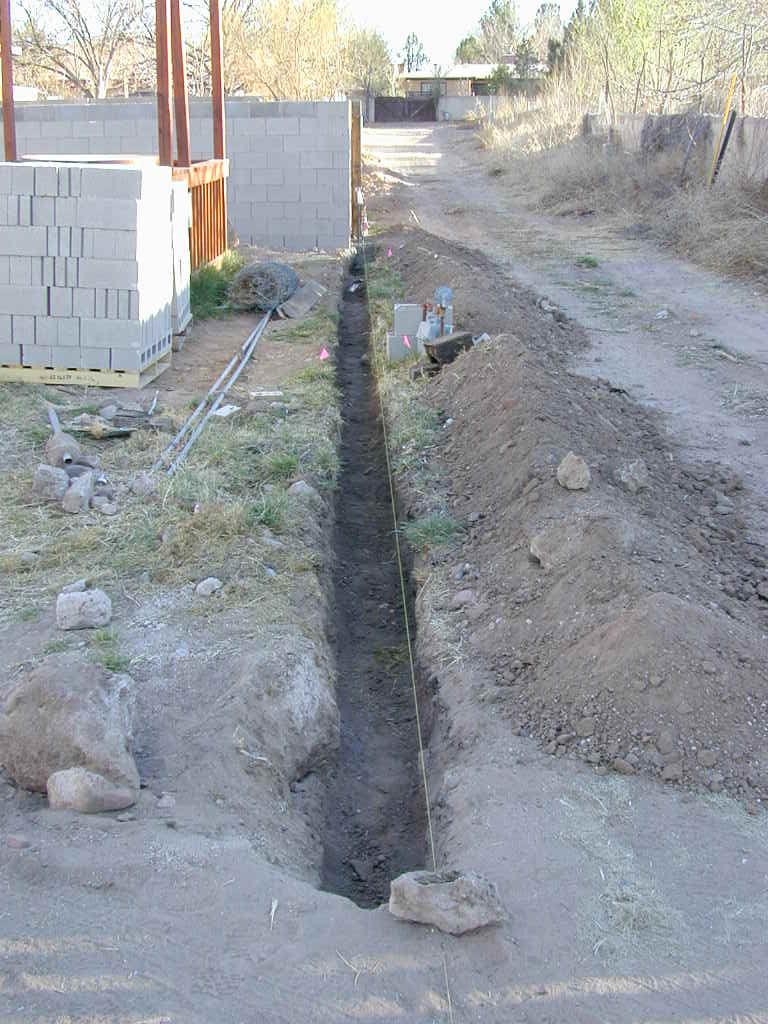
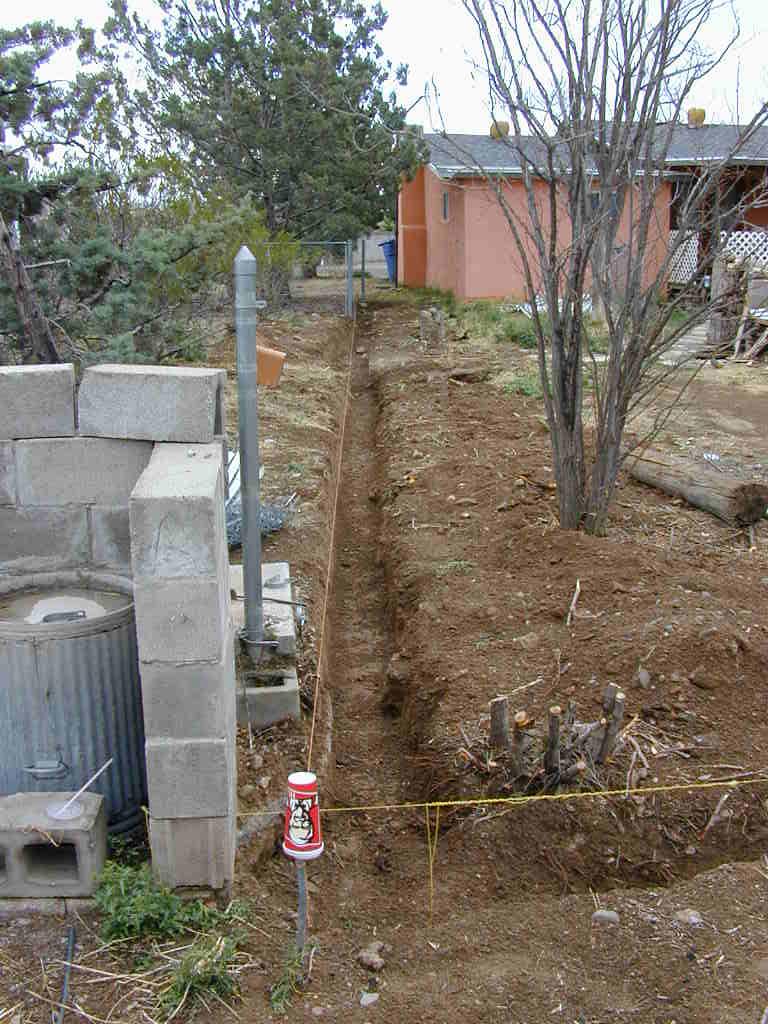
Well, my repair was good but where it connected to the old concrete pipe was pooh pooh. Also, the fact that the sewer line ran just a couple of inches under the concrete slab of my future hottub worried me for several reasons. So, in goes the new line.
 old line |
 addition line |
 mechanical ditch digger |
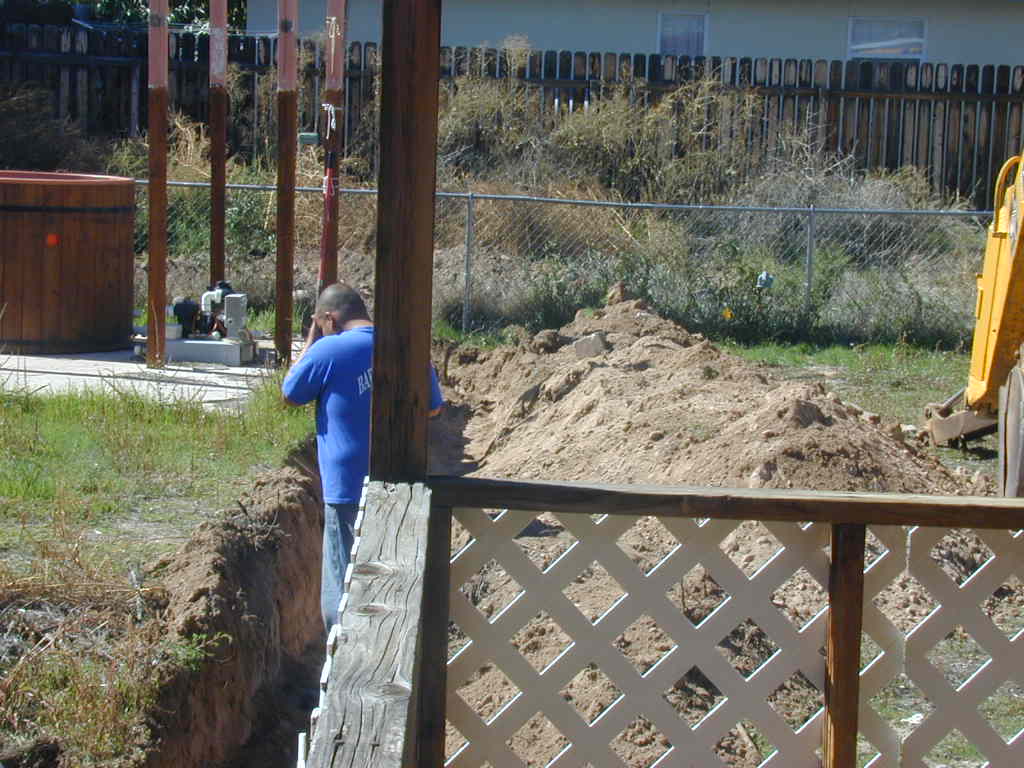 human ditch digger |
 90 to my old drop |
 old drop into main |
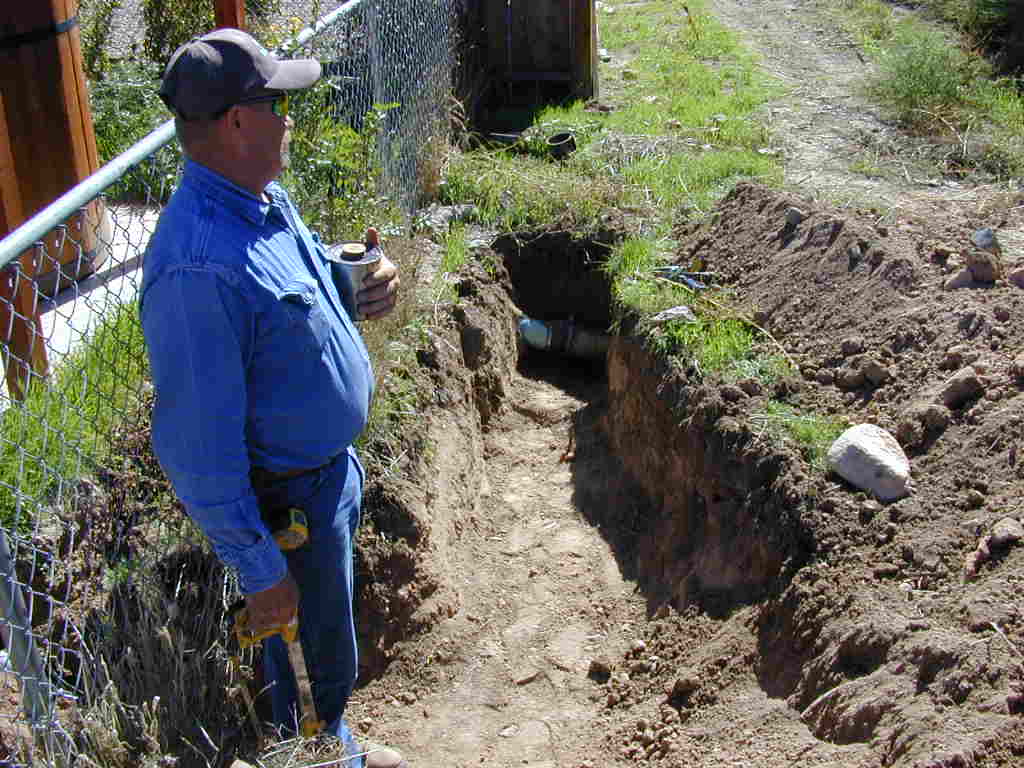 a plumber |
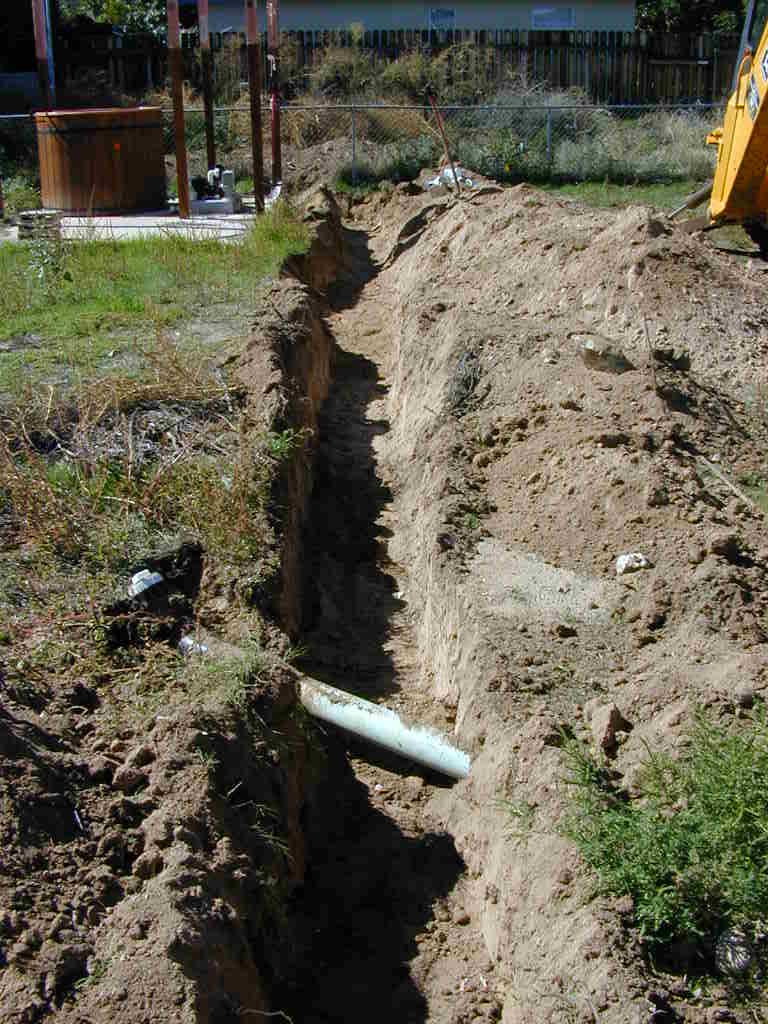 a ditch |
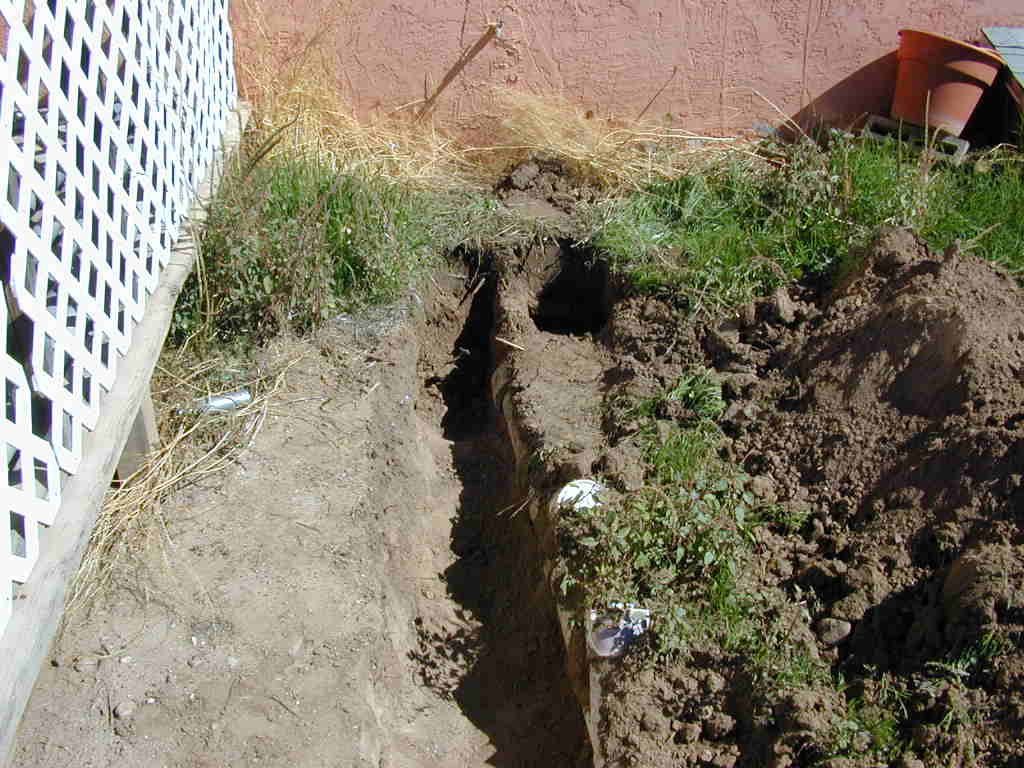 diggin up old line |
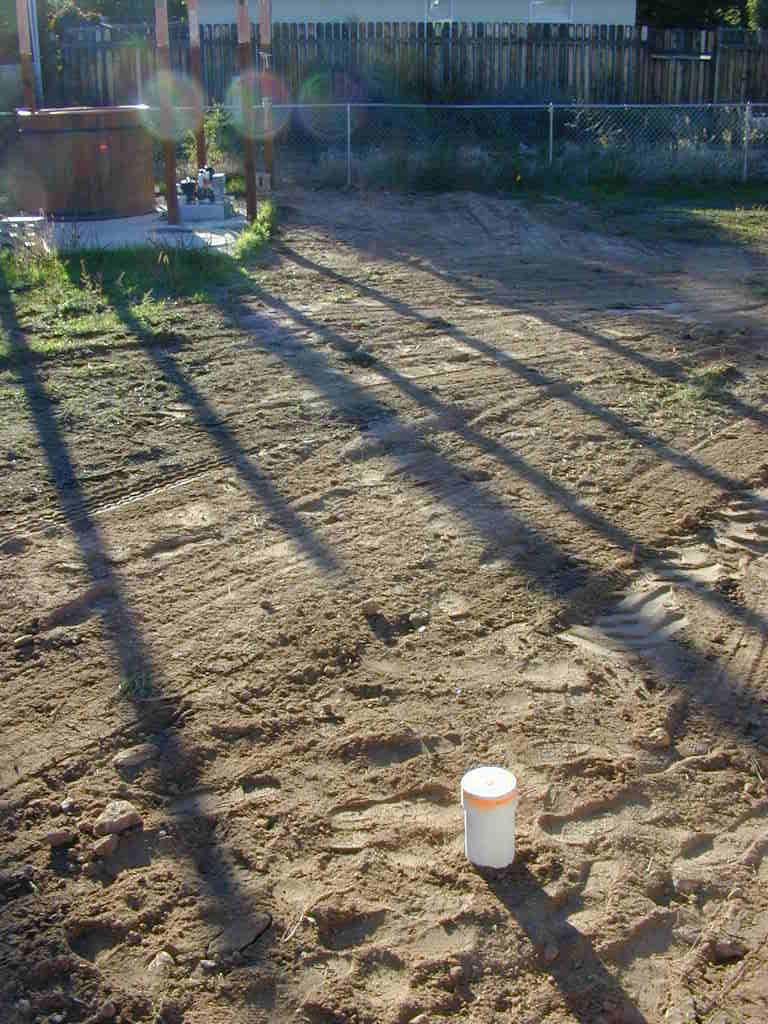 all done |
 new cleanouts |
 |
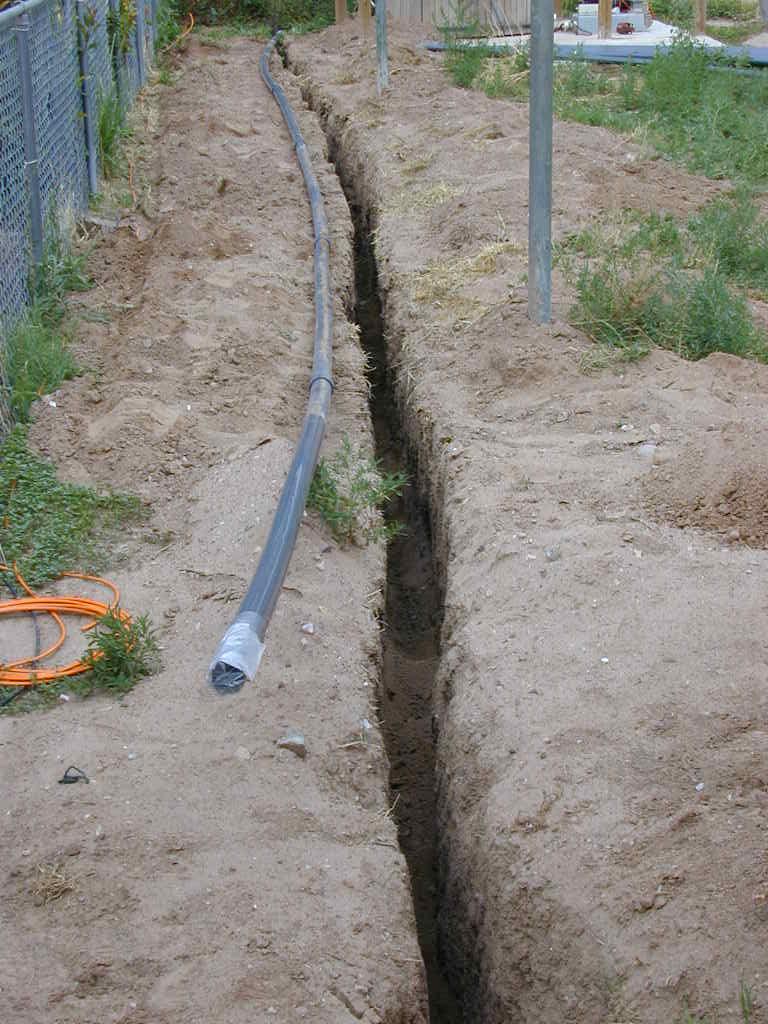
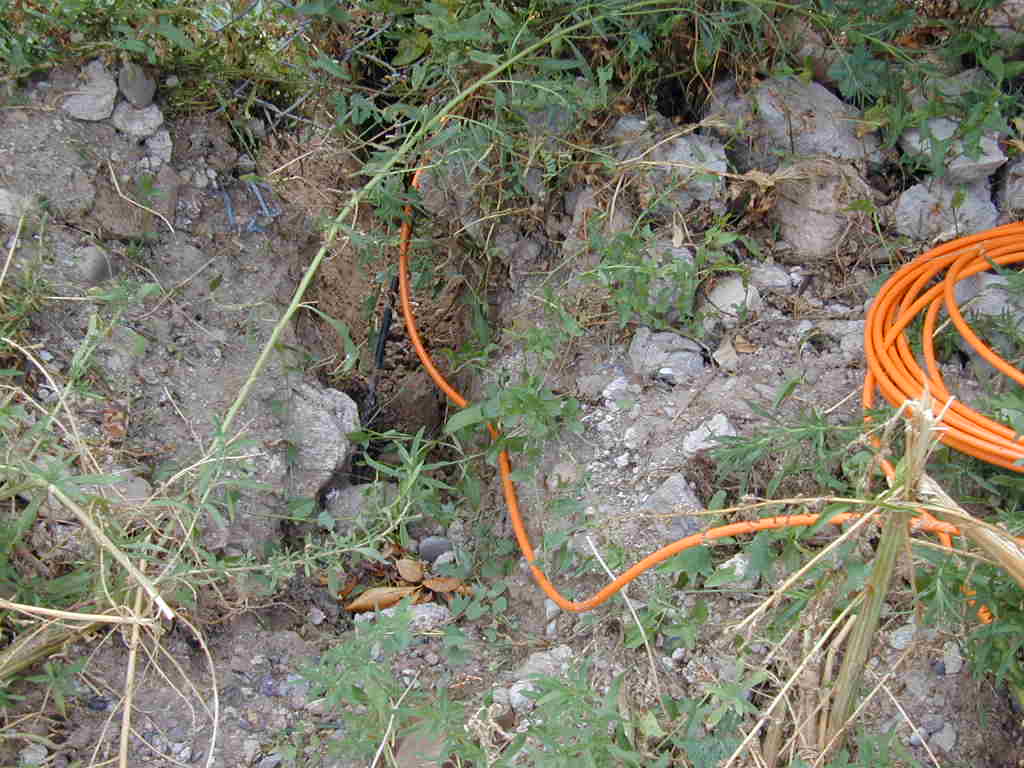
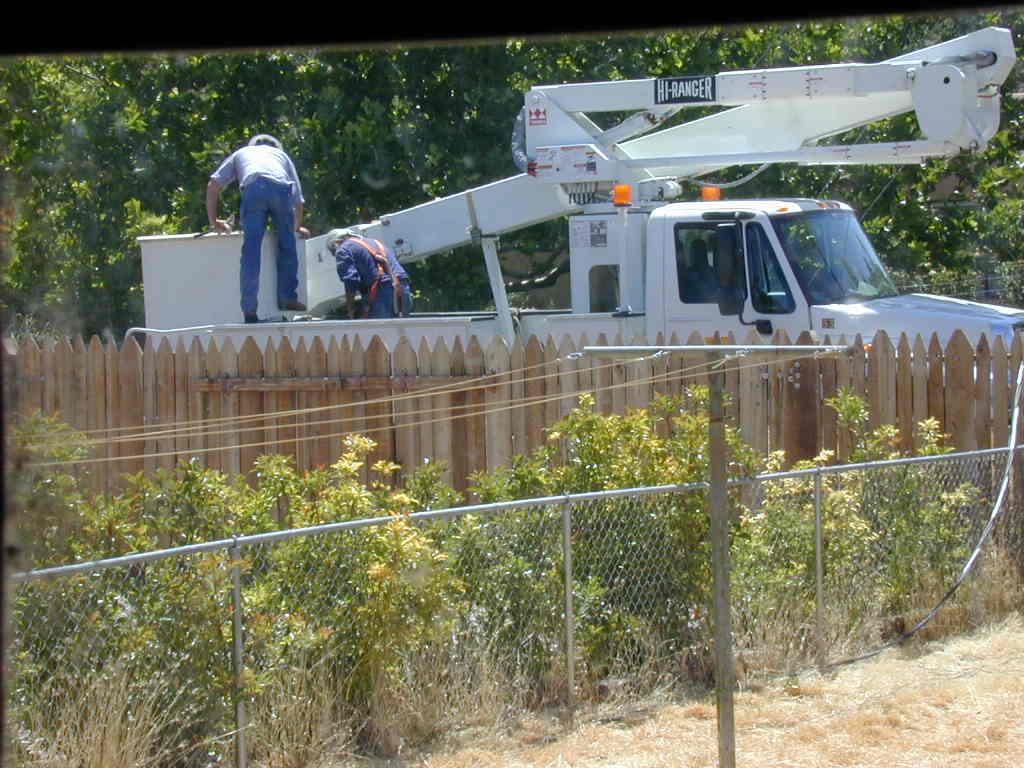
About the same time I was working on my sewer line, Qwest decided to run fiber down the alley behind my house.
 trench |
 cut my sewer line? |
 pieces of my sewer line? |
 2 cut phone lines, one sewer |
 |
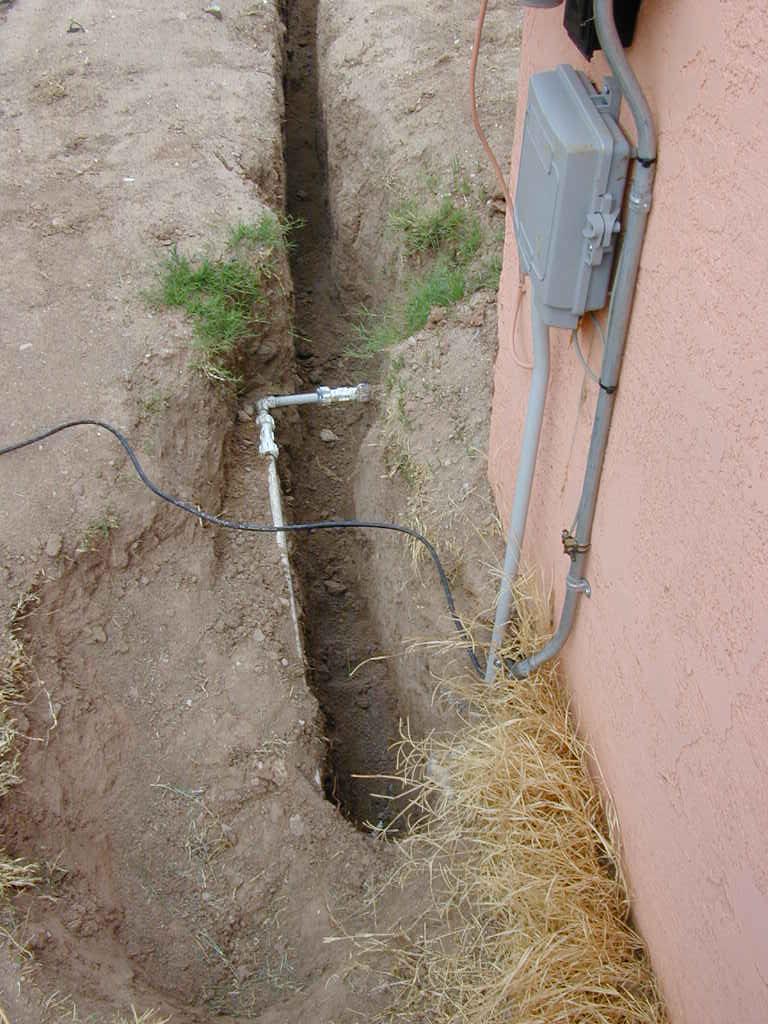
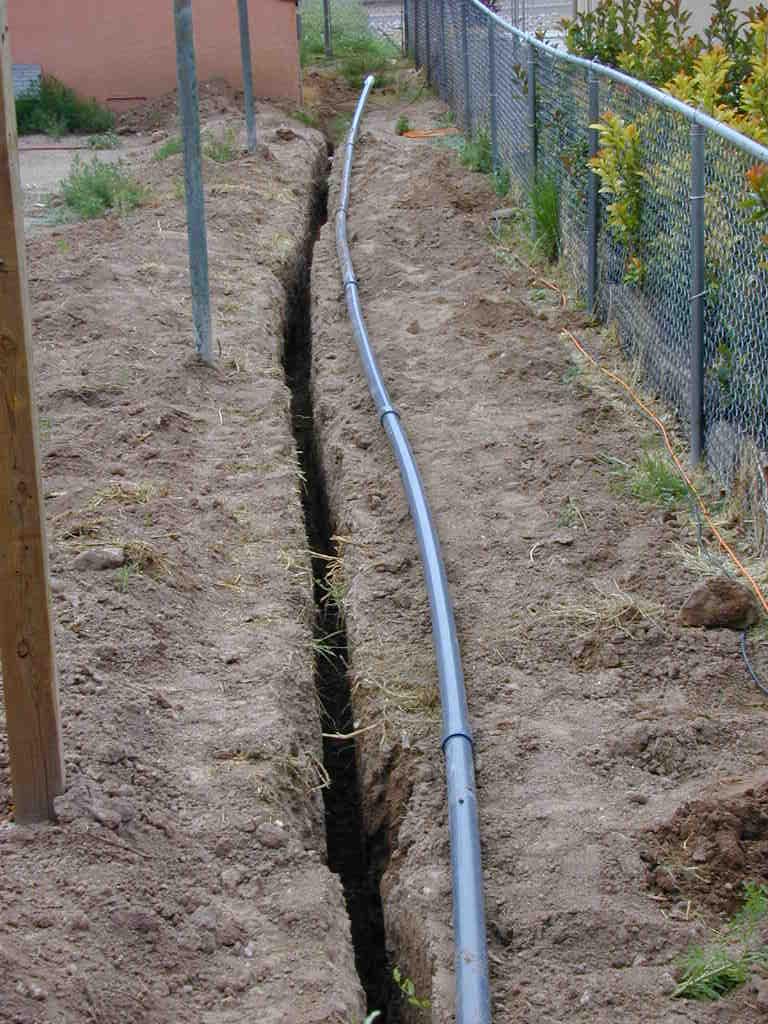
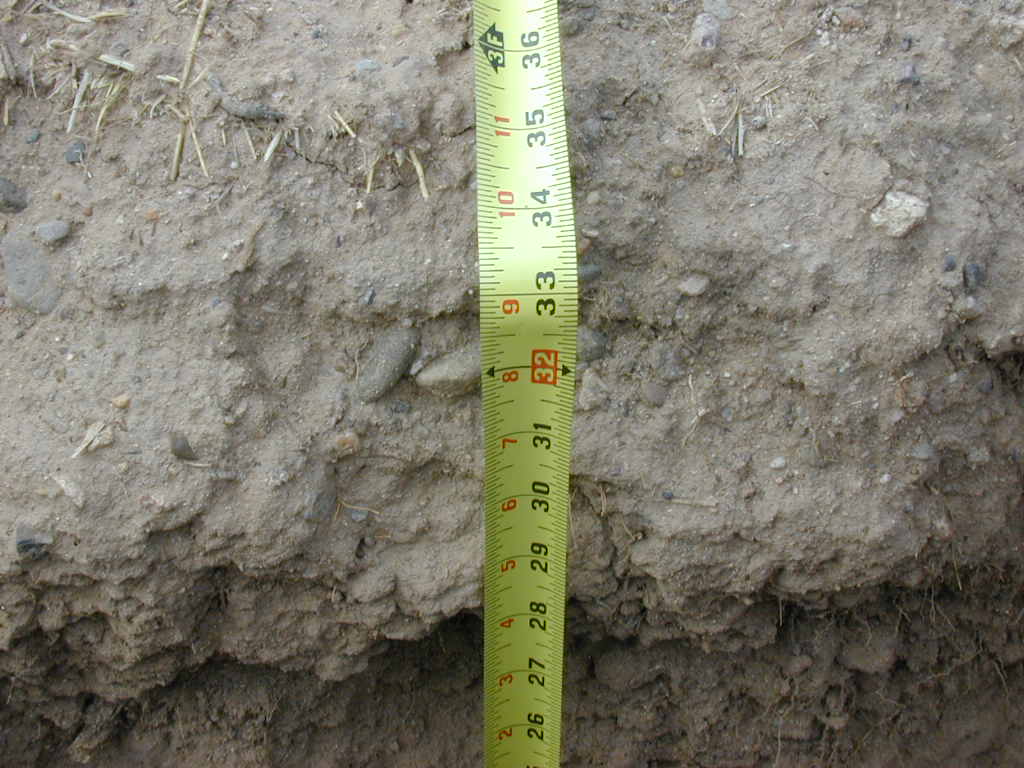
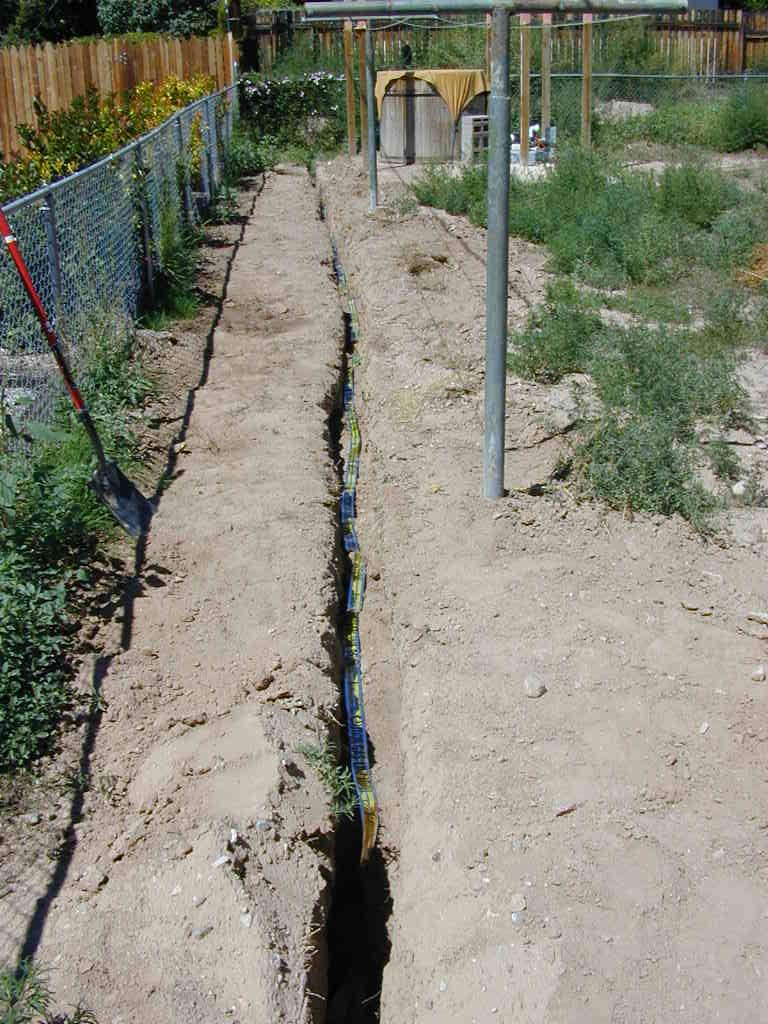
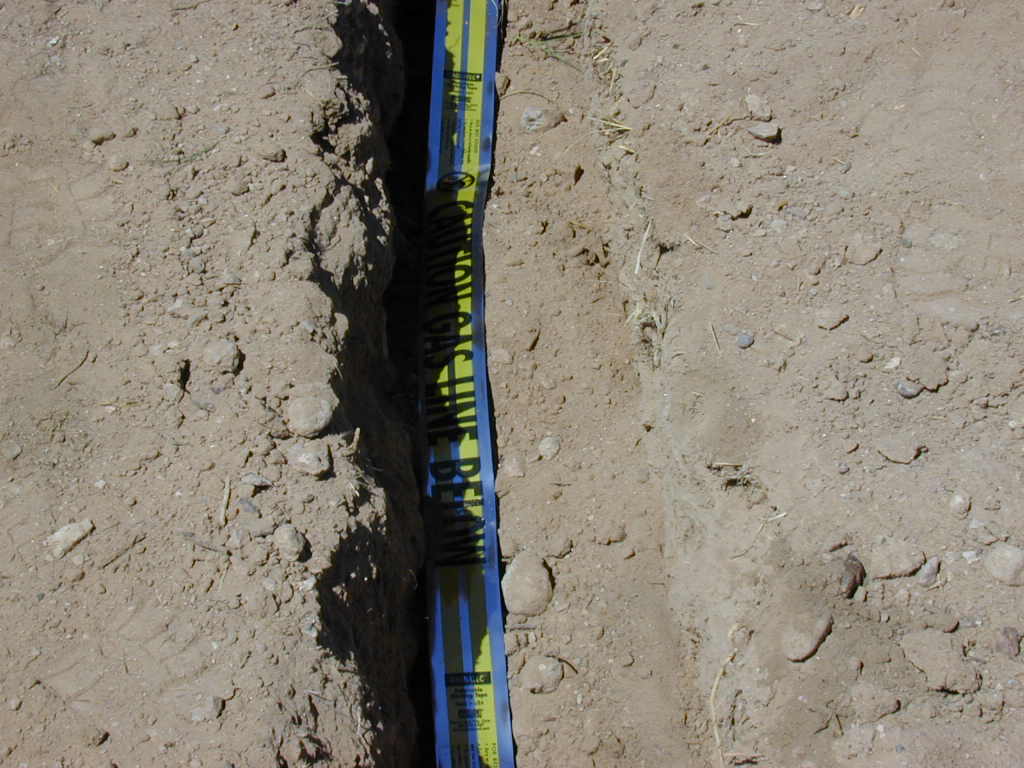
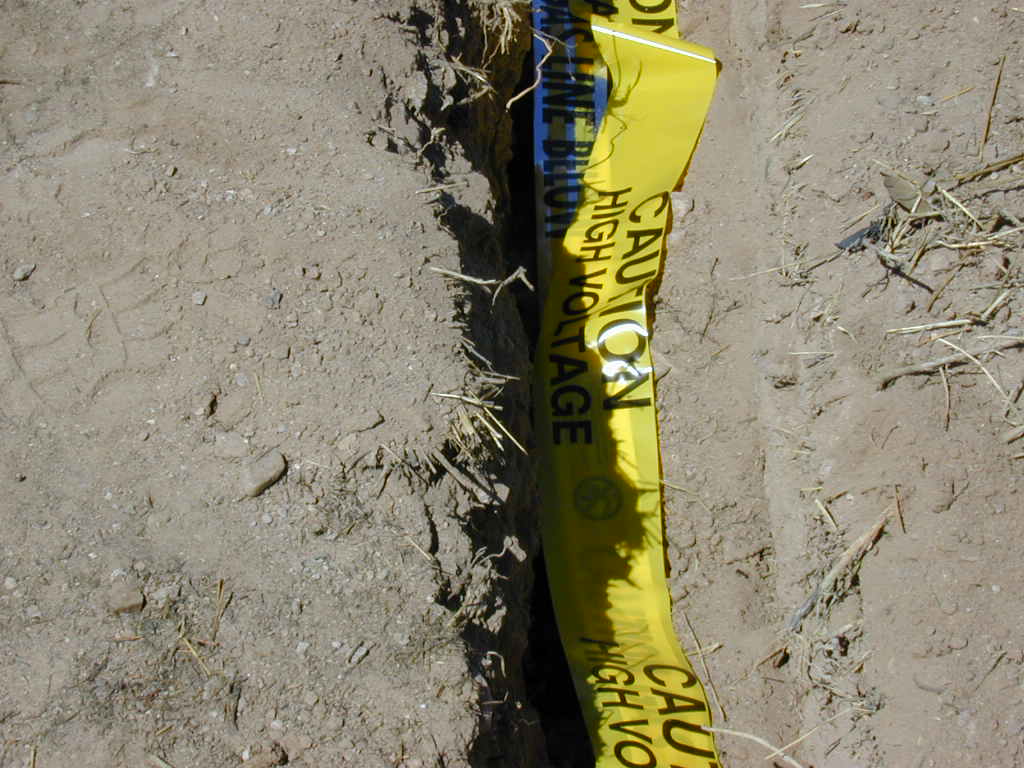
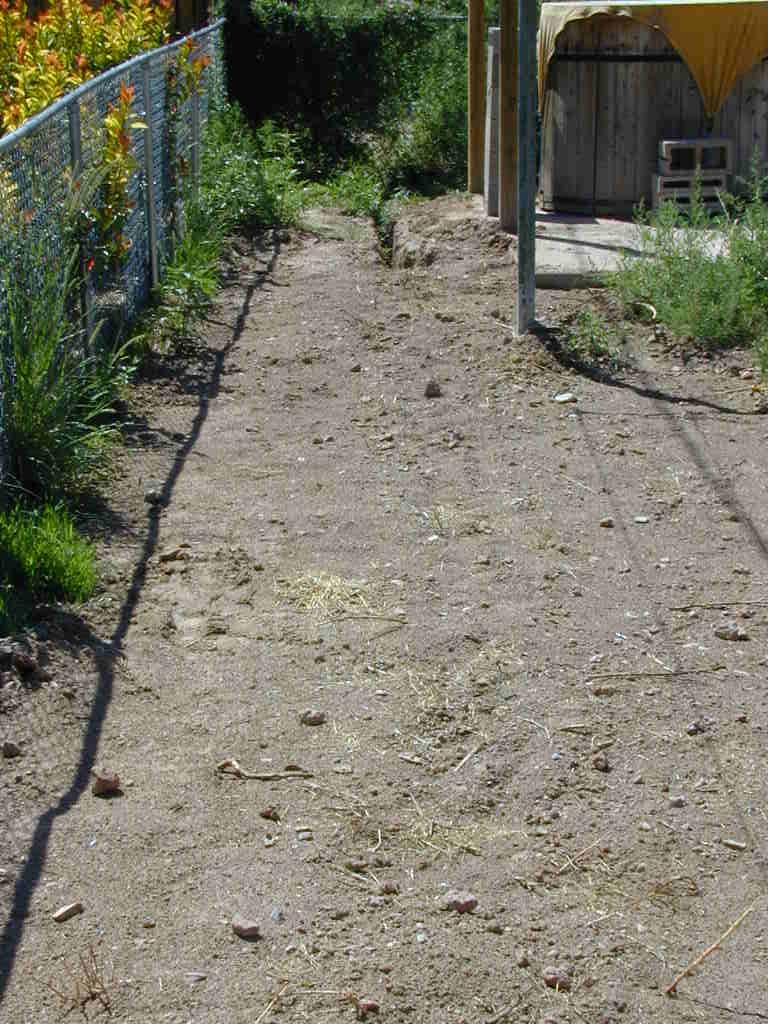
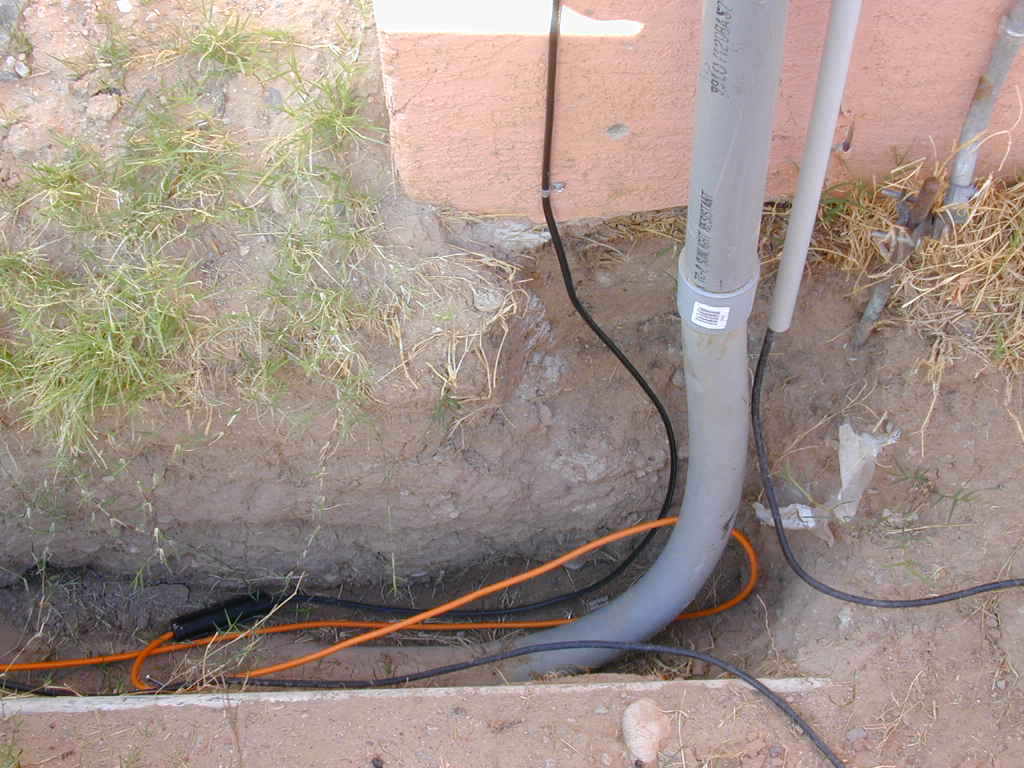
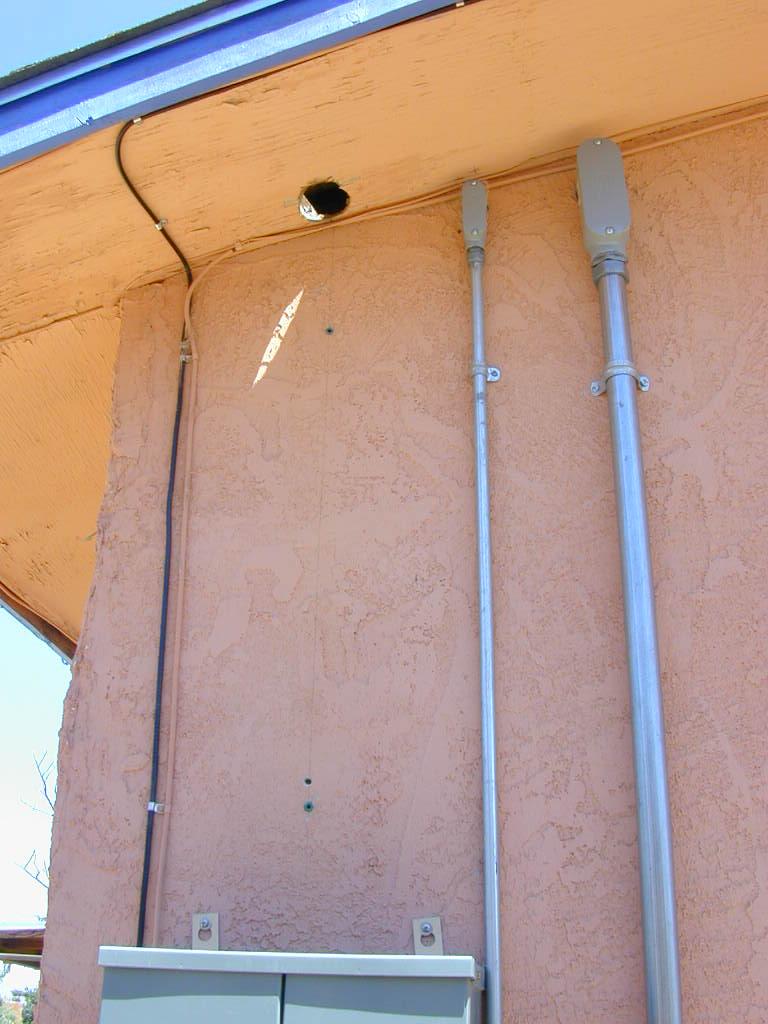
After Qwest trenched my phone line they came out with a trencher to dig a new line to my house. According to them it had been cut too many times to be patched again, so I convinced the trenching guy to dig the trench 32 inches so I could bury my overhead power line as well. However, since there is a serious lack of competent electricians in Socorro the project is still in progress.
I have been able to bury my tv coax though.
 |
 |
 |
 |
 |
 |
 |
 |
 |
 |
 |
 |
 |
 |
 |
 |
 7 months later |
 inspection finally passes |
 before |
 after |
 I was sick |
 so I stayed in |
 old pipe gone |
 old wire gone |
My den, which is a converted garage, still had a garage floor. My goal was to remodel the entire room with heated tile, track lighting and new paint.
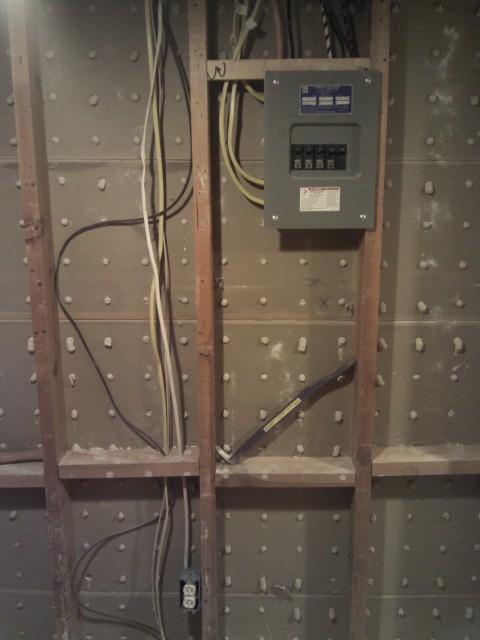
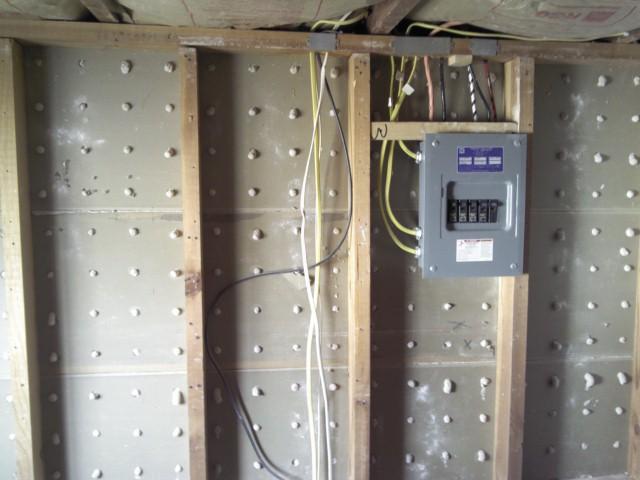
In order to use my new electricly heated floor, I would need better power. There was a sub panel feeding the north half of the house with two breakers. It was old, scary and insufficient. I wanted a new one.
 old panel |
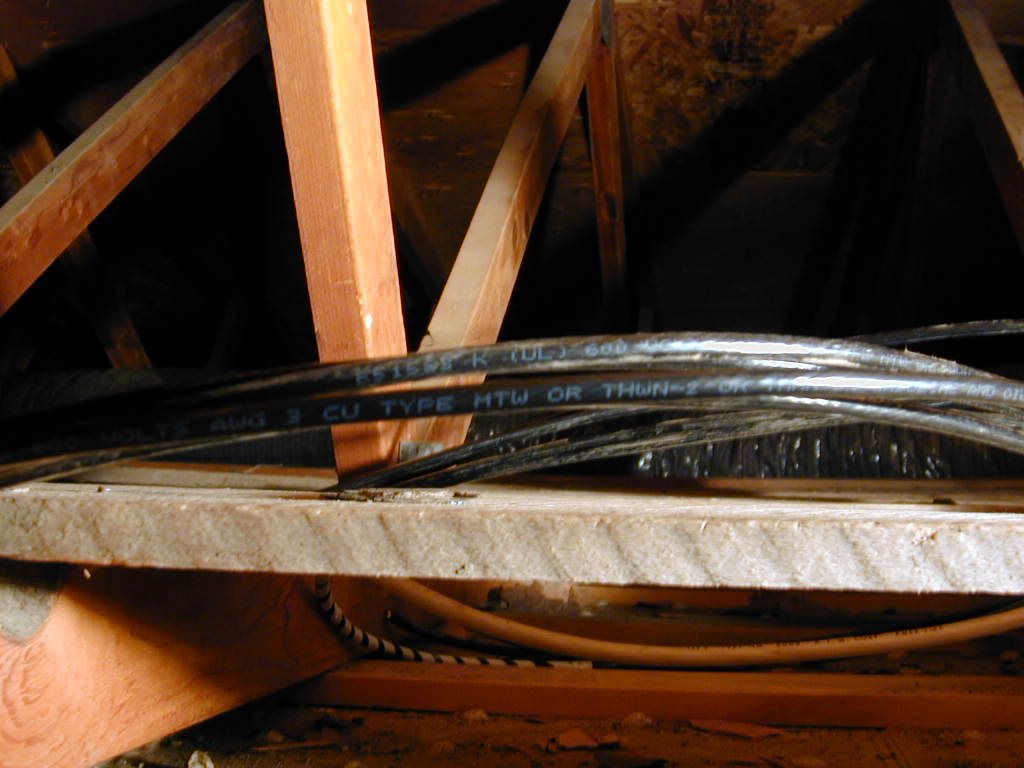 3 AWG THWN |
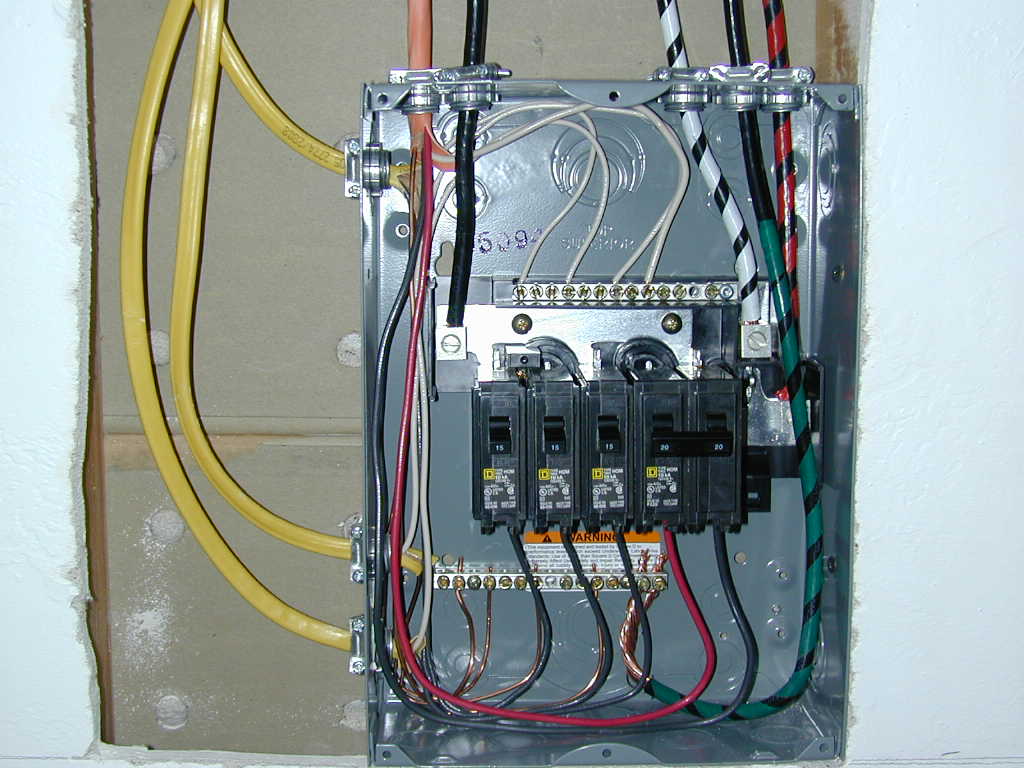 100 amp BOX |
The floor was the most work. I had to remove carpet, carpet nailers, fill cracks, level the floor all before I could even think about heating elements and tile.
 removed step |
 removed railing |
 |
 |
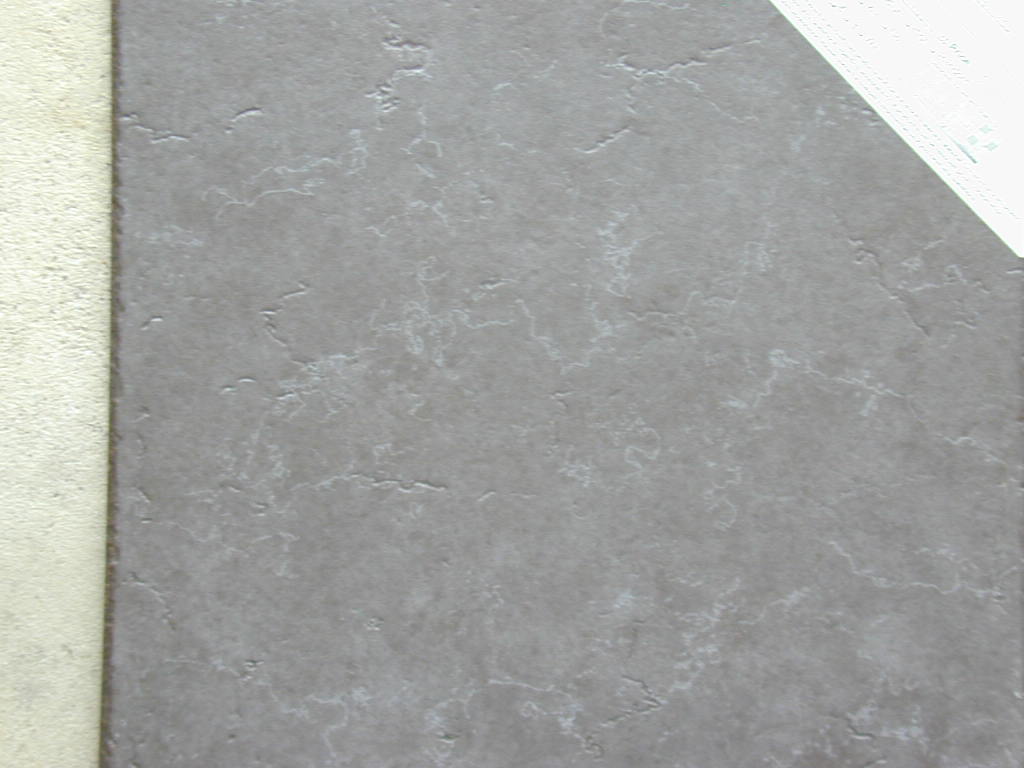 |
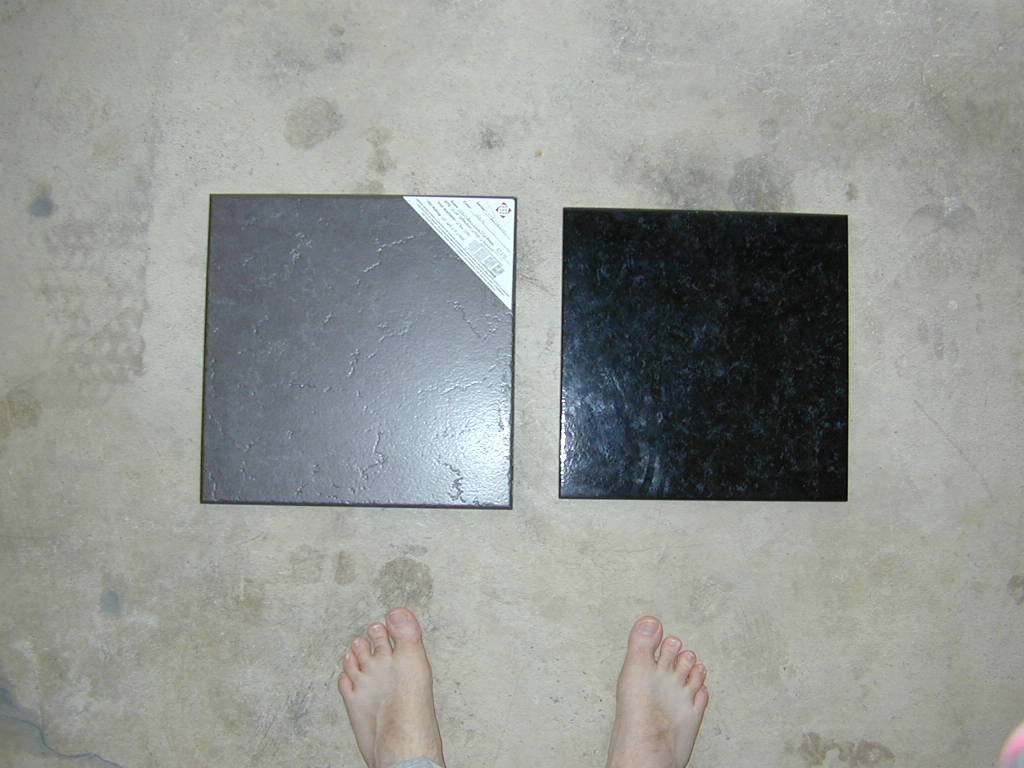
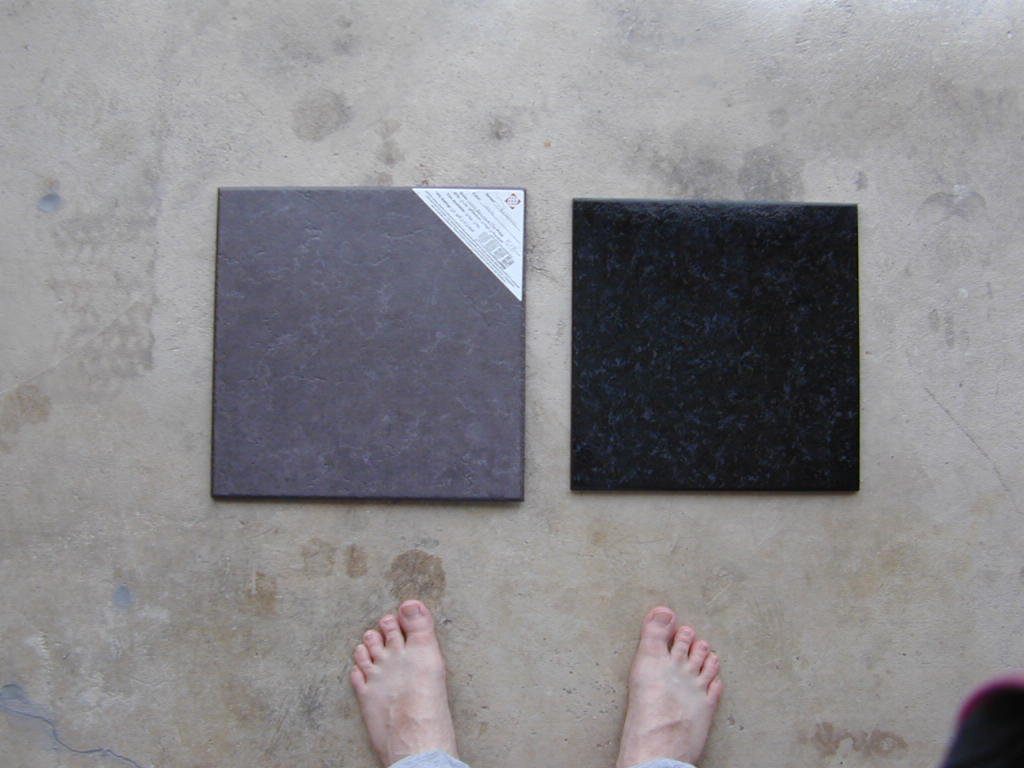
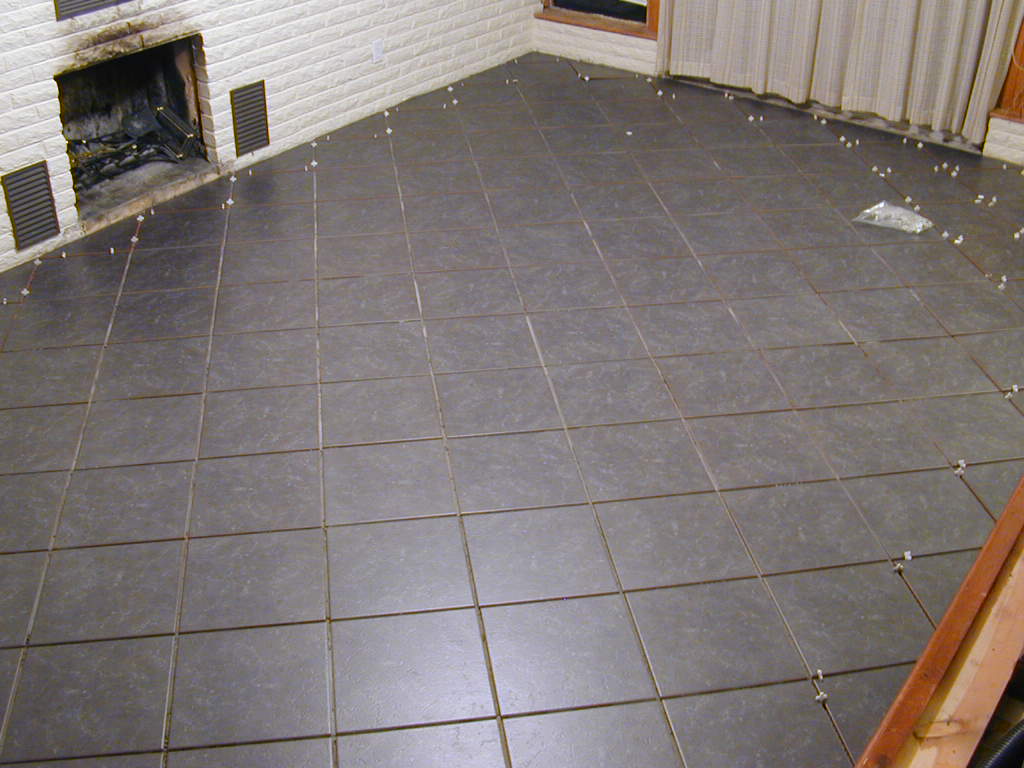
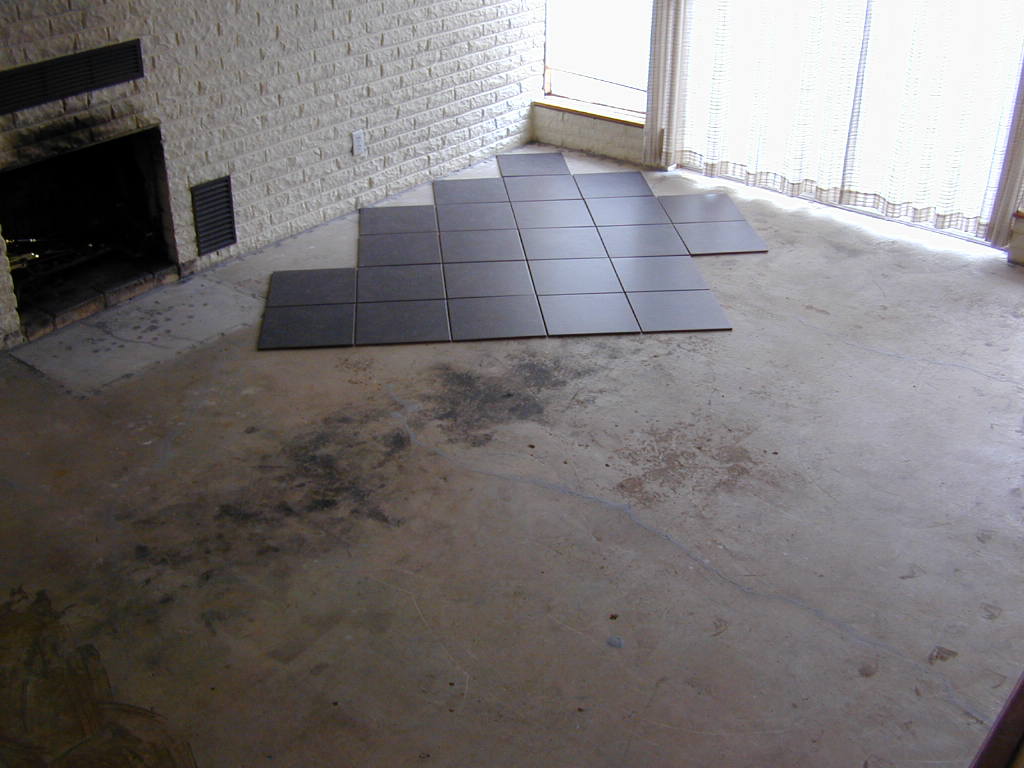 diagonal pattern |
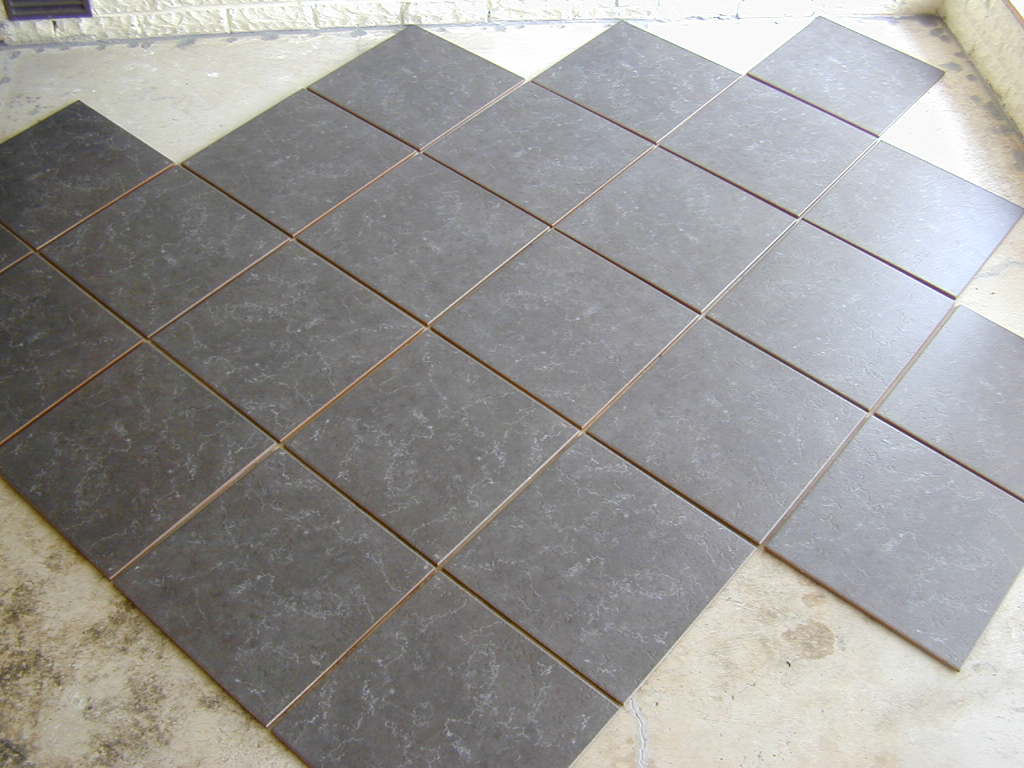 diagonal pattern |
 diagonal pattern |
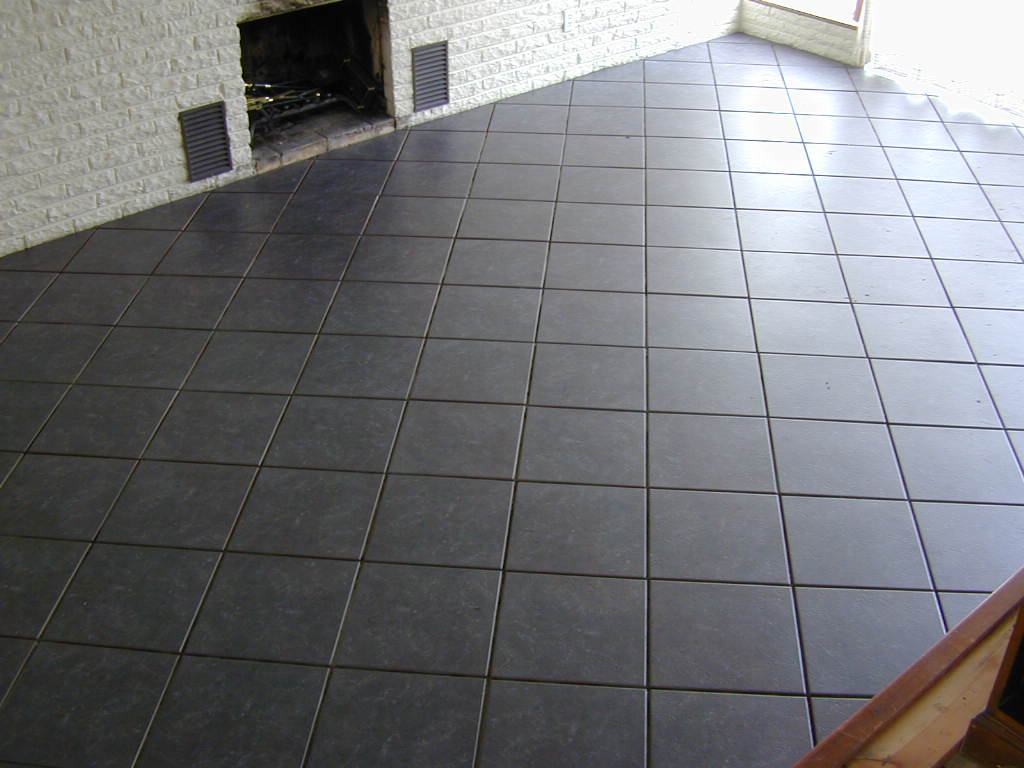
 square pattern |
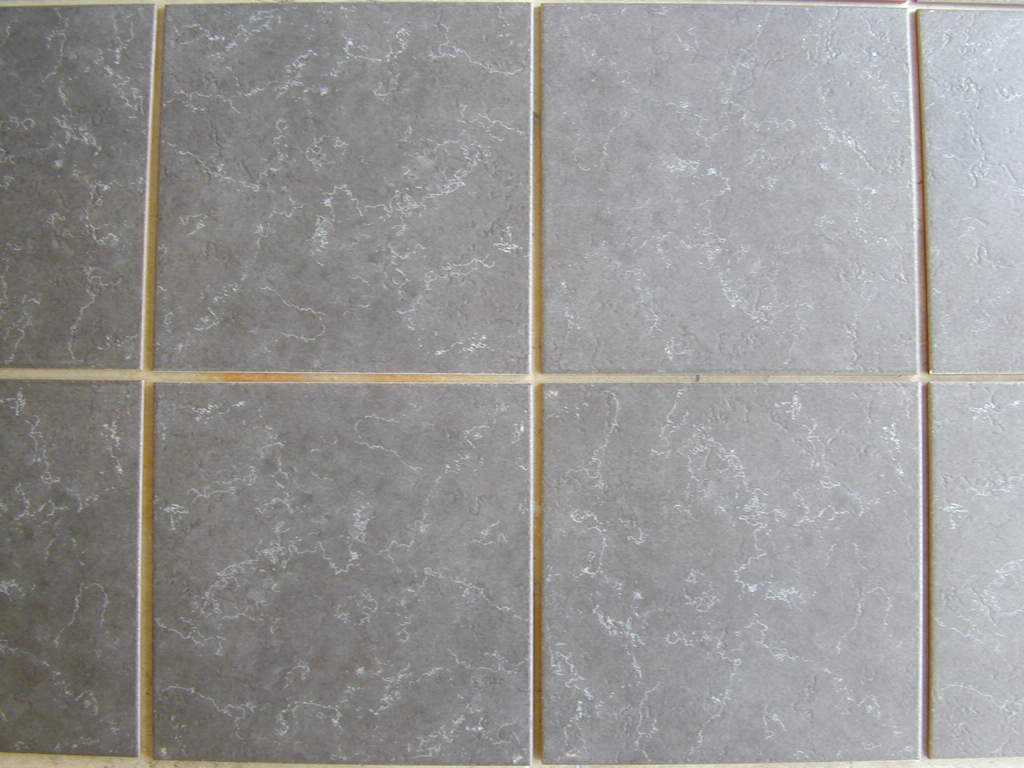 square pattern |
 square pattern |
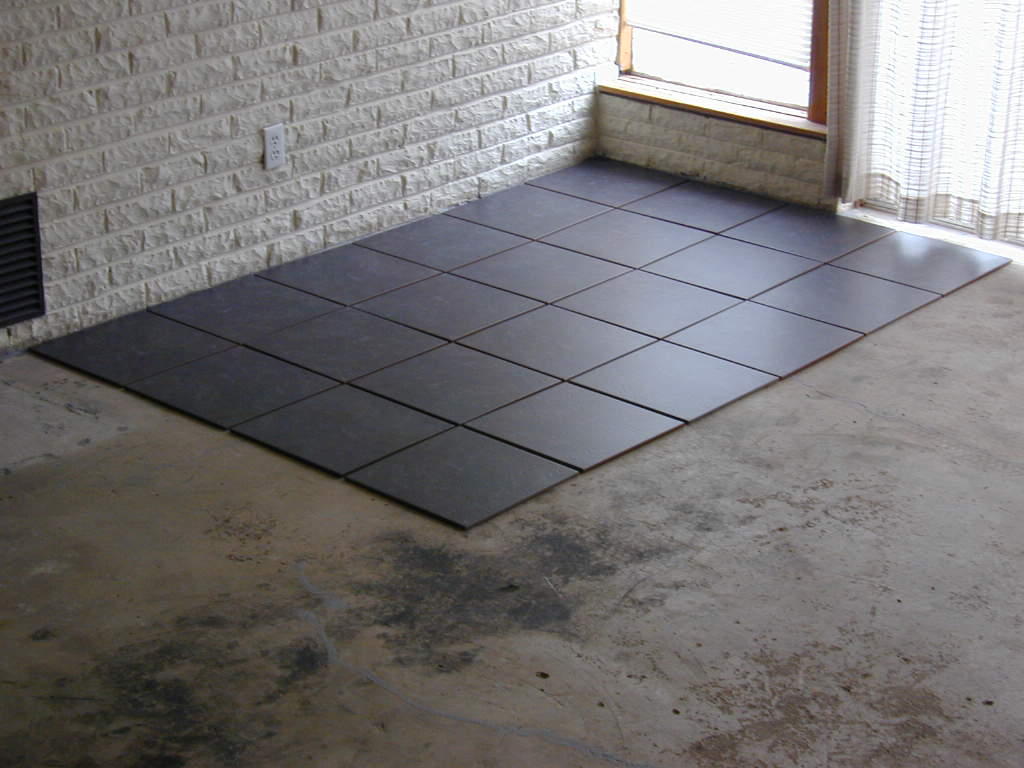 square pattern |
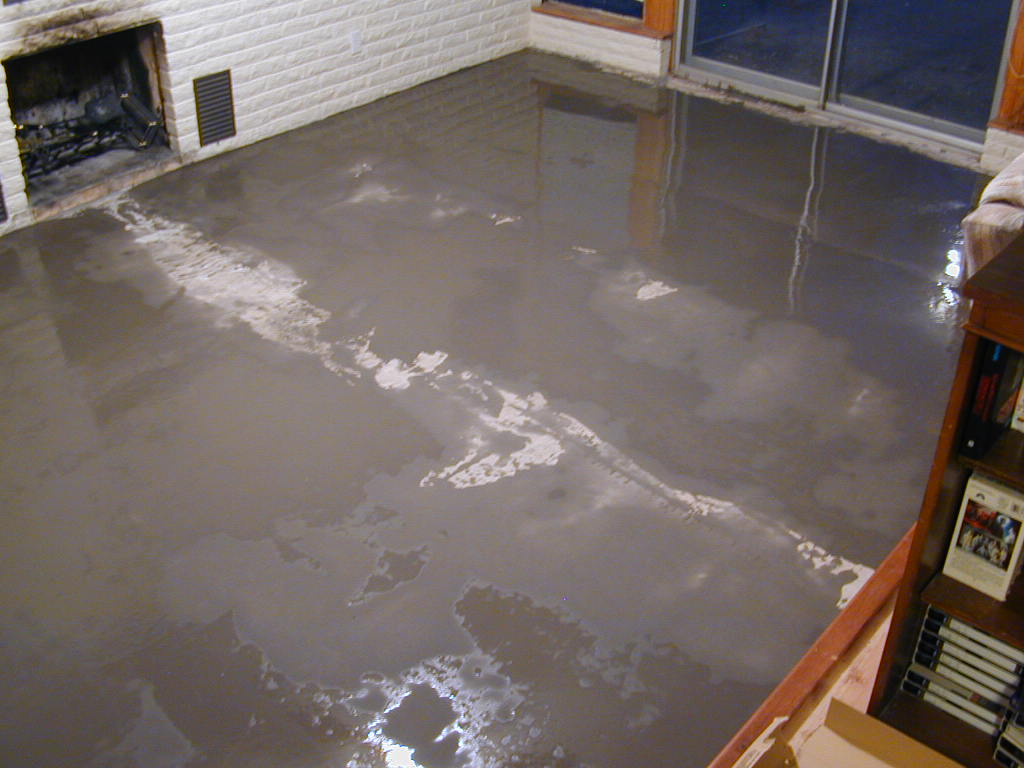 floor leveling |
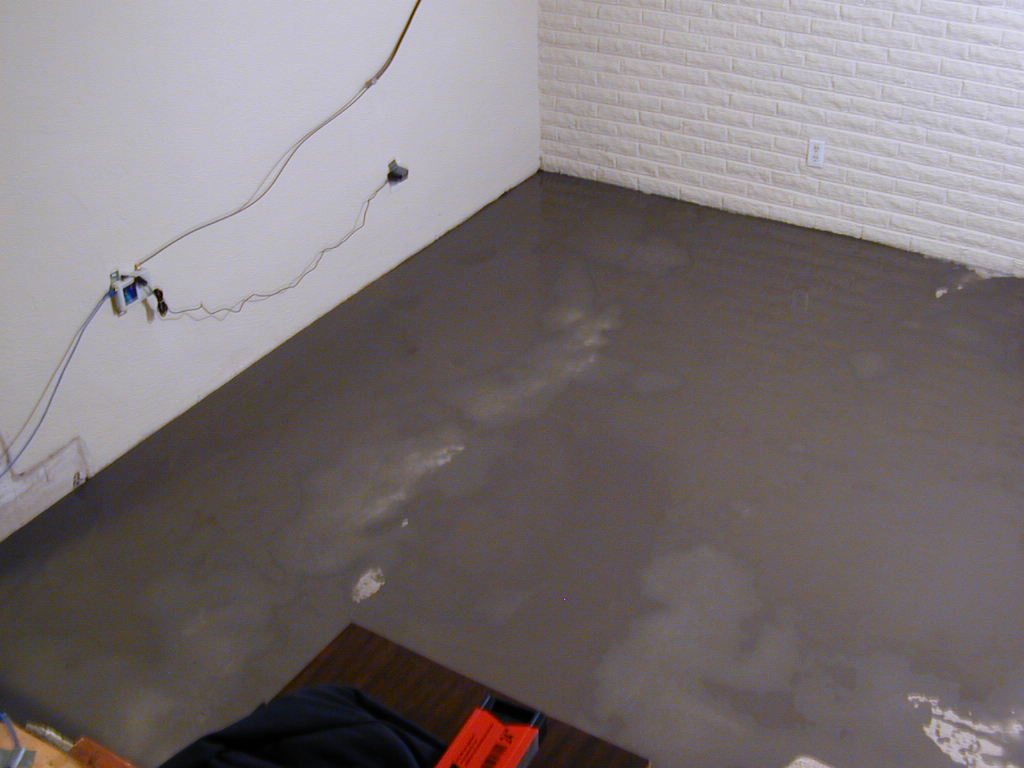 floor leveling |
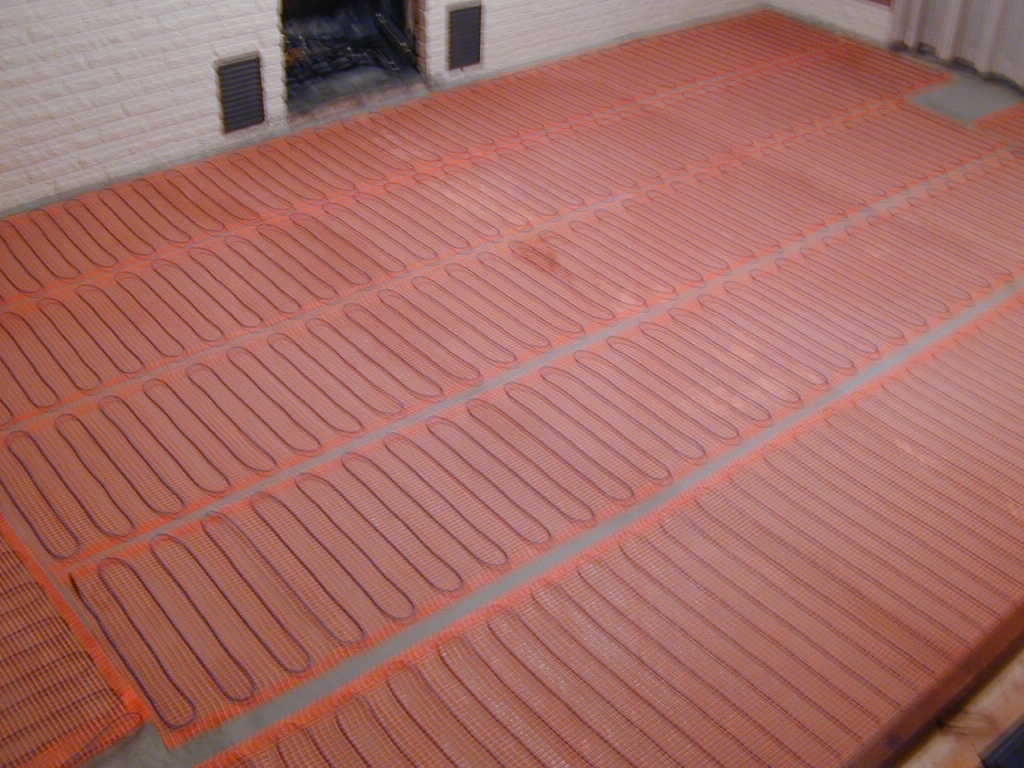 underfloor heating |
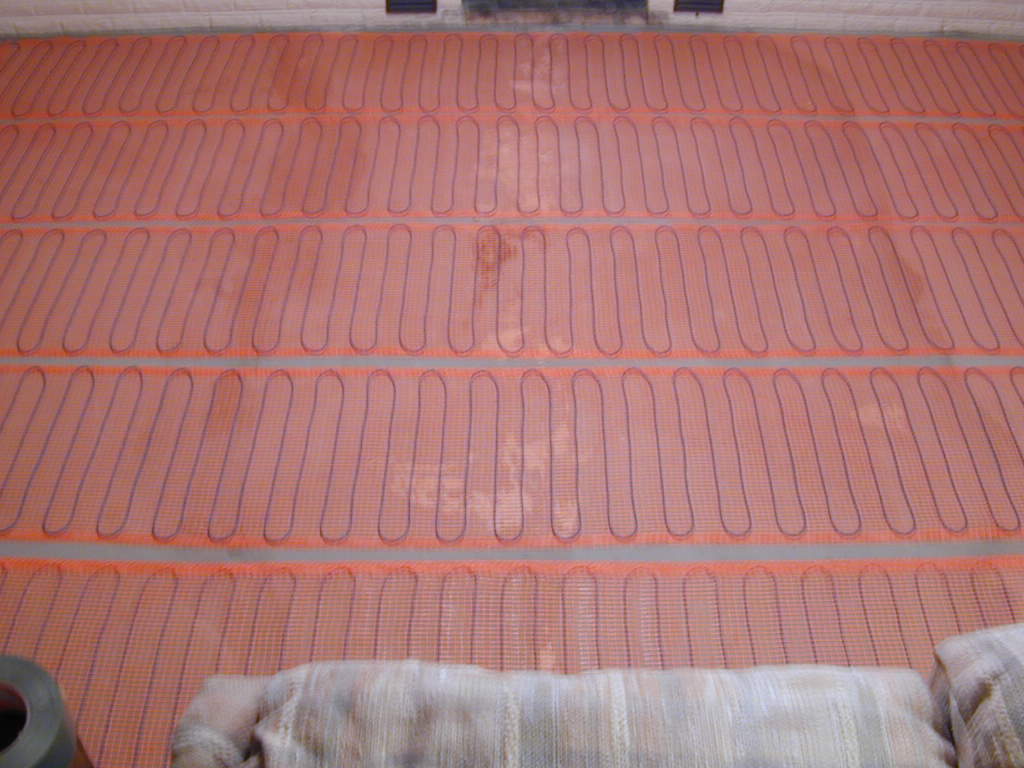 underfloor heating |
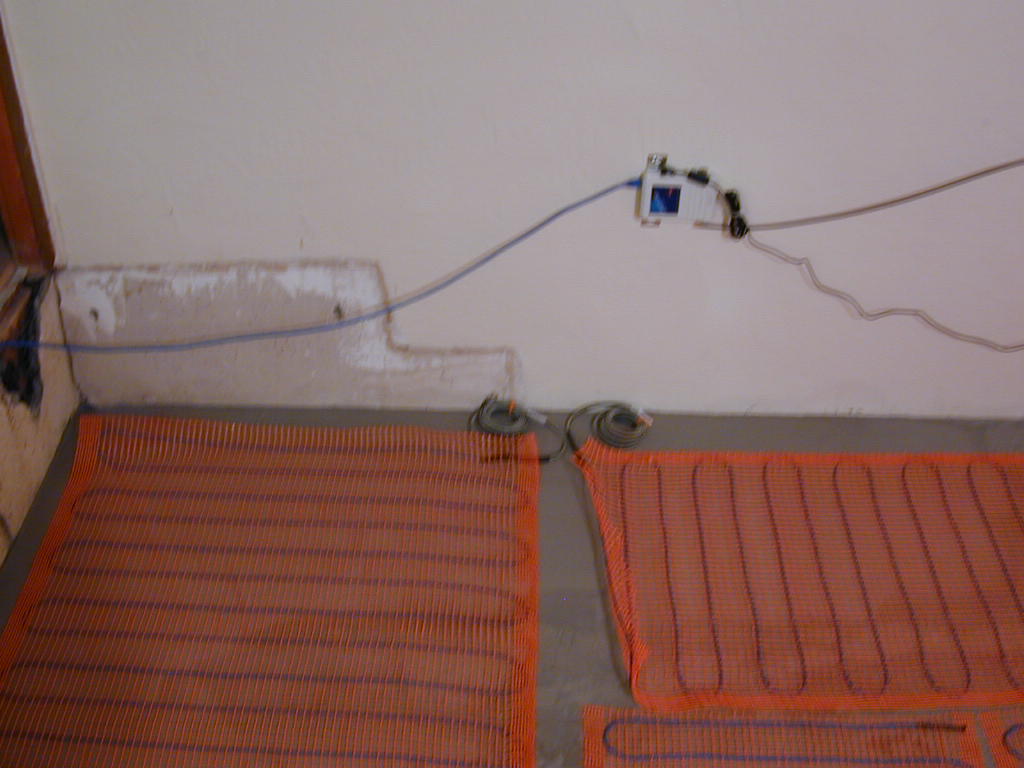 thermostat wires |
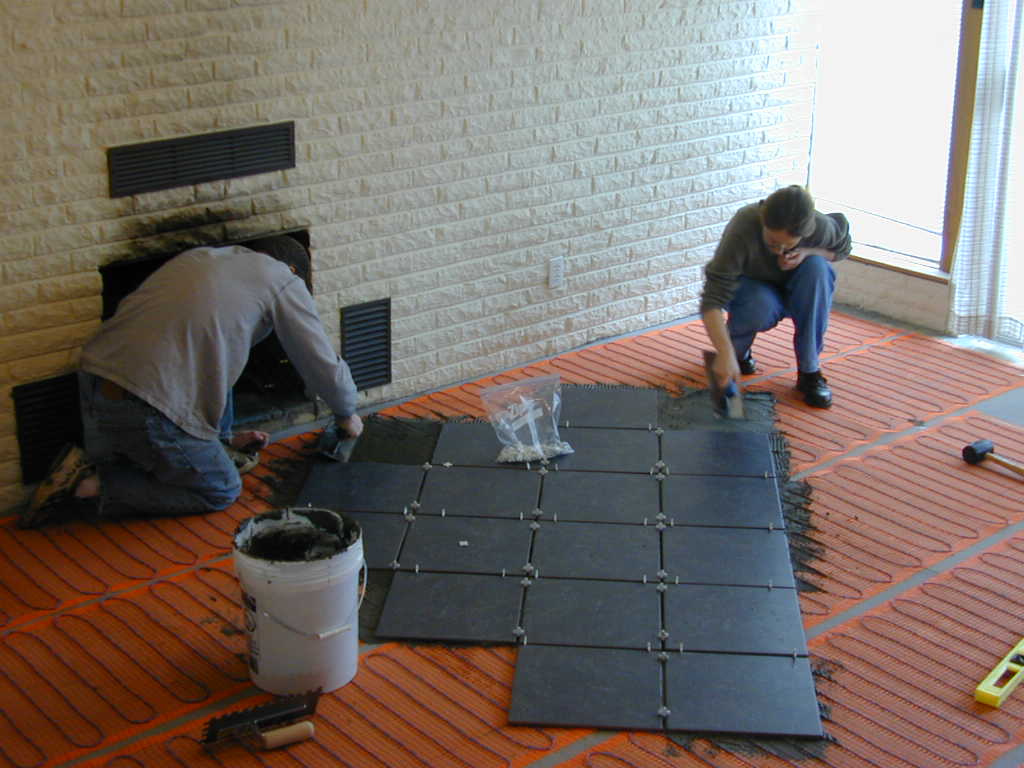 my friends helped |
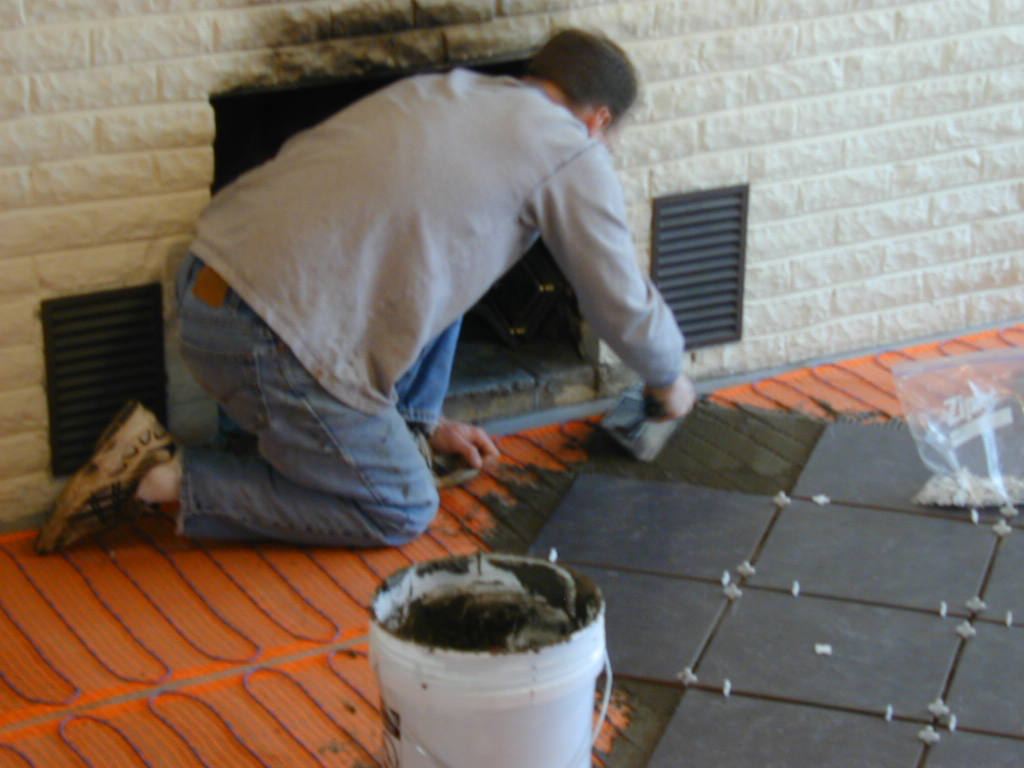 dougan trowel |
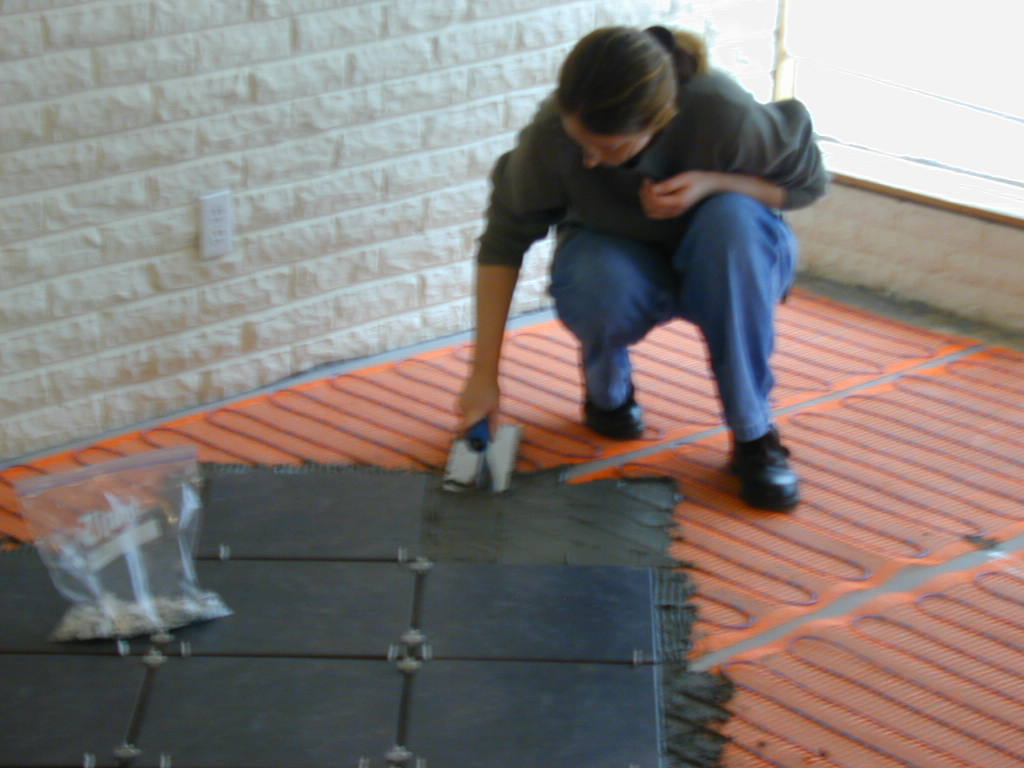 tilebot |
 all tile cut |
 ready for grout |
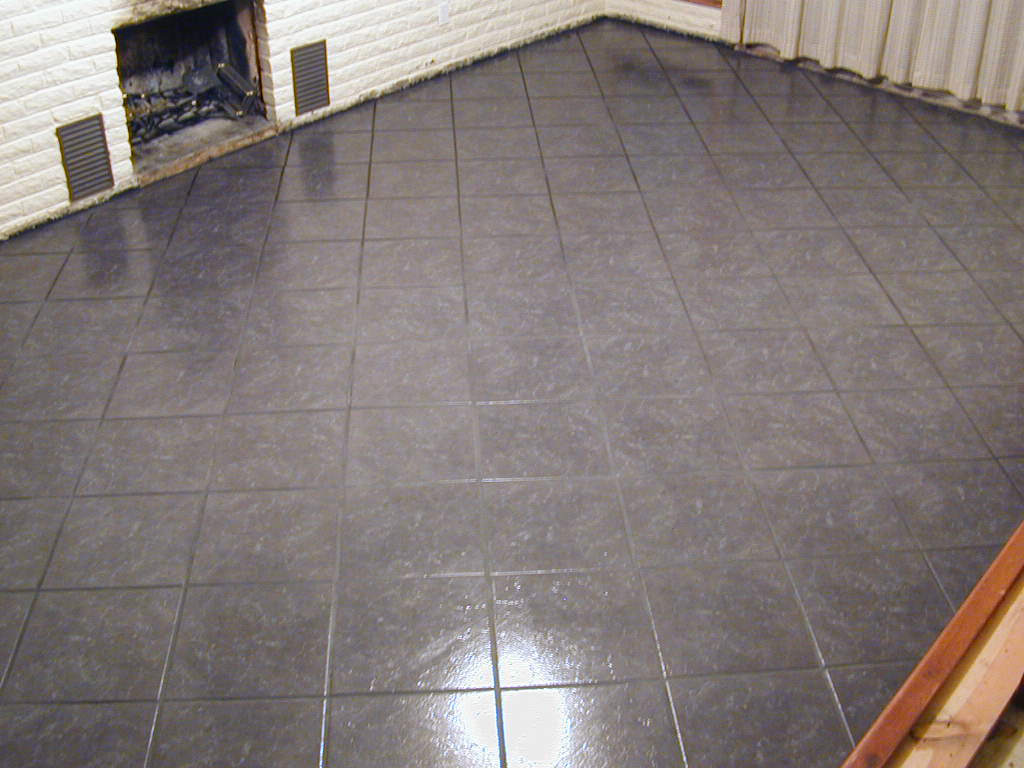 grouted and wet |
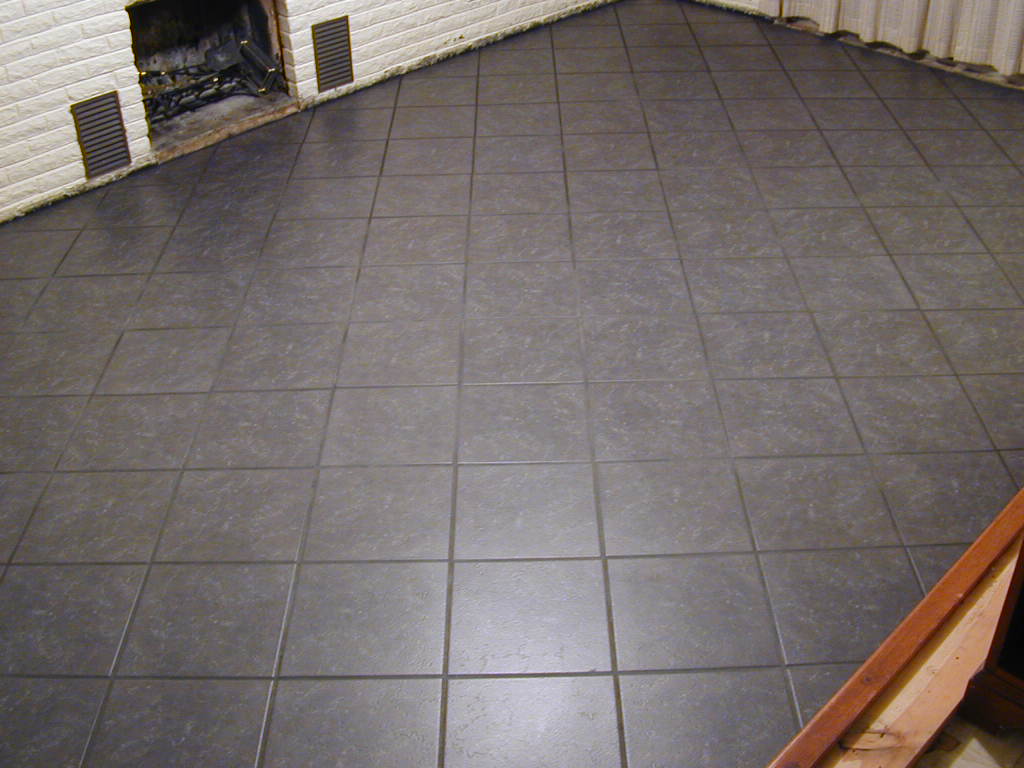 grouted and dry |
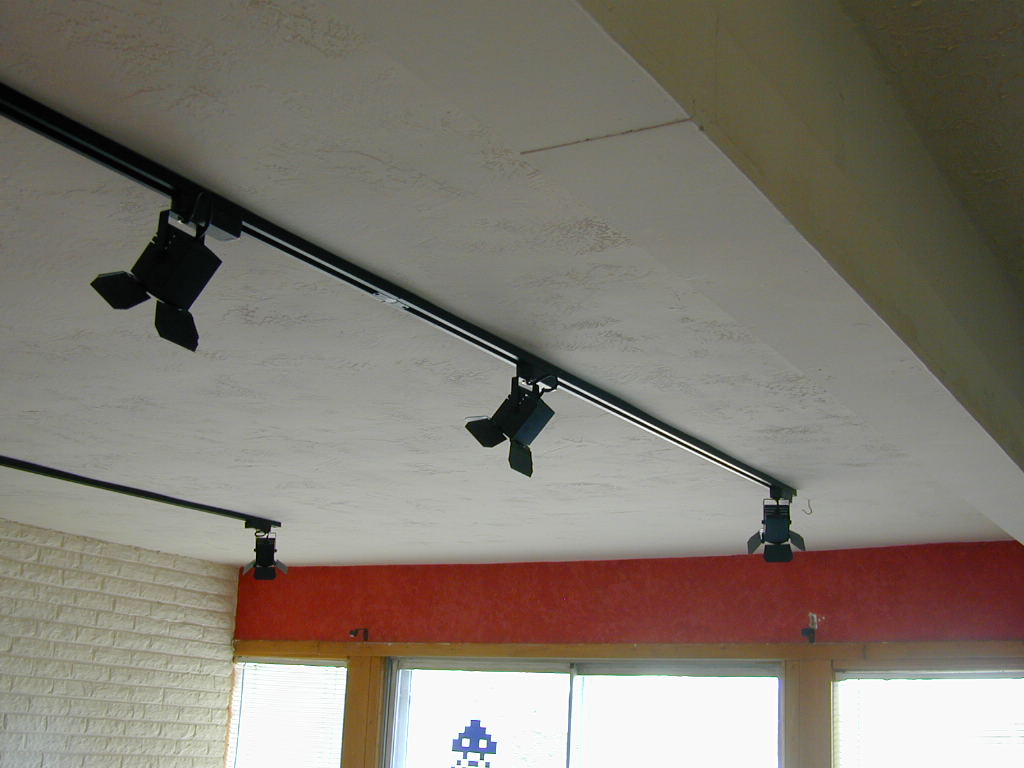
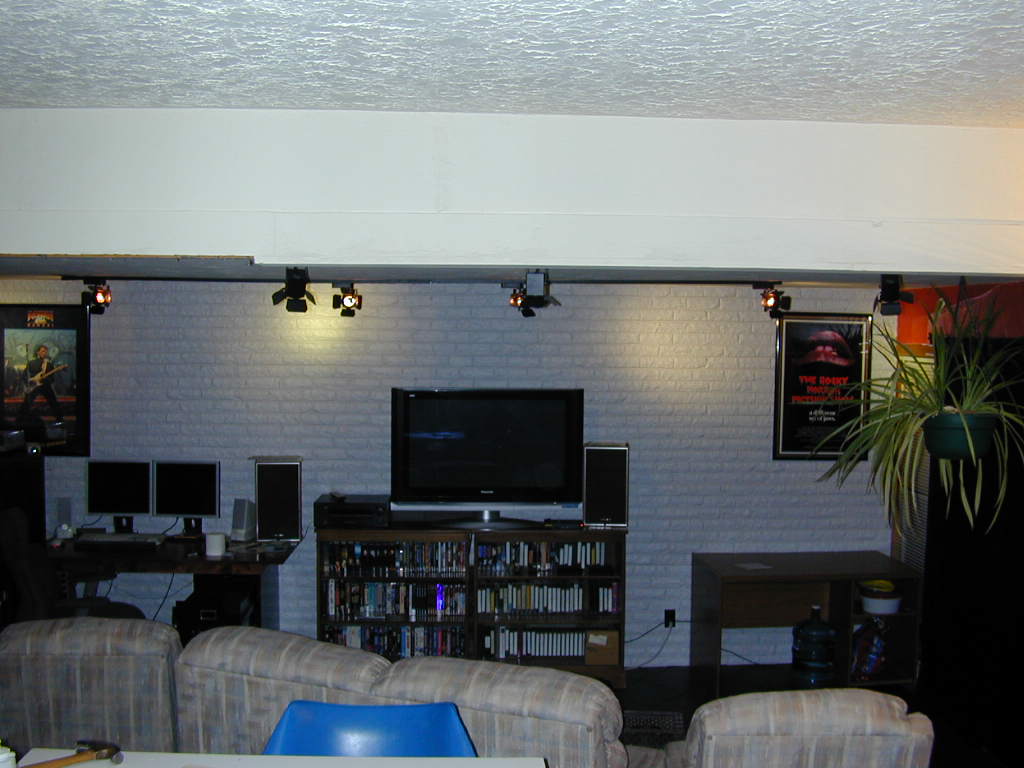
Since the floor was a dark grey or almost black, I decided it would represent the stage of a theater. To continue this idea, I purchased track lights that resembed fresnel lights, complete with barn doors.
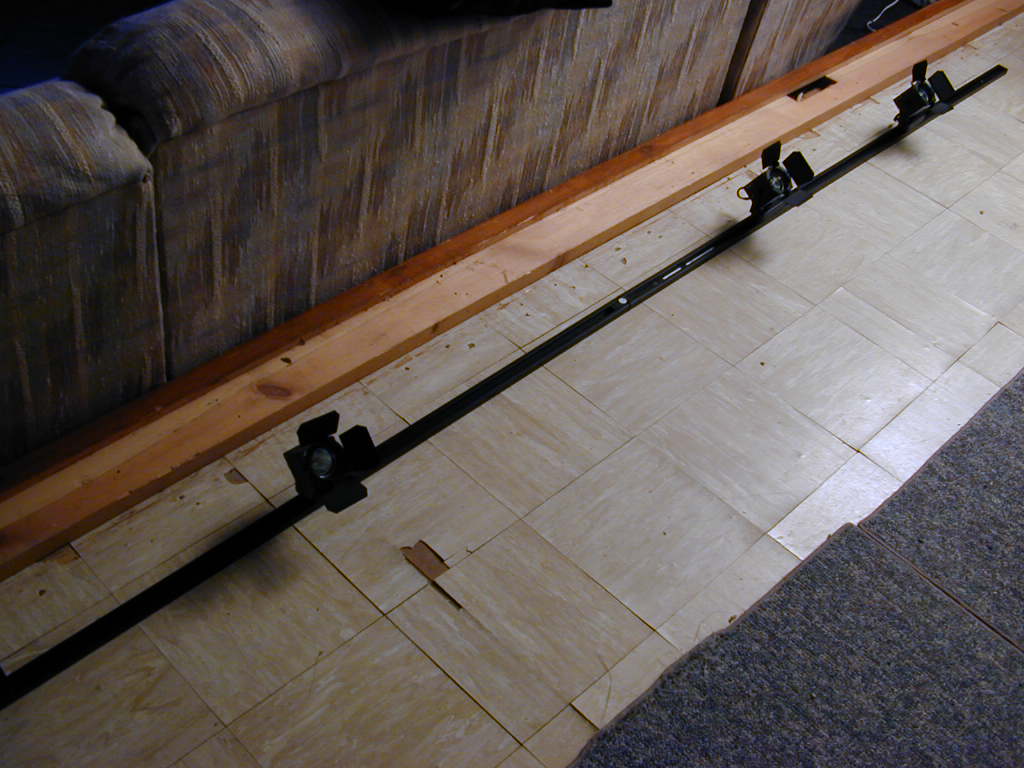 just out of box |
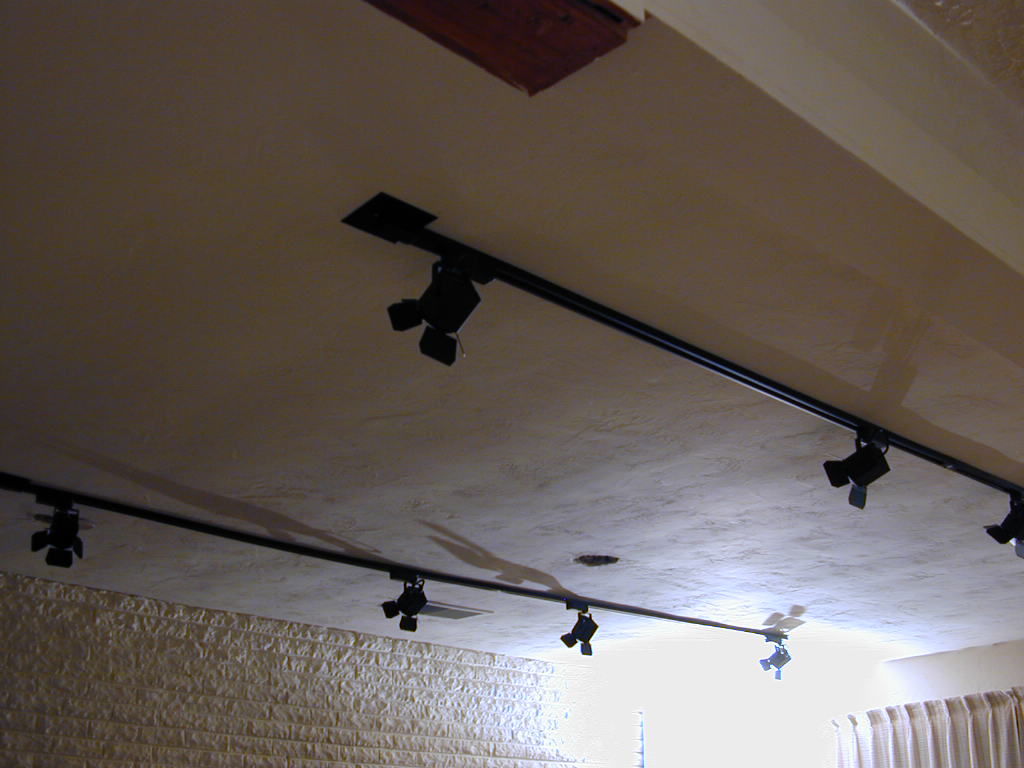 on the ceiling |
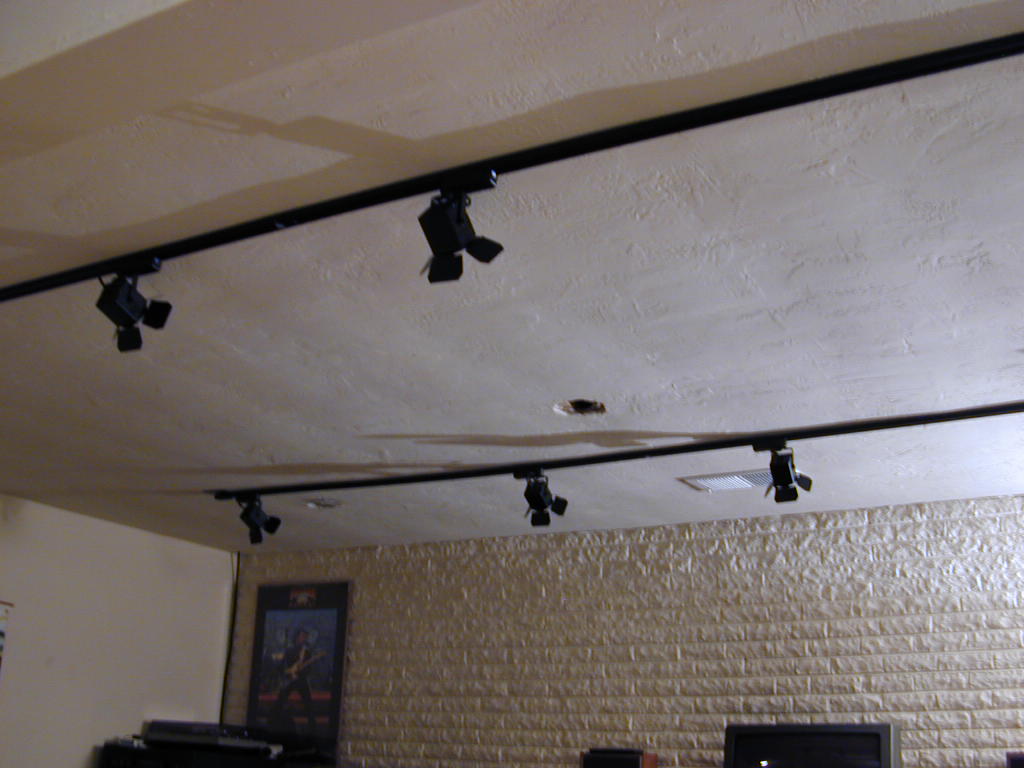 on the ceiling |
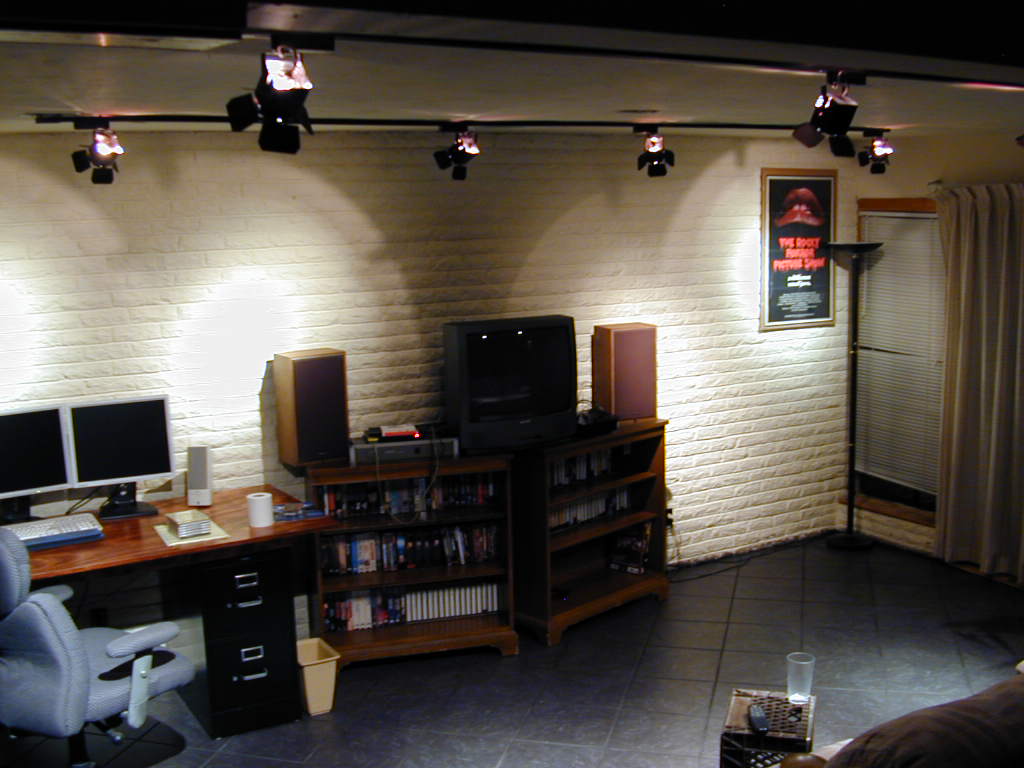 and now powered |
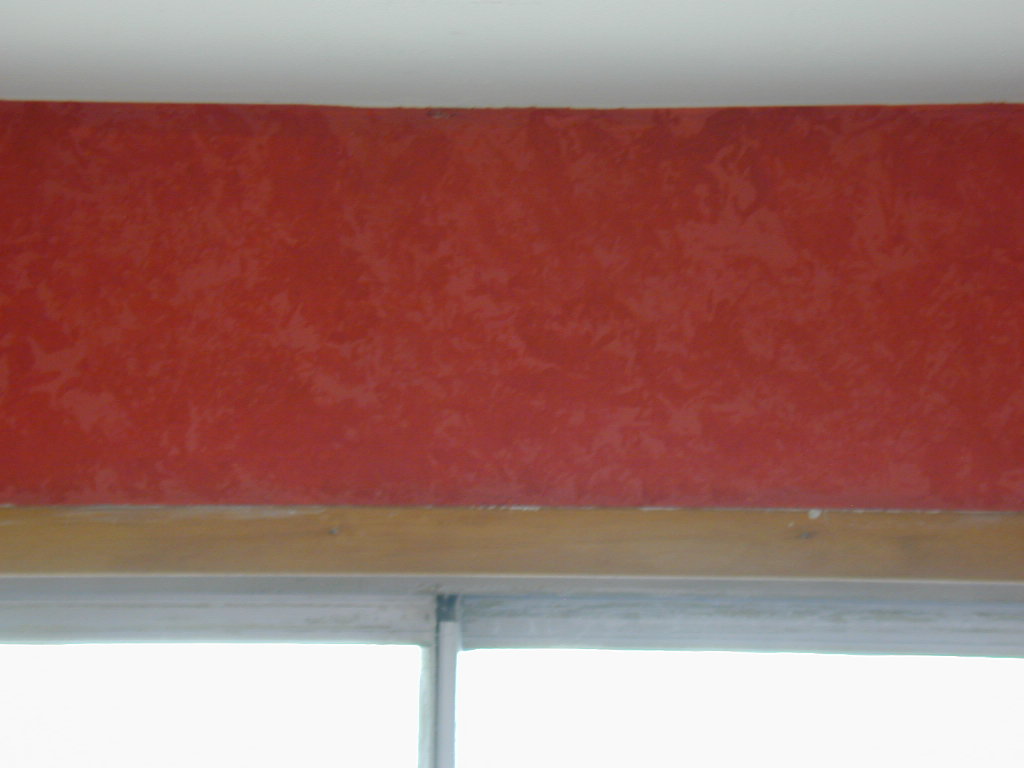
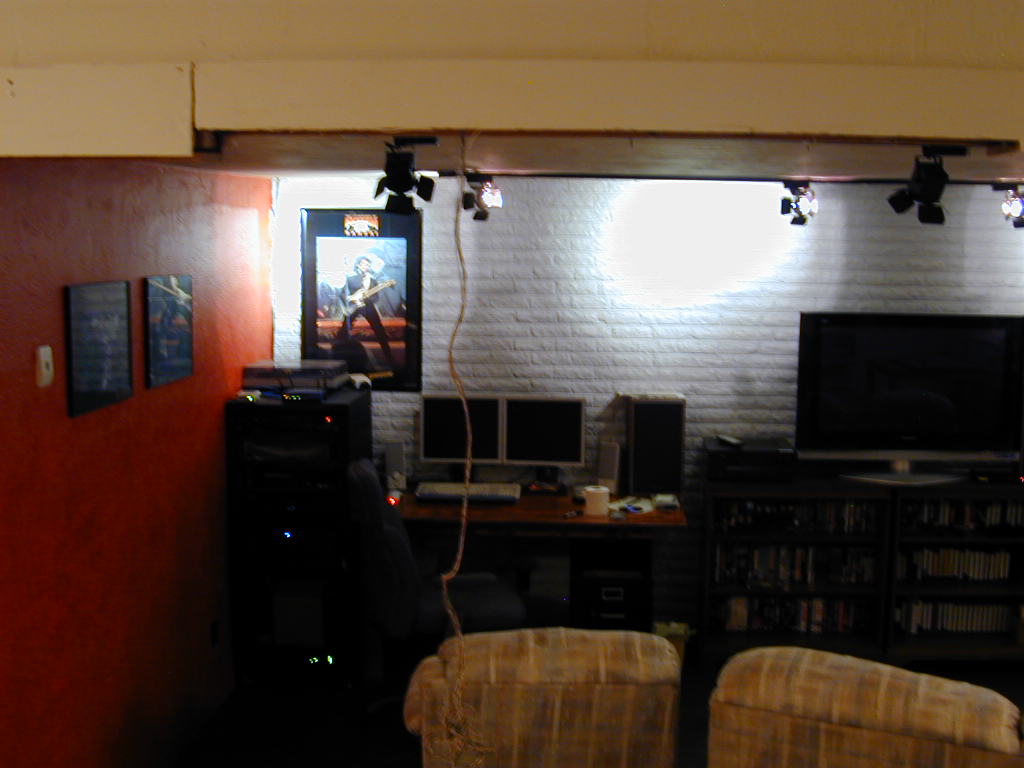
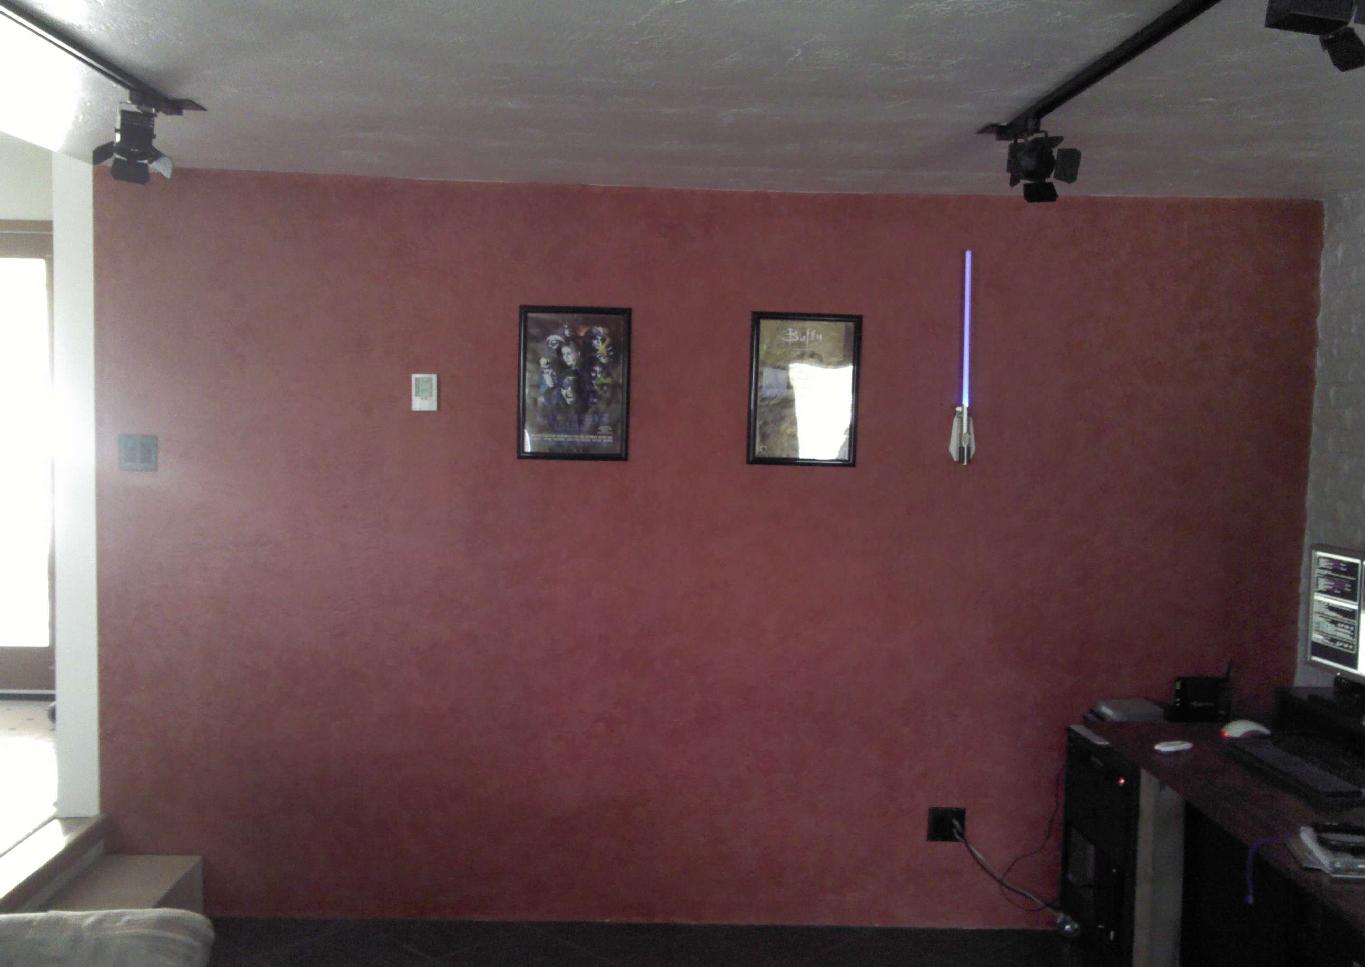
I needed a good paint scheme that would help represent a theater and also reflect the light well from the track lights. I tried several color schemes. I wanted a red component to represent a theater curtain and for a while I thought gray would go well with red. I was wrong.
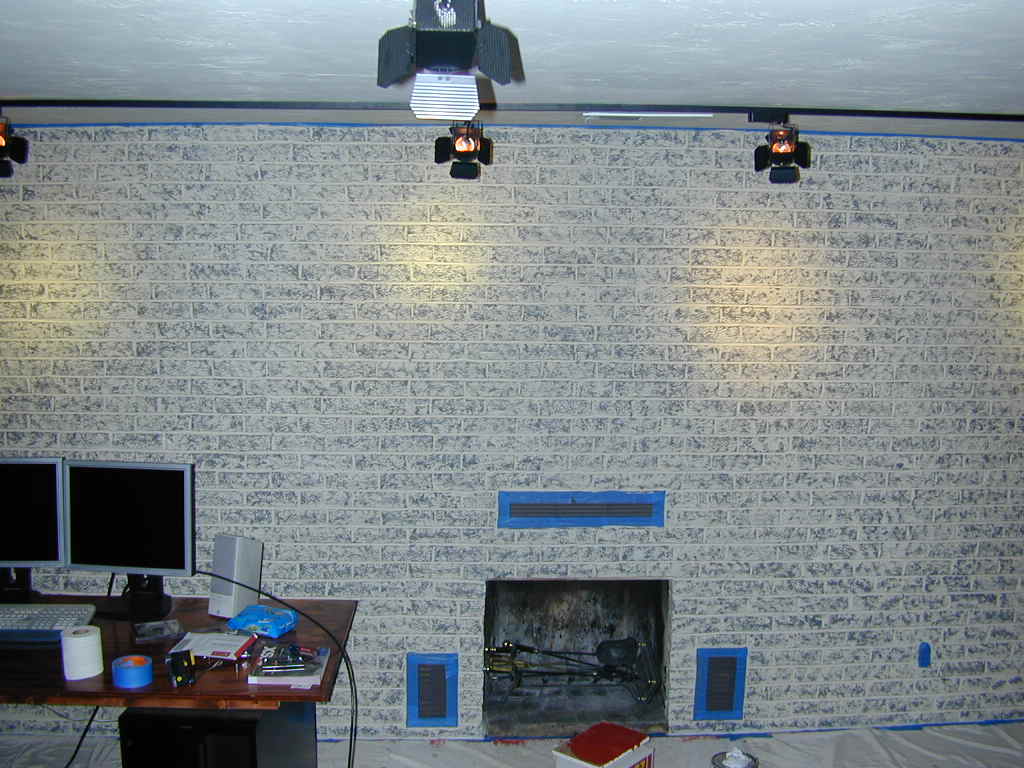
I paid a visit to Sherwin Williams for paint advice. The brick wall ended up being a solid SW-6260. On the two side walls, one large and one small, I used SW-6600 base coat and ragged SW-6601 as the topcoat.
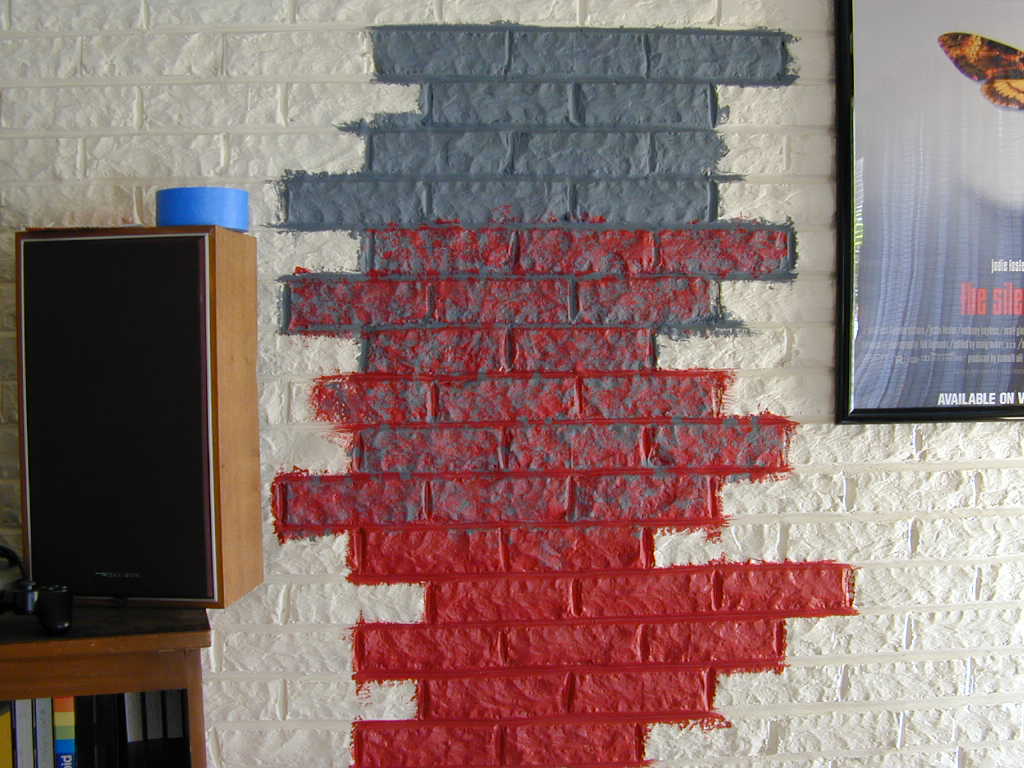 red and gray |
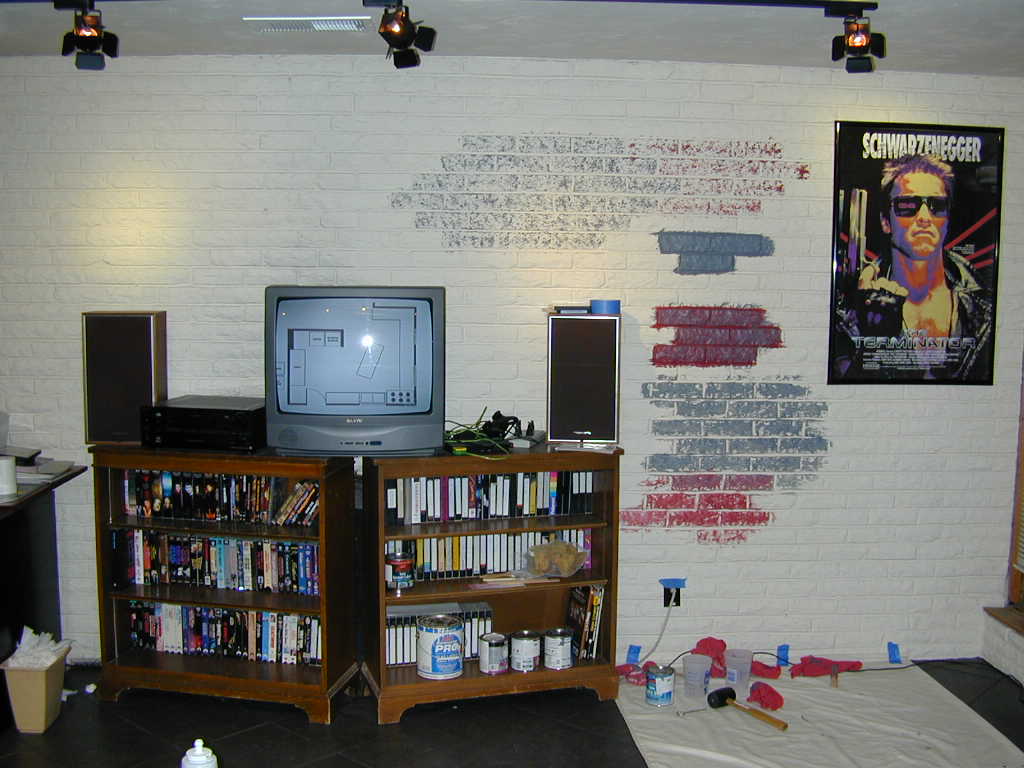 faux finishes |
 Ah, hell no | |
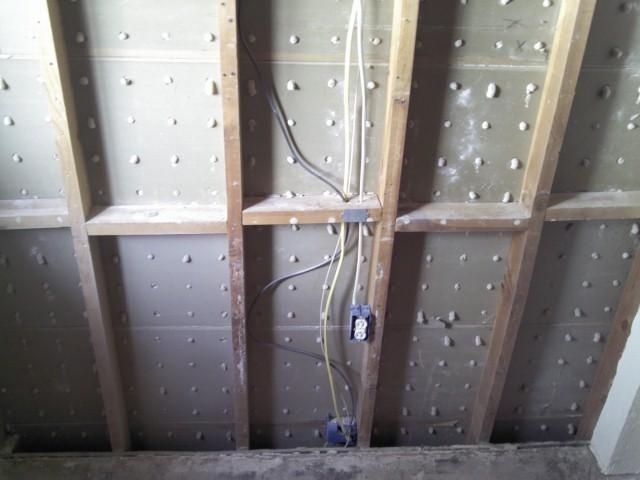
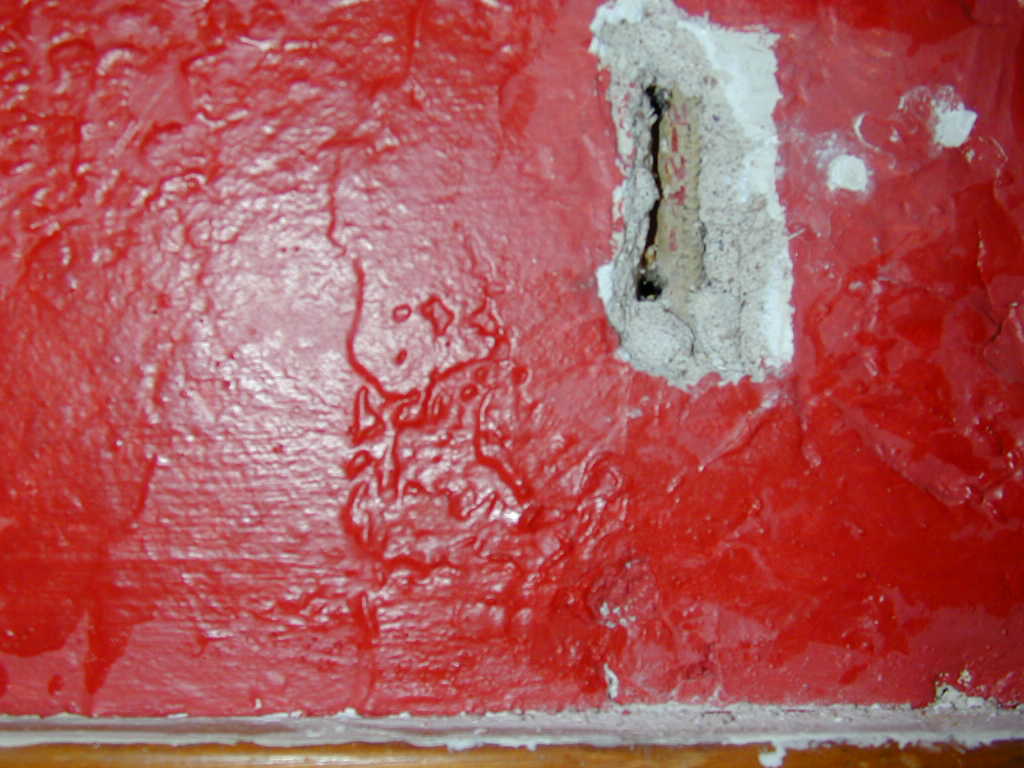 hidden elec. wire |
 small wall |
 big wall |
 small wall again |
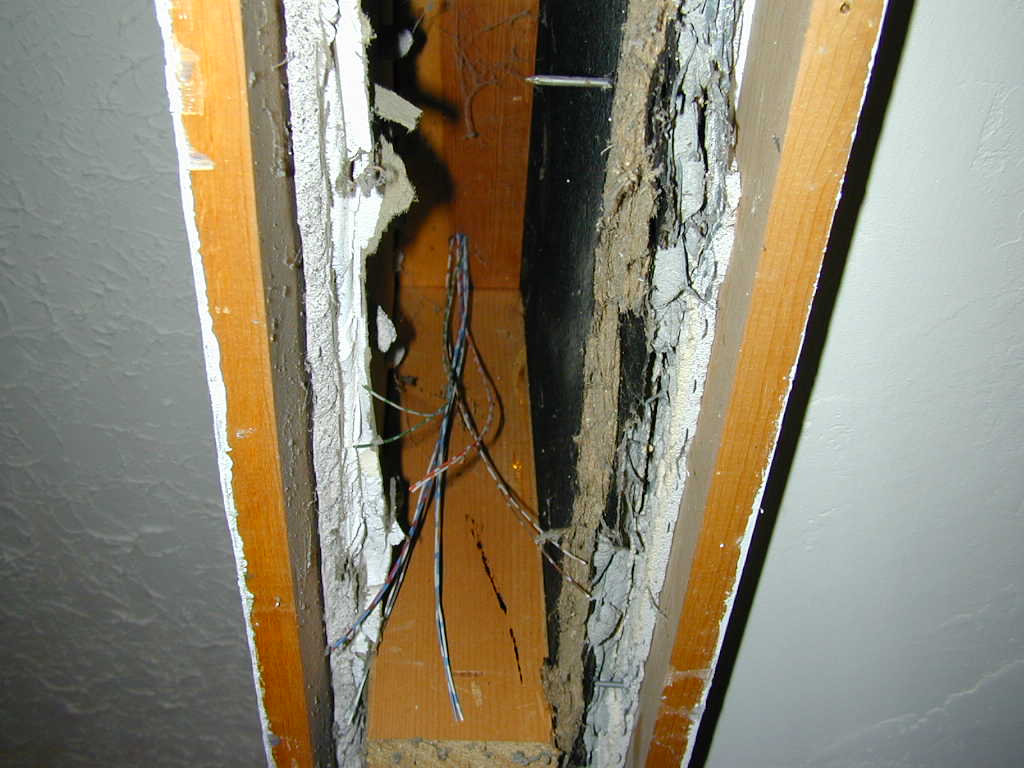
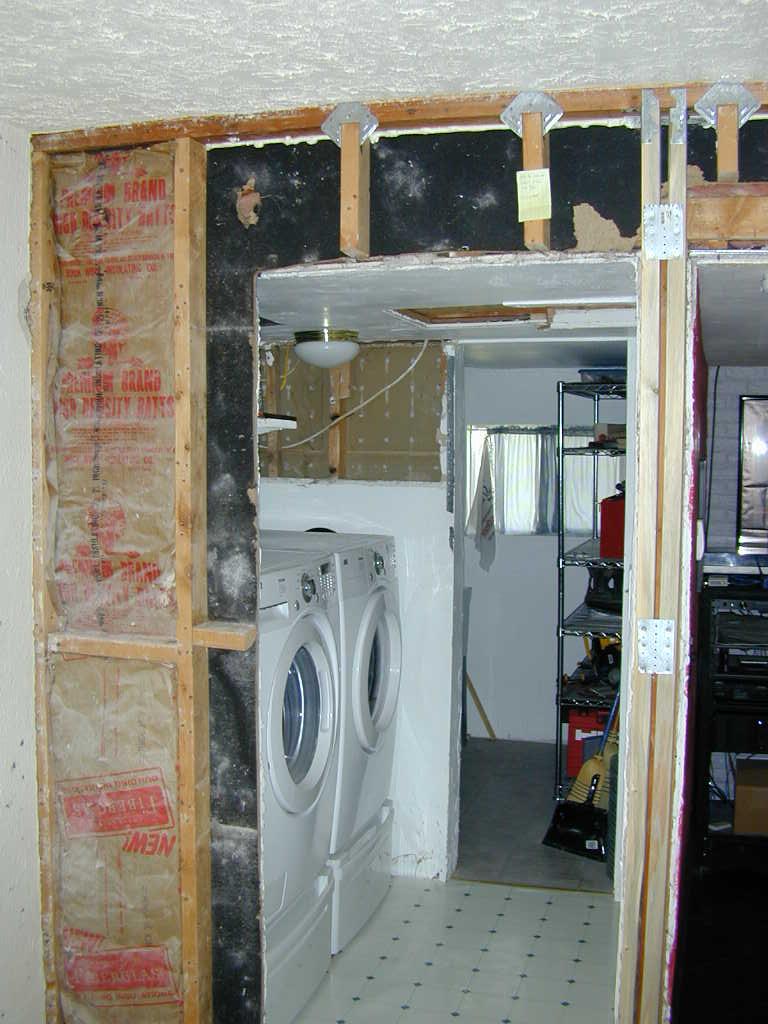
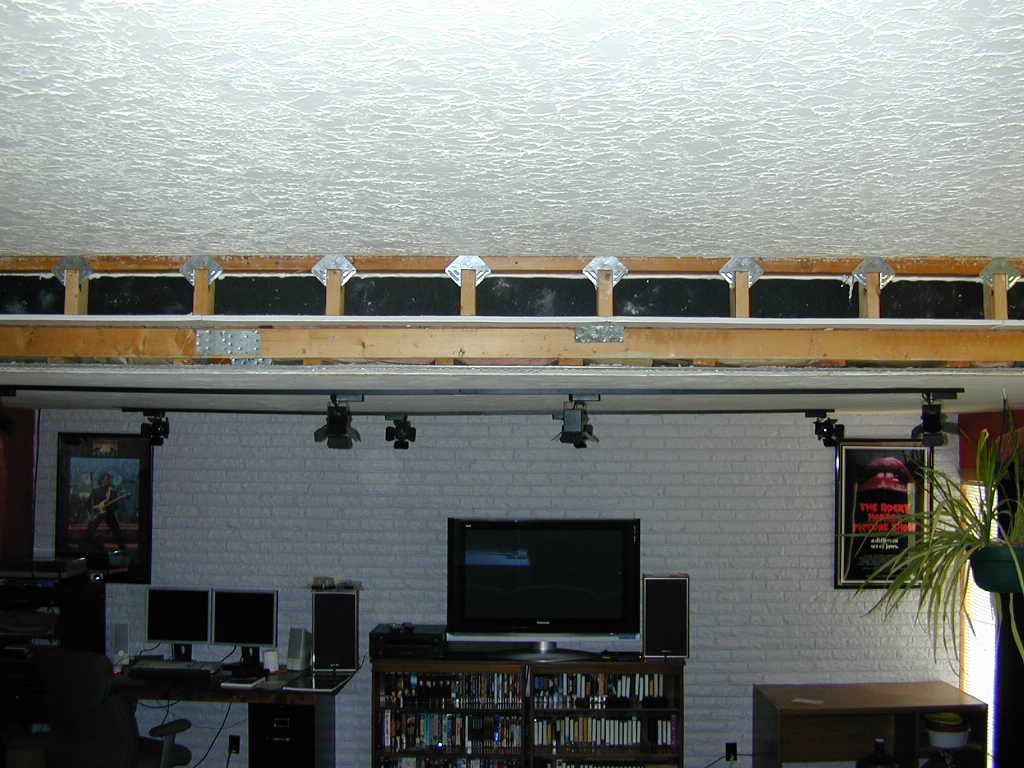
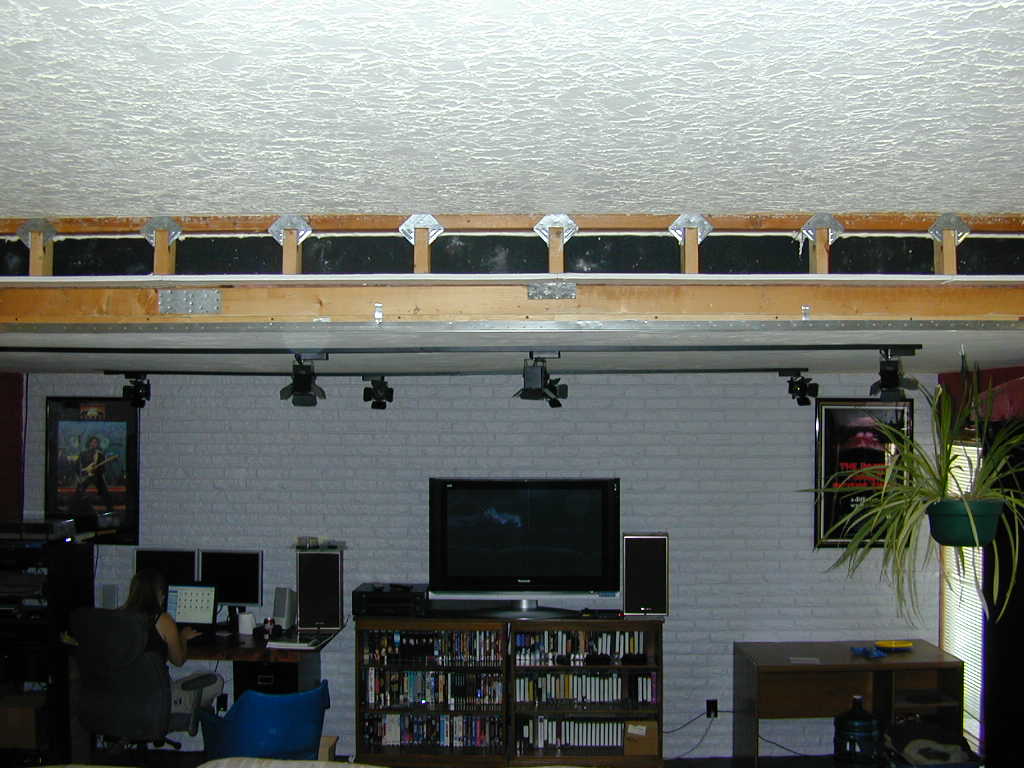
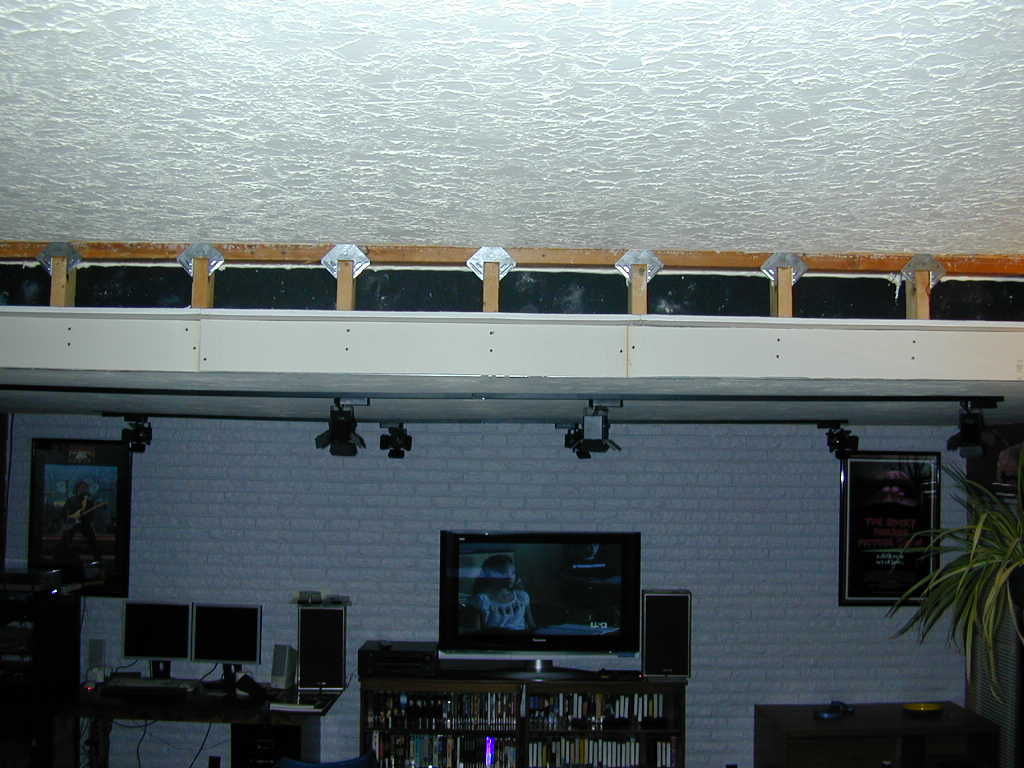
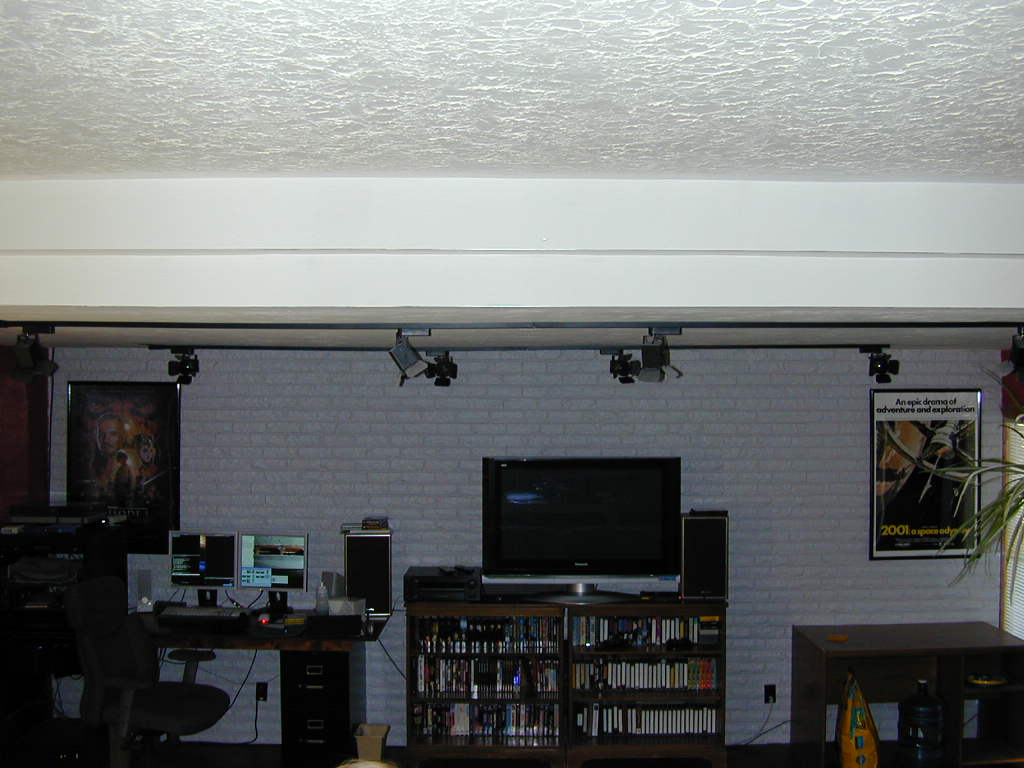
This part of the house was a selling point and an annoyance. There used to be a wall between the original living room and the garage addition. At some point, this wall was removed. When this happened a cheesy "box" was erected across the span, I suppose to look like a nice big support beam. There is no support beam, my house is help up with wishful thinking. I liked the openness of the combined rooms but the silly "box" always looked terrible.
Since there is no support beam why not finish the thing off in drywall? If for no other reason then I tend to hit my hed on it. So, one day I pulled off one of the planks that made up the "box". The house didn't collapse so I got the sledge hammer. A good and proper mess was created soon there after.
 removed a plank |
 found wire |
 removed wire |
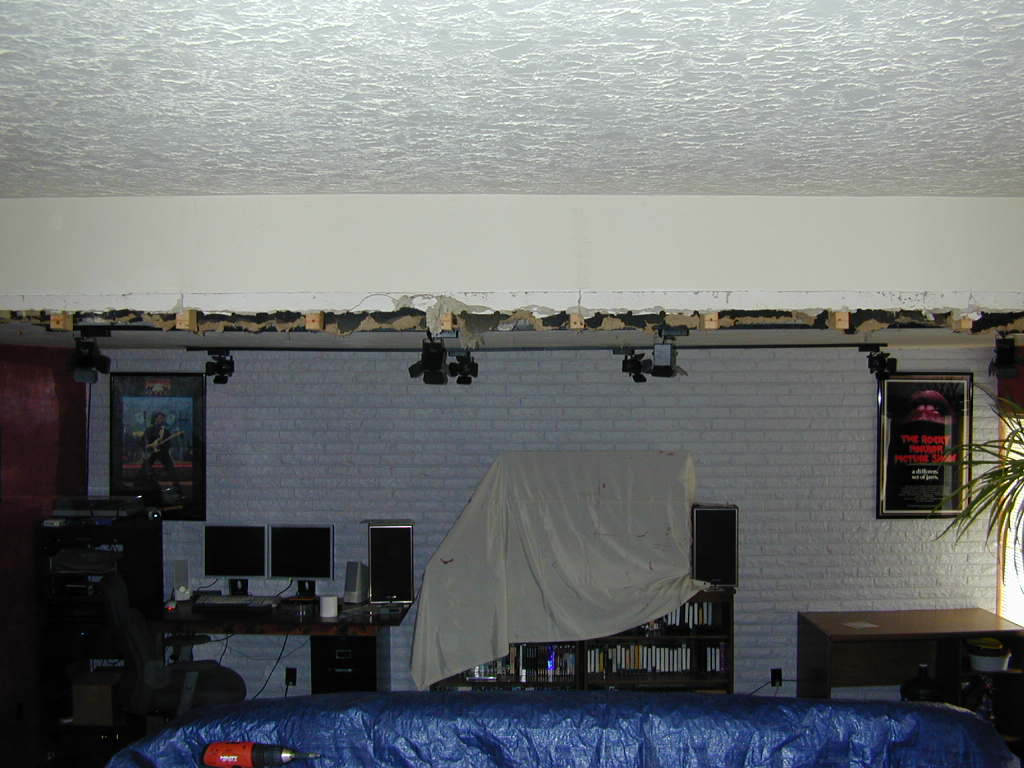 applied sledge |
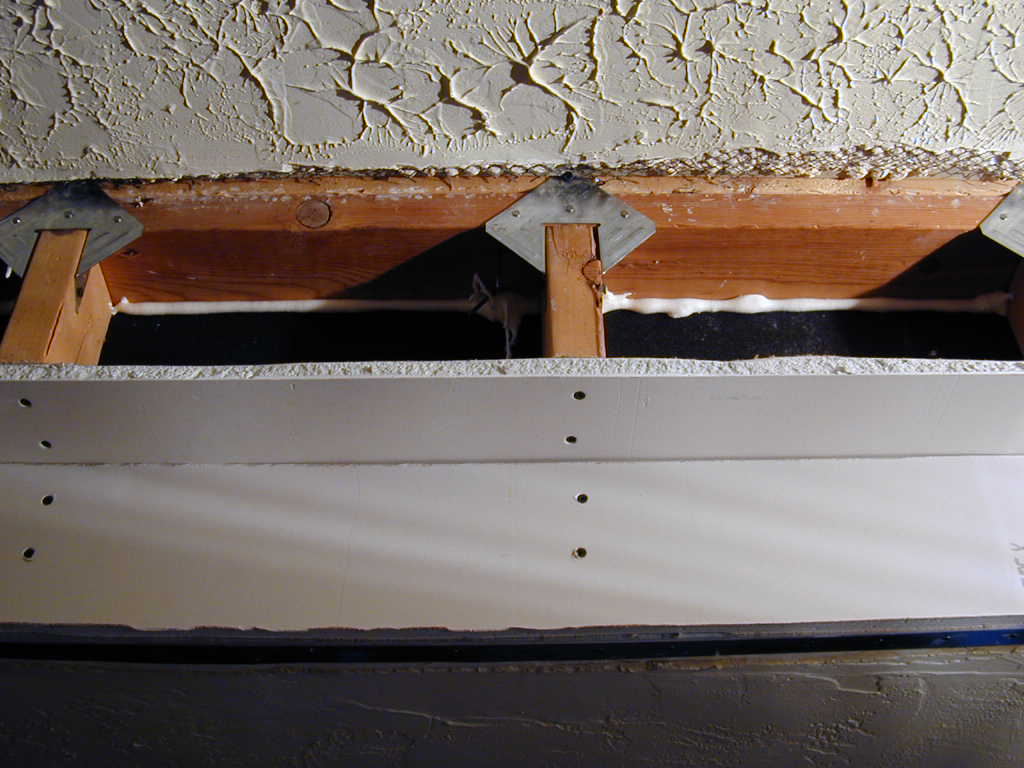
 look insulation |
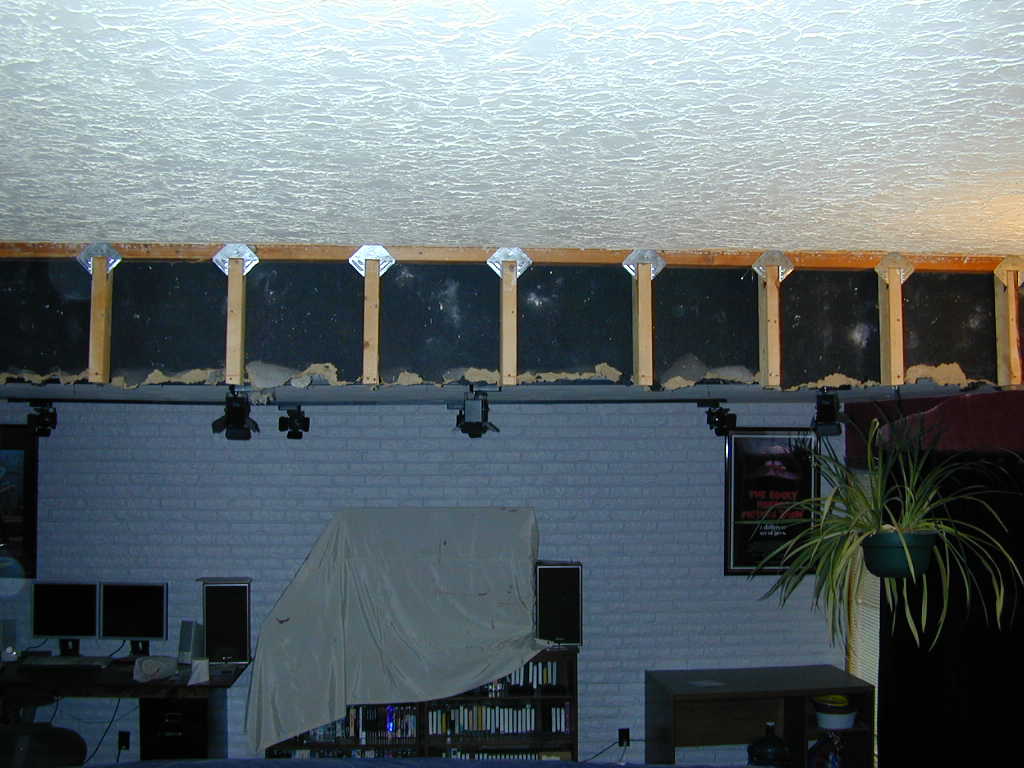 added braces |
 cut 2x4s |
 remoevd trim |
 first drywall |
 metal corner |
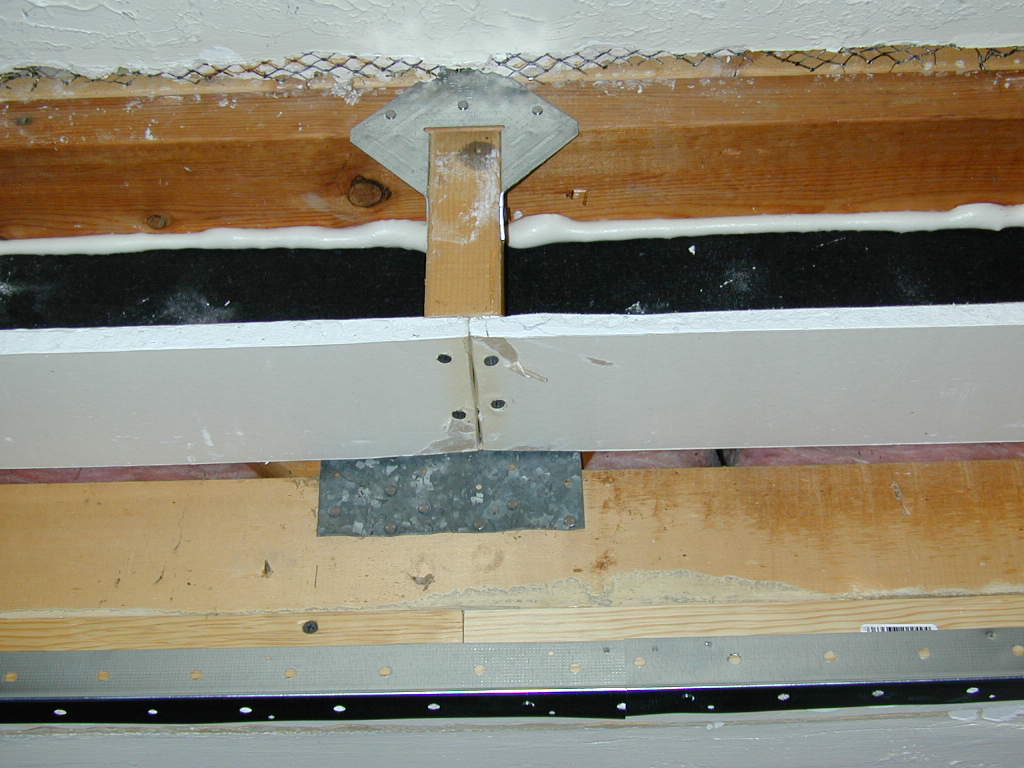 spray foam |
 more drywall |
 need more corners |
 built door frame |
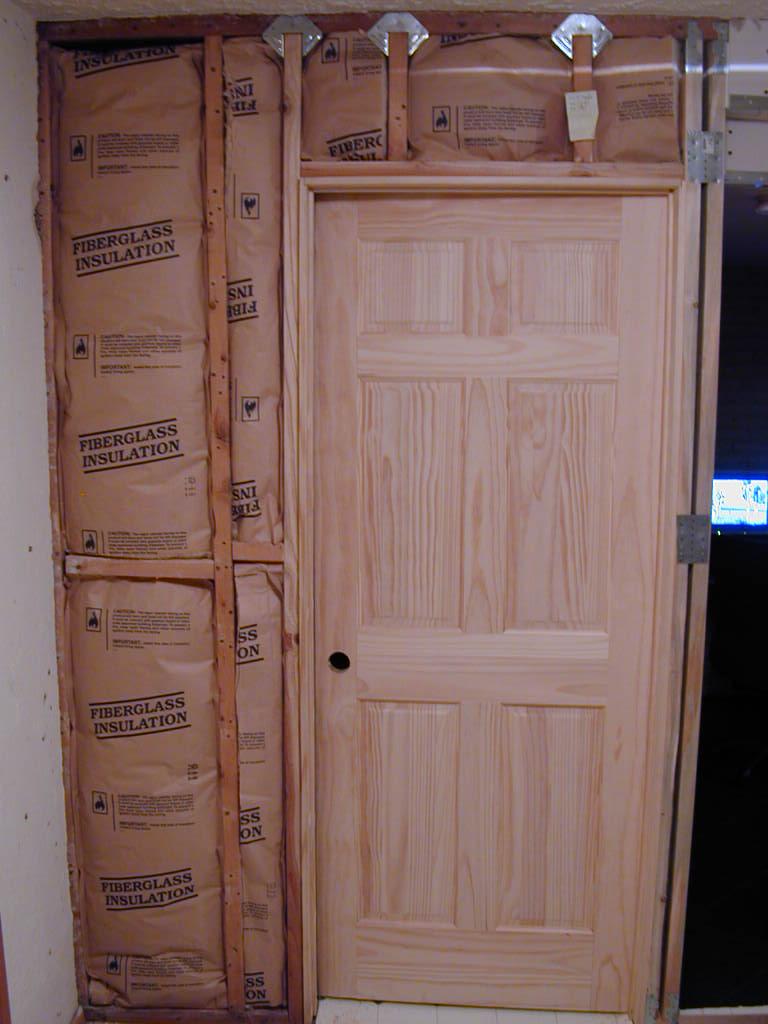 added door |
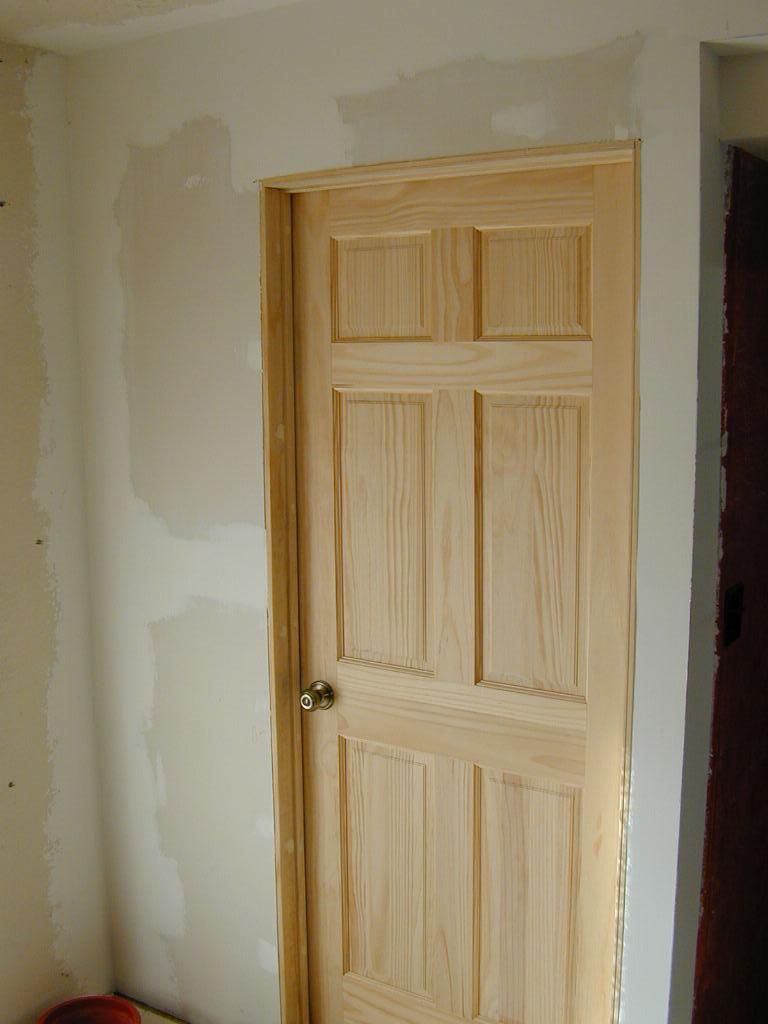 added drywall |
 ready for paint |
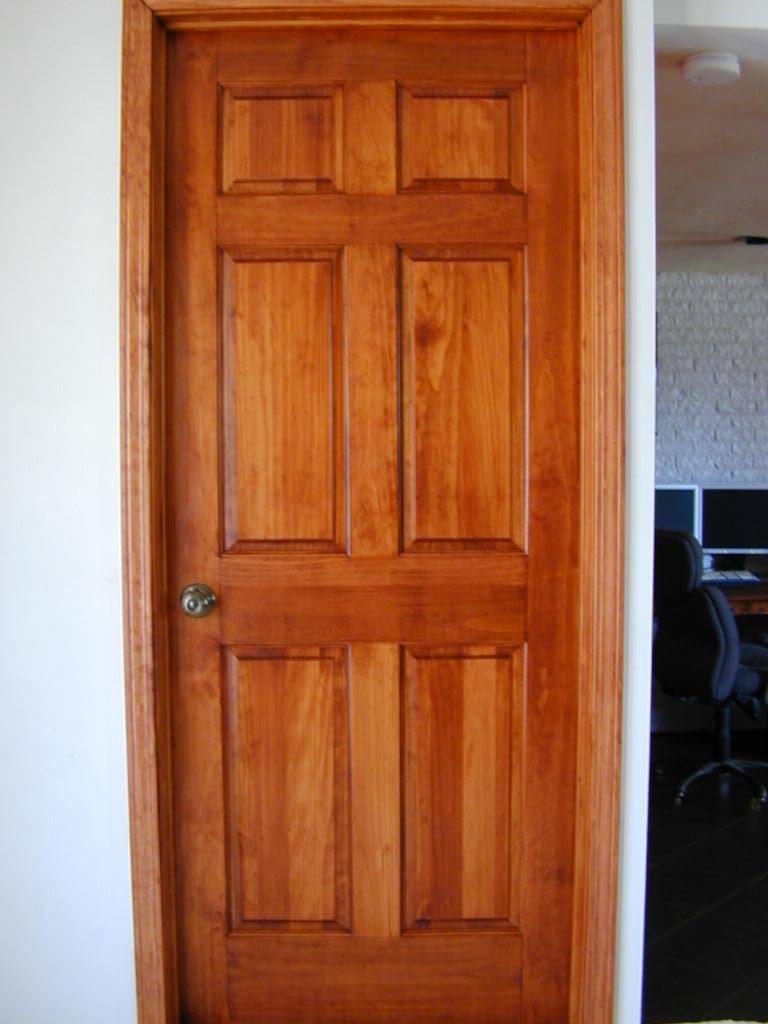 Finished door |
Some trim was still missing.
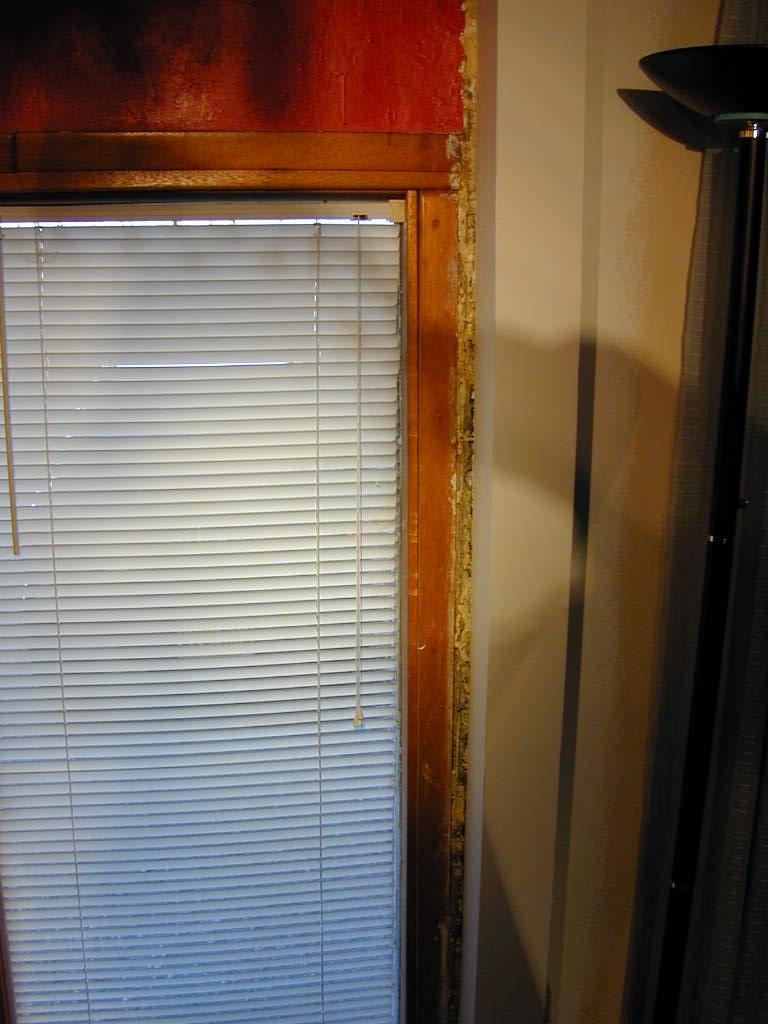 missing trim |
 added trim |
Finally got around to finishing the paint. Painted the ceiling and trim round the red walls.
 Painting ceiling |
 Finish paint |
 Finish paint |
Early in 2004 I decided I was going to re-insulate my attic. The idiots before me had "insulated" the attic with 16" wide R7 rock wool for 24" centers. Morons! I was going to replace it with 24" R30. After removing the insulation from just the den I decided to hire someone to finish the work.
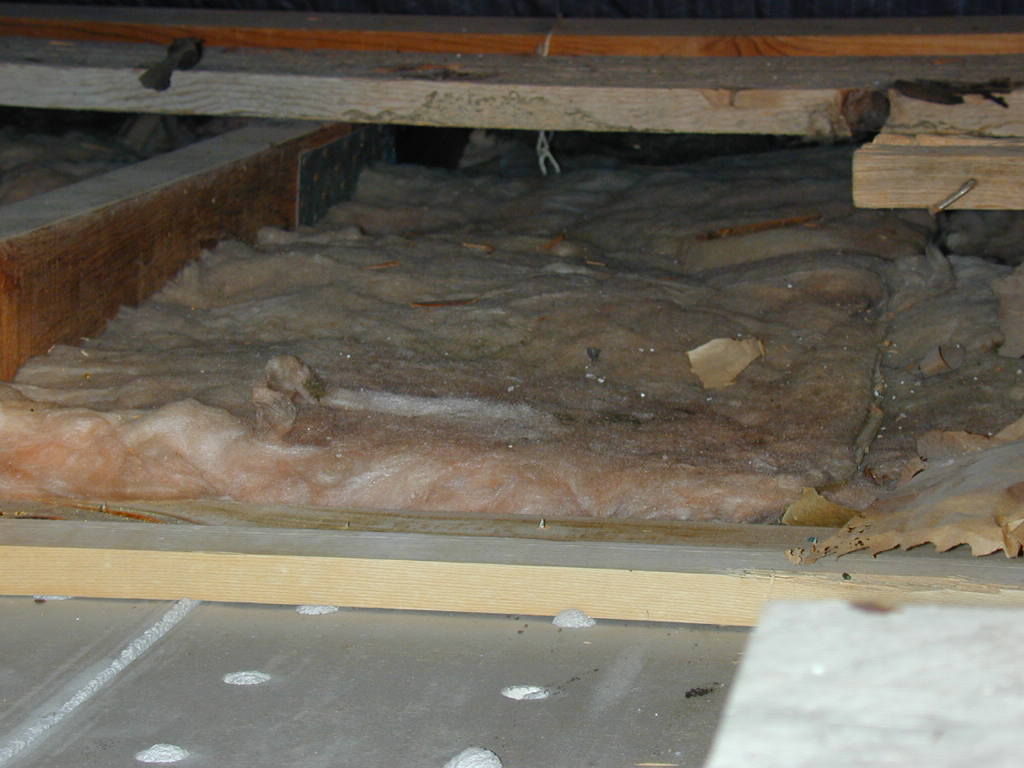 old attic insulation |
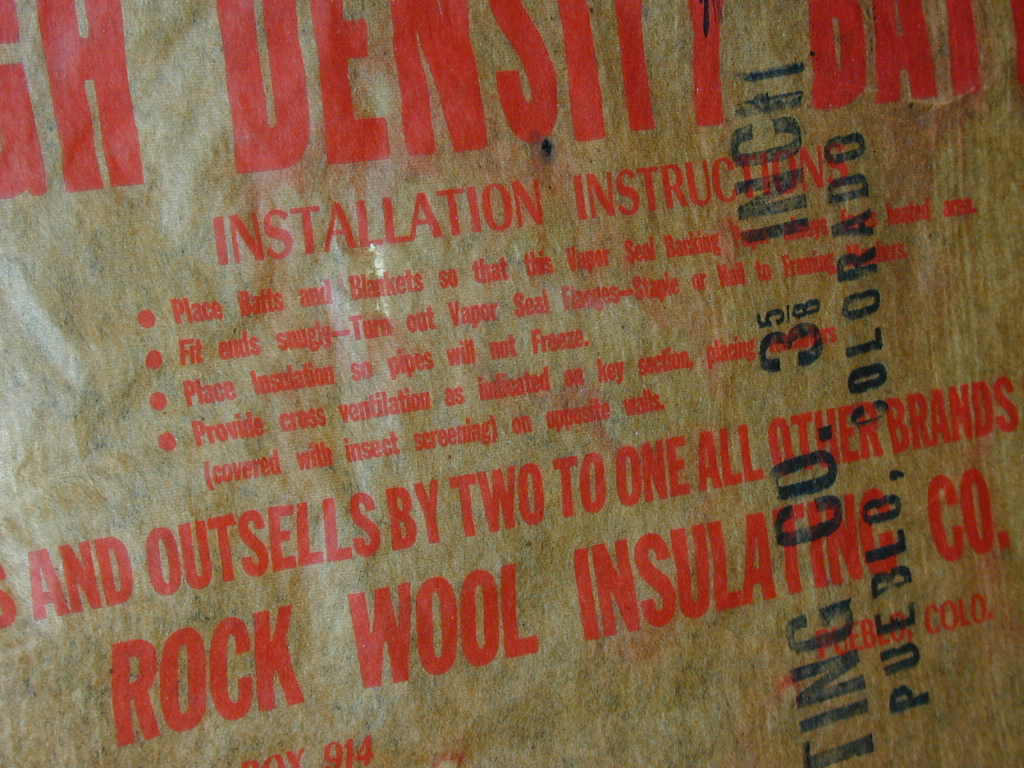 16" R7??!! |
 that's gotta go |
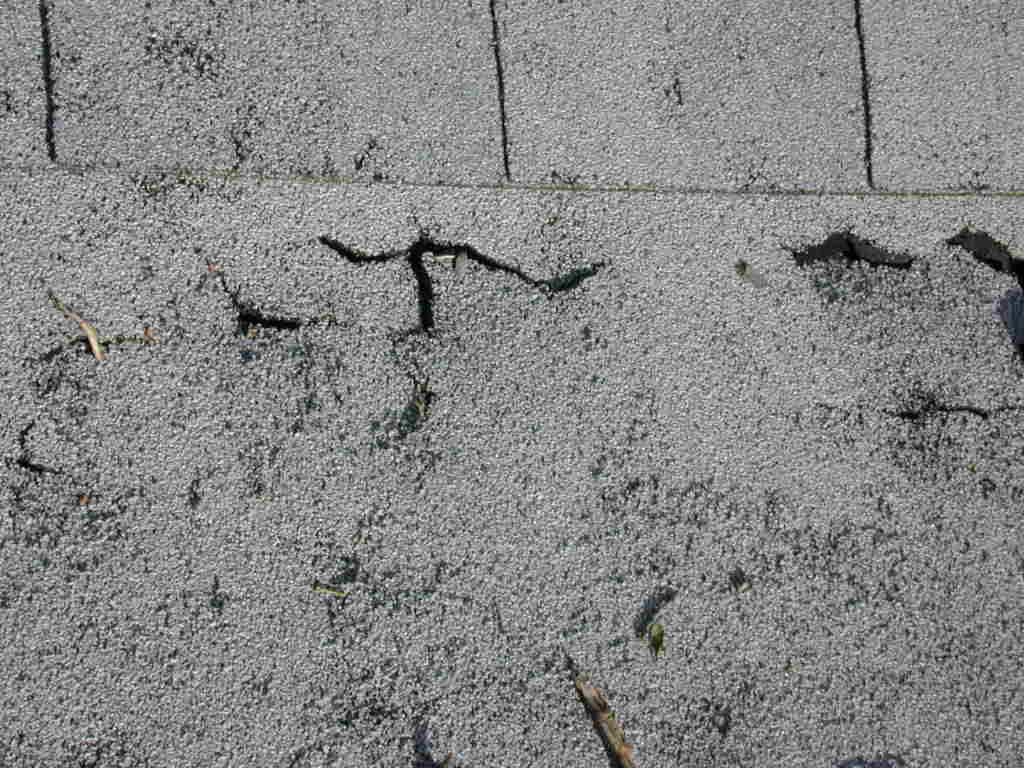
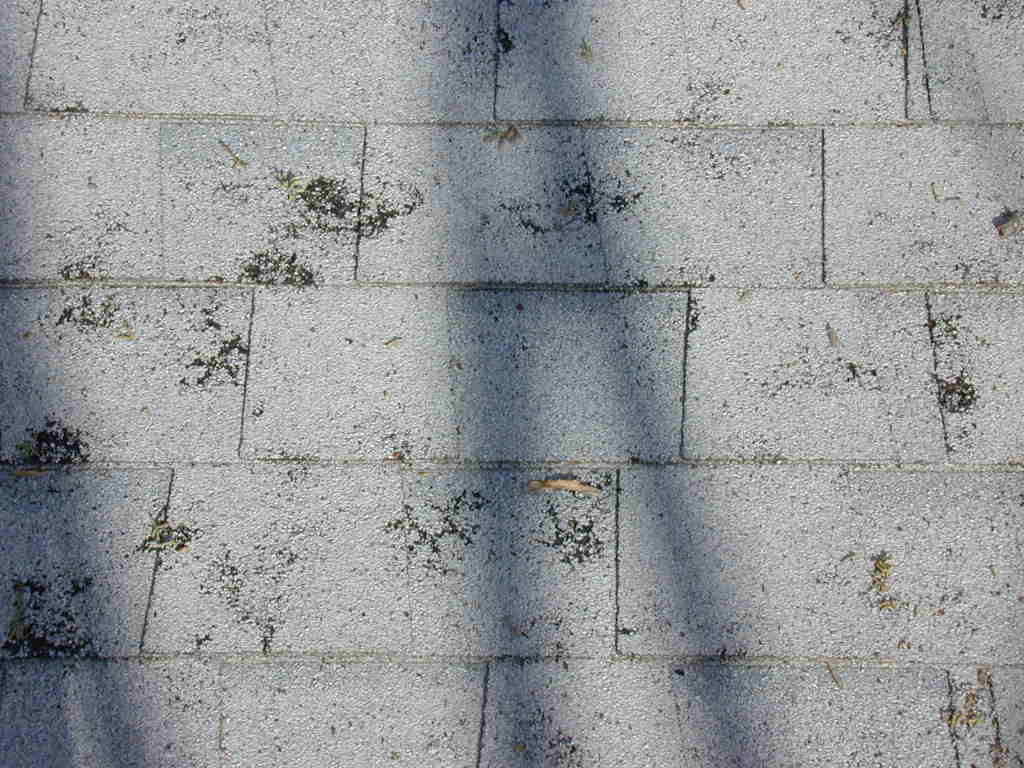
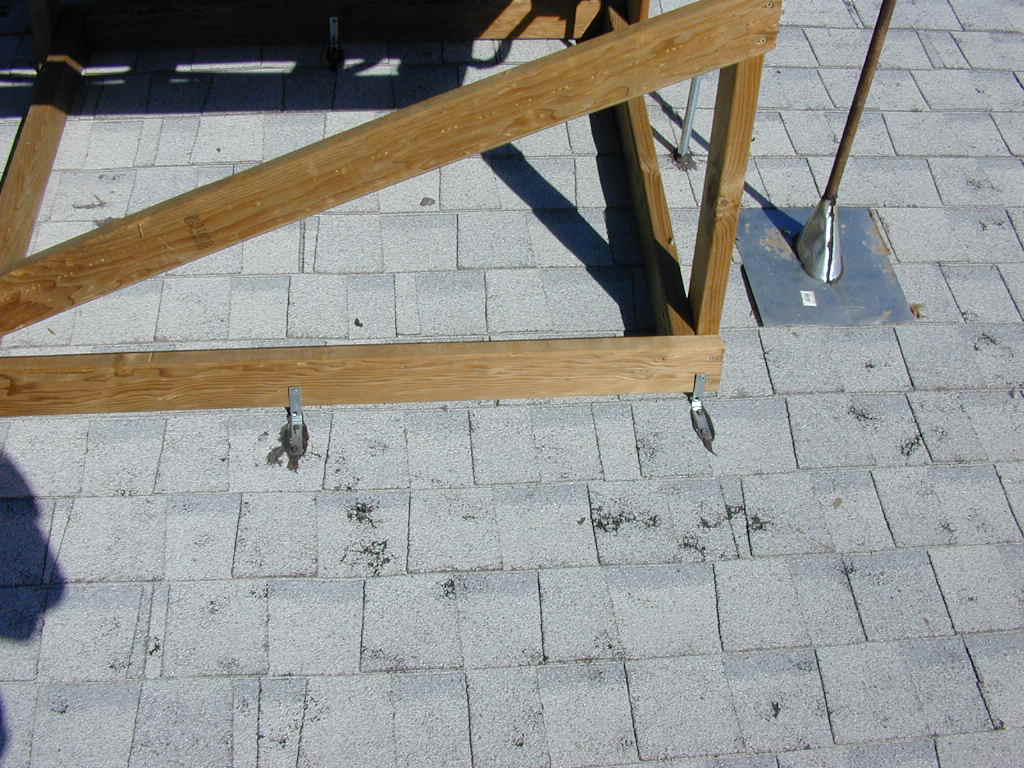
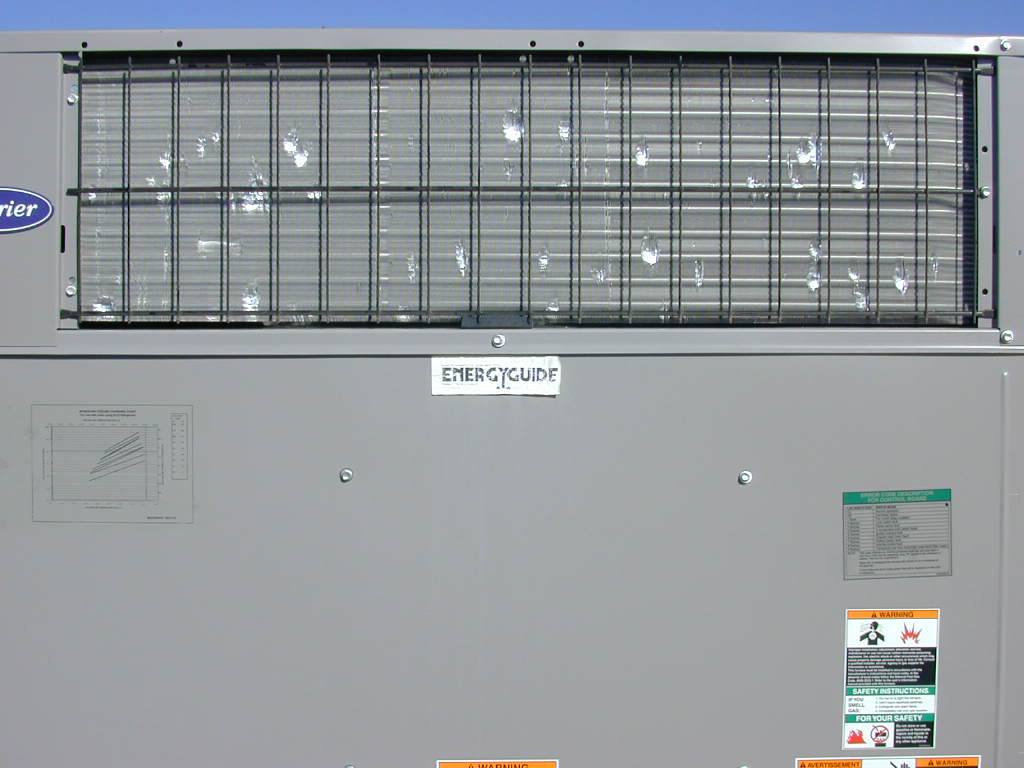
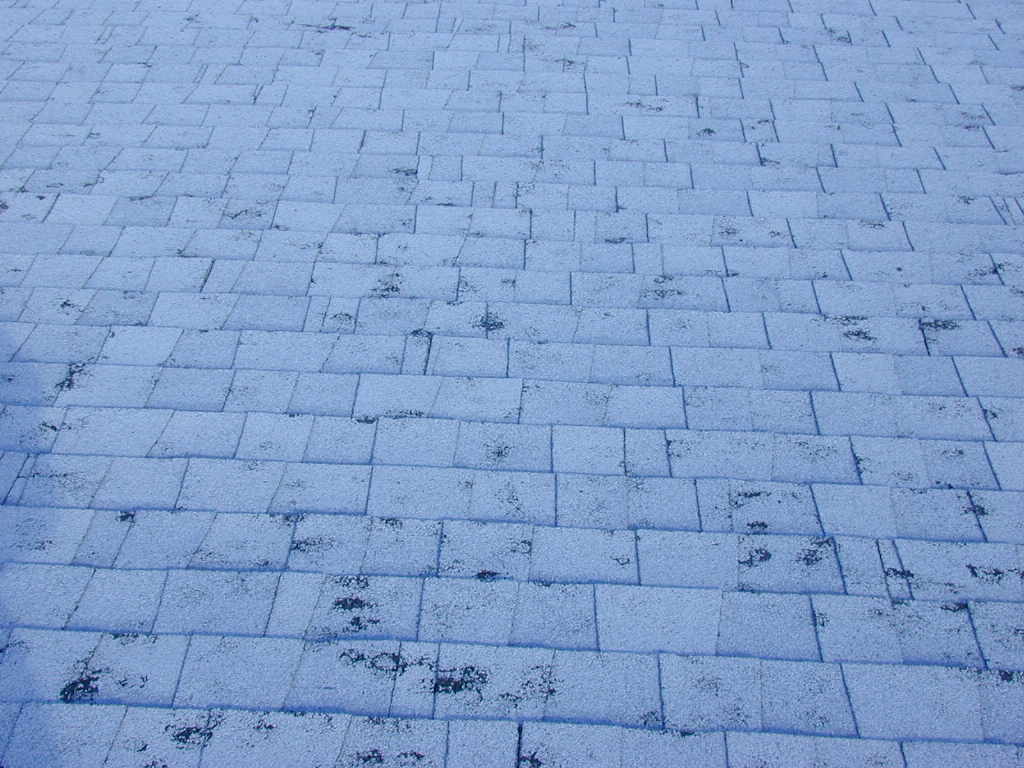
Fortunatly, in October 2004, god attemted to destroy the city of Socorro with hail. He did a pretty good job.
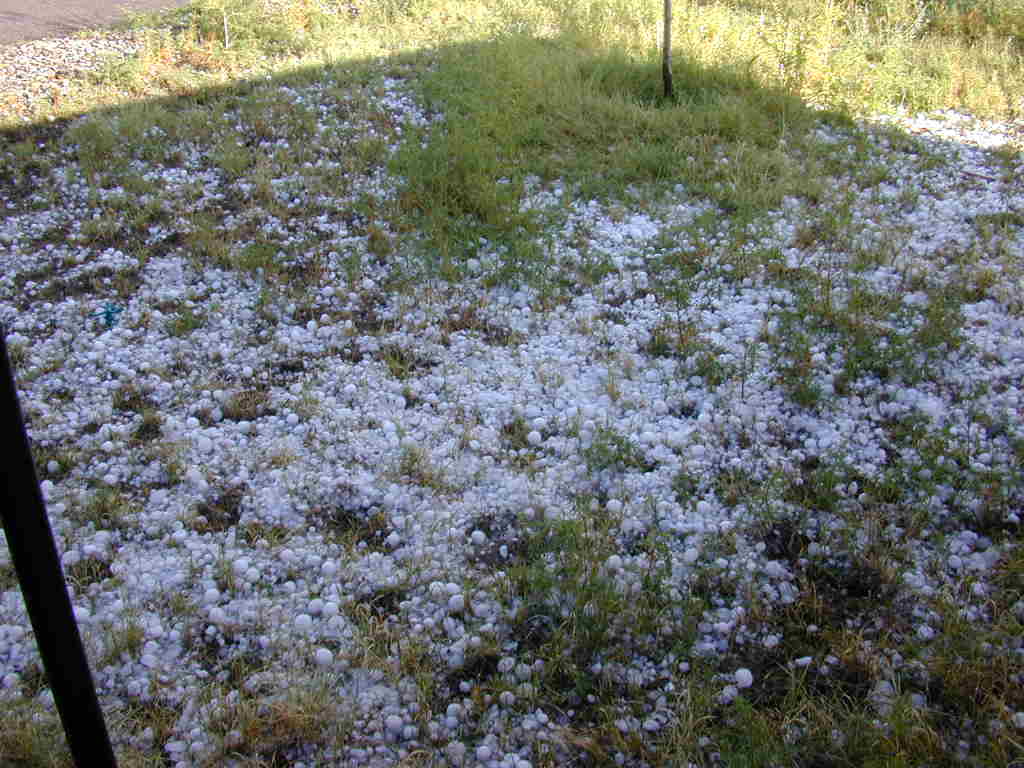 front yard |
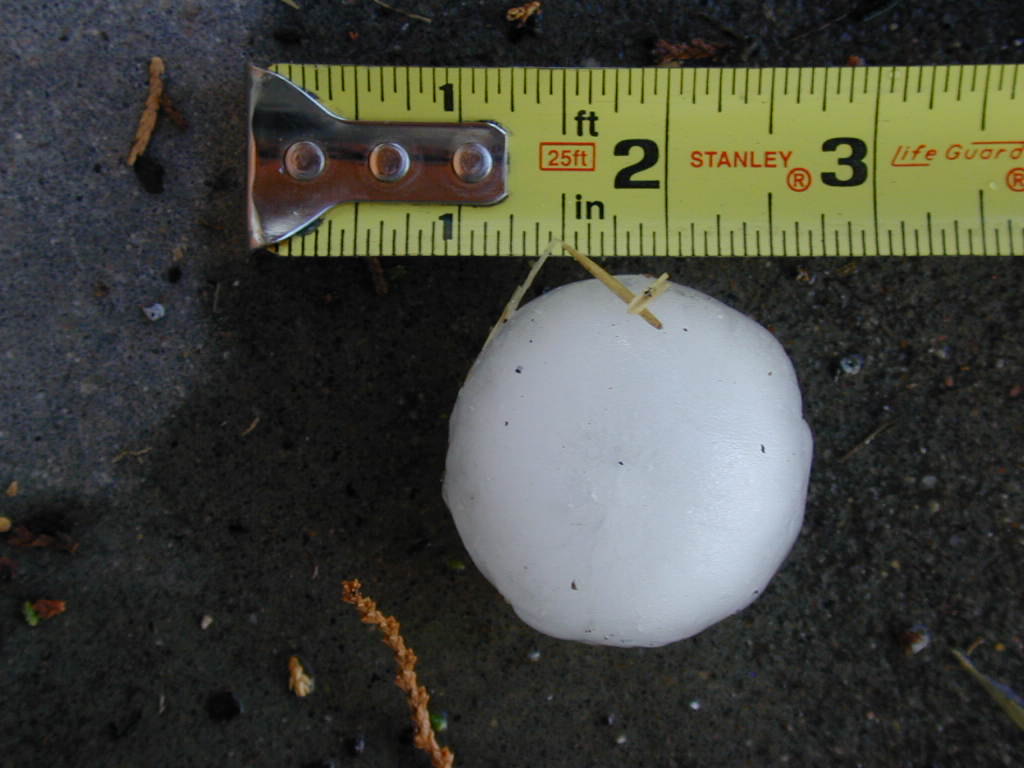 this was average |
 |
 |
 |
 |
 |
 |
 |
 |
 |
 |
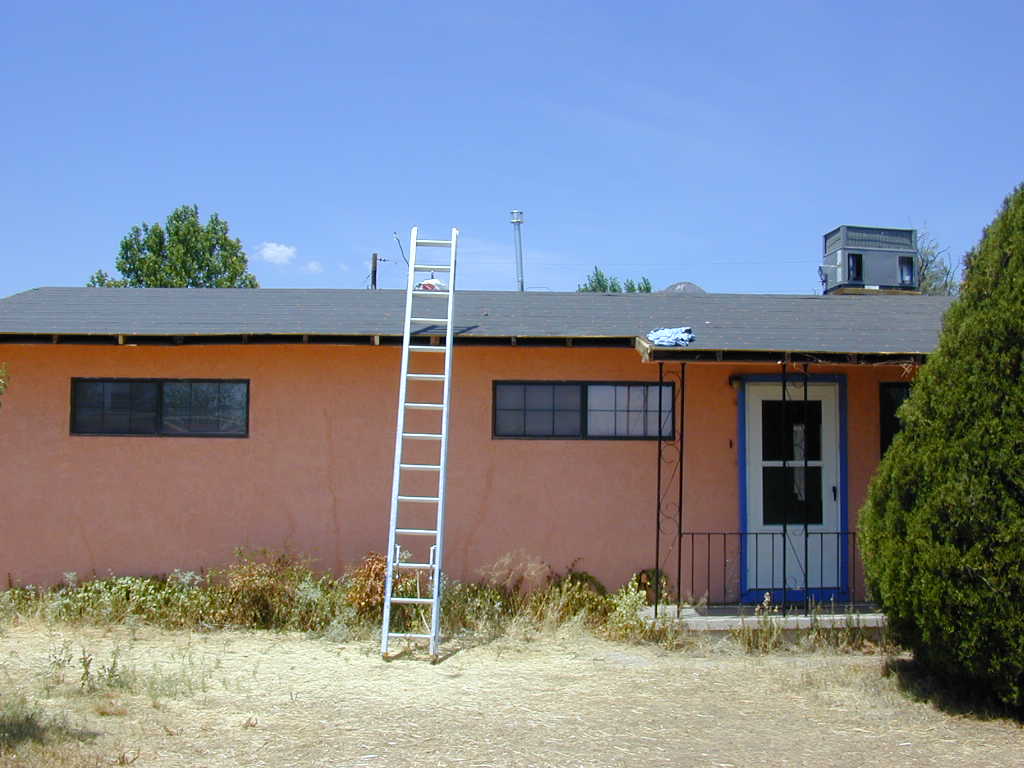
Lucky for me I was insured and thus began the replacement of my roof in July of 2005. They replaced everything down to and including the decking. It was rather springy decking even before the hail. They also replaced the trim and porch roof. Since they were replacing the decking I asked if they could install new insulation. They said sure.
 old trim |
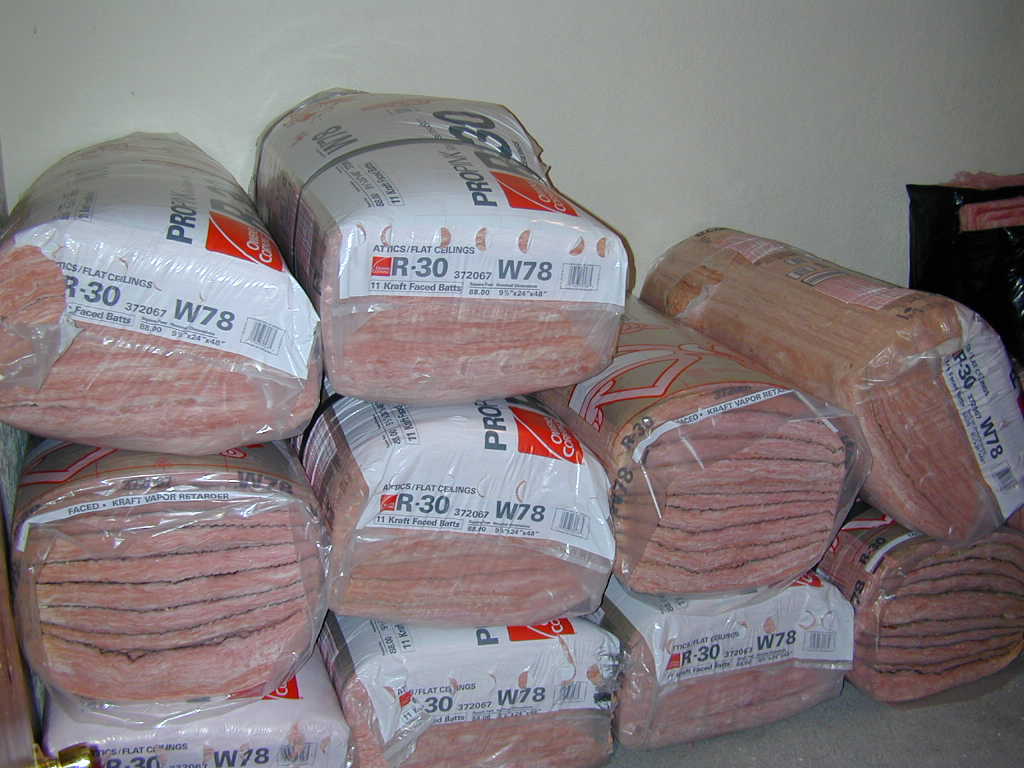 new insulation |
 new tar paper |
 new tar paper |
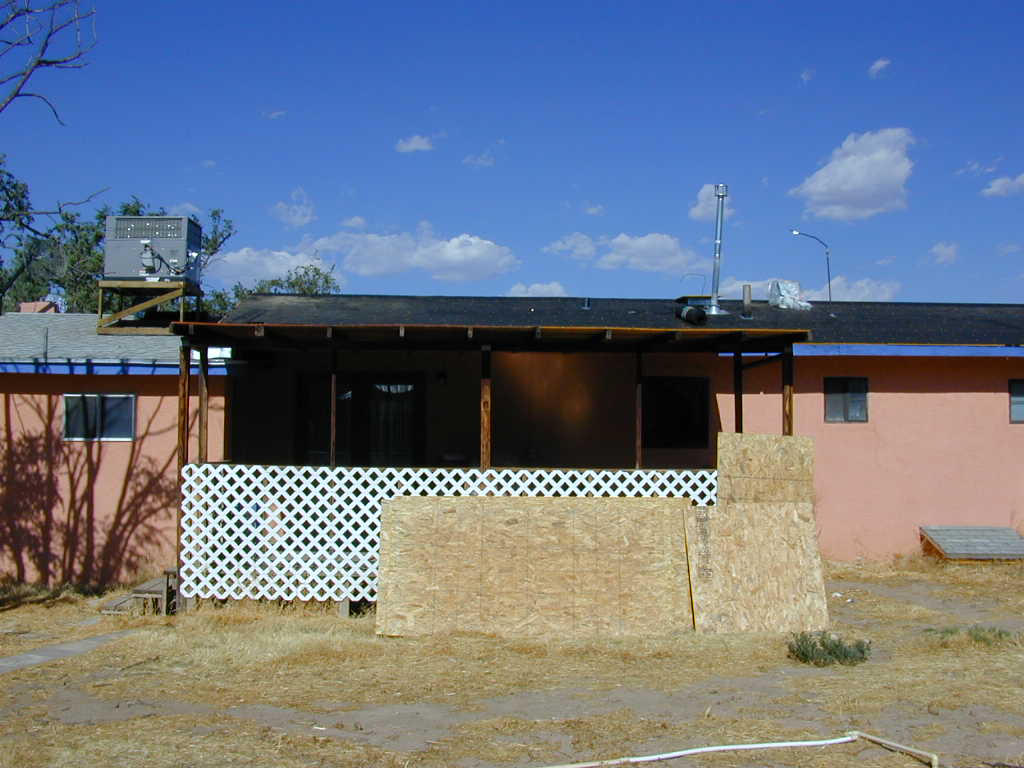
 porch roof gone |
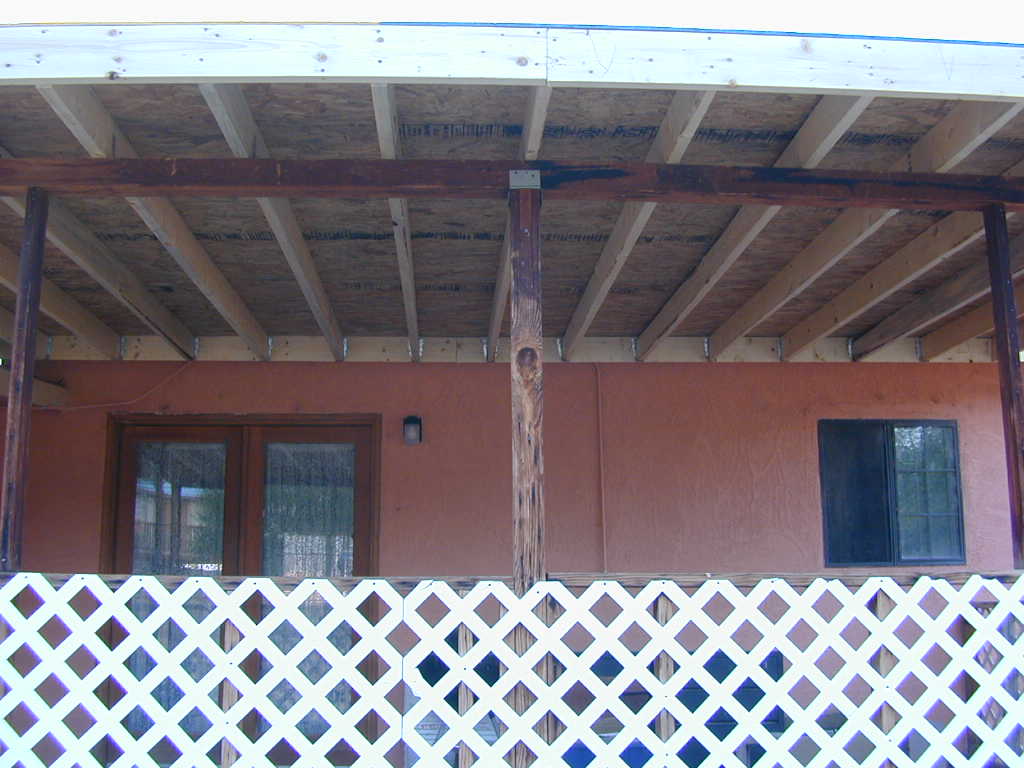 new porch roof |
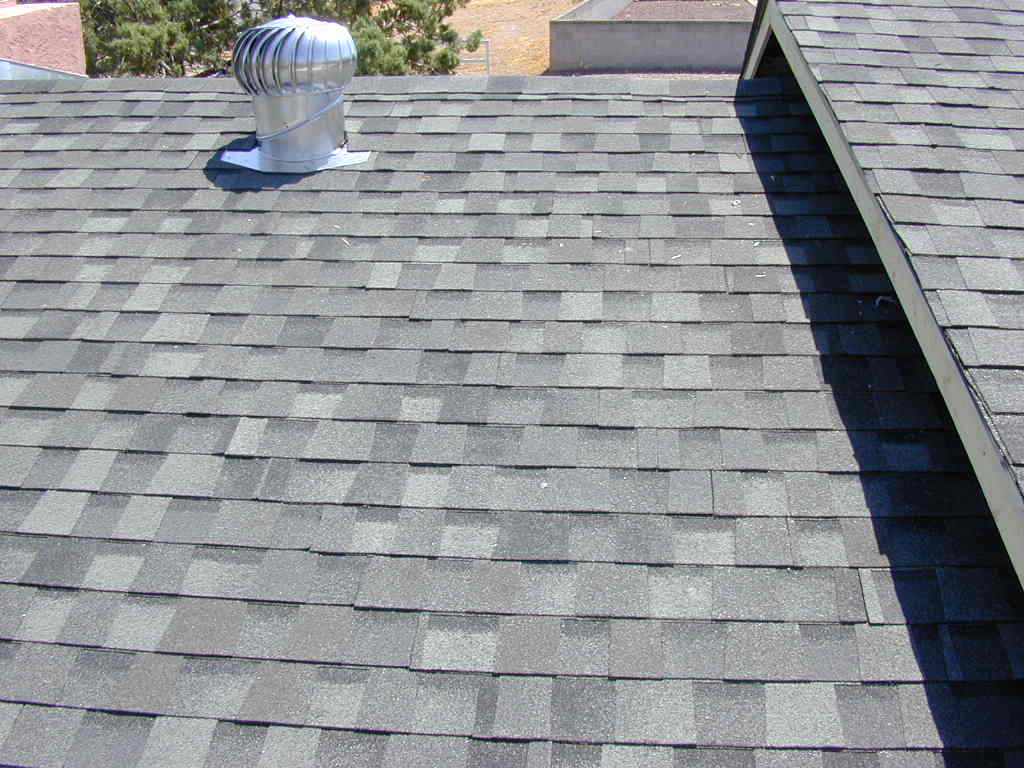 new shingles |
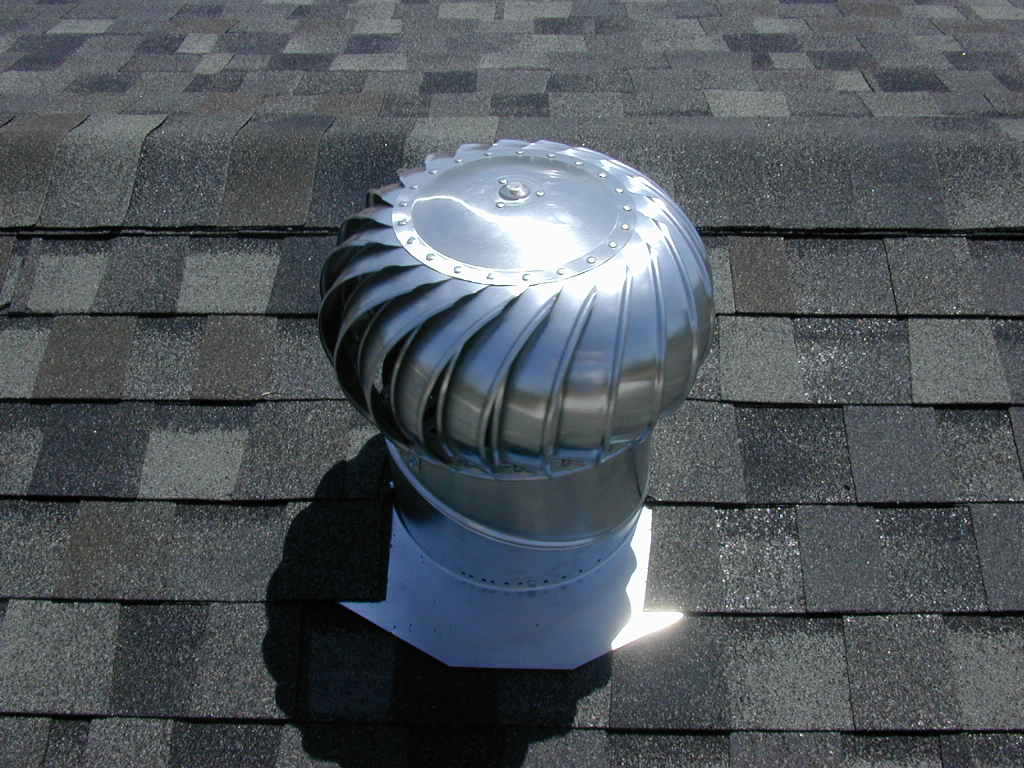 new turbines |
 finished roof |
 finished roof |
 finished roof |
September 2008: The paint on the fascia board was peeling so I stripped it off and applied an oil based primer this time.
 Stripped trim |
 Oil primer |
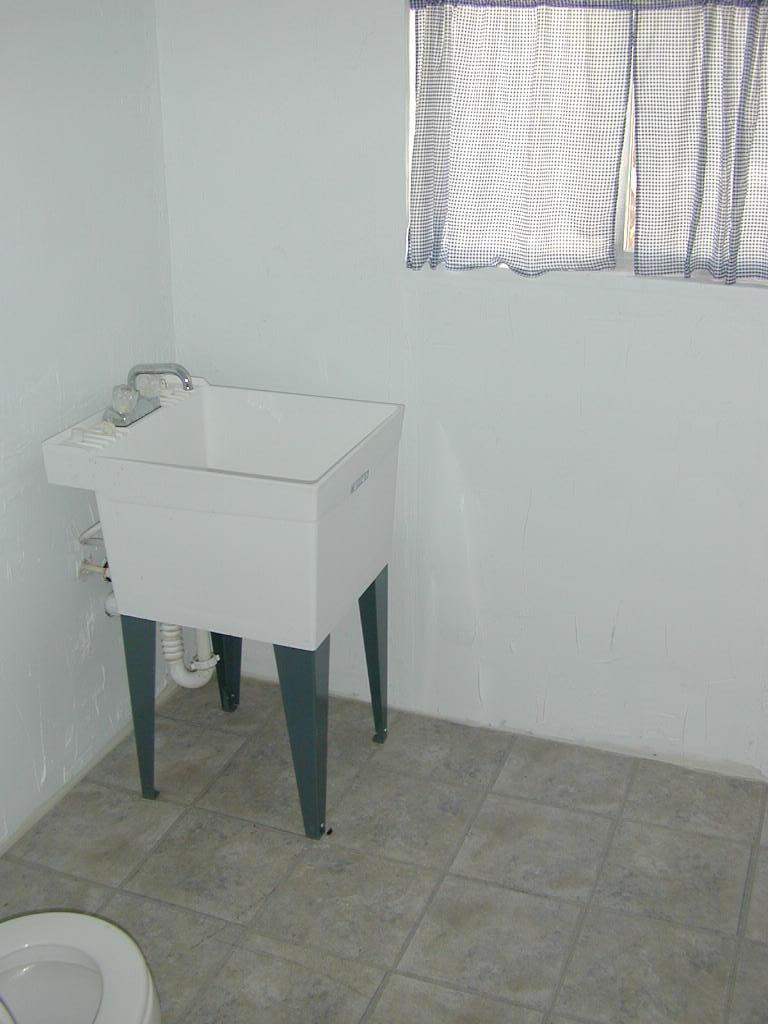
I was getting tired of my closed not getting very clean or dry and my fridge leaking every summer. So, thanks to some creative financing from a not-so-local Home Depot, I purchased a new washer, dryer and refrigerator.
 fridge hole |
 new fridge |
 washer/dryer hole |
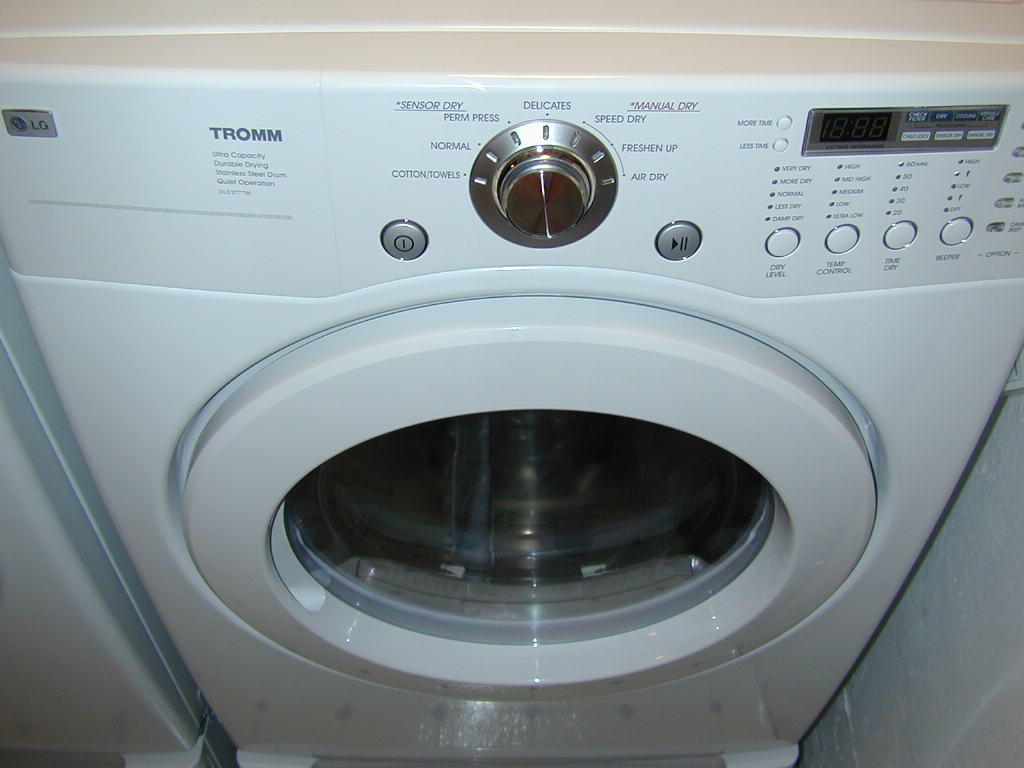 new washer/dryer |
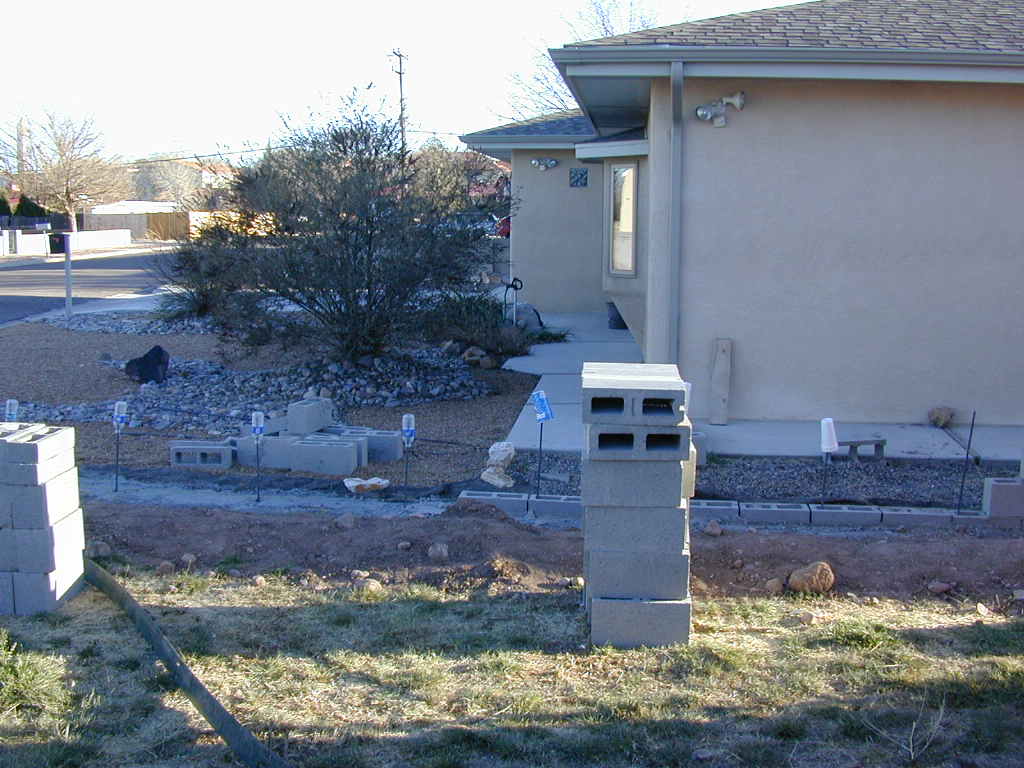
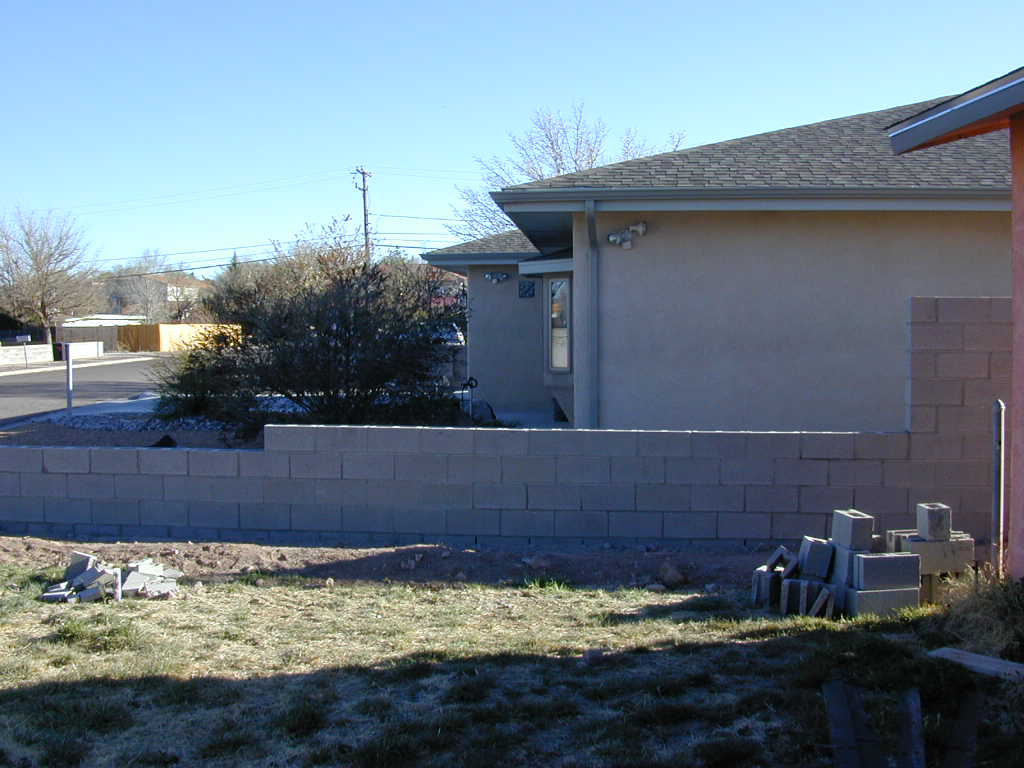
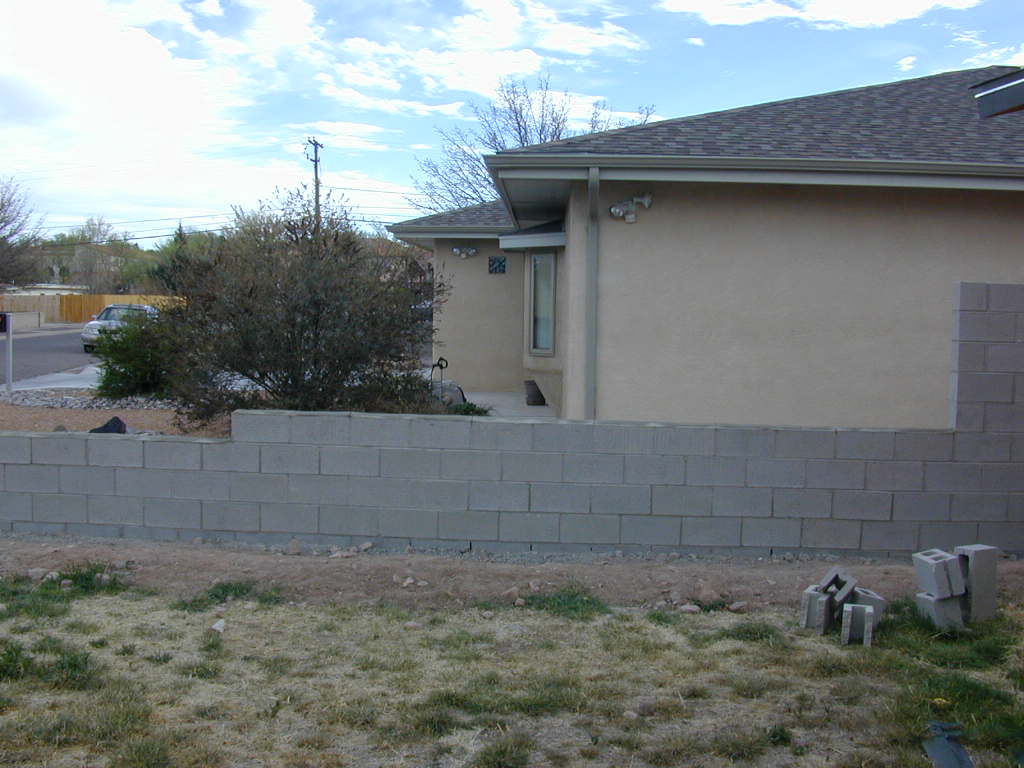
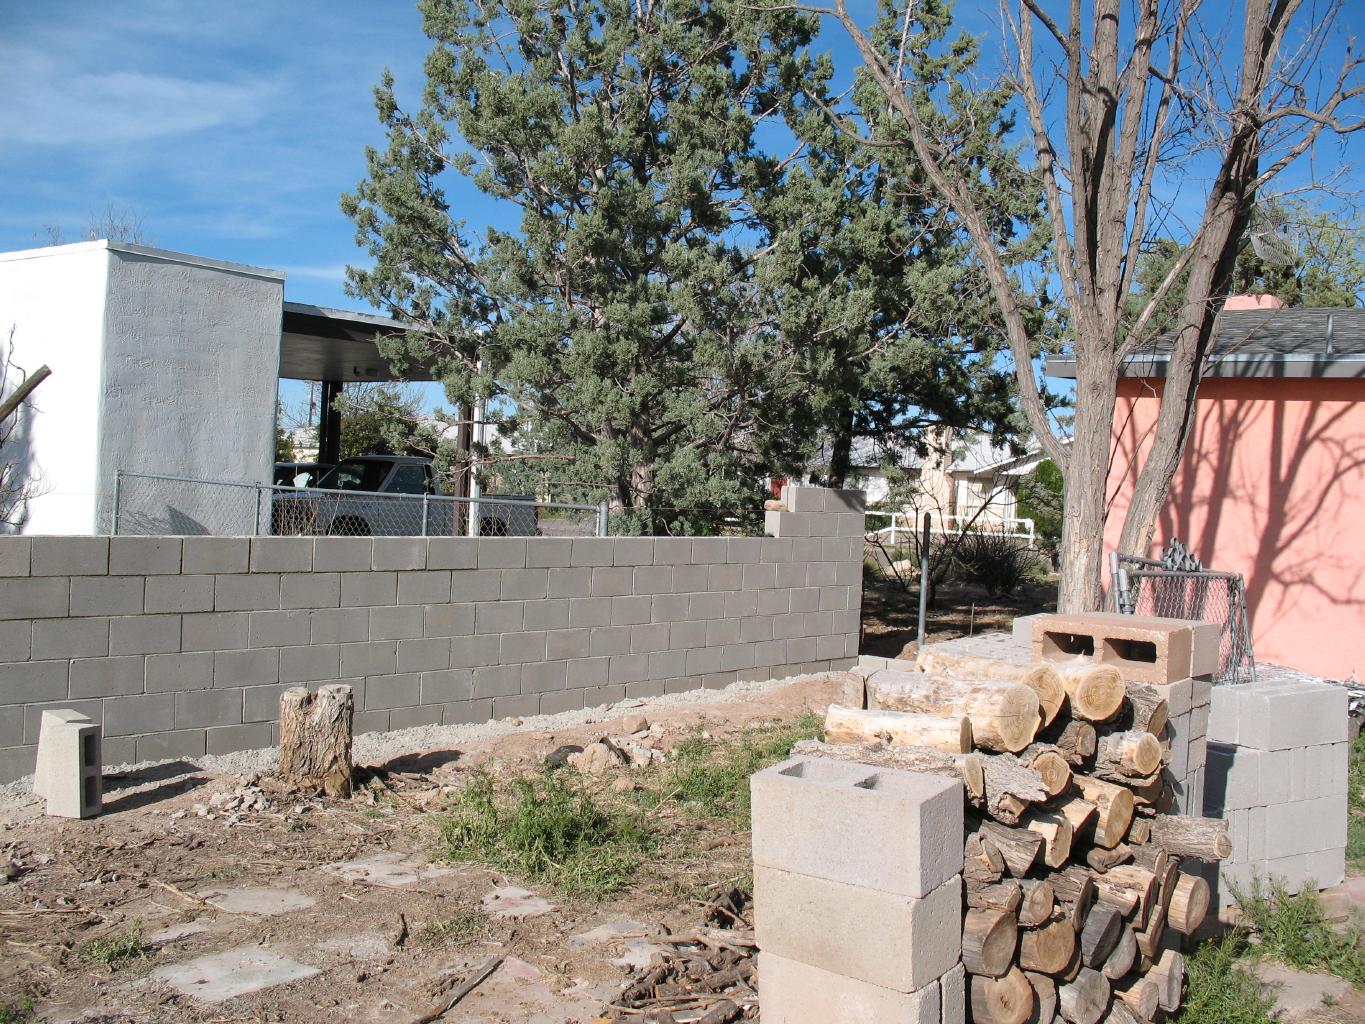
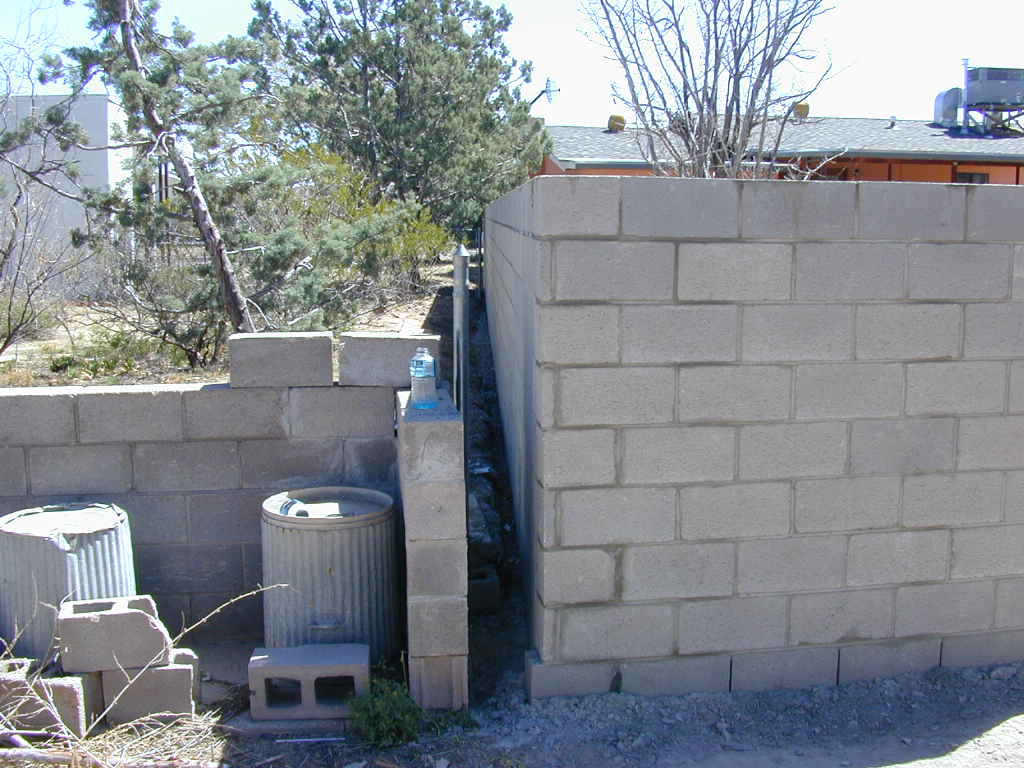
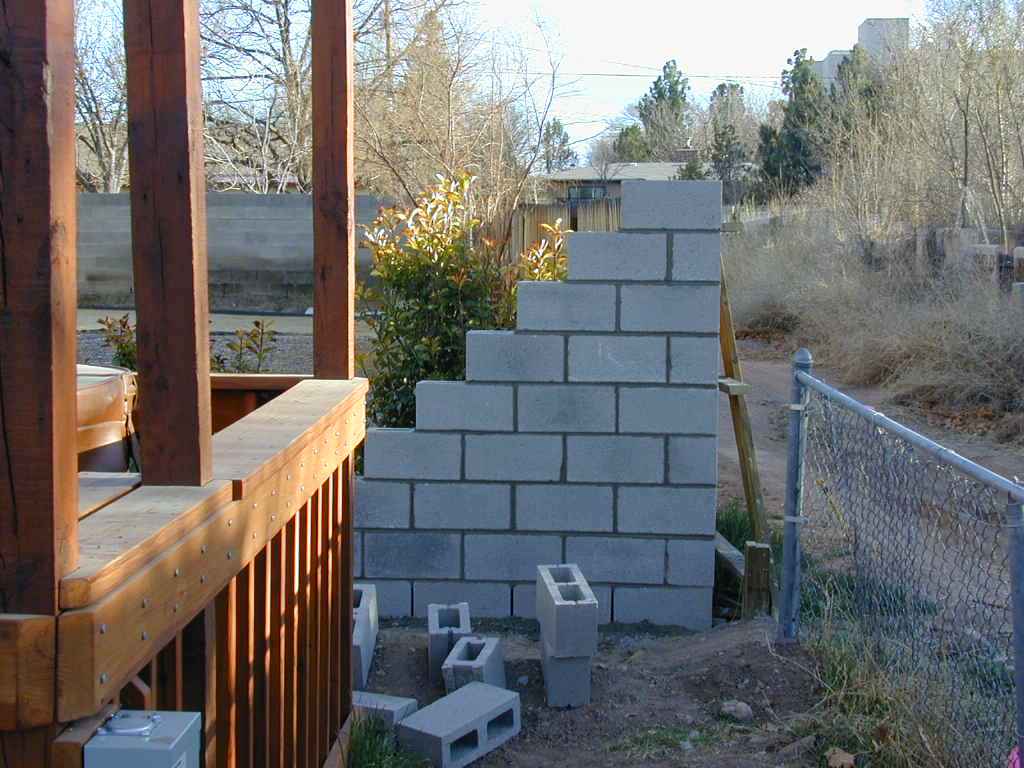
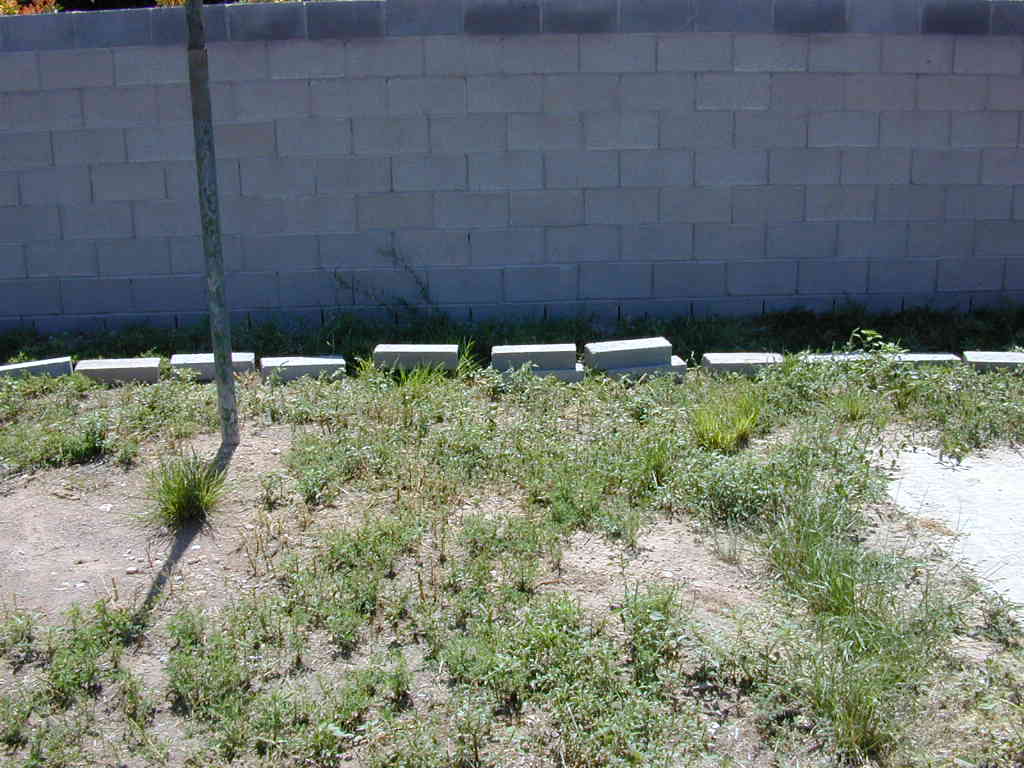
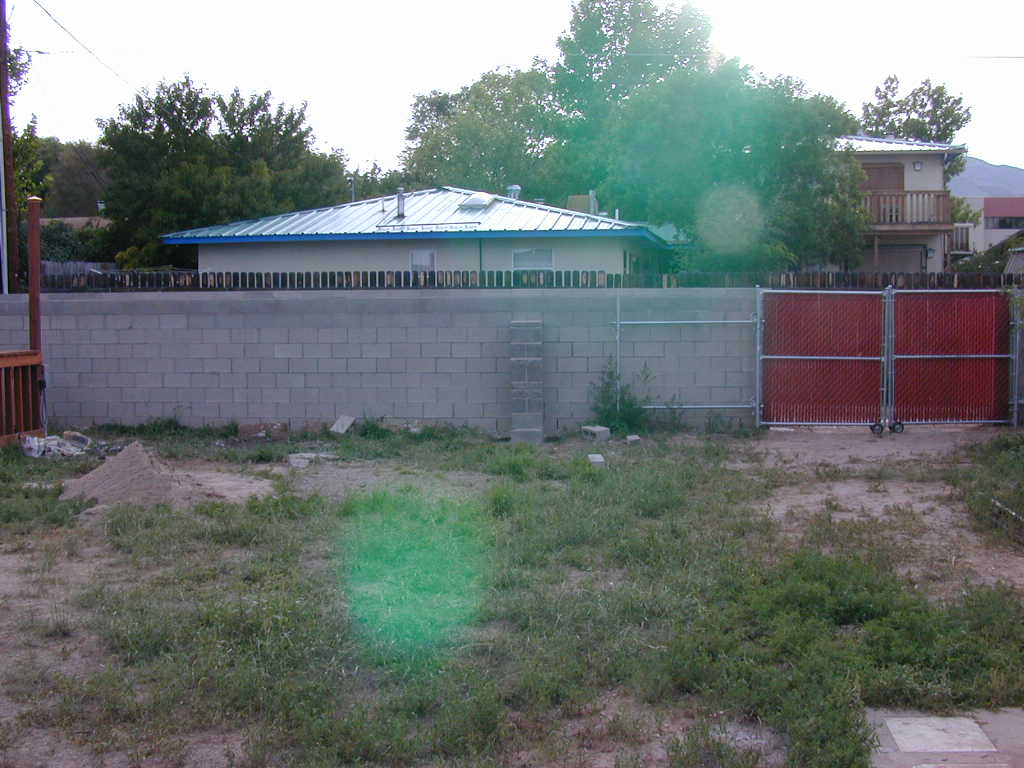
Ever since I purchased the house I wanted a block wall in the back yard. My neighboors are ok with the idea so I am slowly working on the project.
(August 2006)
First, I had to move the sewer line because it was going to be right under where I wanted the wall for about 10 feet. I forgot to mention this when I had the entire line replaced. Then I had to have the gas meter moved because it was right where the wall was to go.
 before move |
 after move |
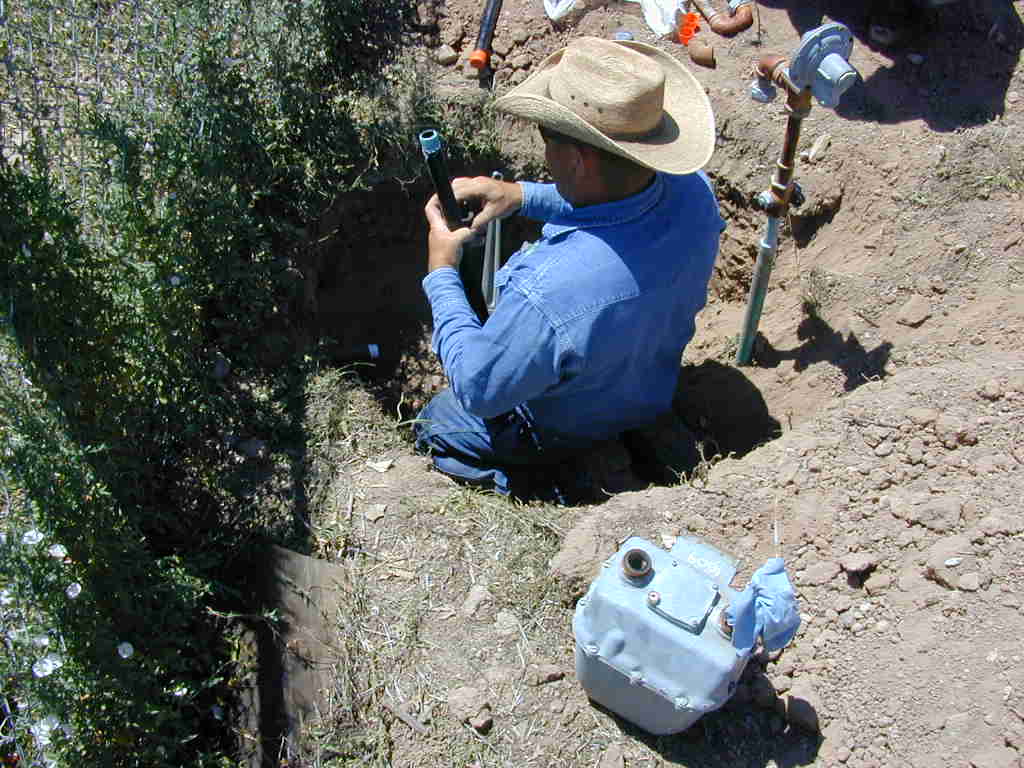 a plumber |
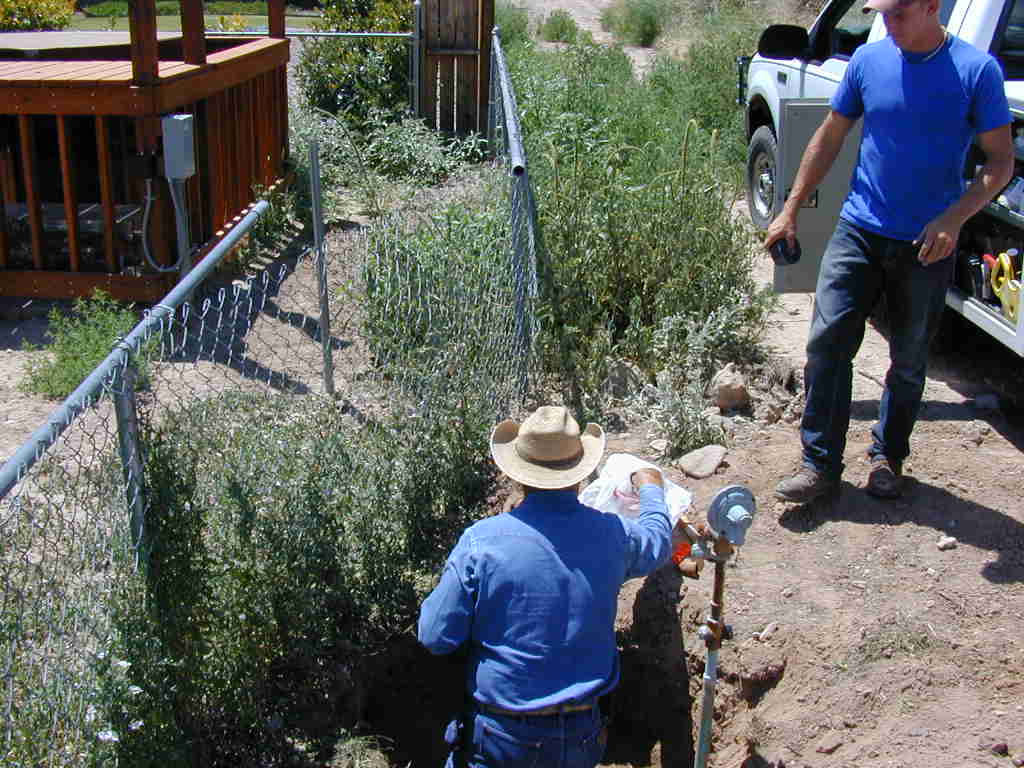 with assistant |
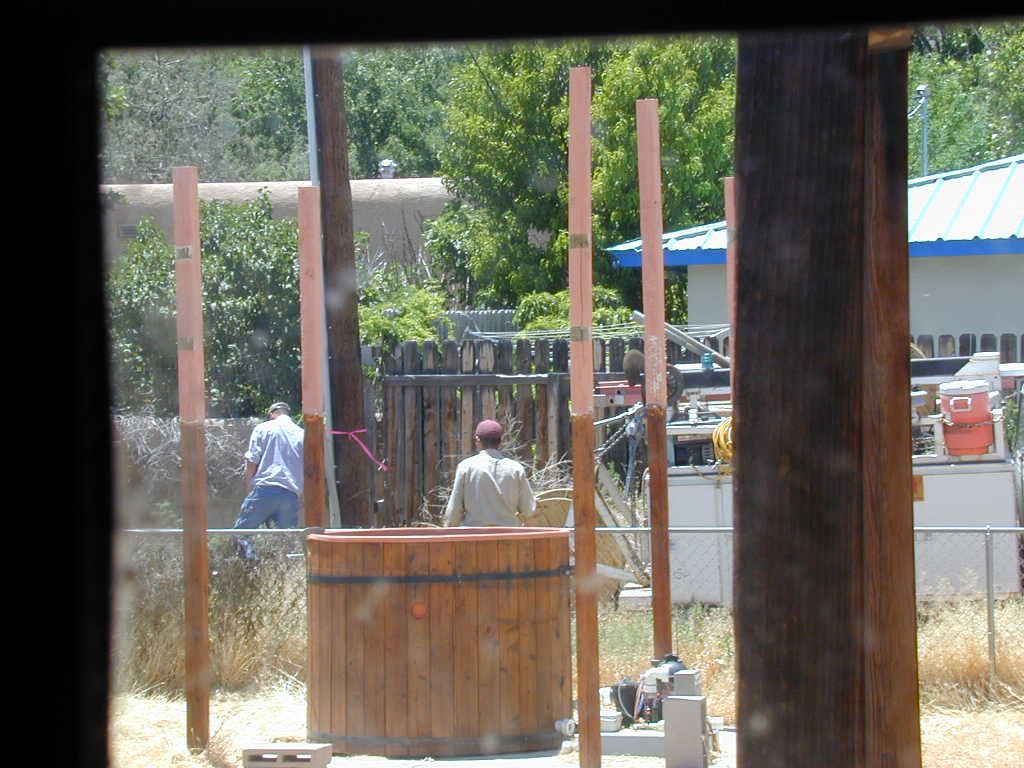
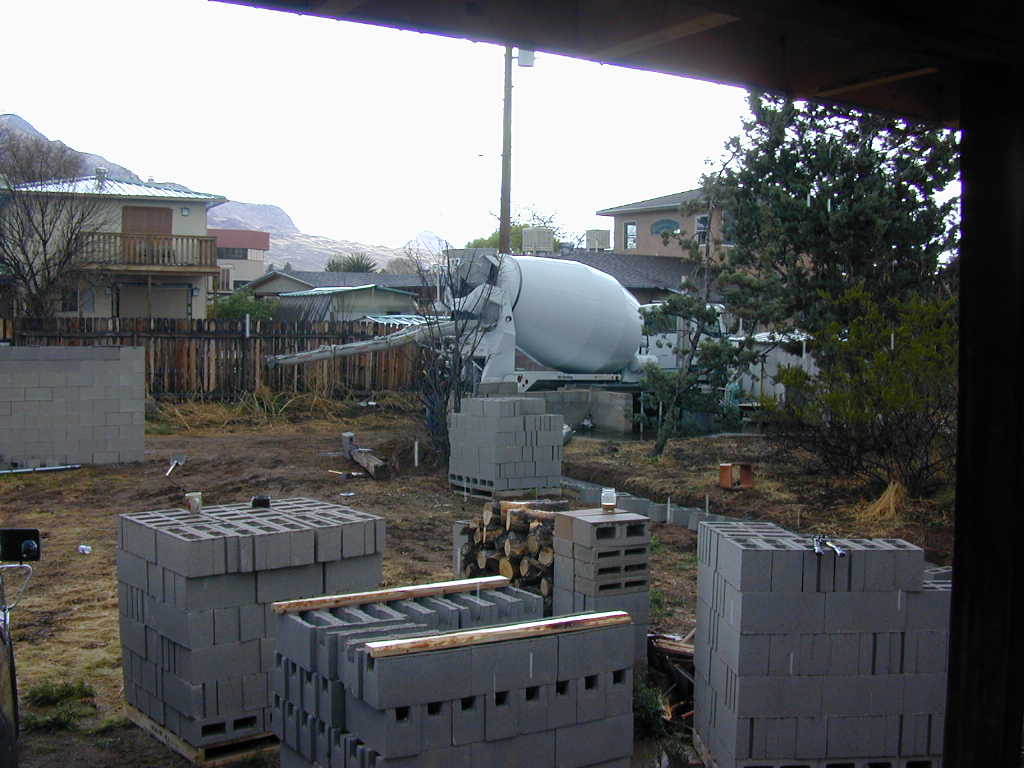
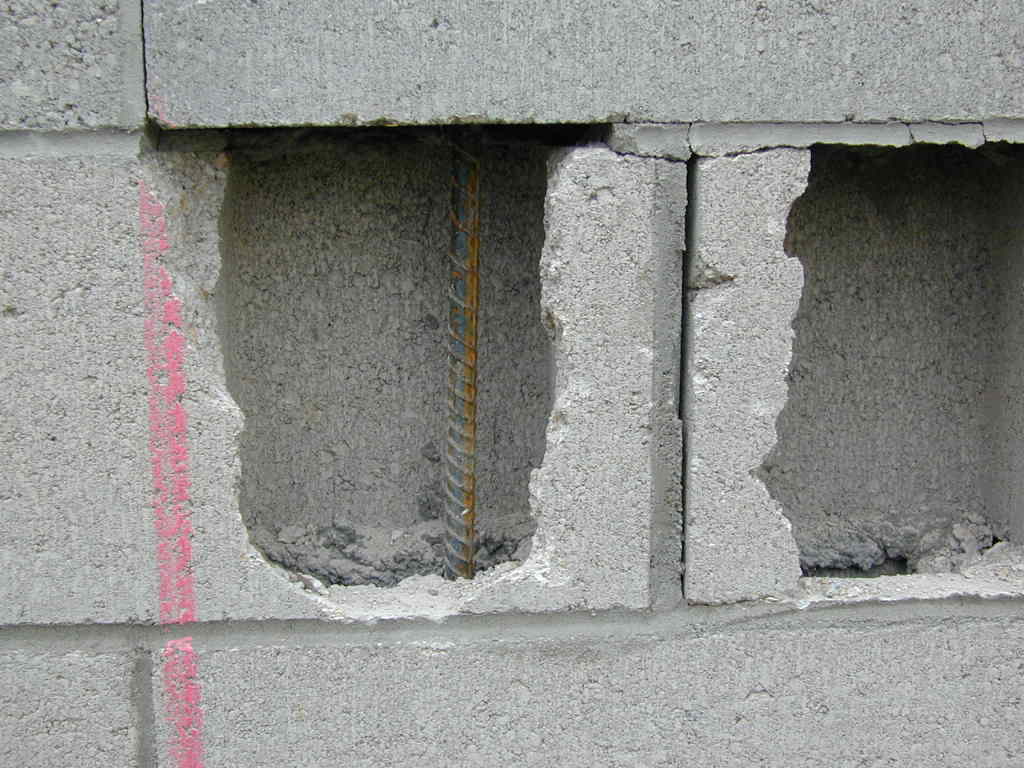
October 2006: I then began looking for the type of blocks I wanted. I wanted a color other than the normal grey and also a texture. I also wanted a very well built wall and a reasonable price.
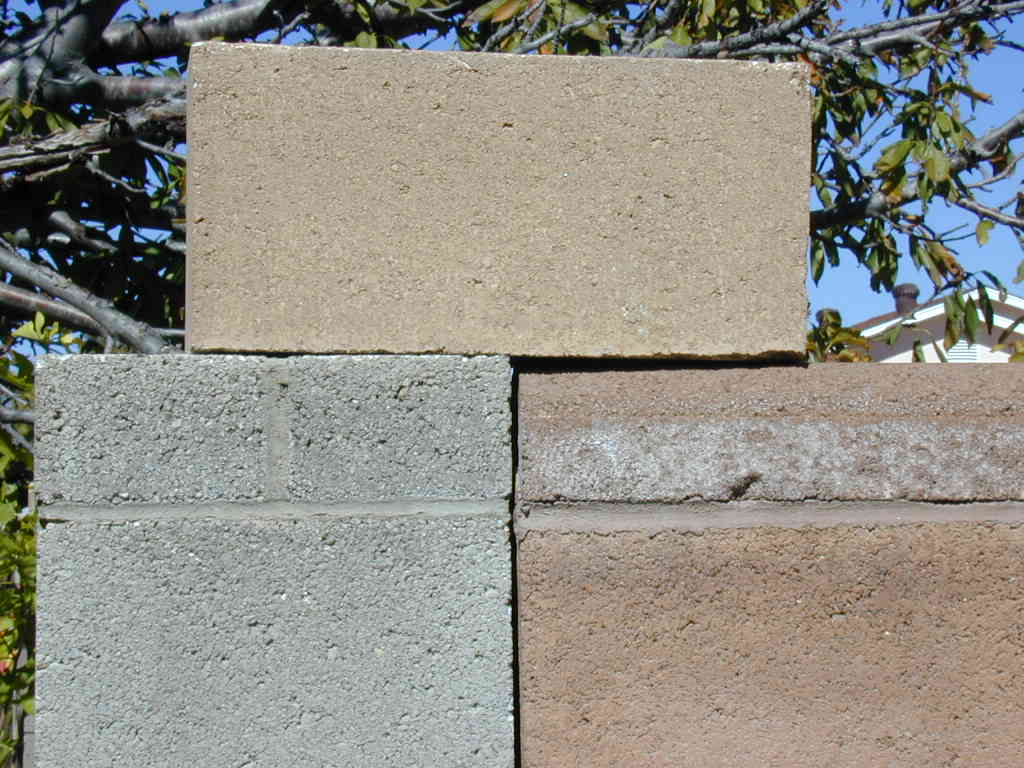 Liking the right |
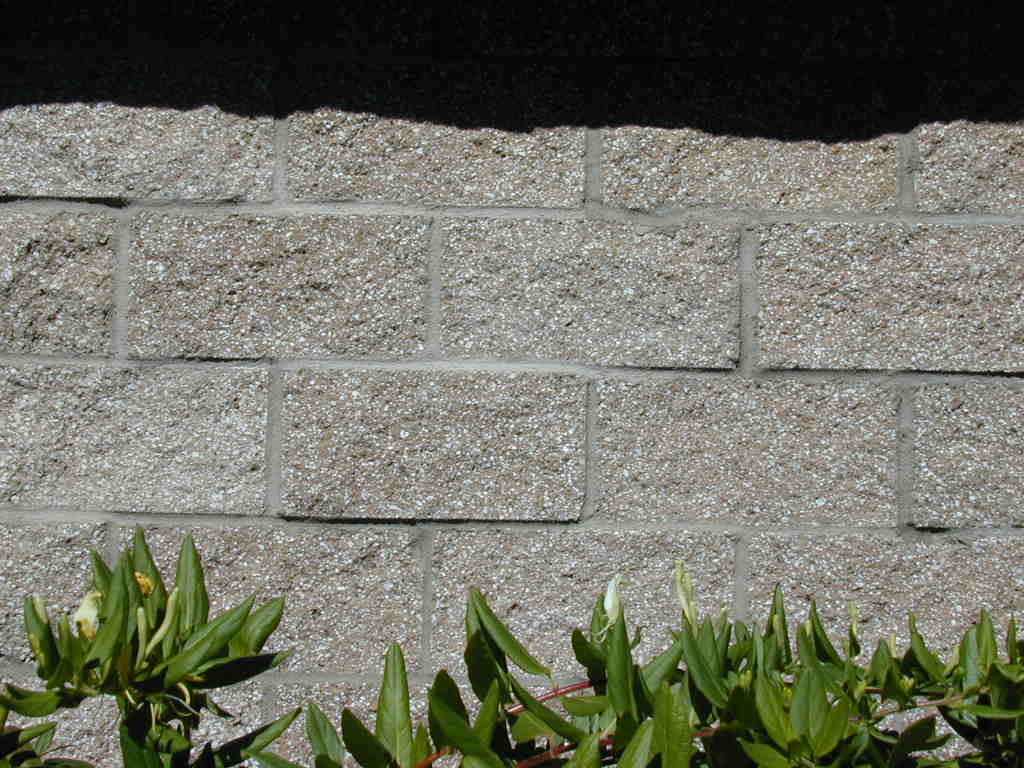 good texture |
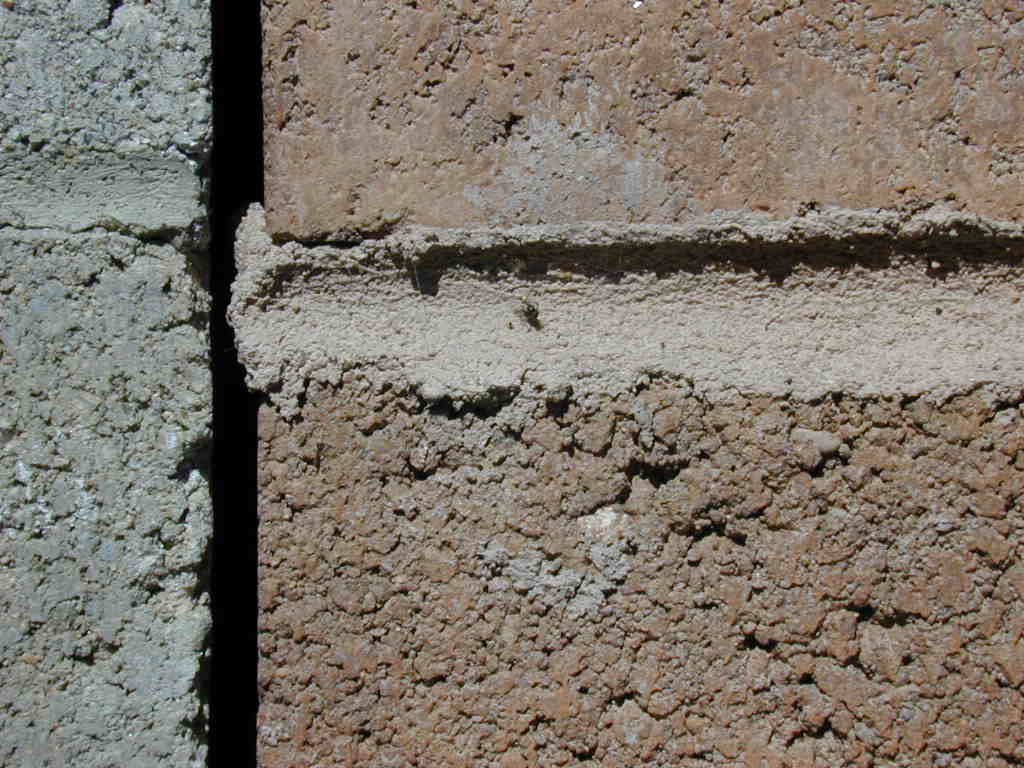 colored mortar |
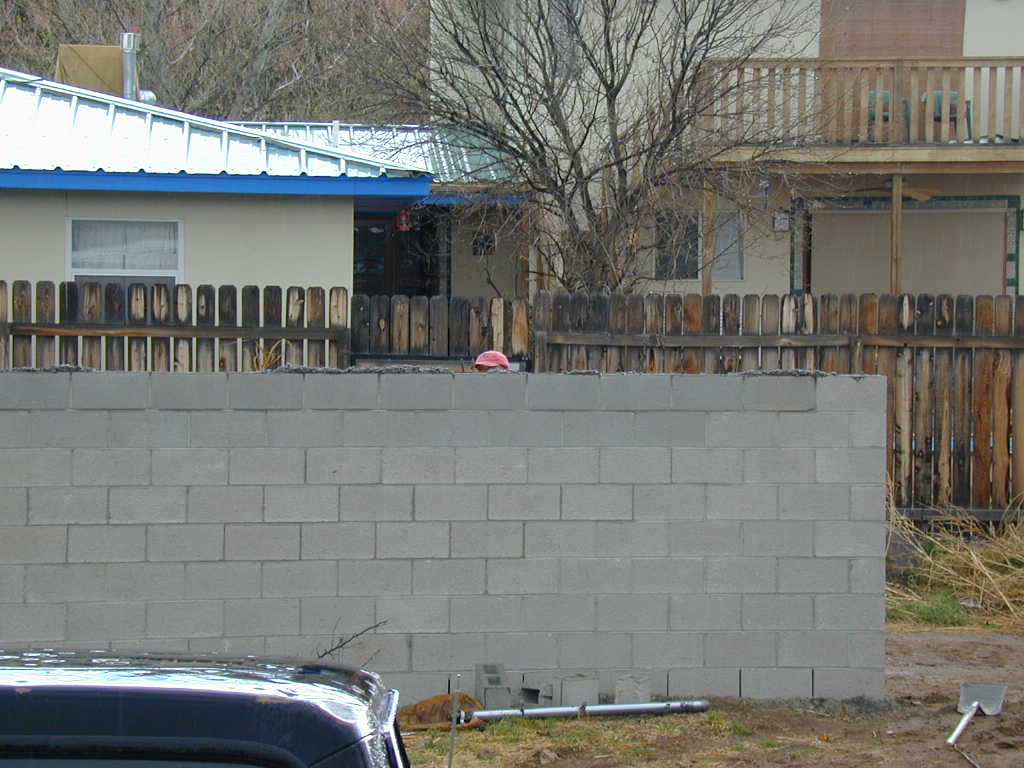
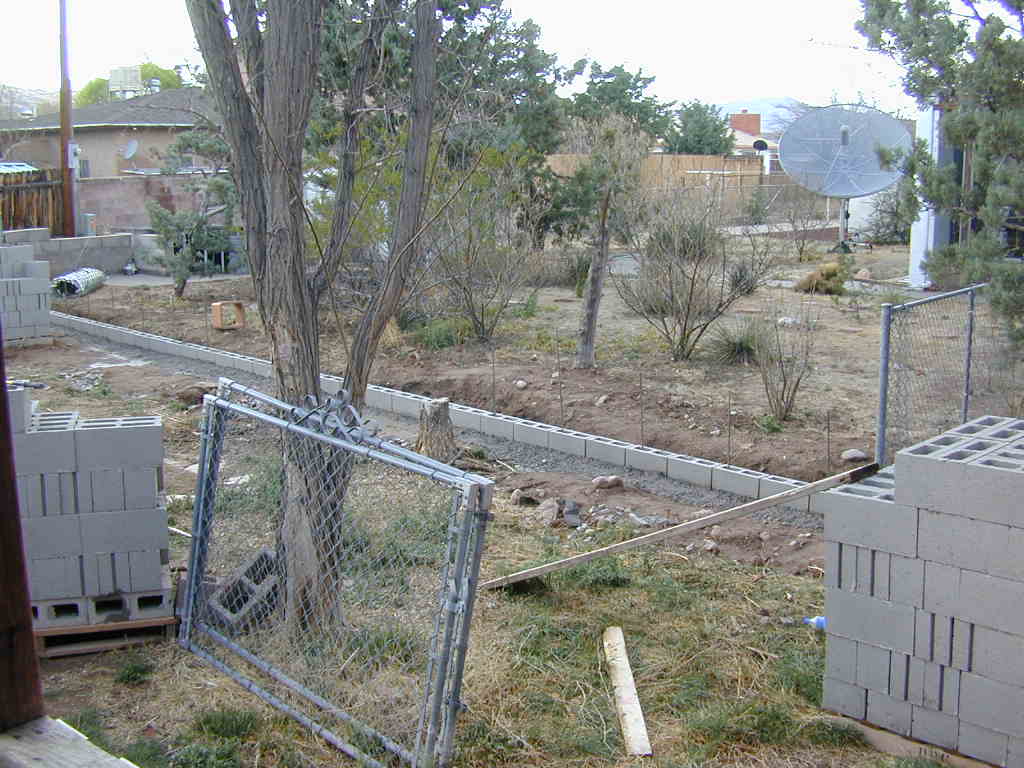
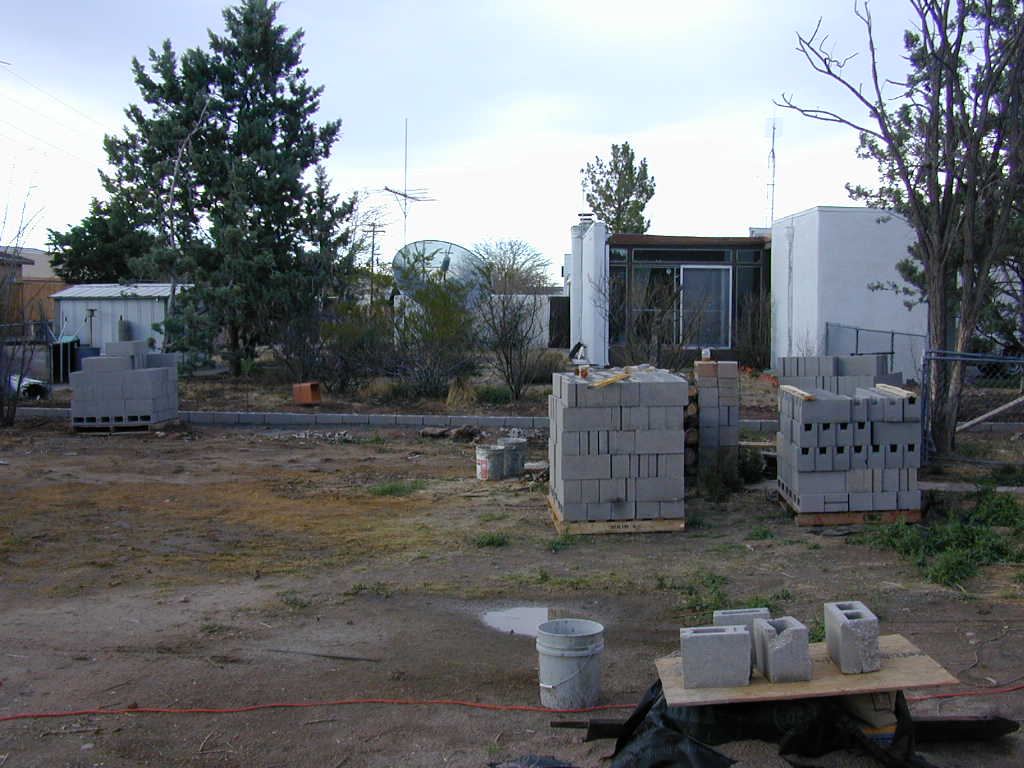
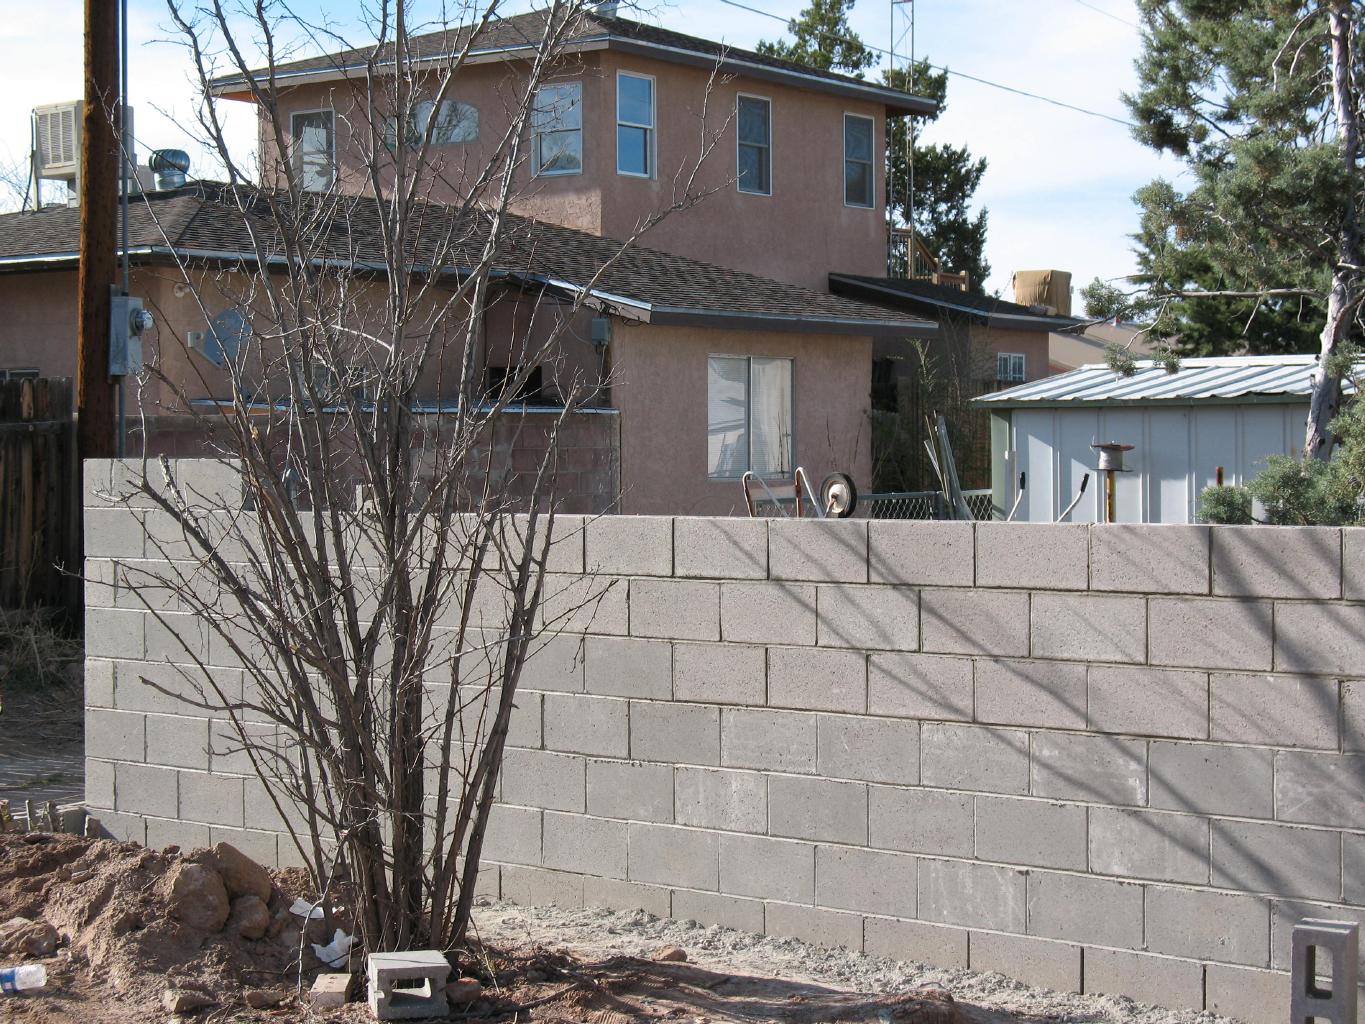
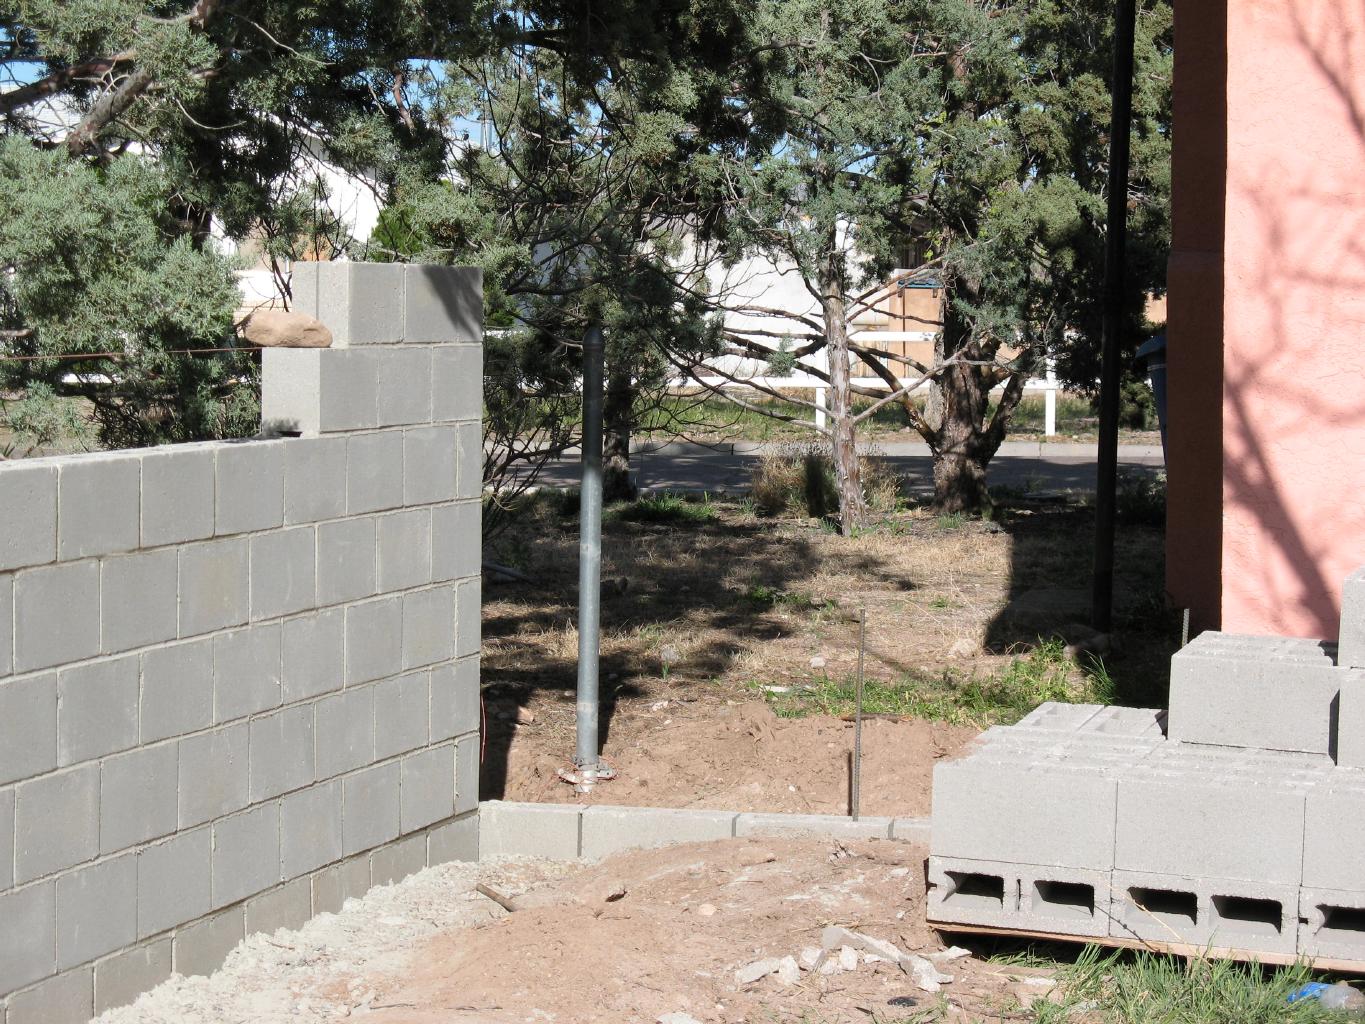
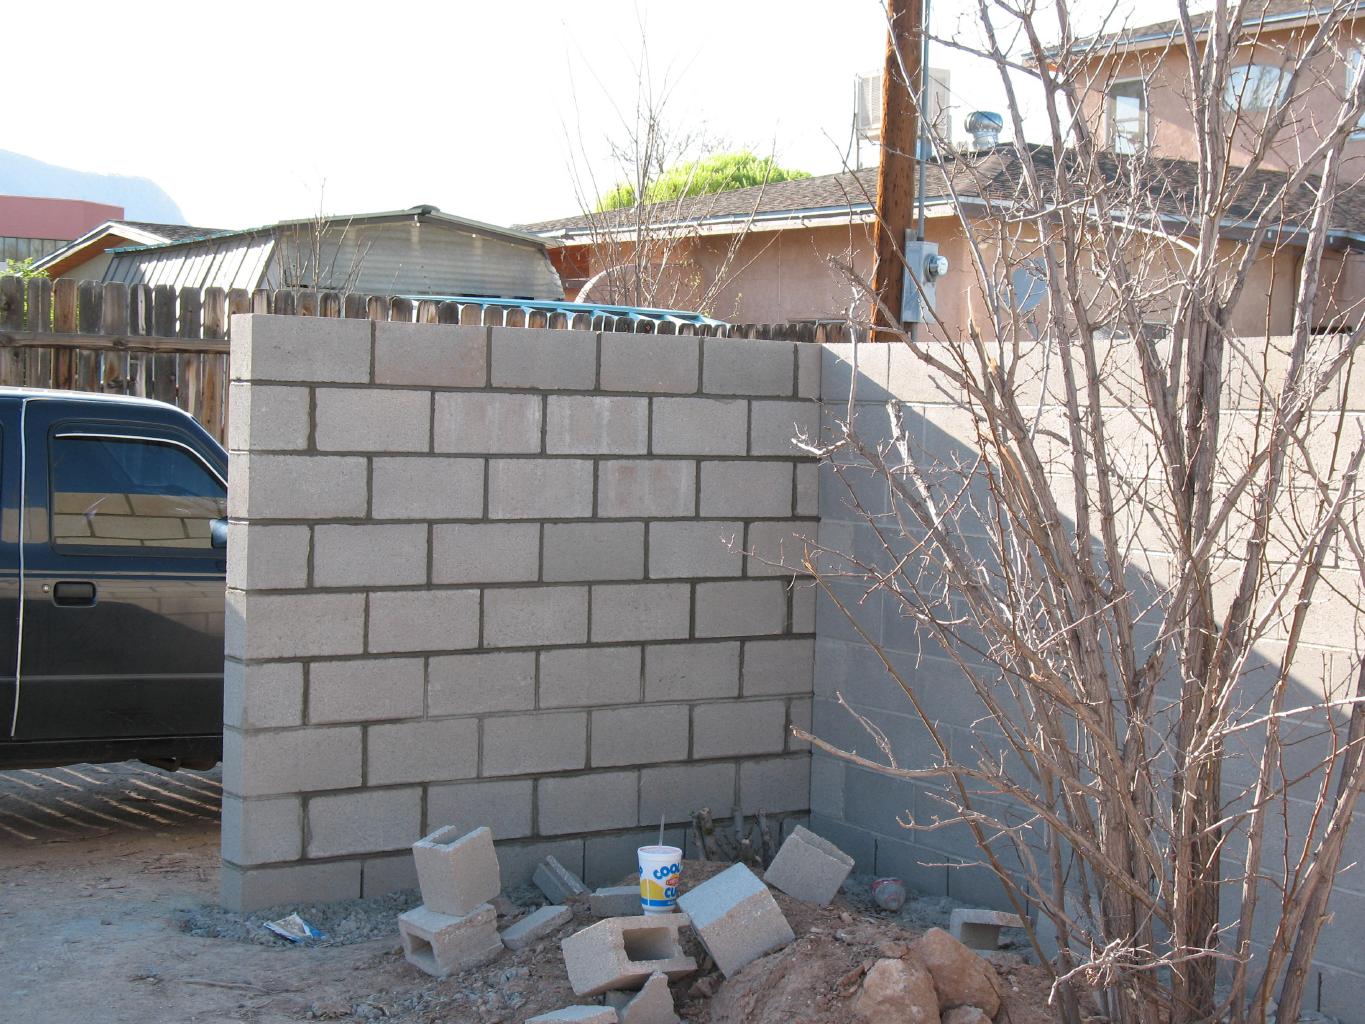
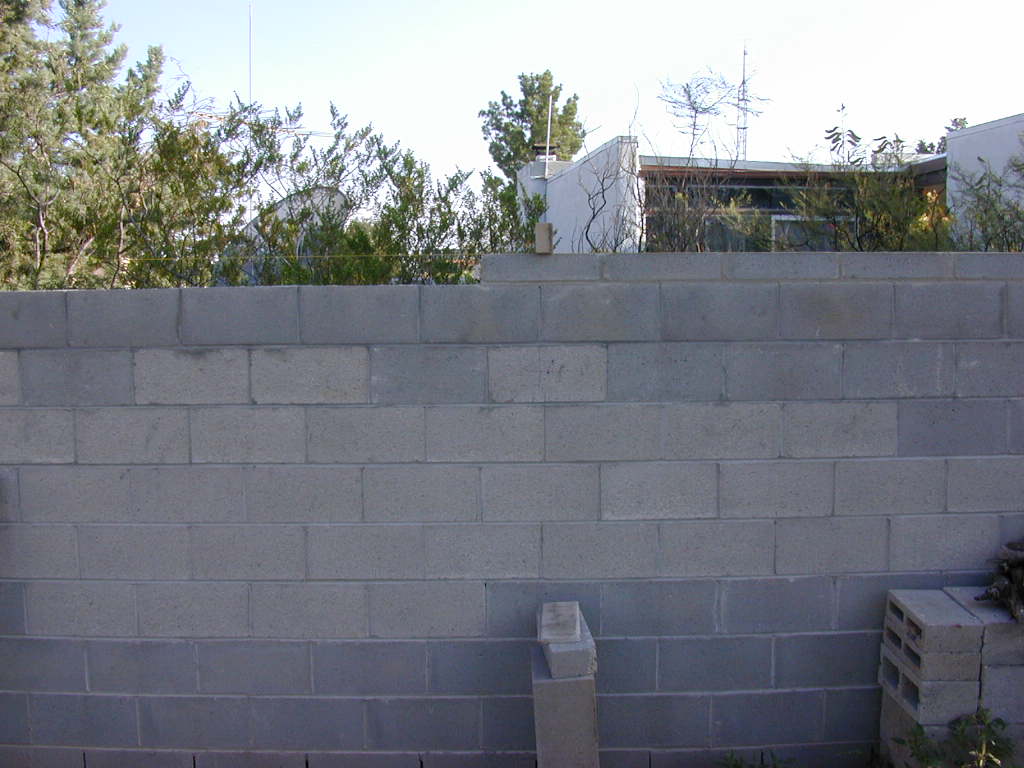
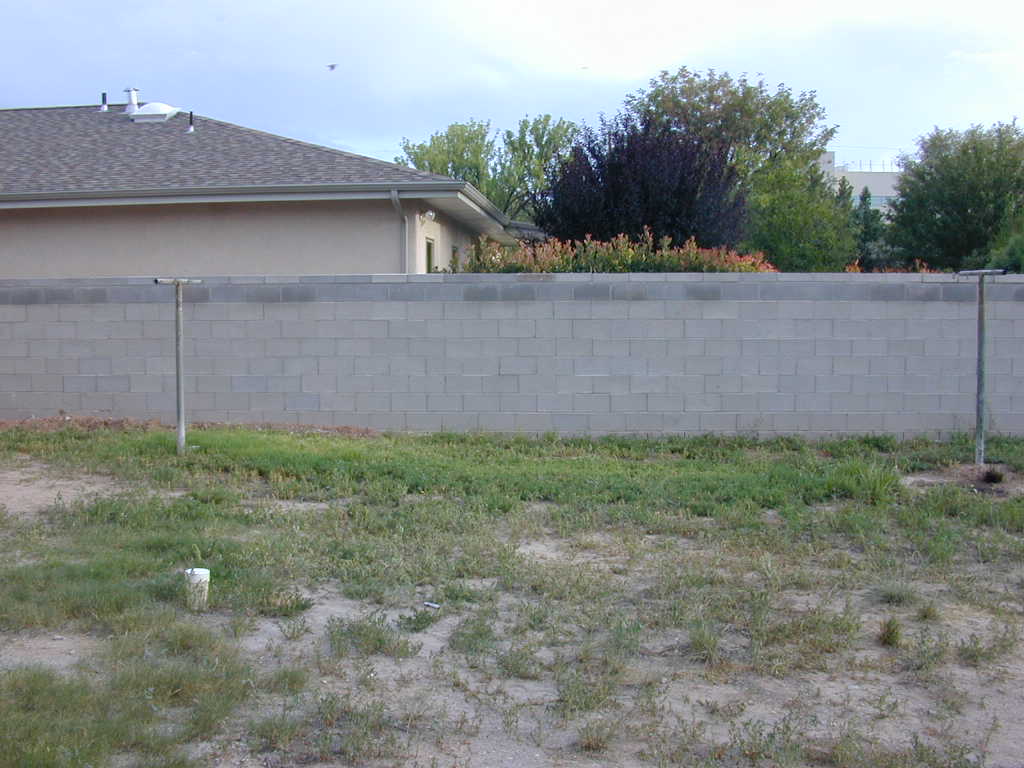
February 2008: After months of looking I discovered I can't have all of that. After becomming dissatisfied with my options I chose to go with my neighboor's pick of a wall builder. The price was right and I was tired of looking and arguring.
 South Wall |
 South Wall |
 South Wall |
 South Wall |
 South Wall |
 South Wall |
 South Wall |
 South Wall |
 South Wall |
 South Wall |
 South Wall |
 South Wall |
 South Wall |
 South Wall |
 South Wall | |
 South Wall |
 South Wall |
 South Wall |
 South Wall |
 South Wall |
 South Wall |
 West Wall |
 West Wall |
 West Wall |
 West Wall |
 West Wall |
 West Wall |
 West Wall |
 North Wall |
 North Wall |
 North Wall |
 North Wall |
 North Wall |
 North Wall |
 North Wall |
 North Wall |
 North Wall |
 North Wall |
 North Wall |
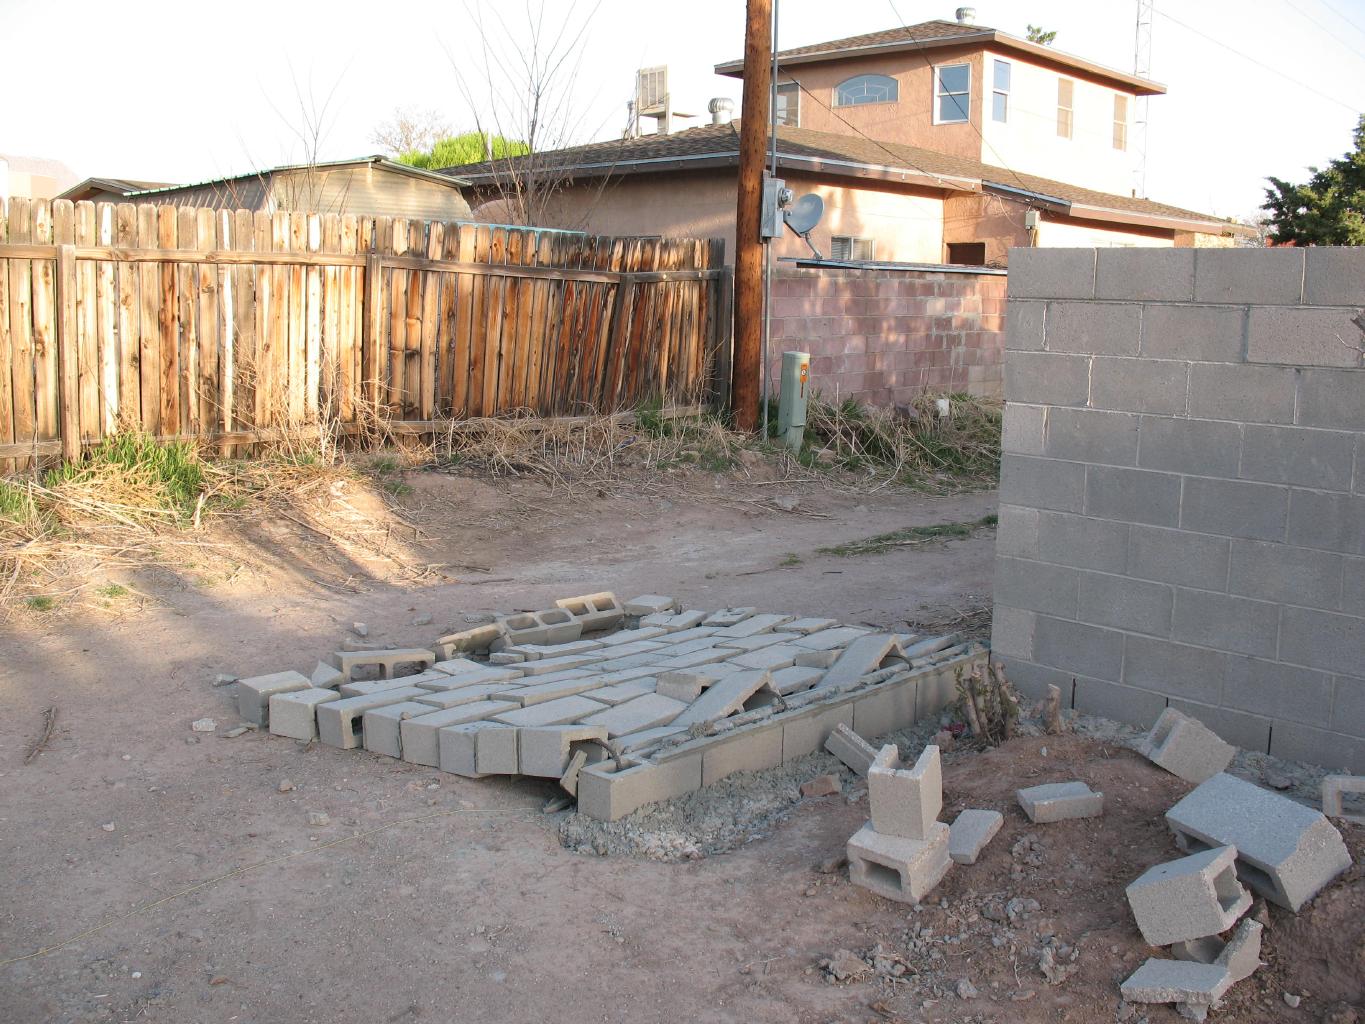
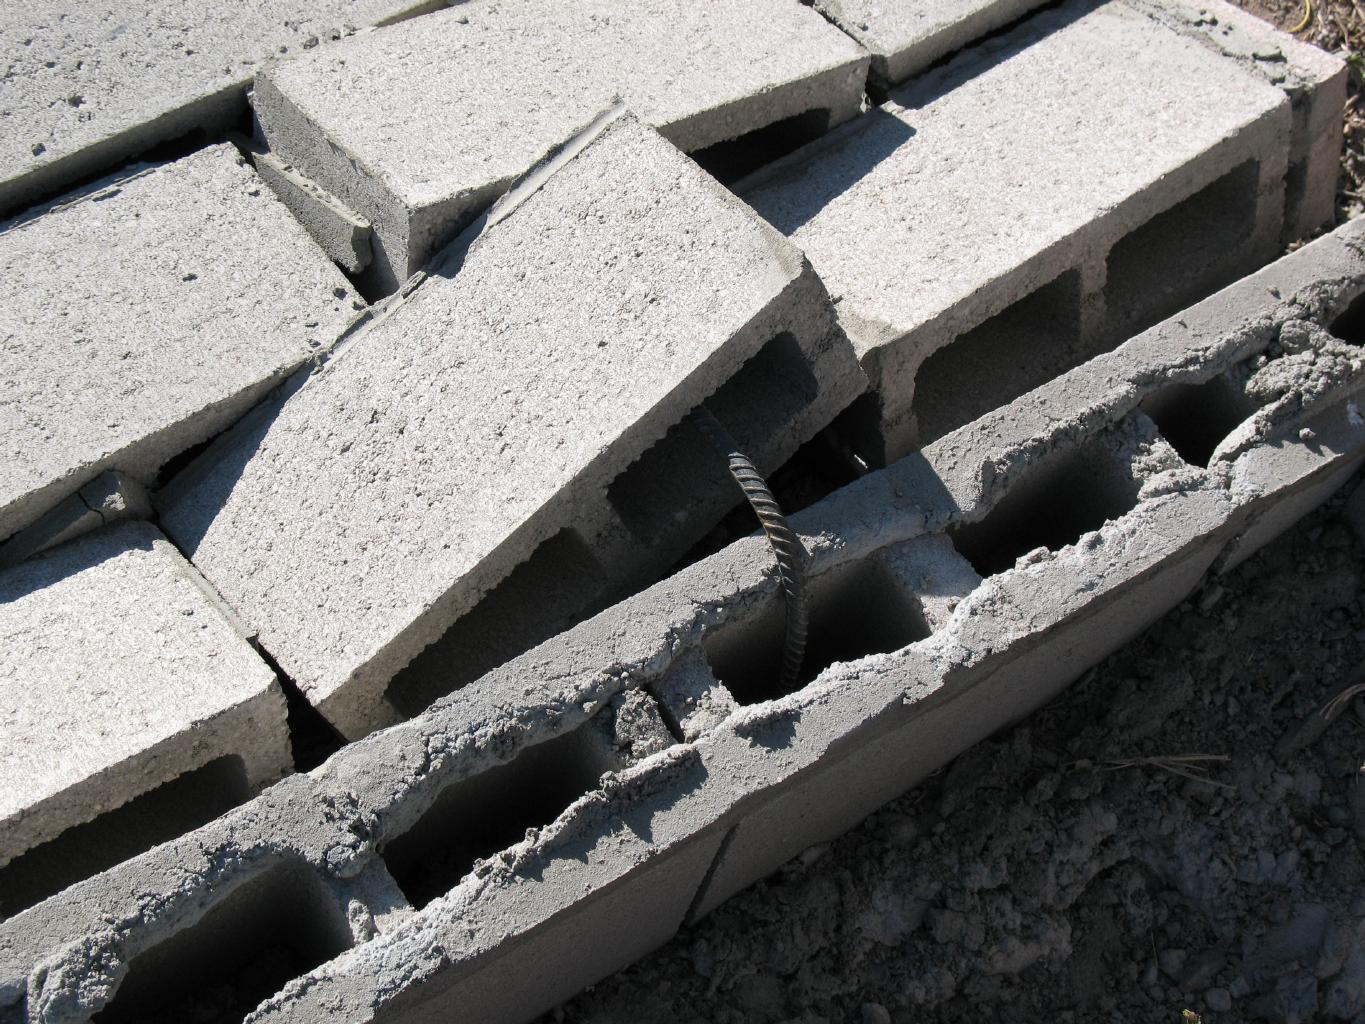
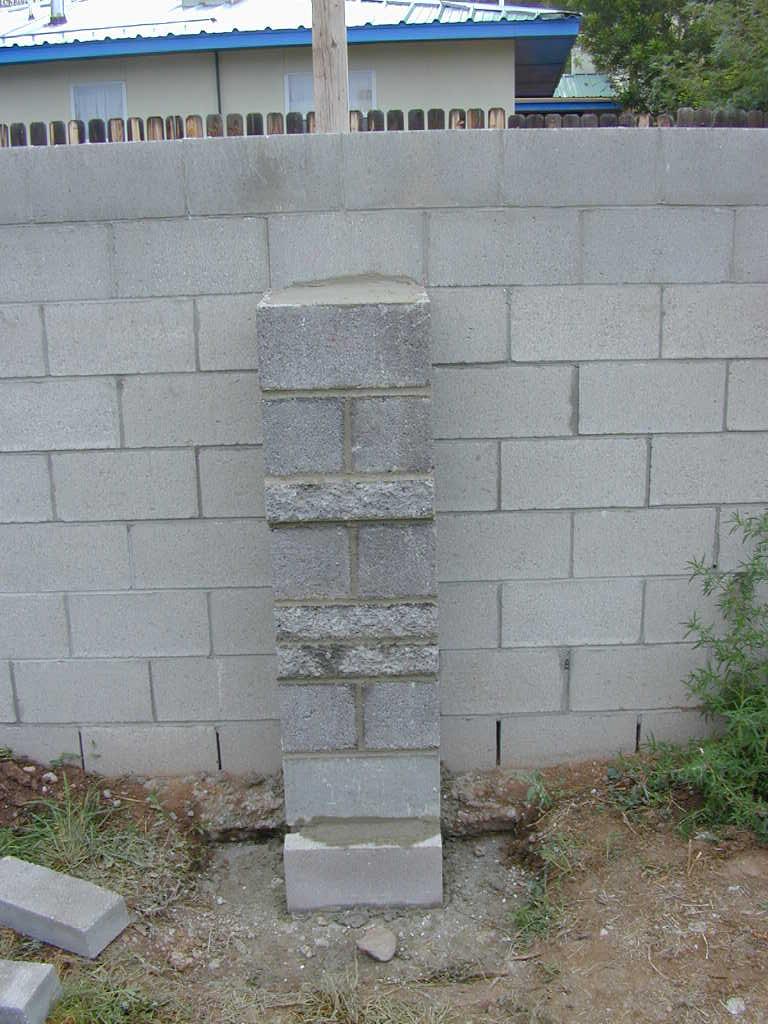
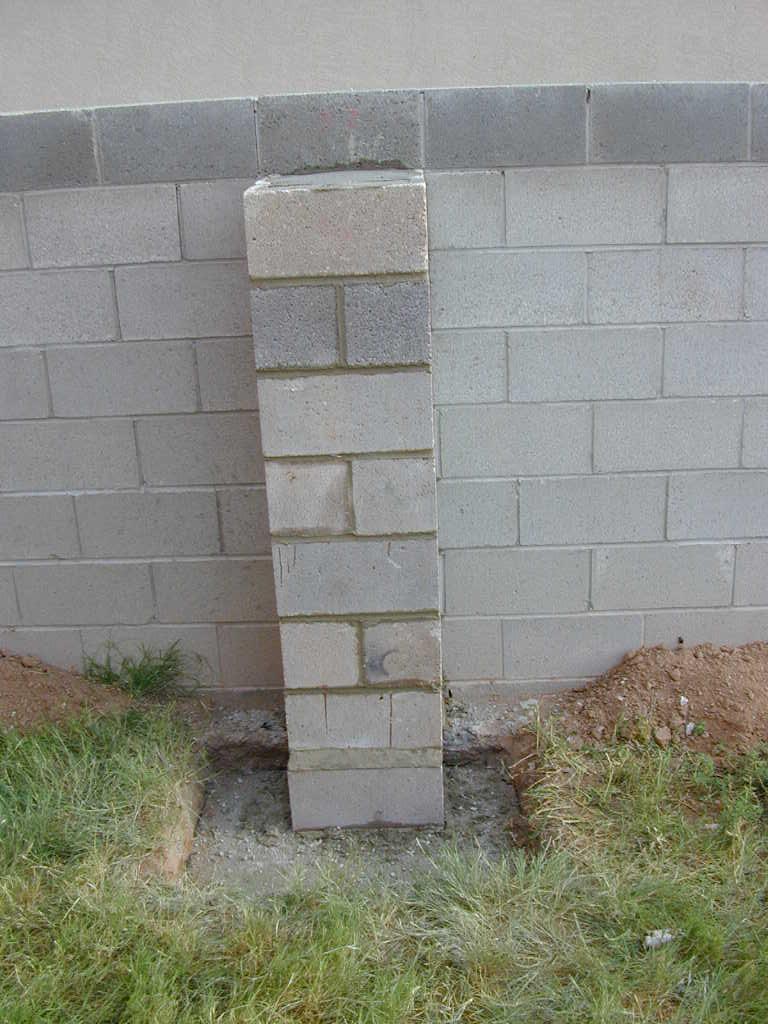
There was a big wind storm the night this small piece of wall was put up. The idiot hadn't filled it with concrete yet so it fell over.
 collapse |
 collapse |
 collapse |
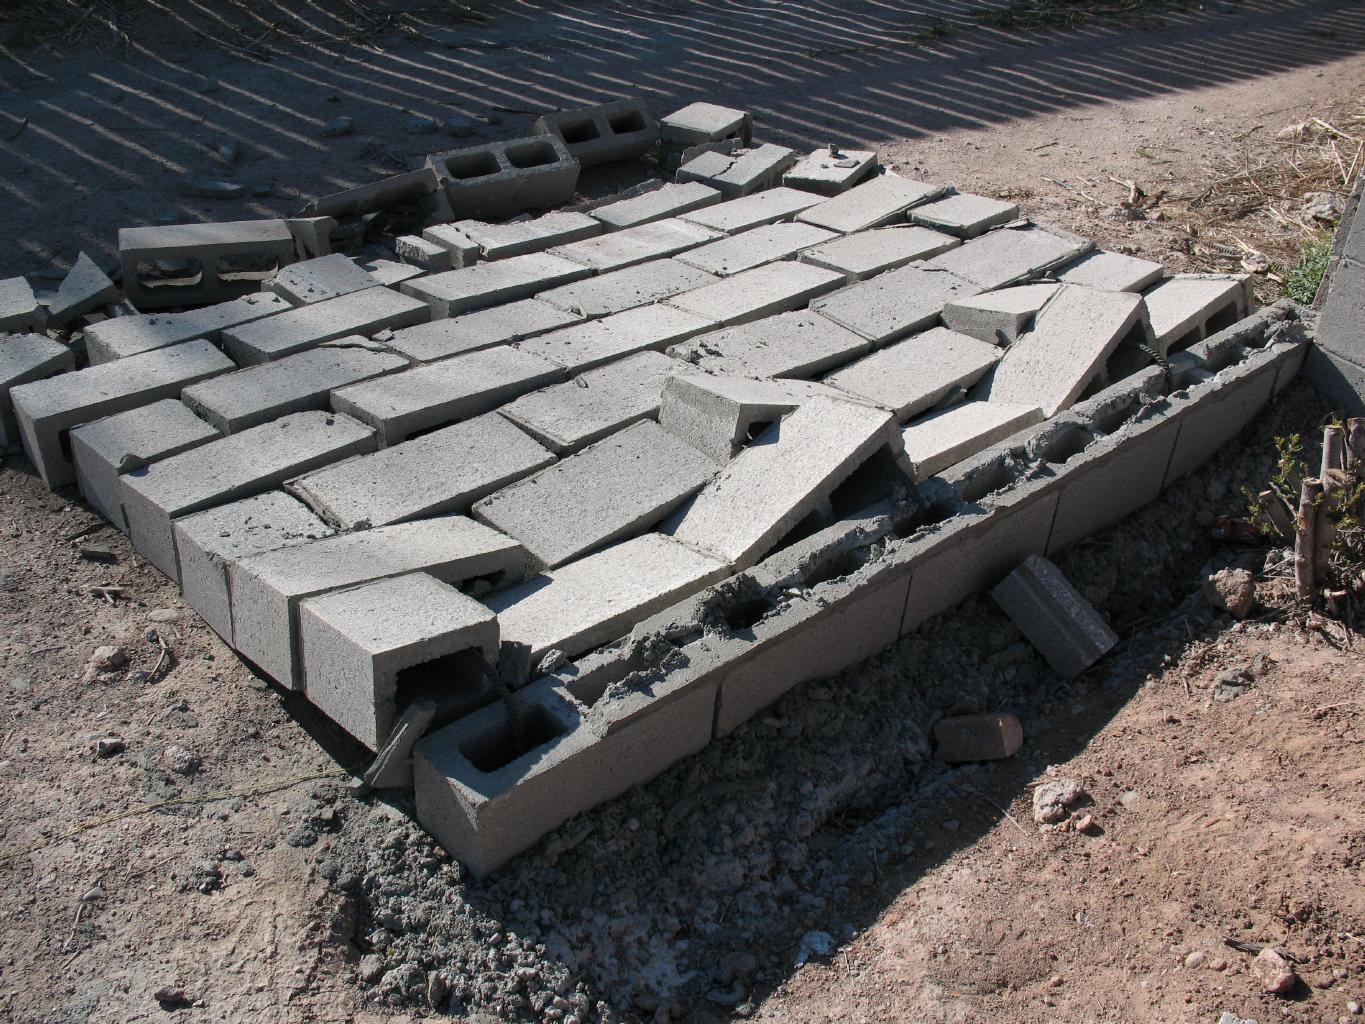 collapse |
Originally I wanted a 12 foot gate. I had a 12 foot gate with the previous chain link fence. I told the moron I wanted a 12 foot gate. He replied that ten feet was enough for a cement truck. I repeated that I wanted a 12 foot gate. Guess what. I got a ten foot gate. Fortunatly I was home the day the goofball was assembling the gate and I was able to show him how to do it right.
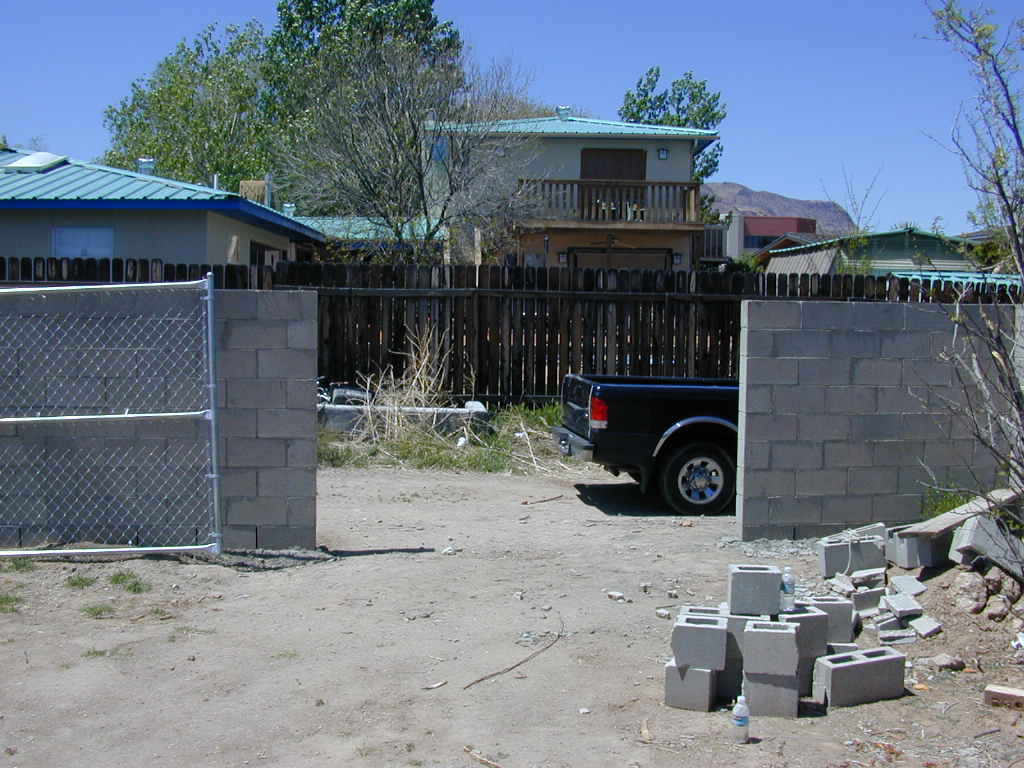 gate |
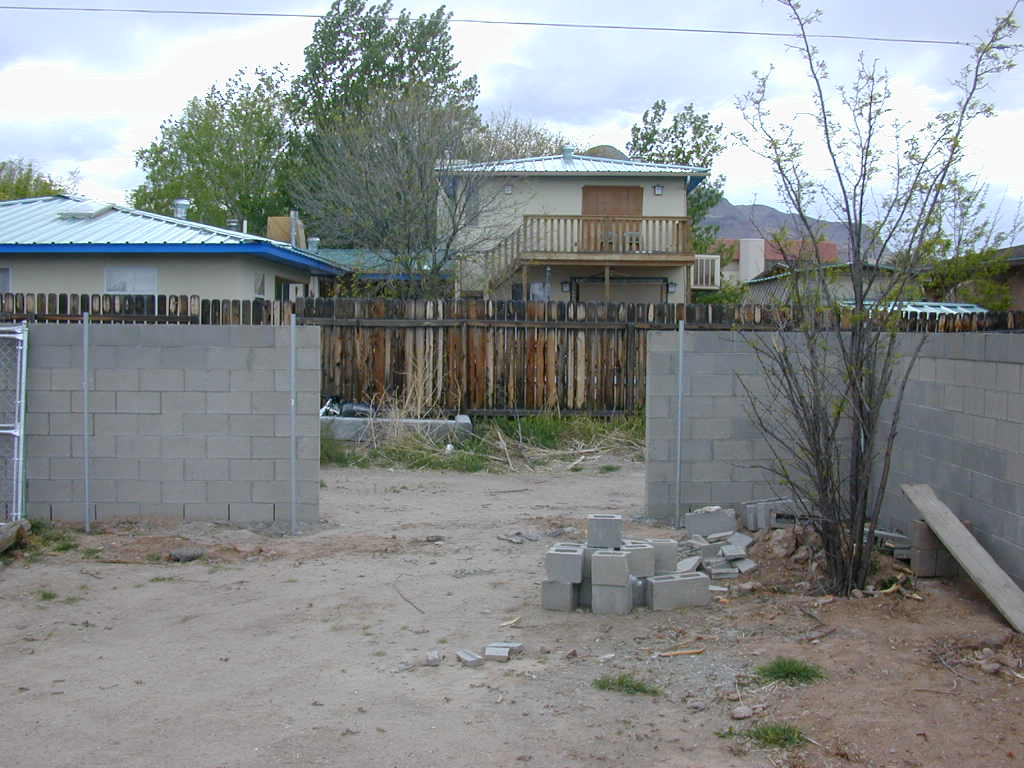 gate |
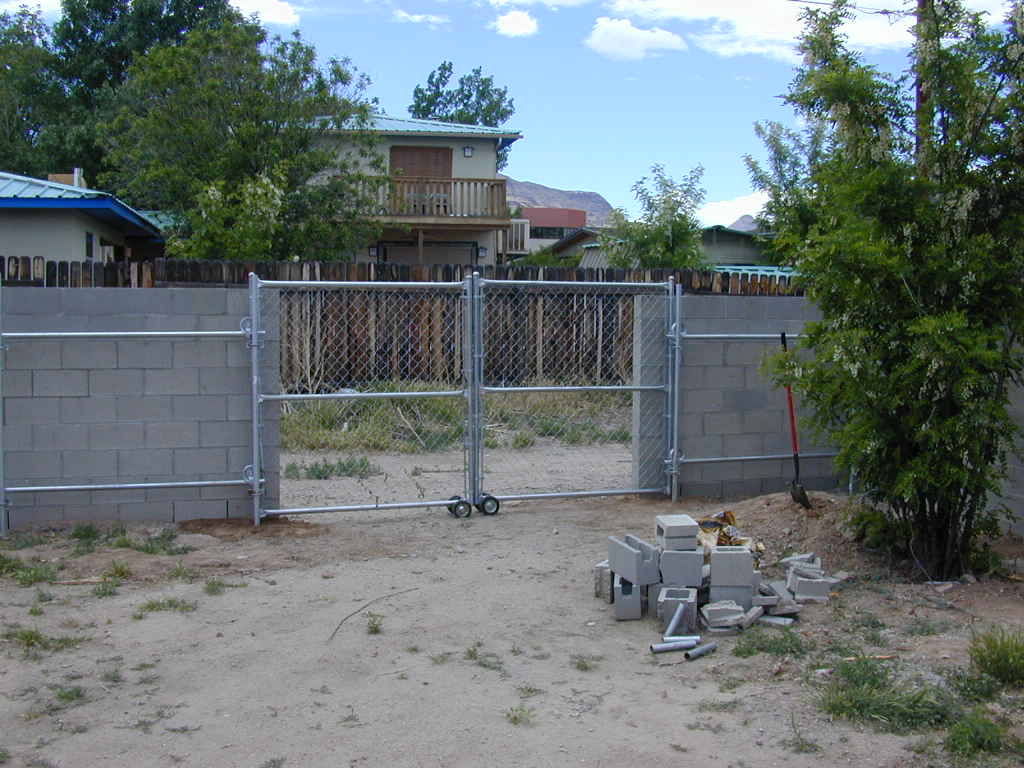 gate |
 gate |
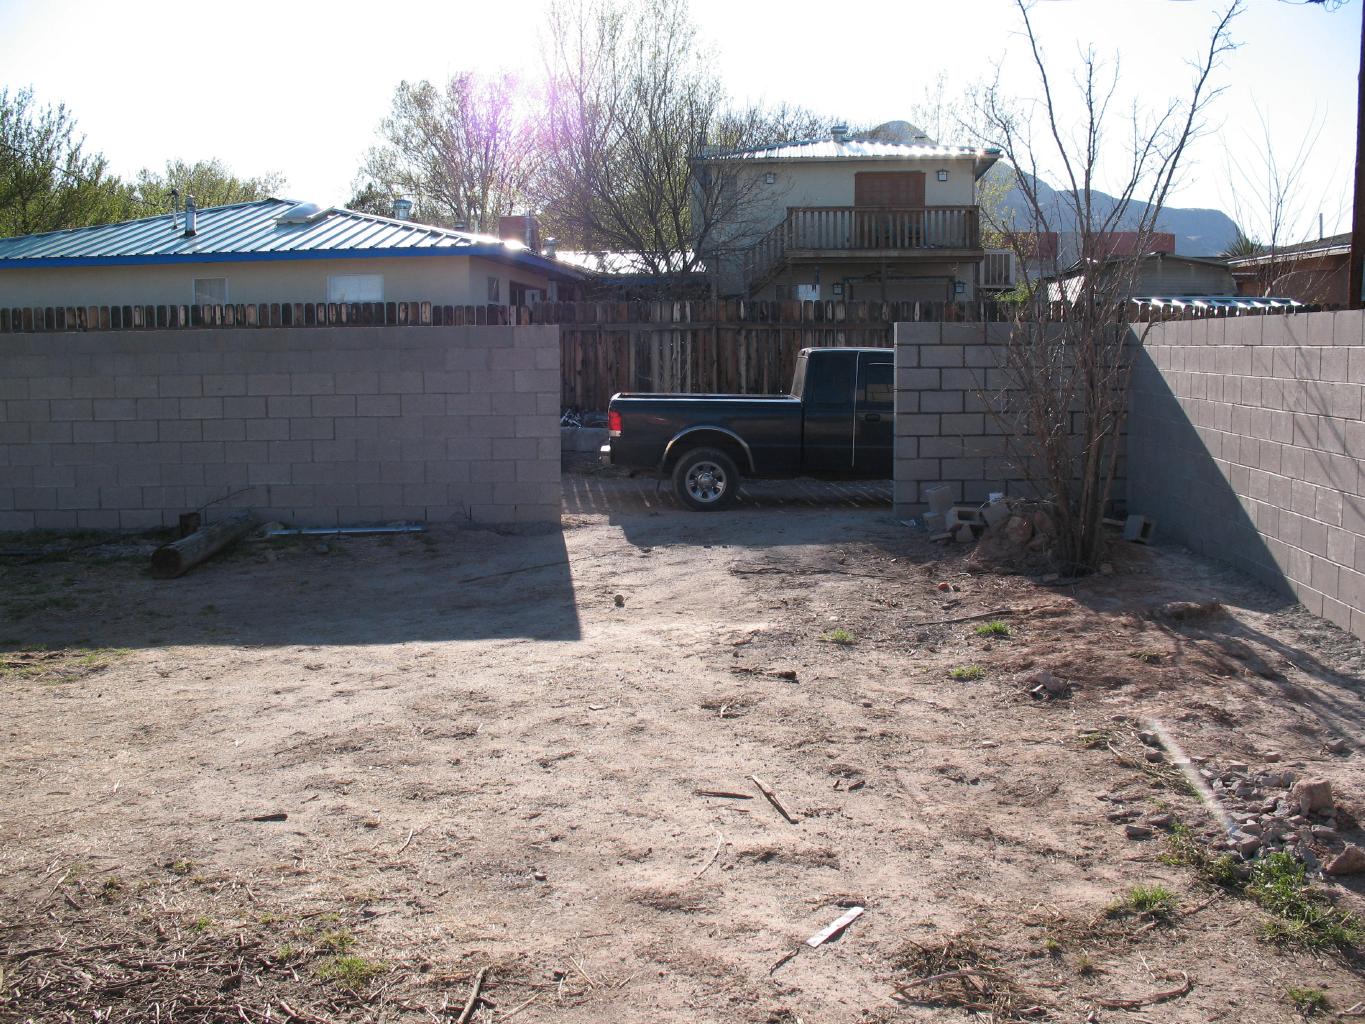
Other assorted pictures.
 South property line |
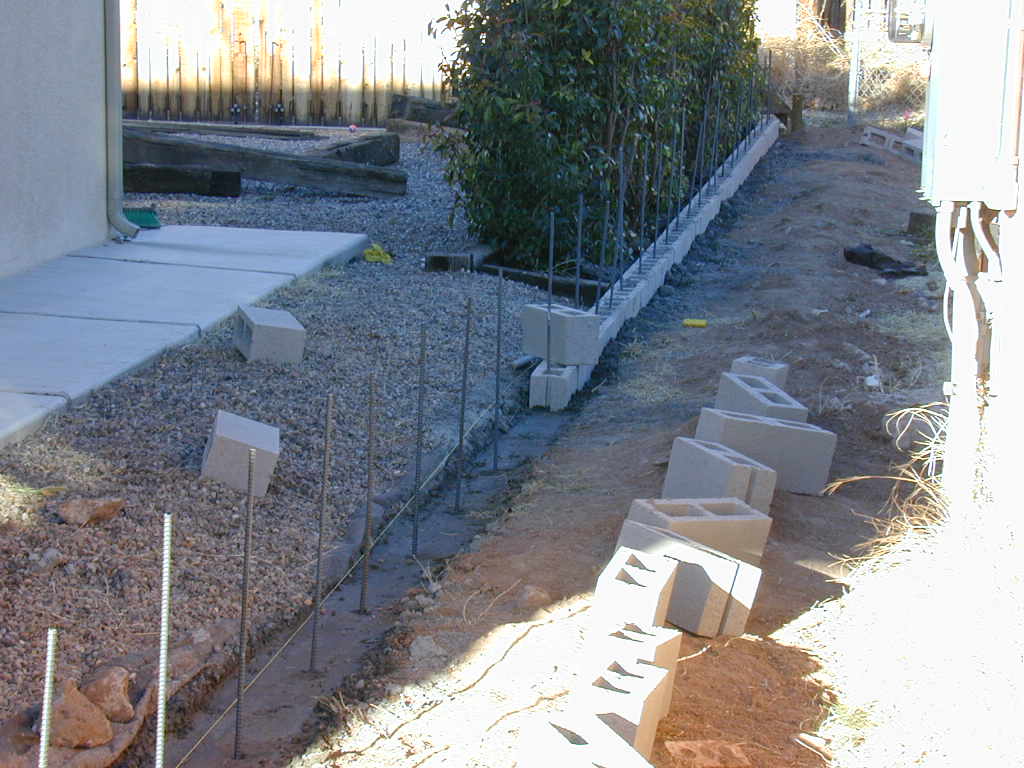
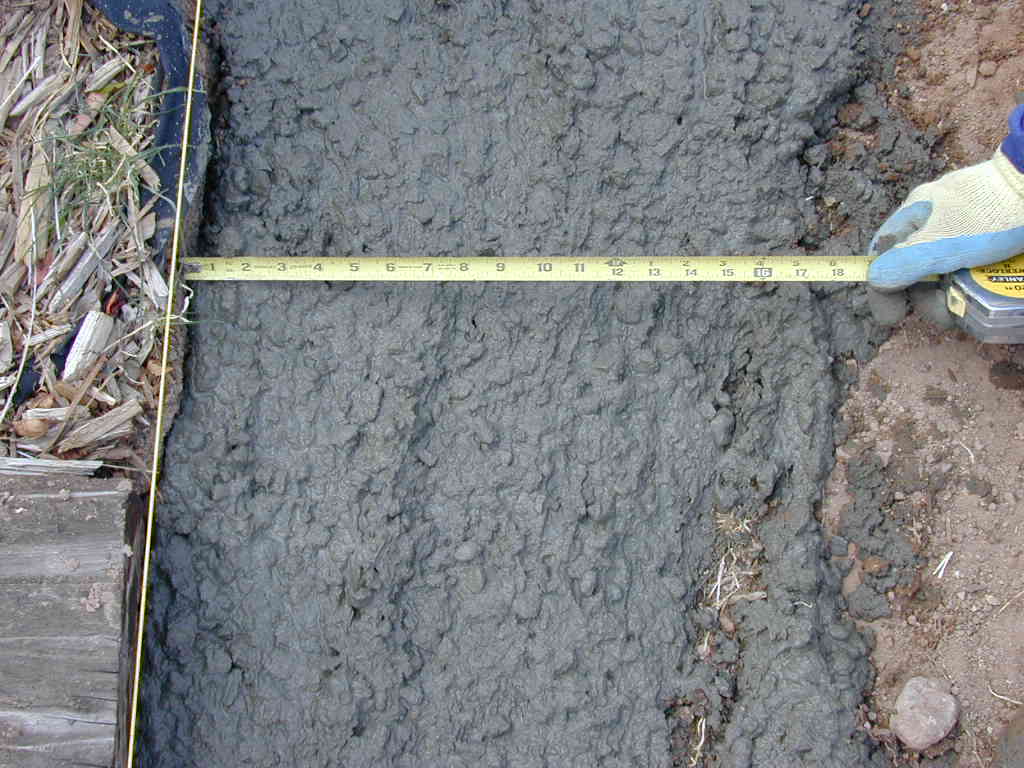
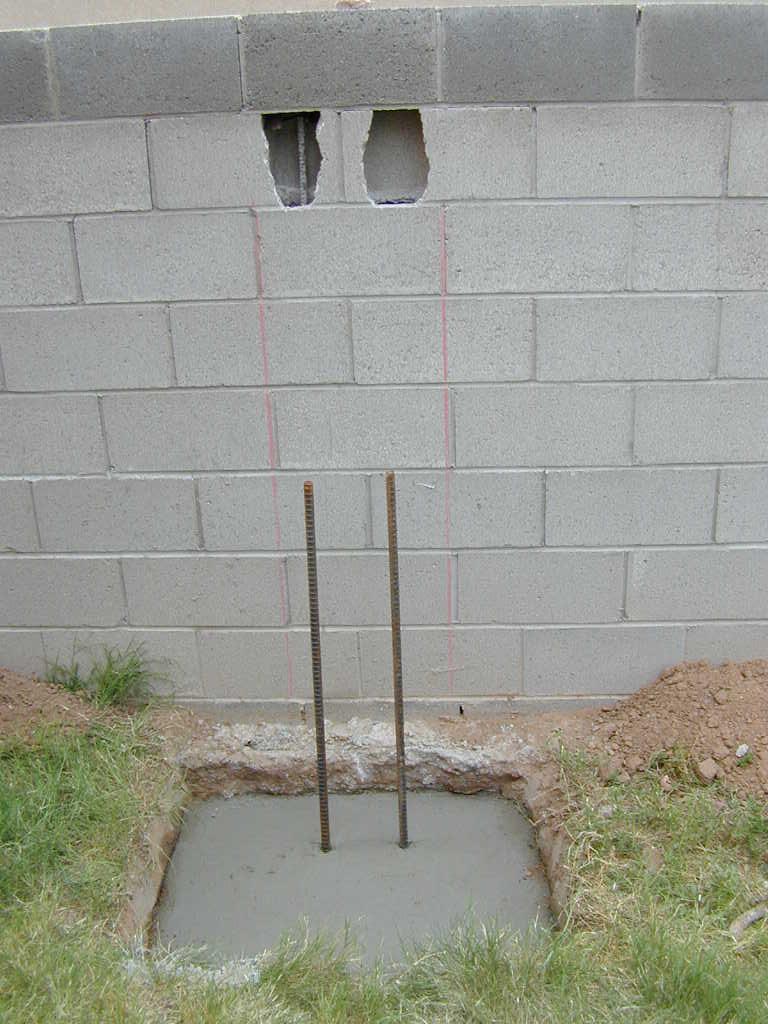
 12in deep footing |
 |
 he did use rebar |
 |
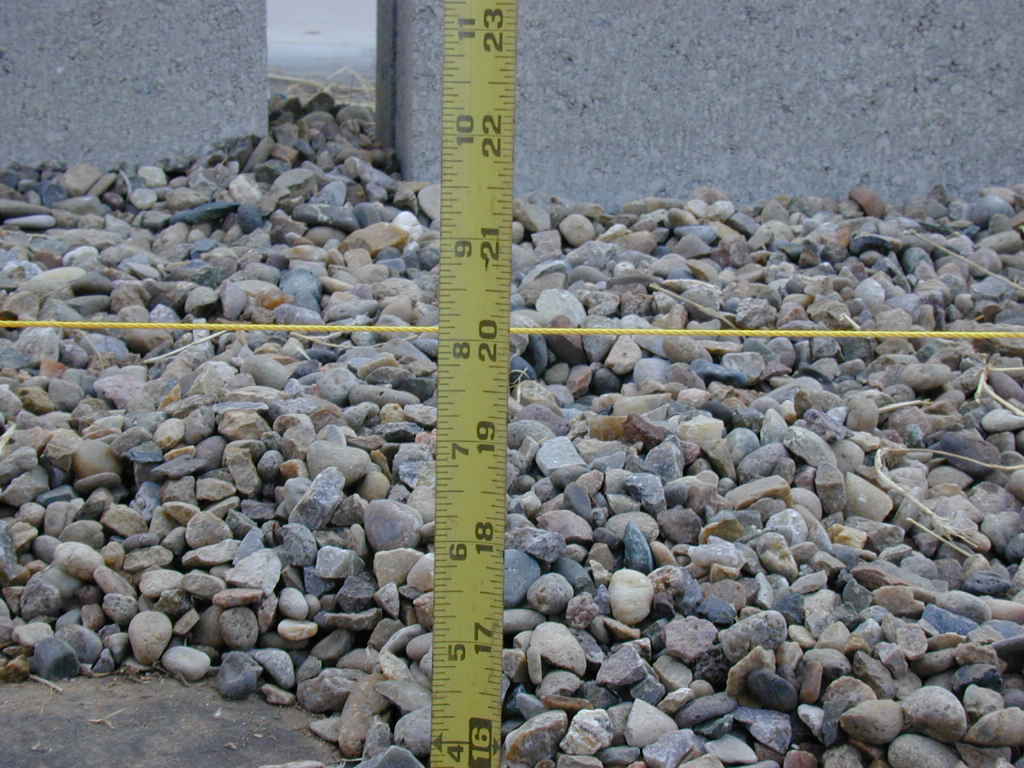 |
 15" for 6" blocks |
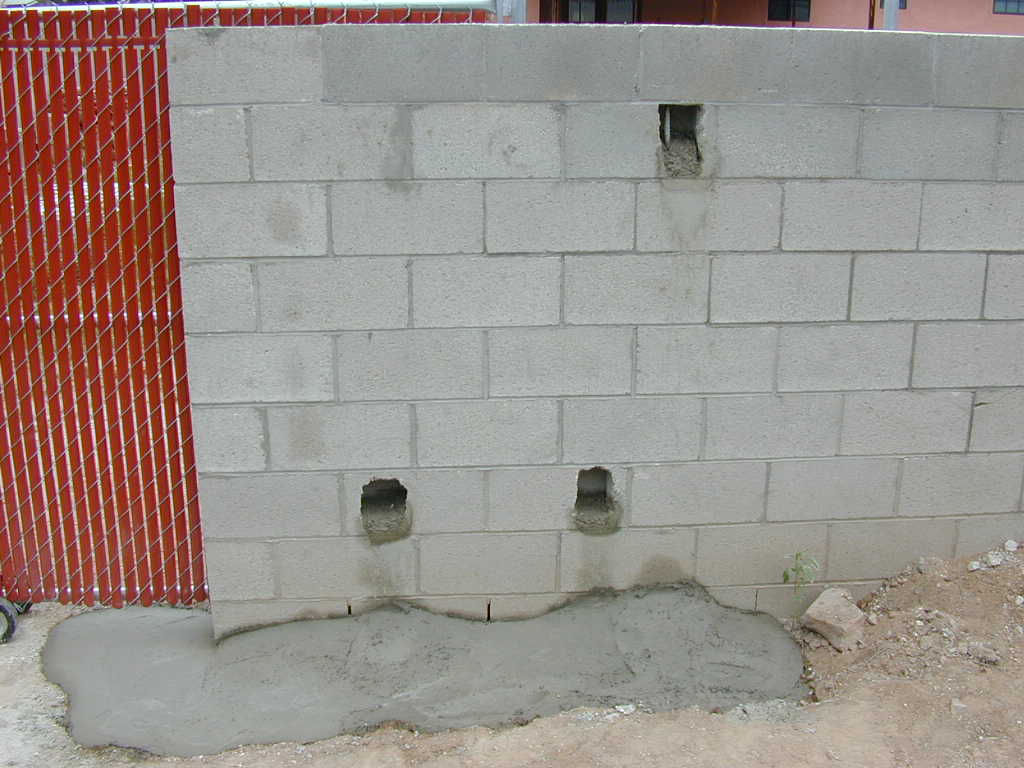
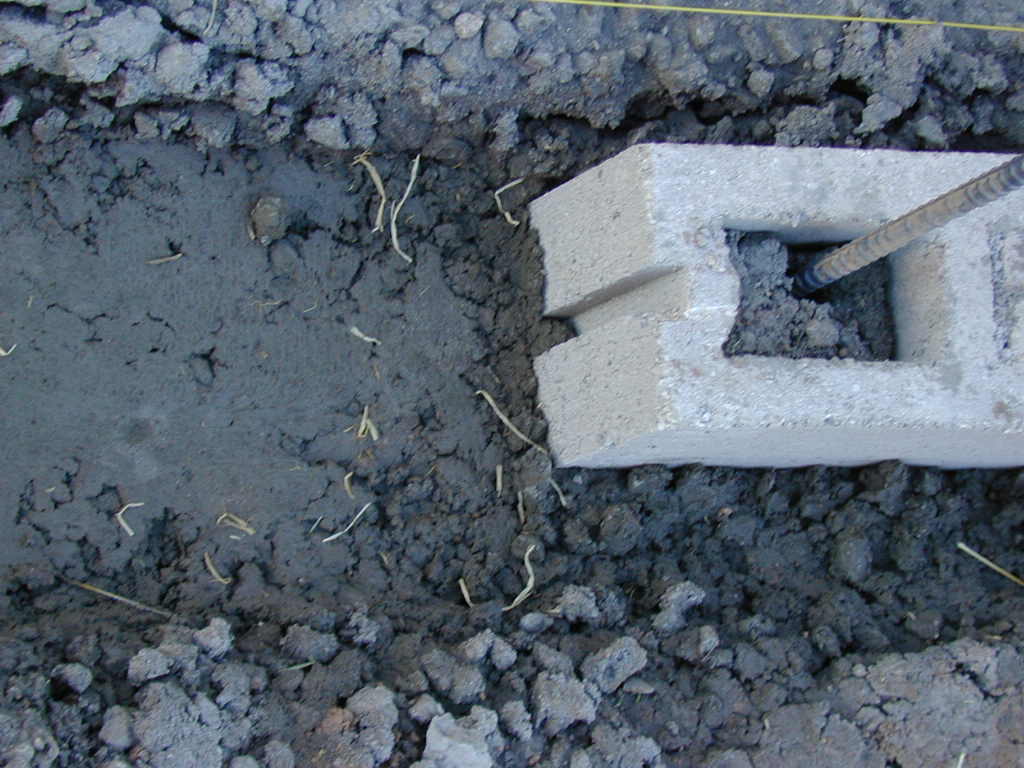 blocks in footing |
 |
 |
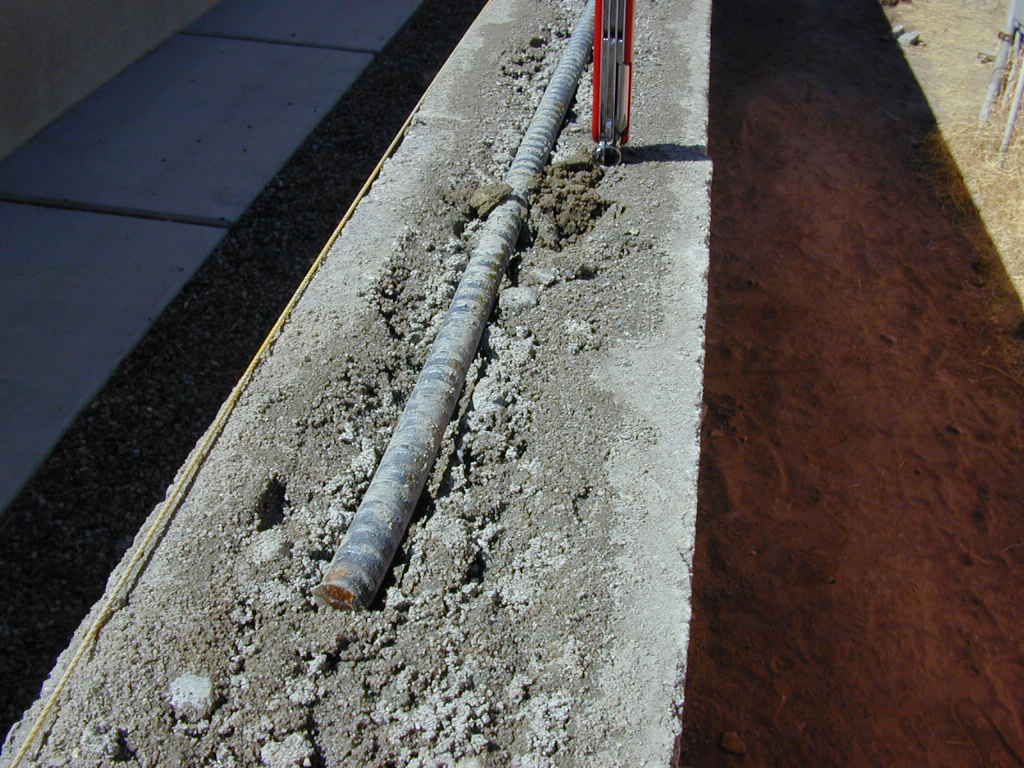 bad rebar |
 |
 power and cable |
 sewer |
 |
 hand smoothed crap |
 |
 |
 |
 not his fault |
 pre-existing humor |
 |
 non-connected |
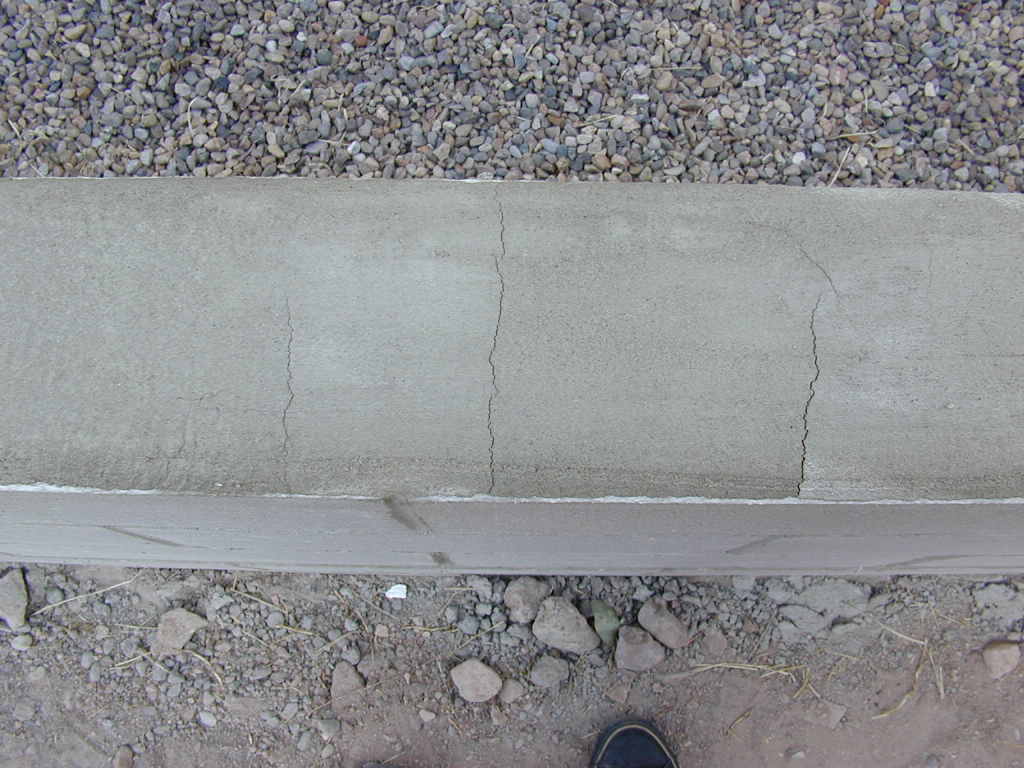
 cracked already |
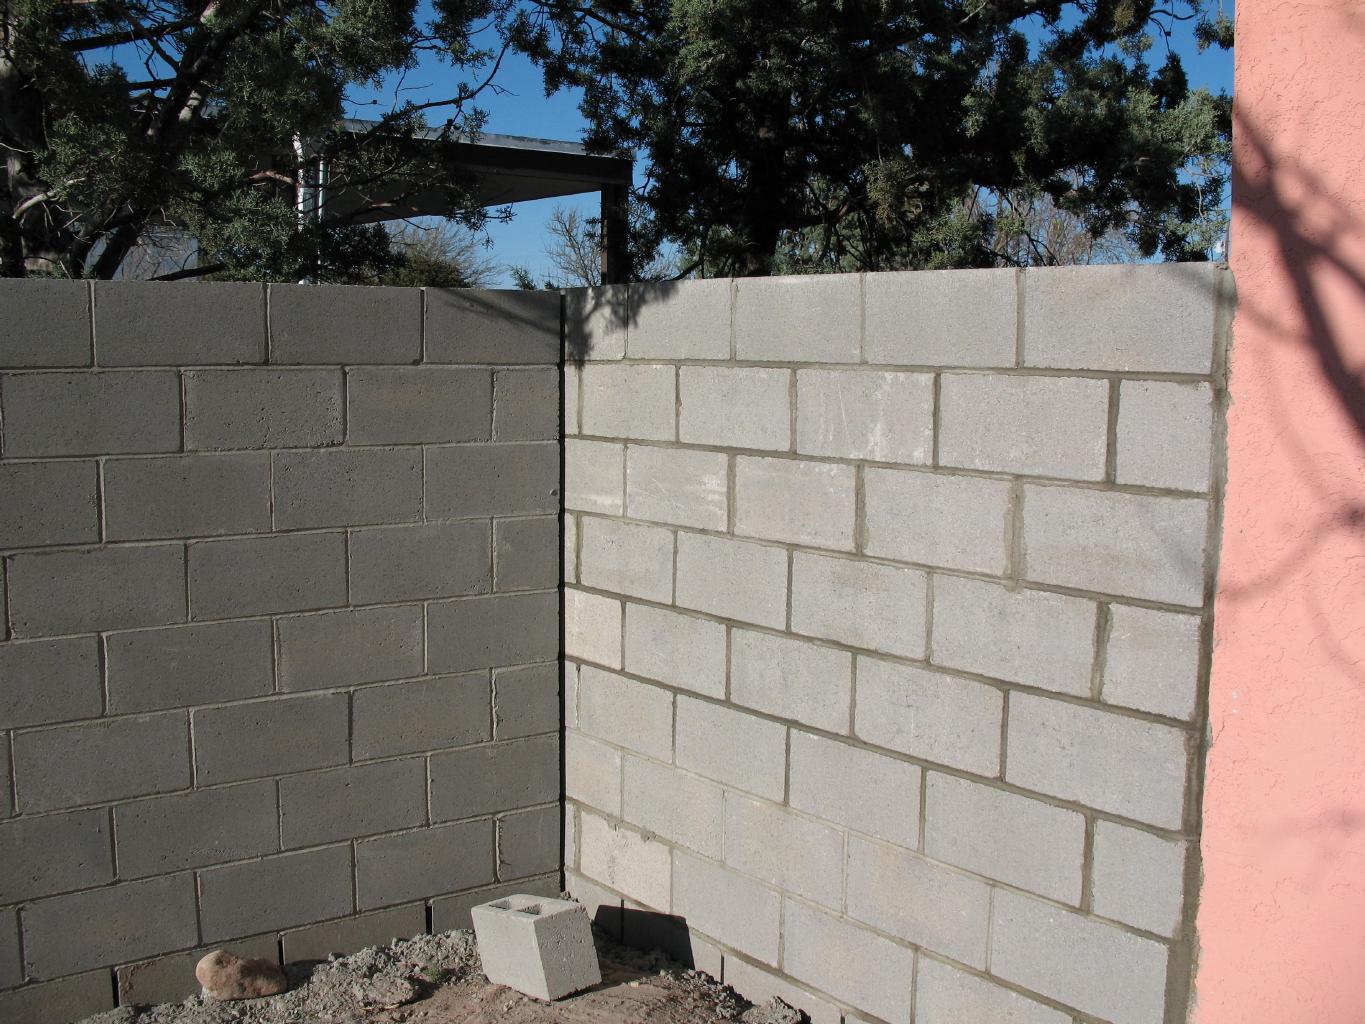
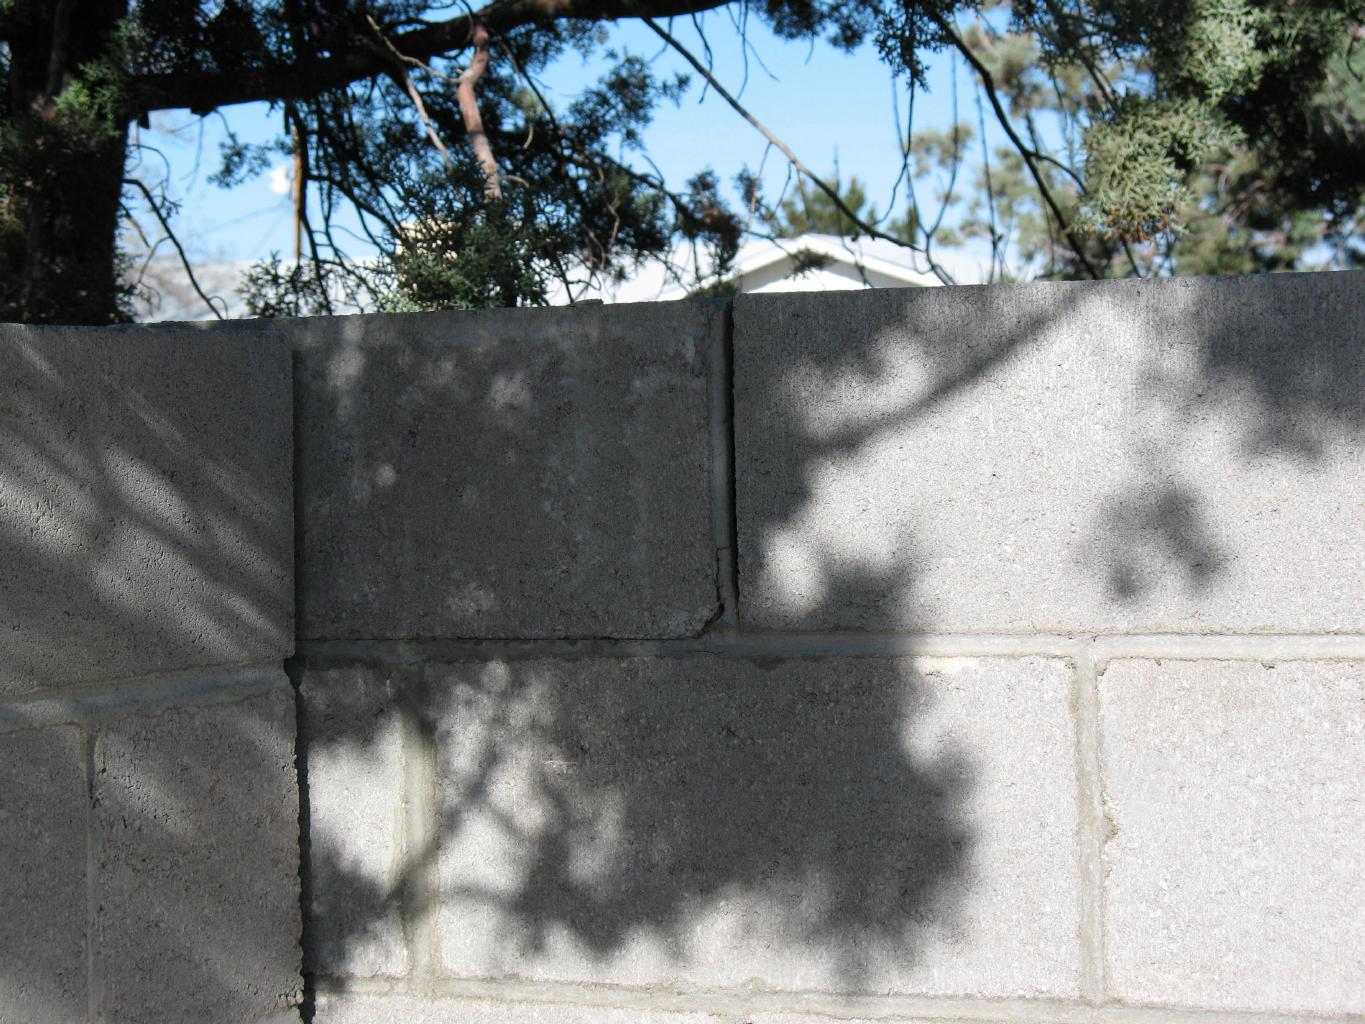
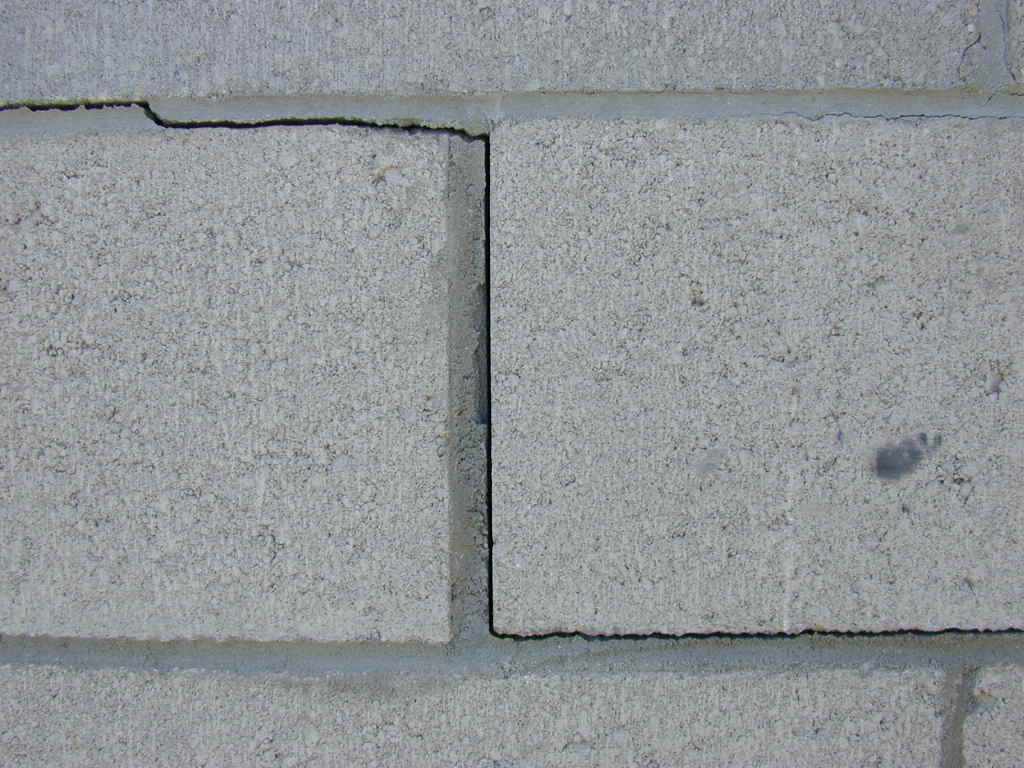
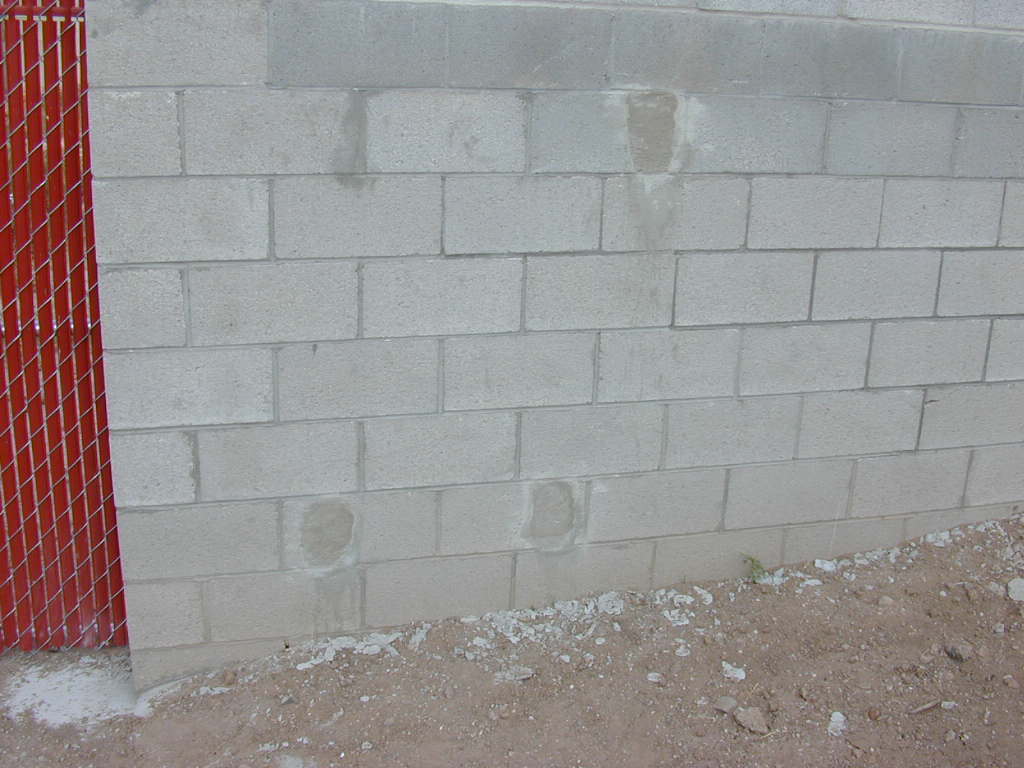
August 2008: After less than two years, the wall that the looser built was collapsing. I could shake it with one hand and see through a big crack. I found a much better contractor and had him send his wall guy to fix it. He also added cap blocks which the boob never did.
 Before |
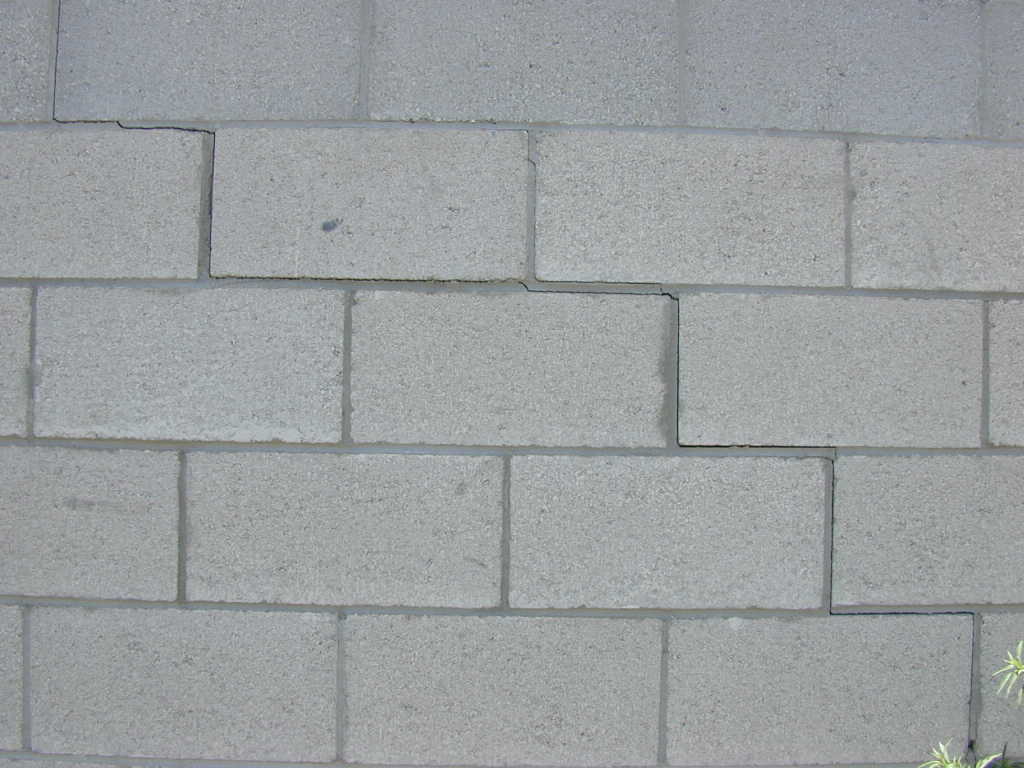 Big crack |
 |
 Cap Blocks |
 North Wall |
 Pilaster footing |
 |
 |
 rebar refit |
 West pilaster |
 South pilaster |
 West wall done |
 South wall done |
 rebar refit done |
September 2007: I thought that I could build pilasters to hold a wooden gate in the front of the house. However, after an investigative dig exposed three seperate pieces of foundation and a water line I decided to call an expert.
 Foundation |
 and water |
March 2009: I hired the same professional mason that fixed my wall to build pilasters for a gate. And on June 28, I hung a gate I purchased from Pacific Gateworks.
 Before |
 Before |
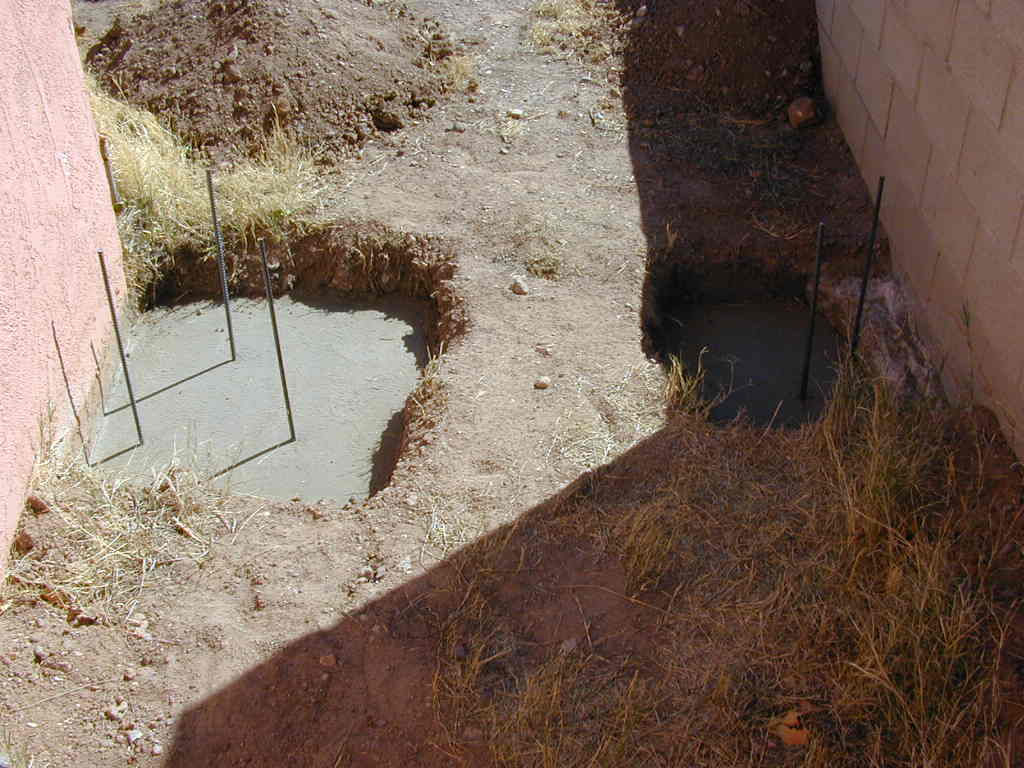 Foundations |
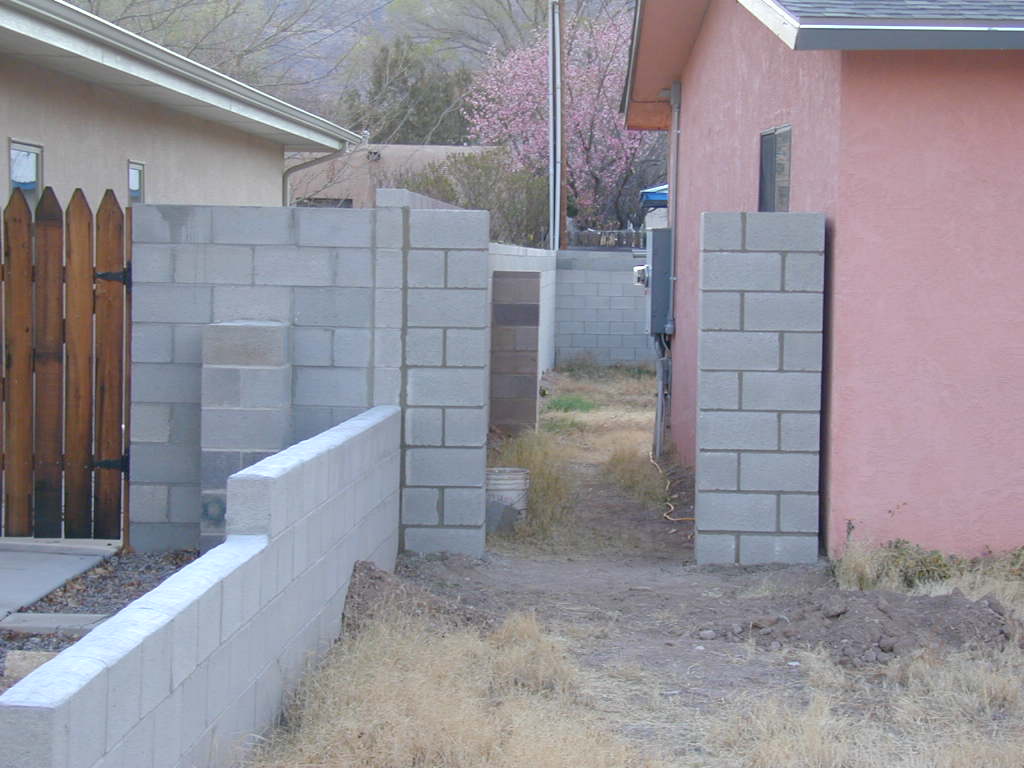 wet pilasters |
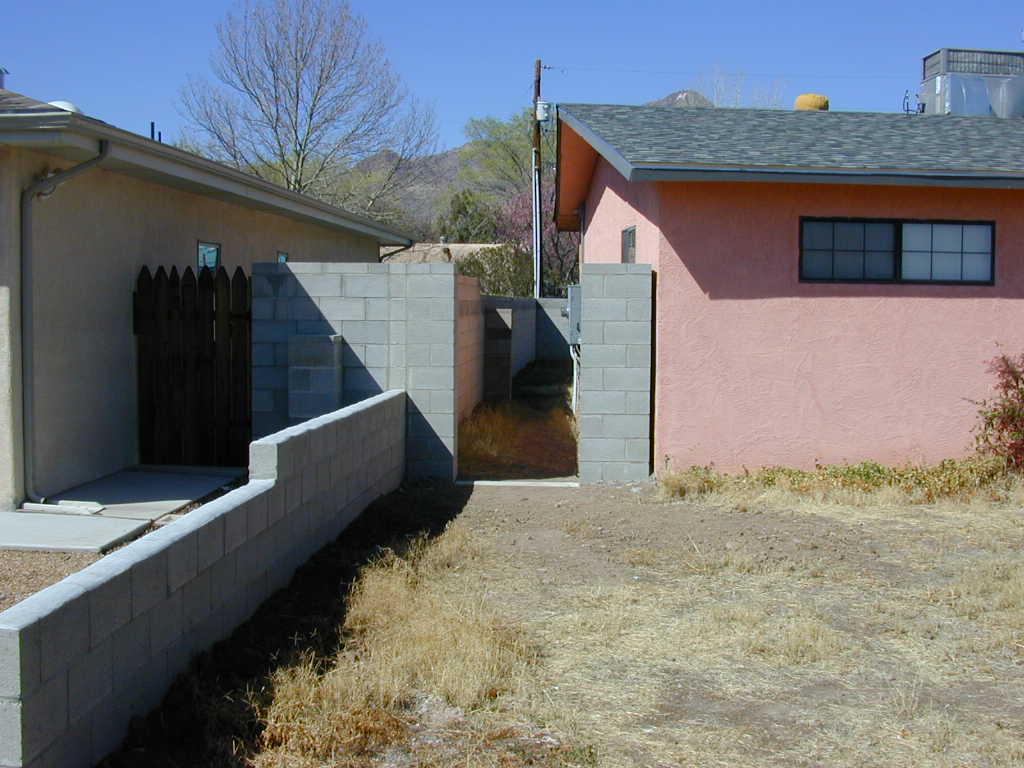 dry pilasters |
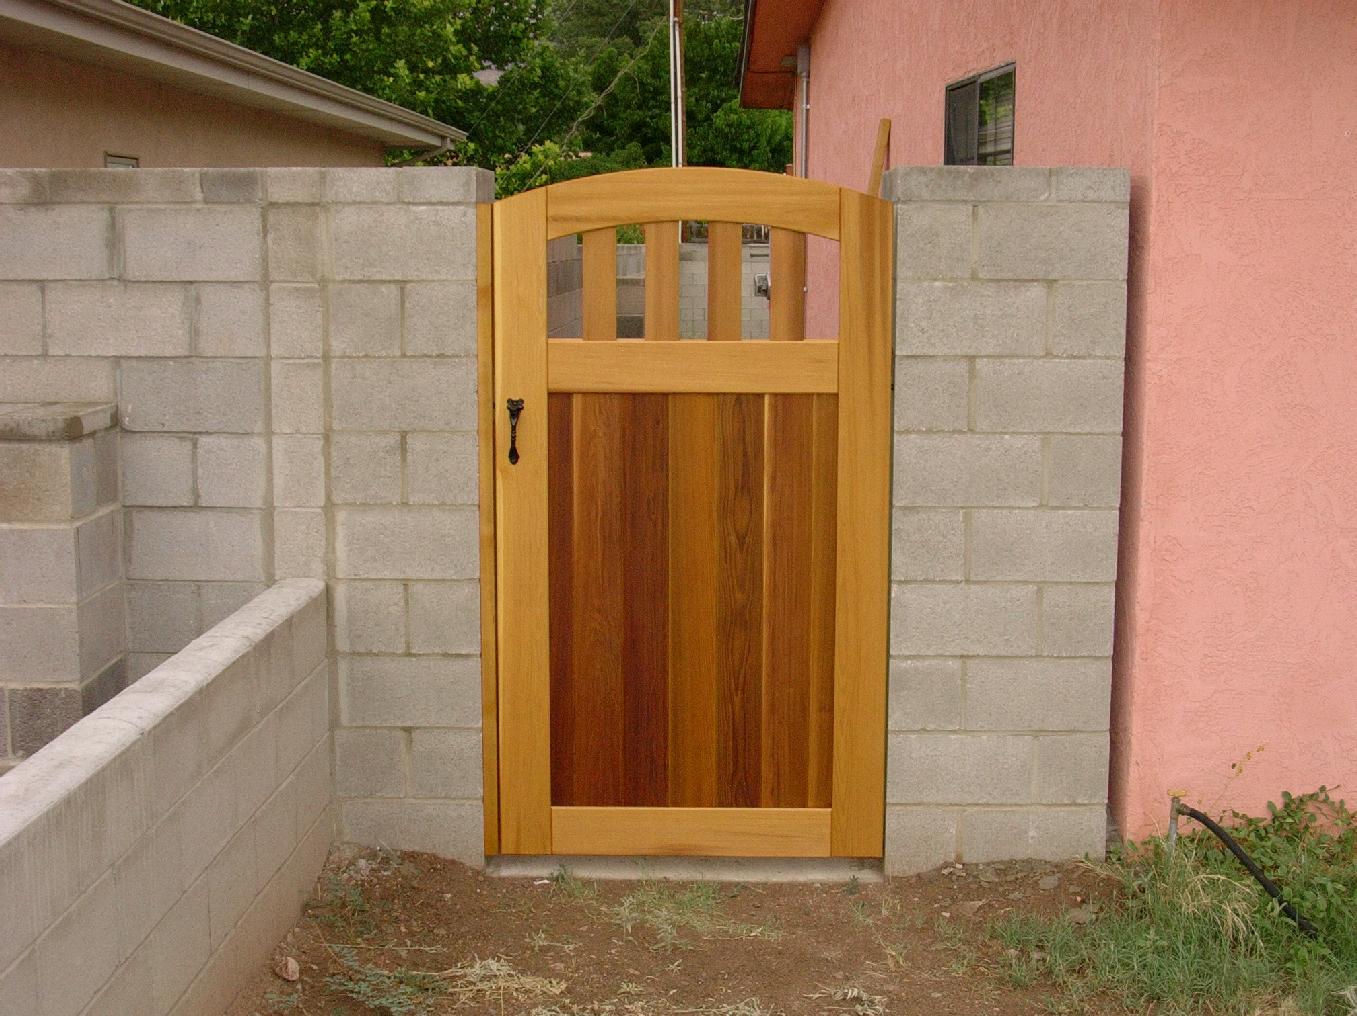 gate front |
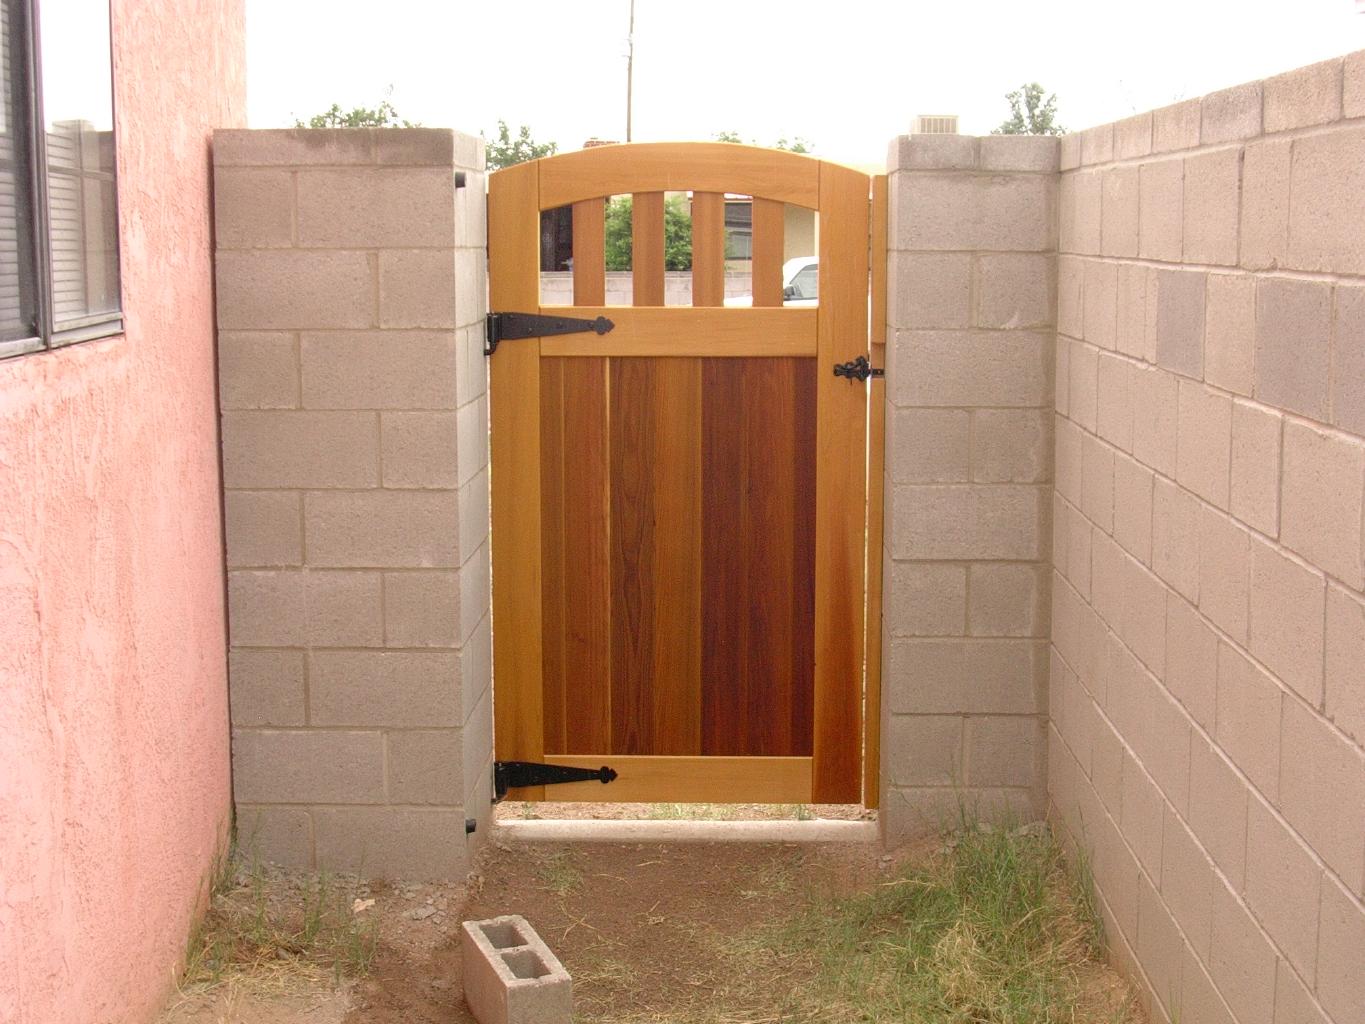 gate back |
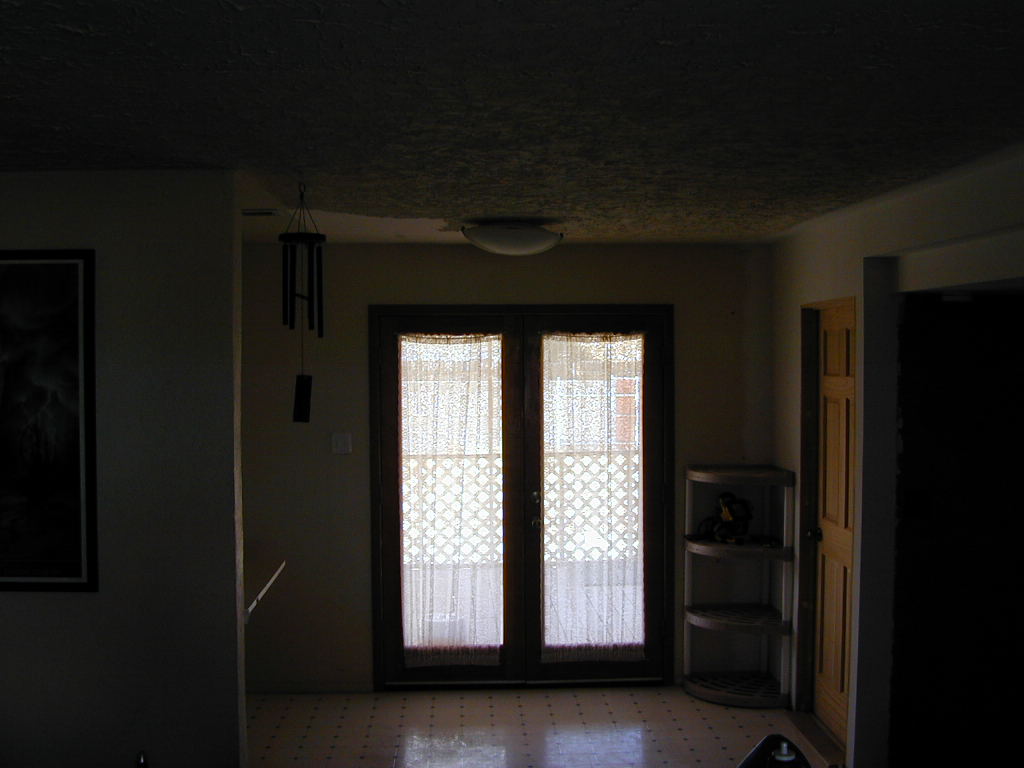
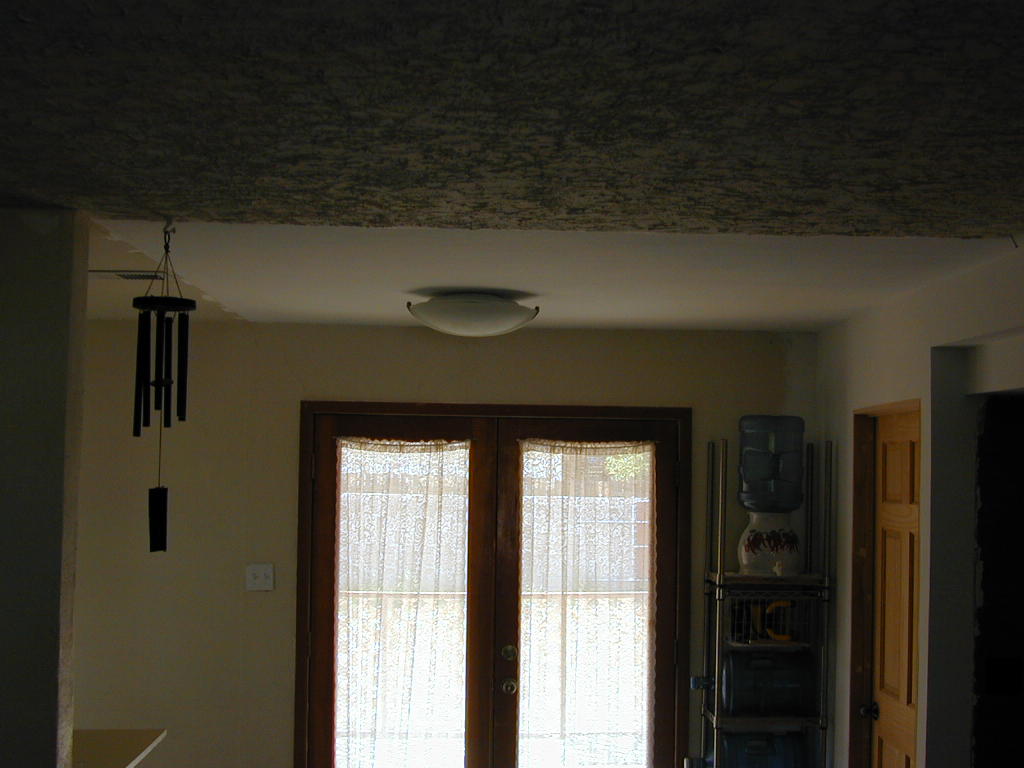
(January 2008)
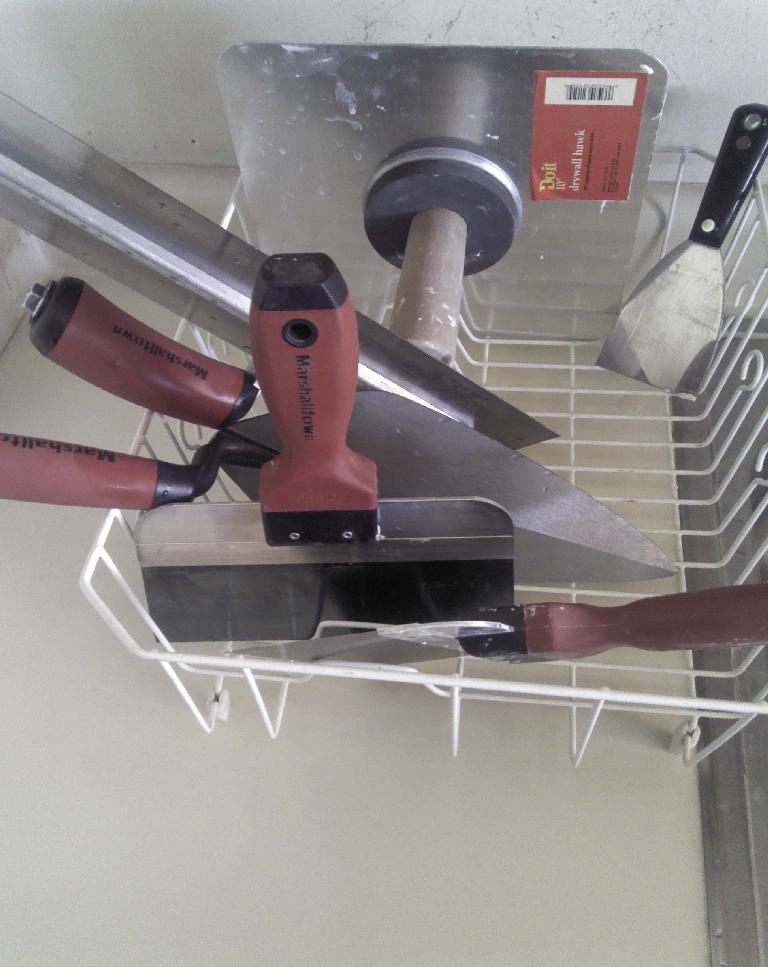
Most of the ceiling in my house is plaster complete with non-knocked down texture that descends up to one half inches. So, on a whim, I tried scraping it off with a putty knife and a chunk about one inch square fell right off leaving a smooth plaster surface behind. A quick trip to the hardware store to buy special ceiling scraping tools, and away I went.
 first step |
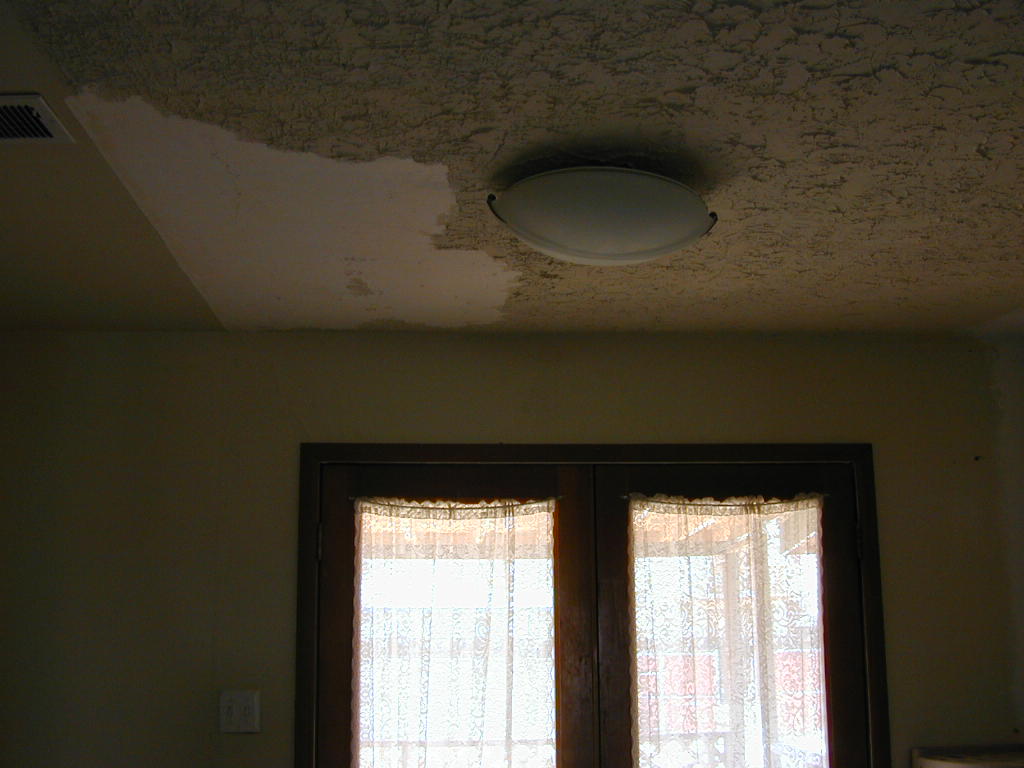 close up |
 finished area |
 Second step |
The crawl space under my house reveals many sins in the construction of my house.
(Jul 2008)
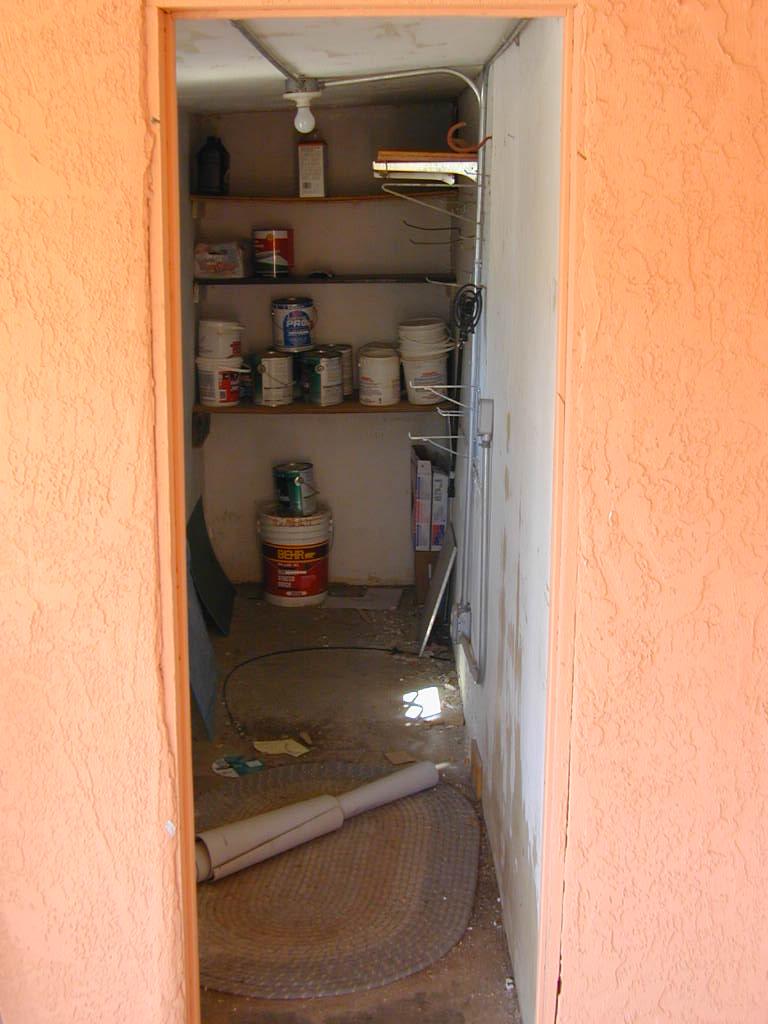
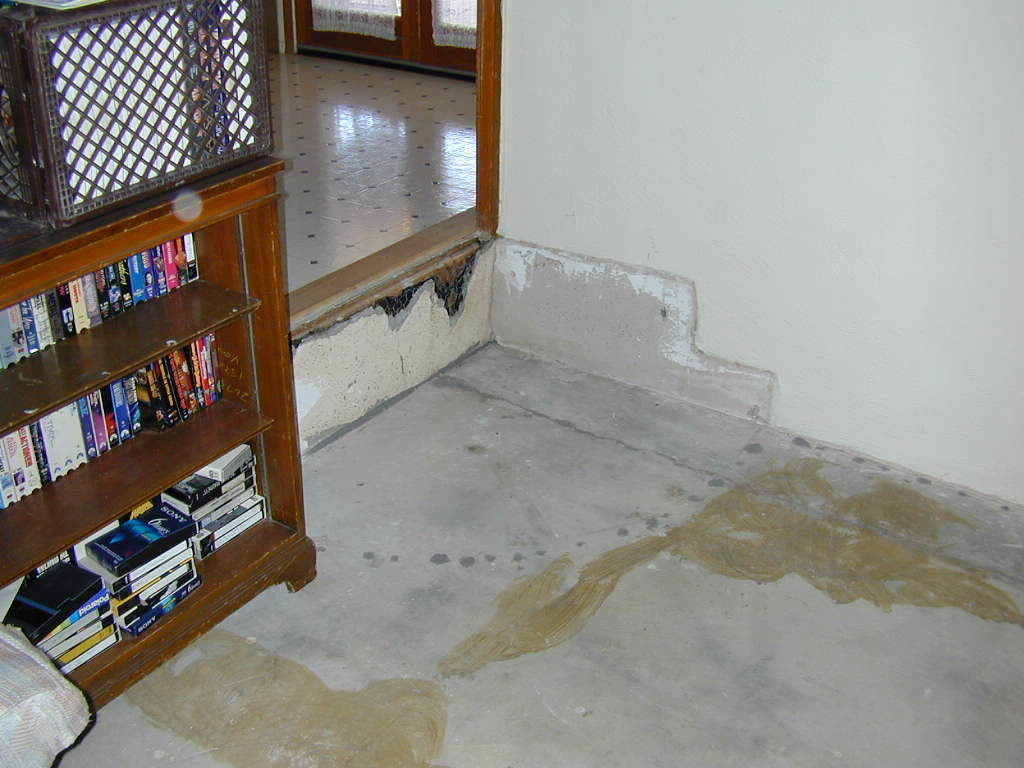
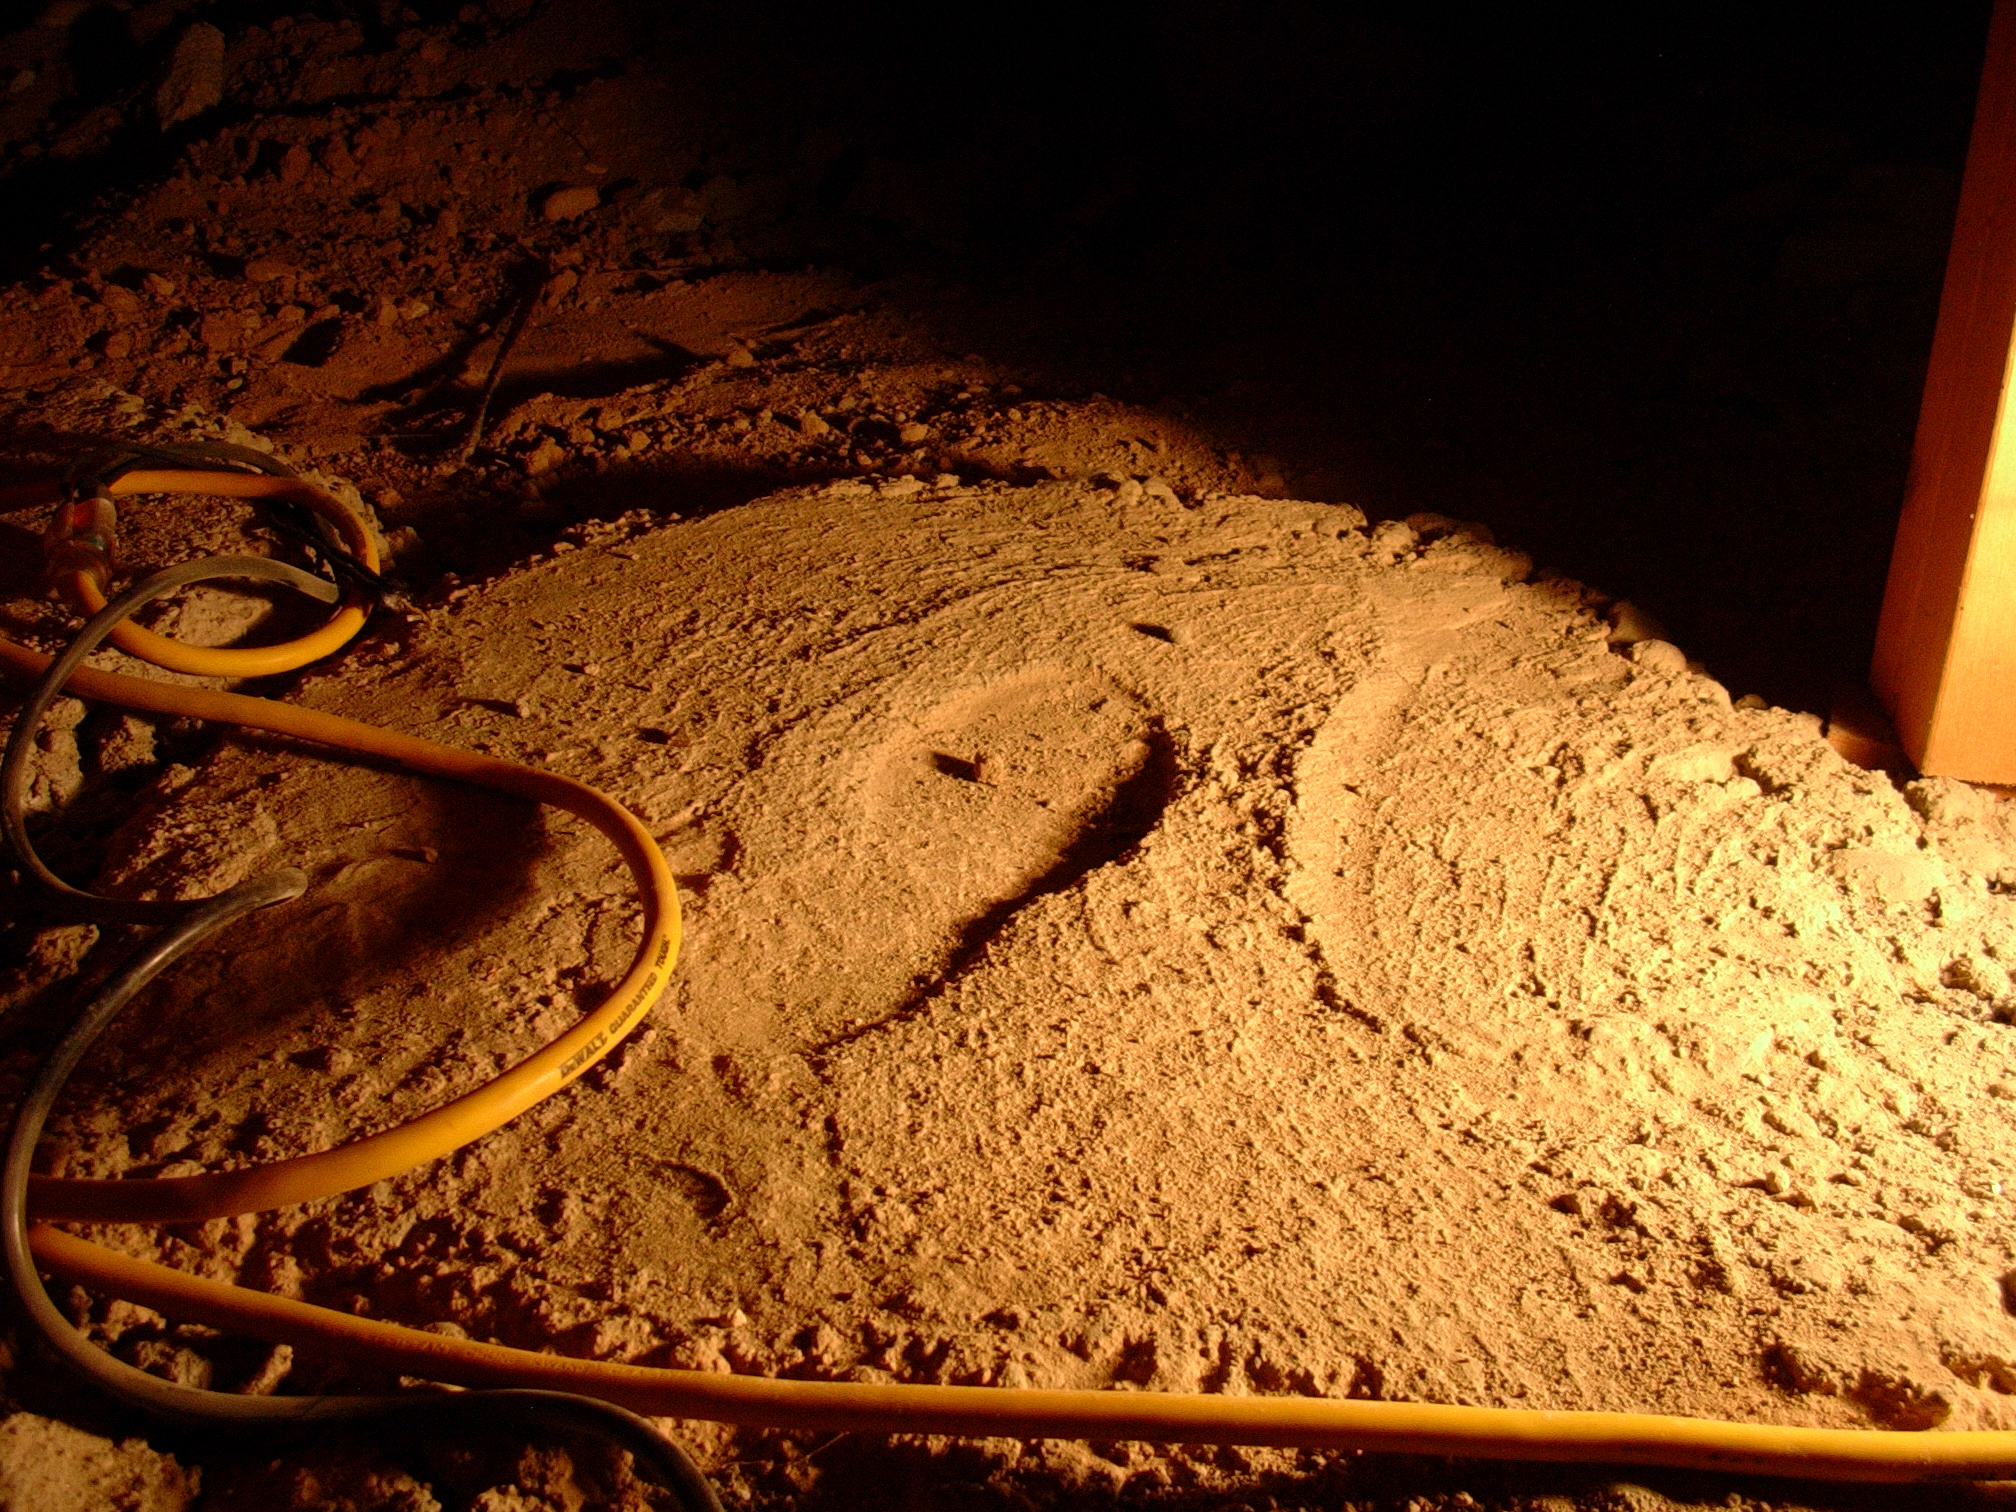
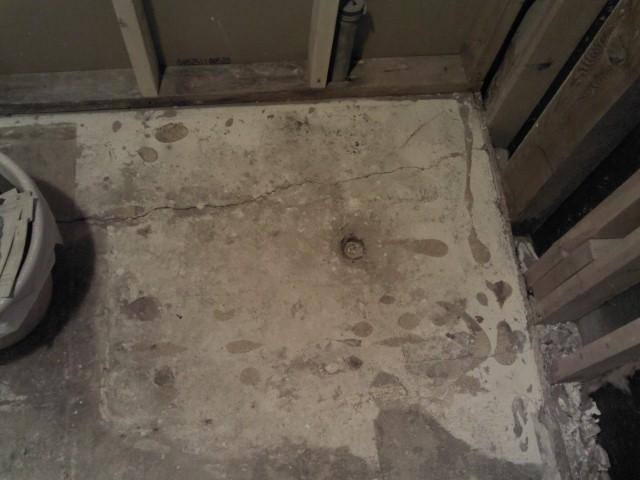
First example, is the laundry room. I assume it was constructed when the garage was, but if that is so, then why is it at a different level? After construction it looks like it was refitted with new water lines. Notice the large gaping hole that was dug for new water lines and never filled in. Notice the bottom, yes bottom of the slab.
 Gaping hole |
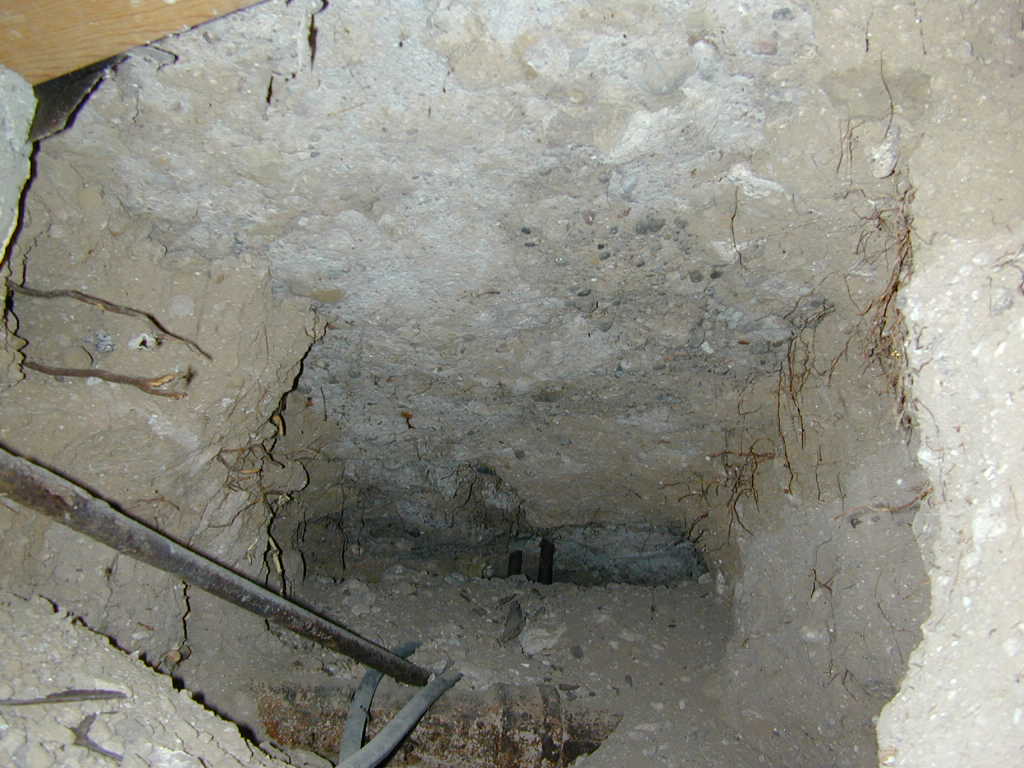 Bottom of slab |
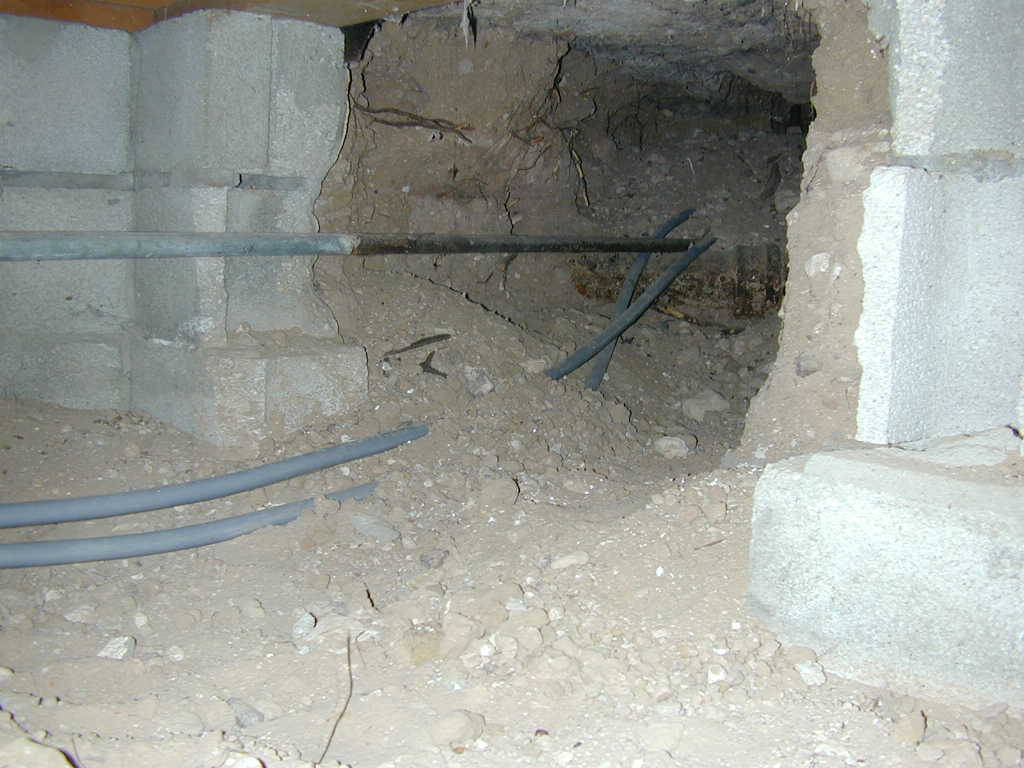 Hole in block |
(May 2010)
The floor joists are 2x6 on 16in centers atop doubled 2x8 beams on 5' centers. The footers are not exactly level and certainly not smooth.
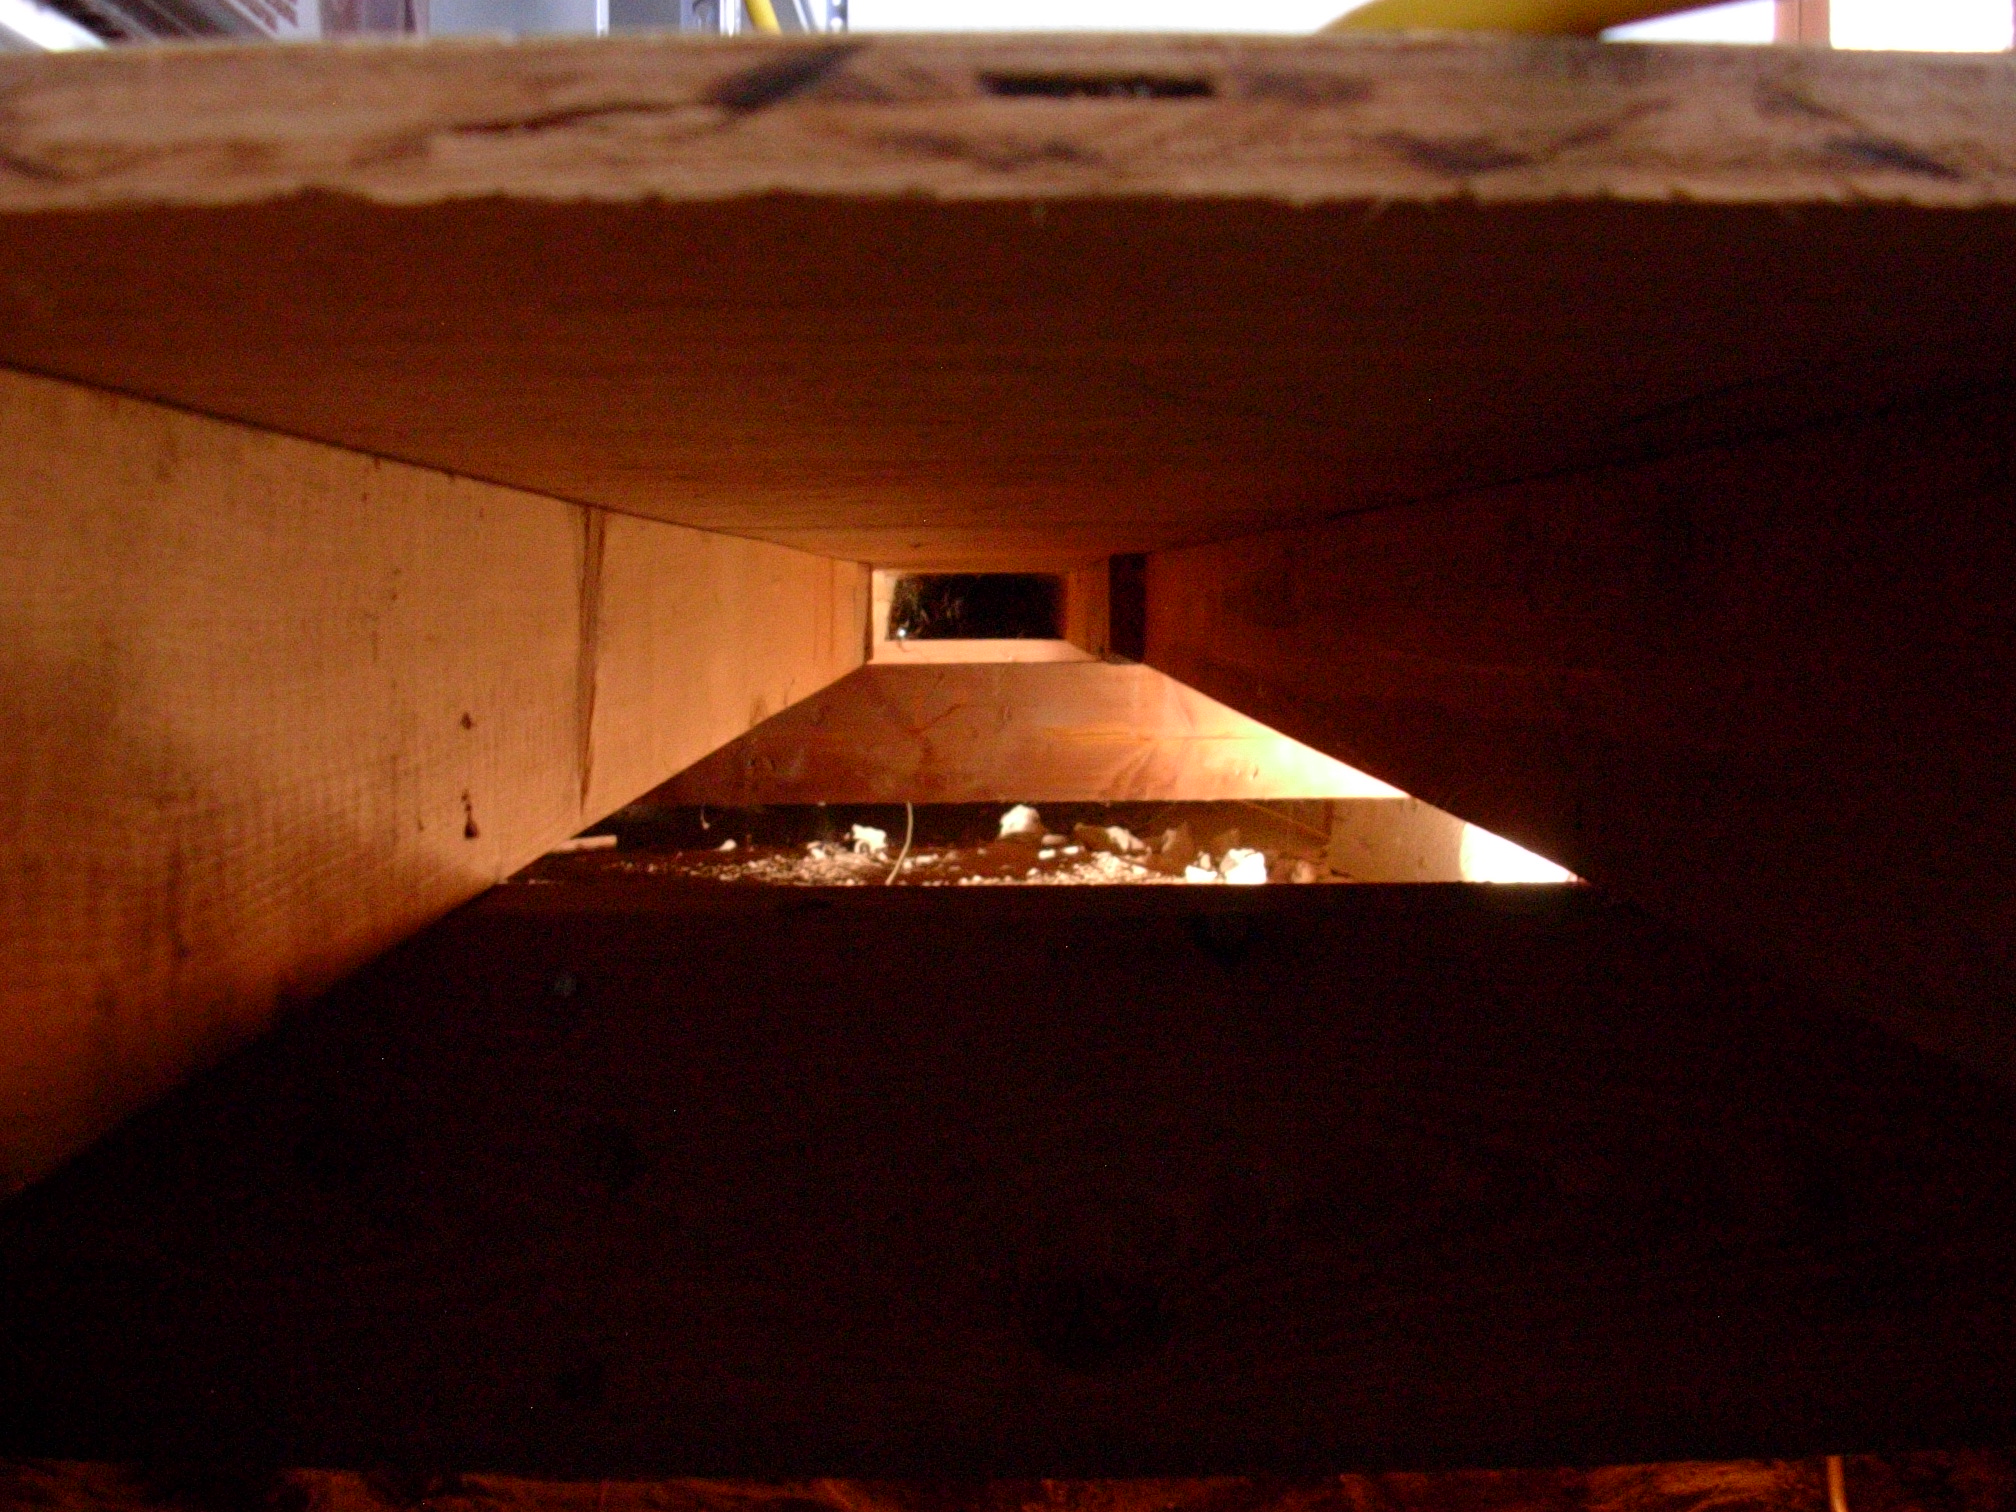 Only three beams |
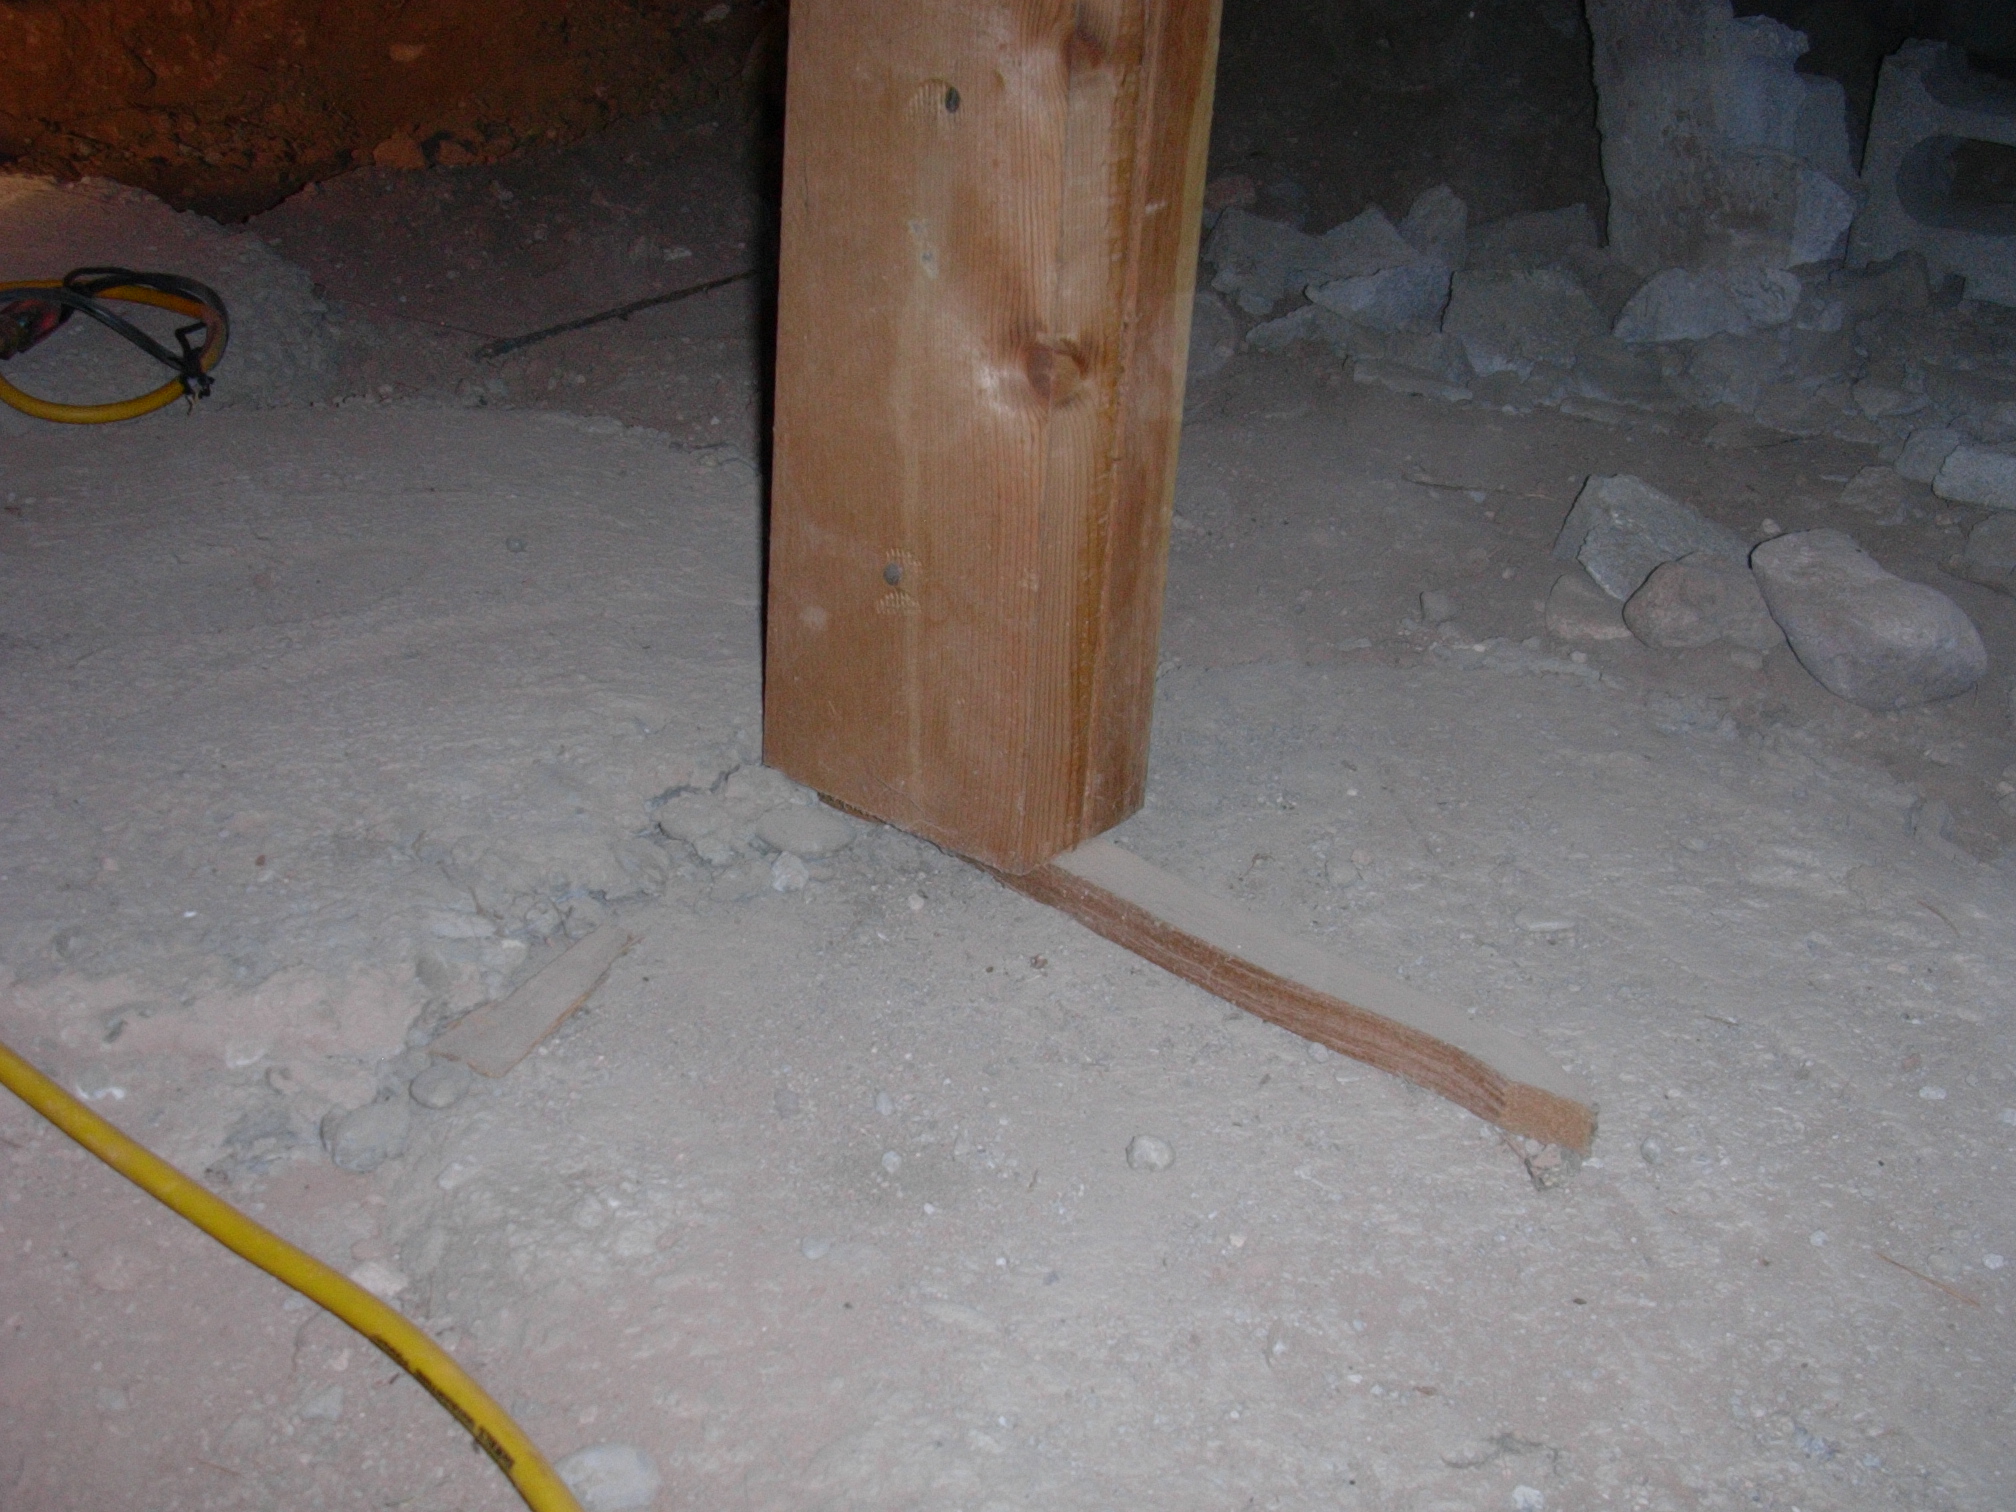 Very strong twig |
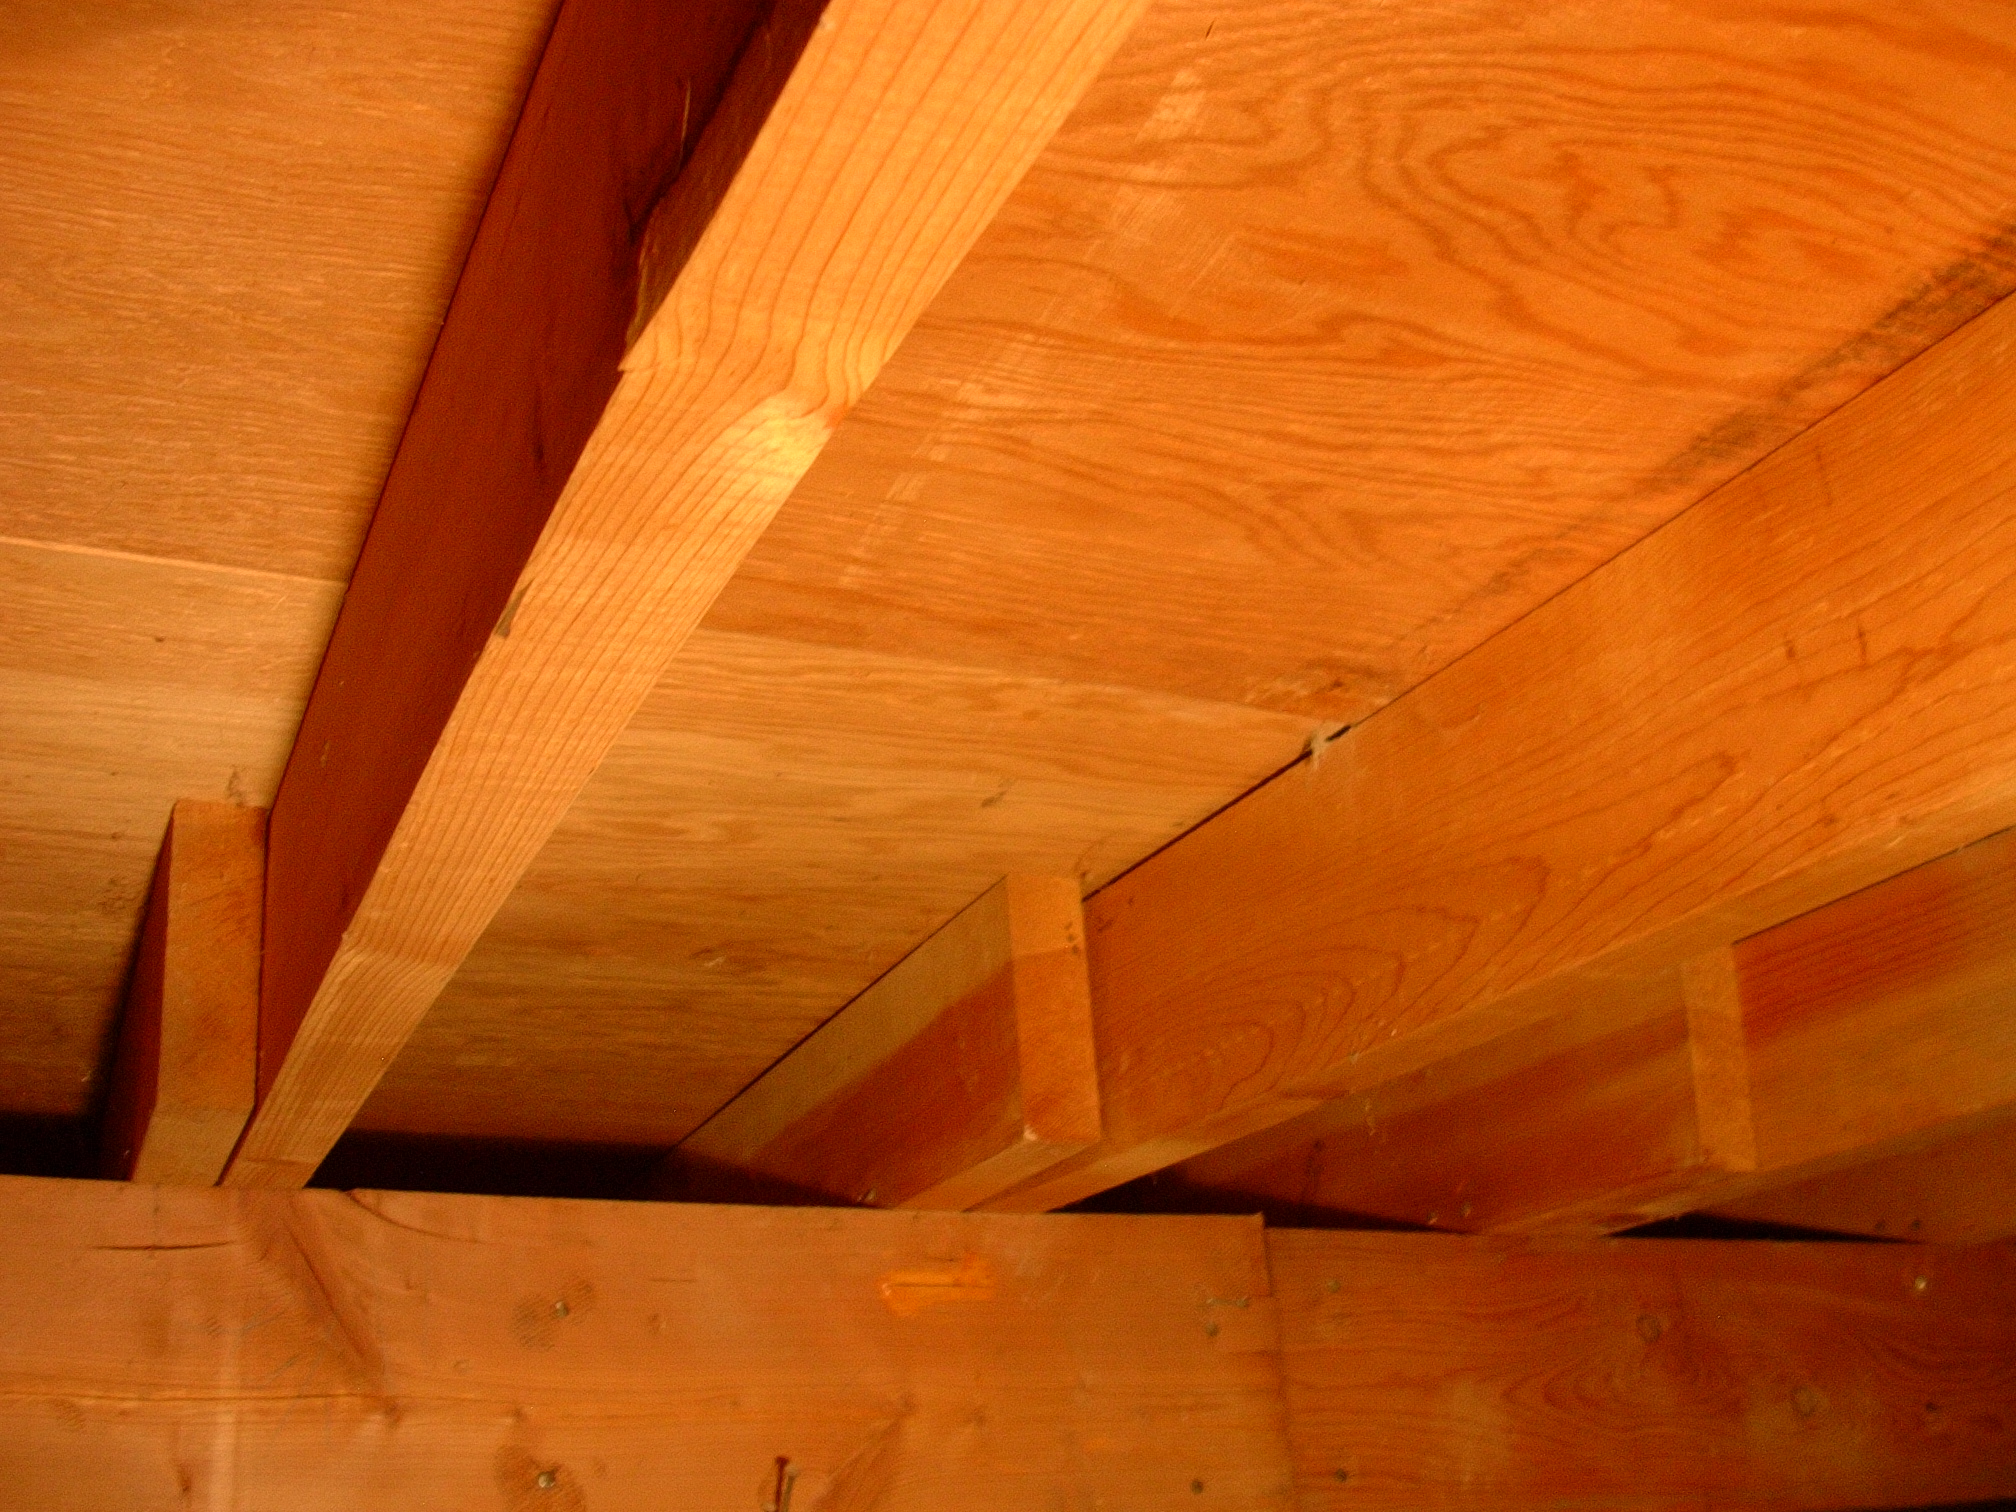 non-level sisters |
 Foot in footer |
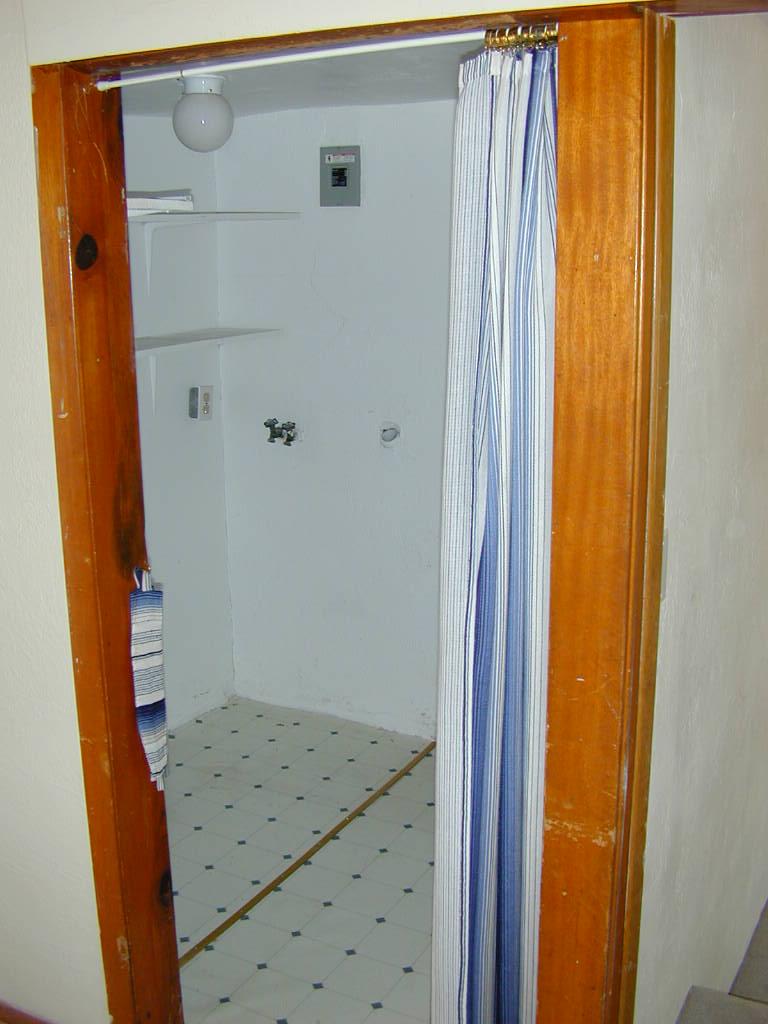
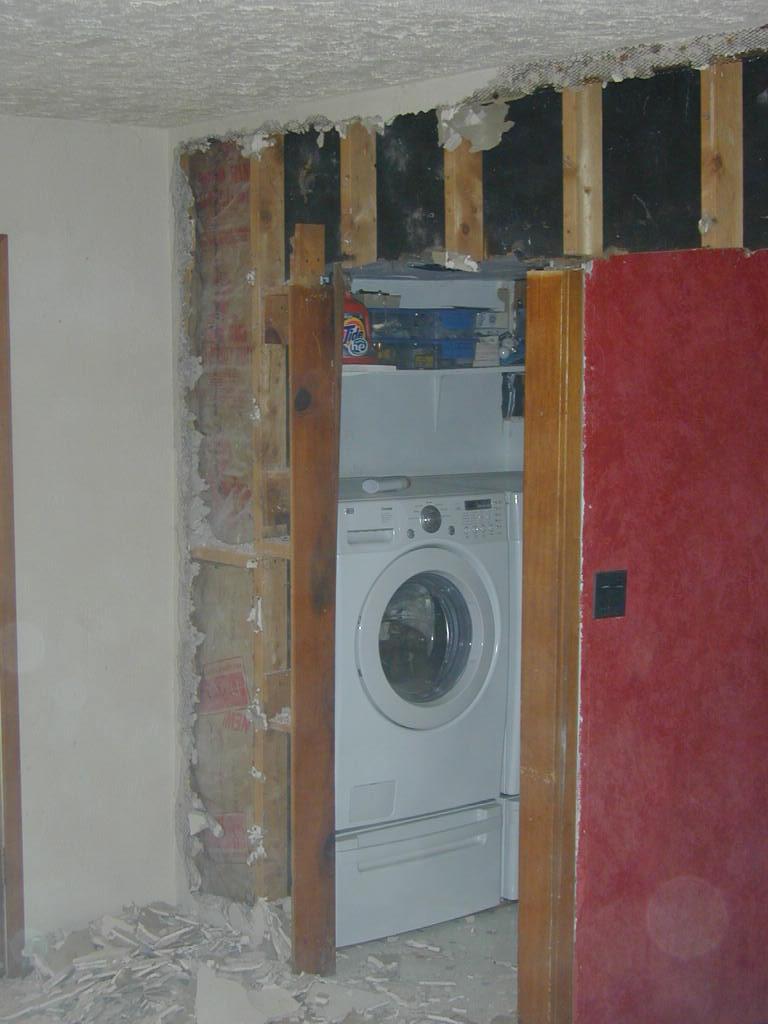
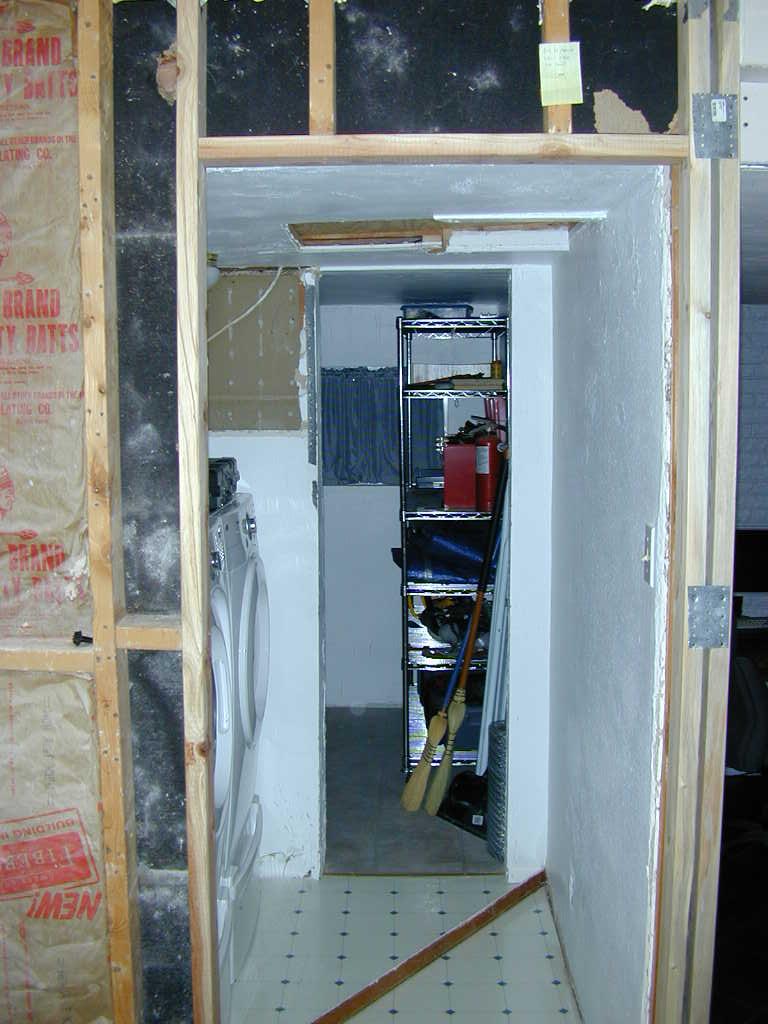
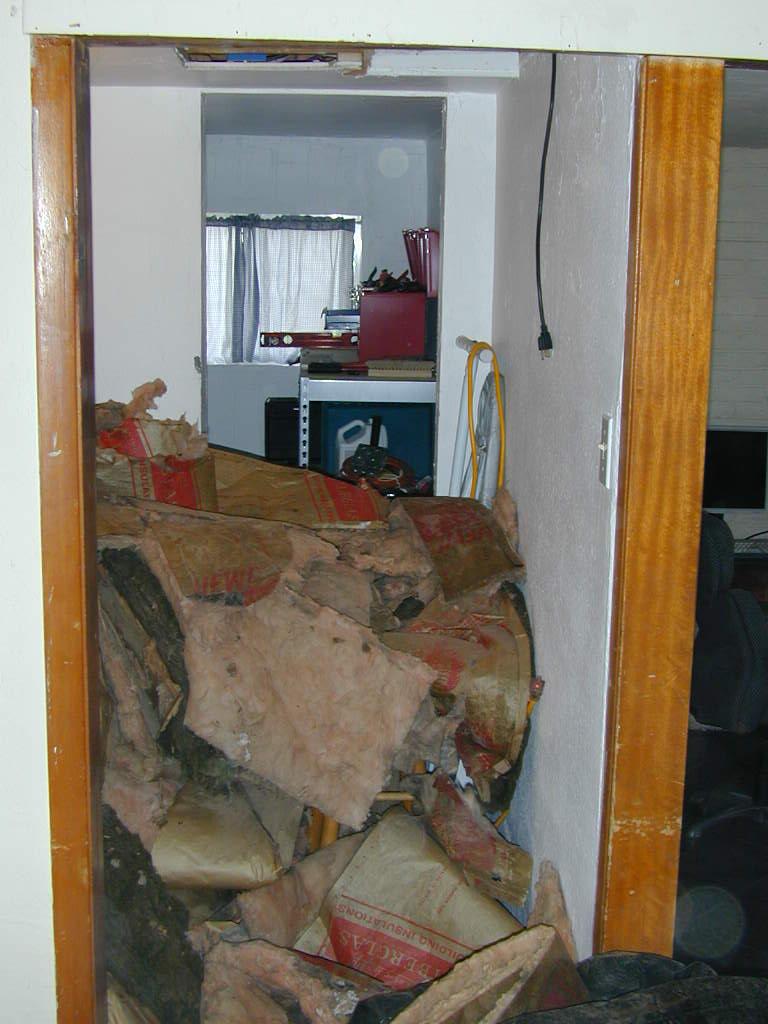
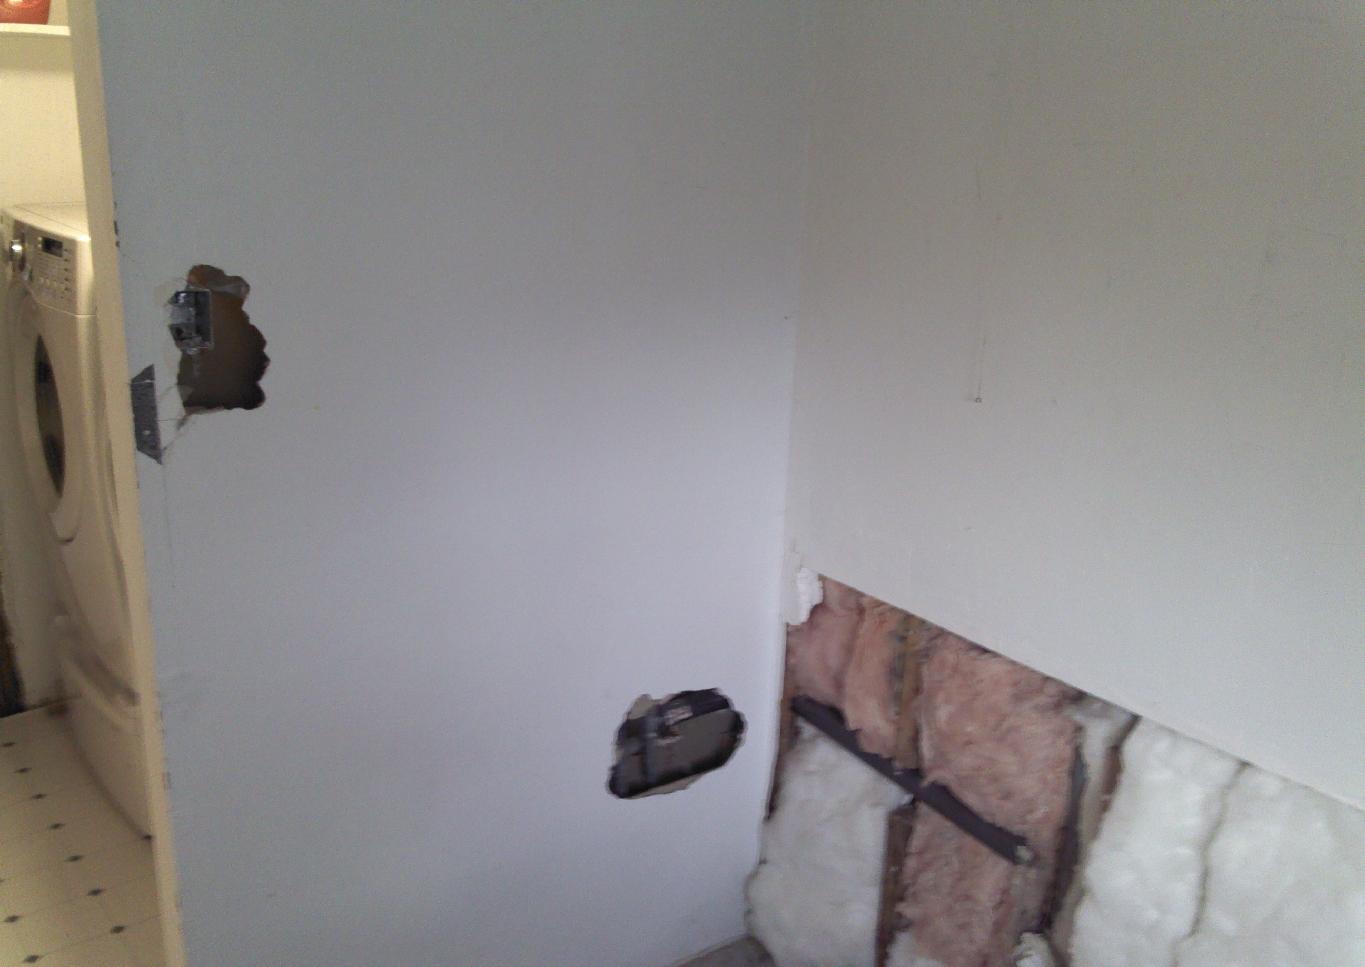
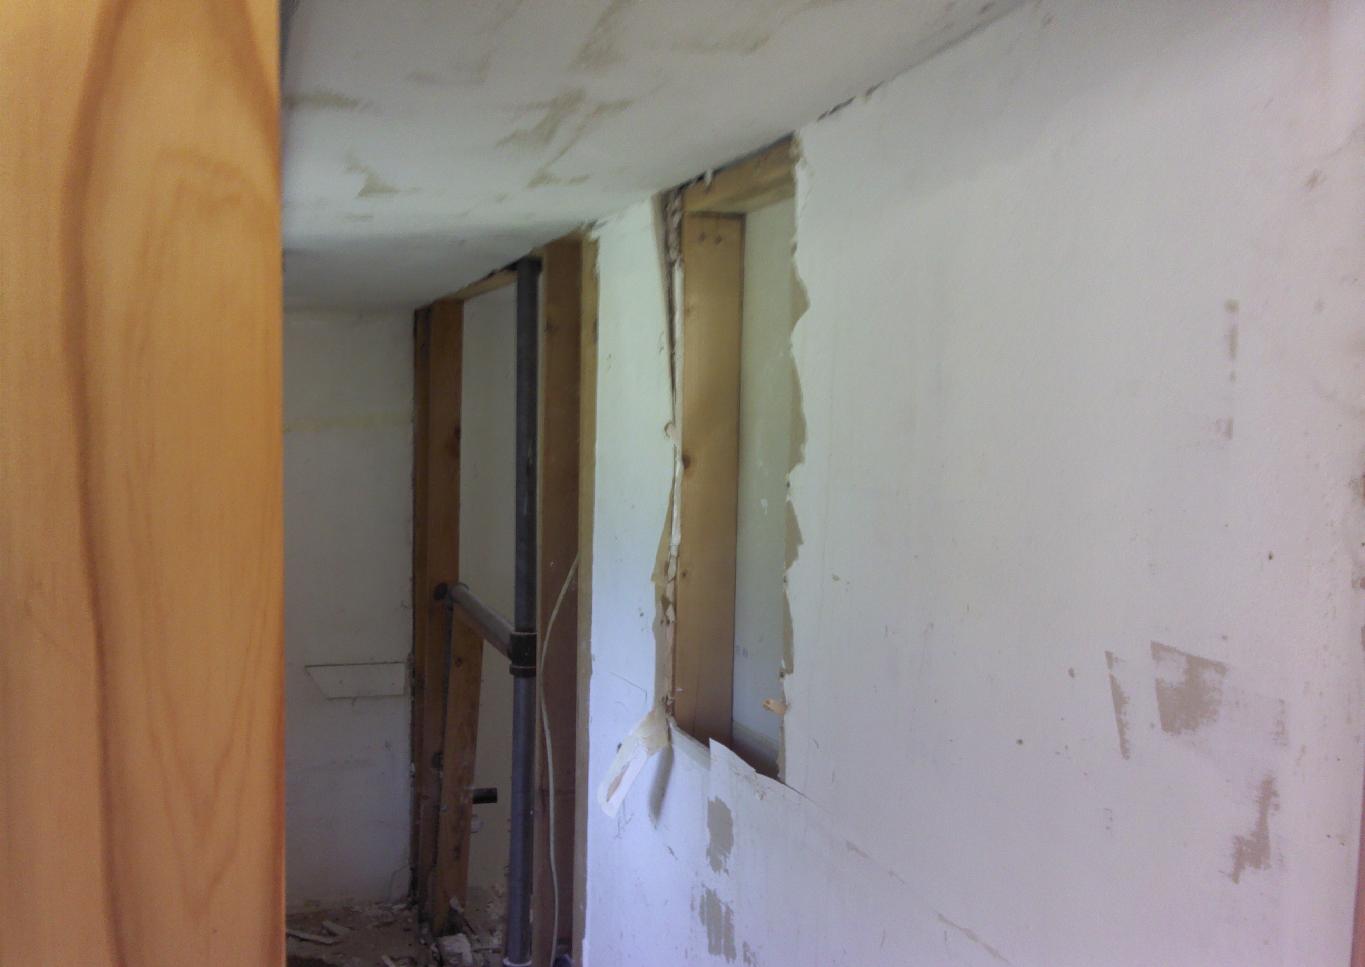
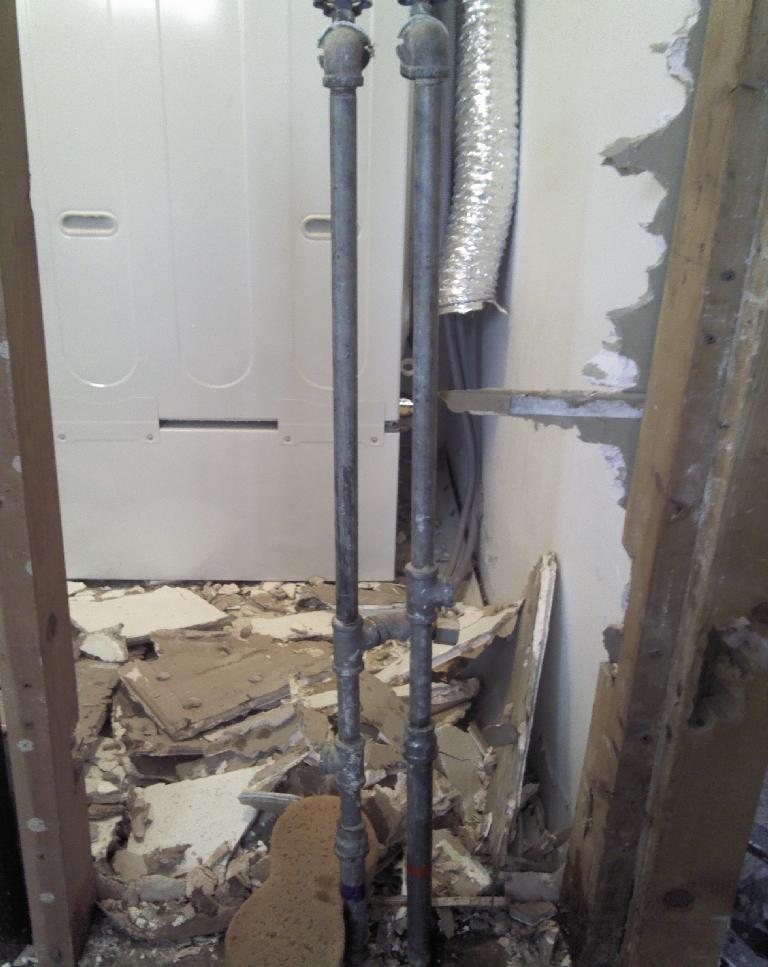
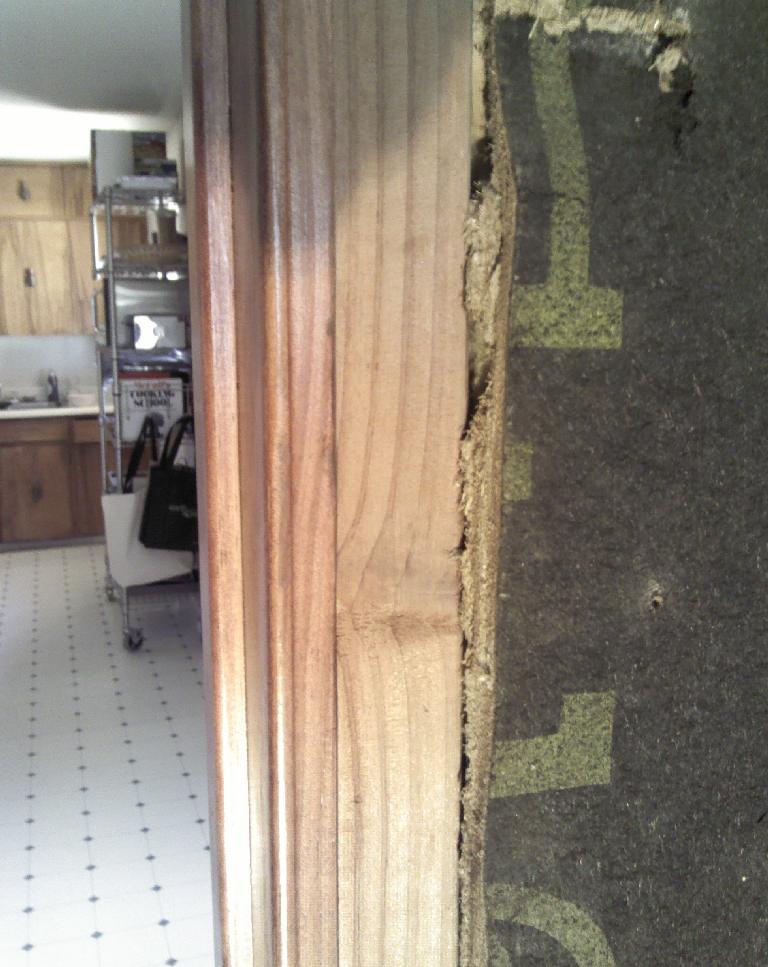
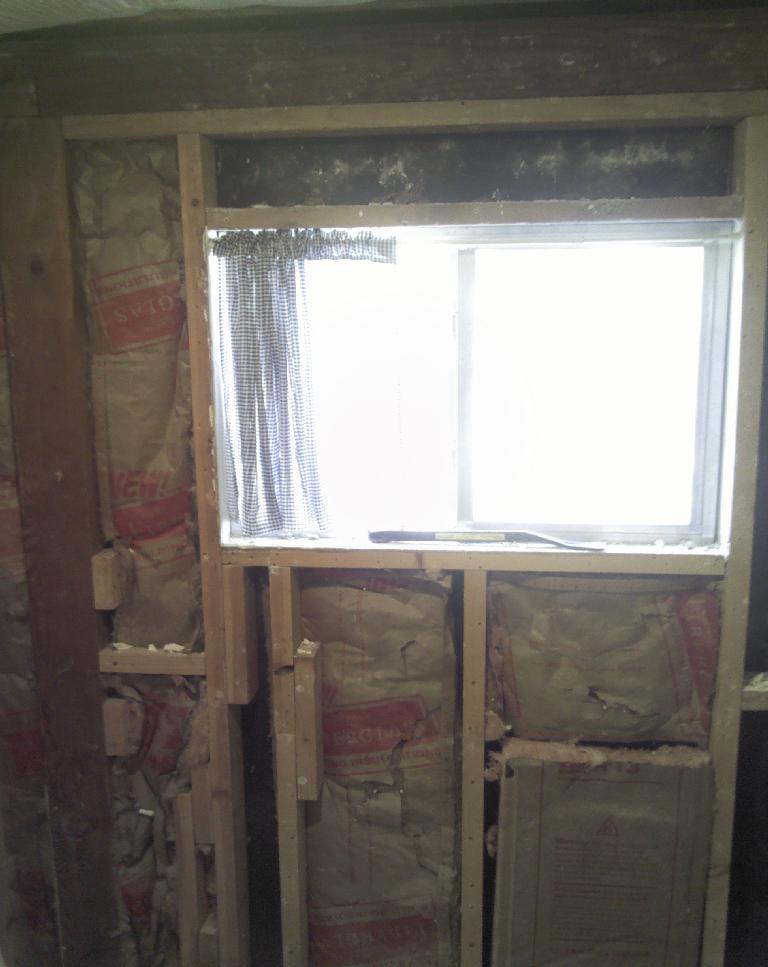
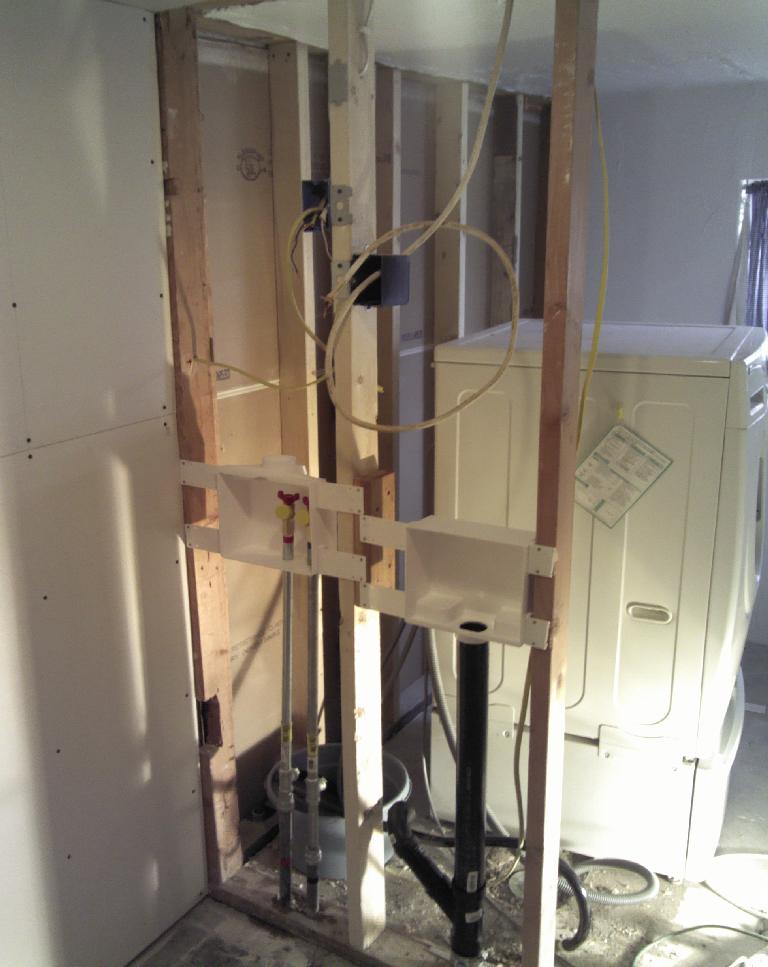
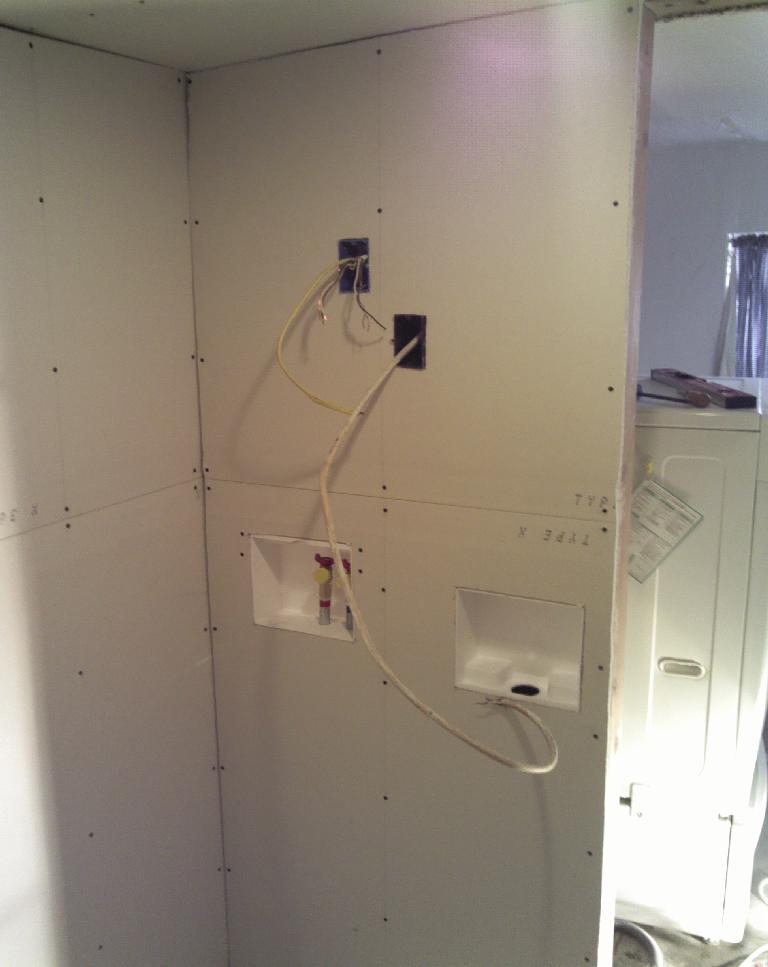
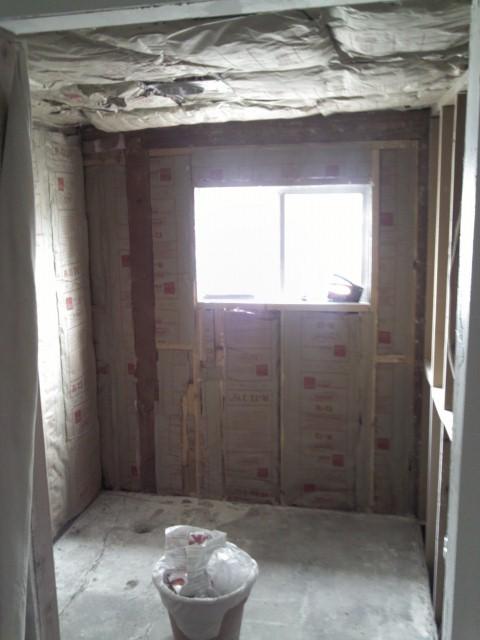
After two water line breaks in the laundry room, I finally started to renovate the whole room. I installed a door on the outside closet portion of the room in preperation for gutting the room. The water lines ran through a wall that was drywall on the inside, pegboard on the closet outside and occationally some pieces of insulation. They probably froze all the time but just ever bad enough until that big freeze in Jan. 2011.
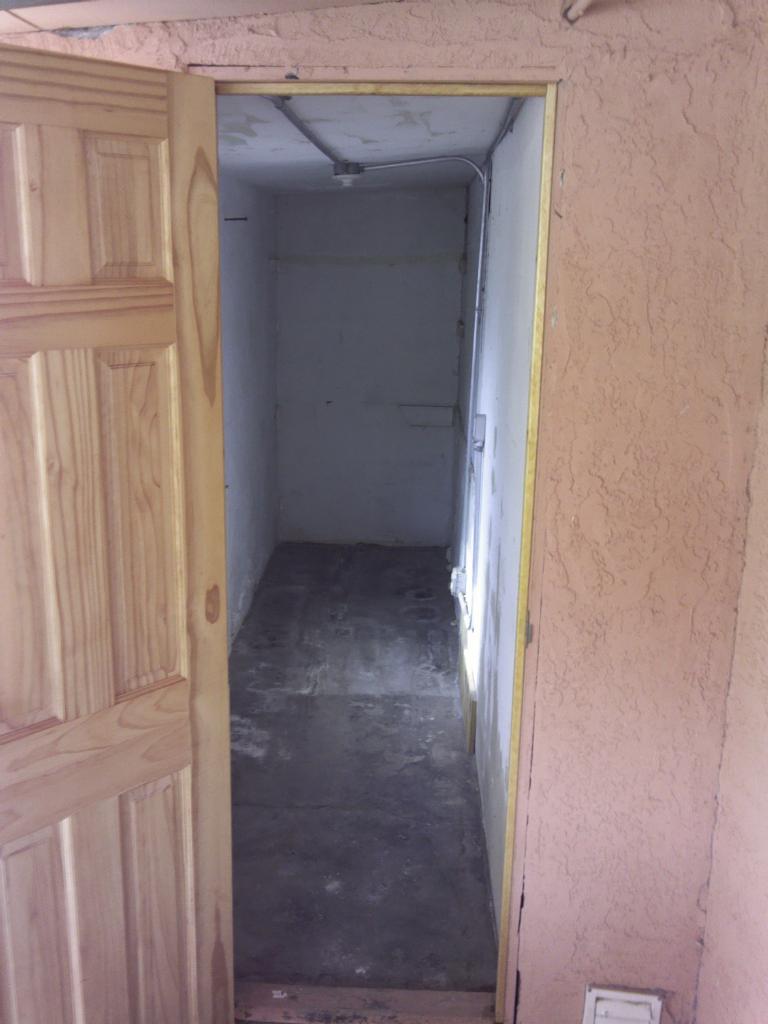 Outside closet |
 Pegboard |
 And some plaster |
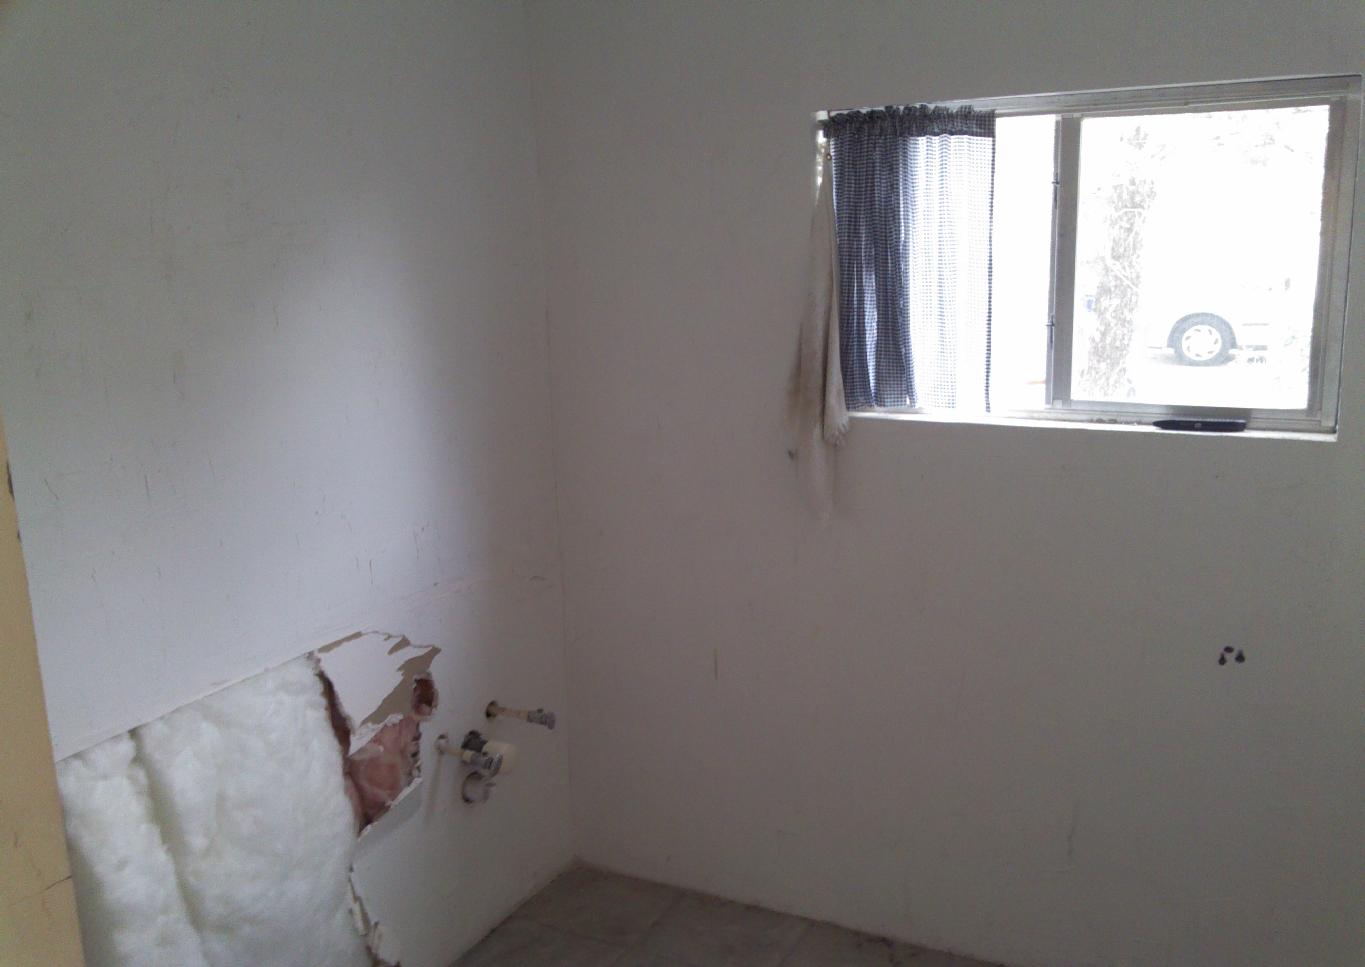 I had added some R30 |
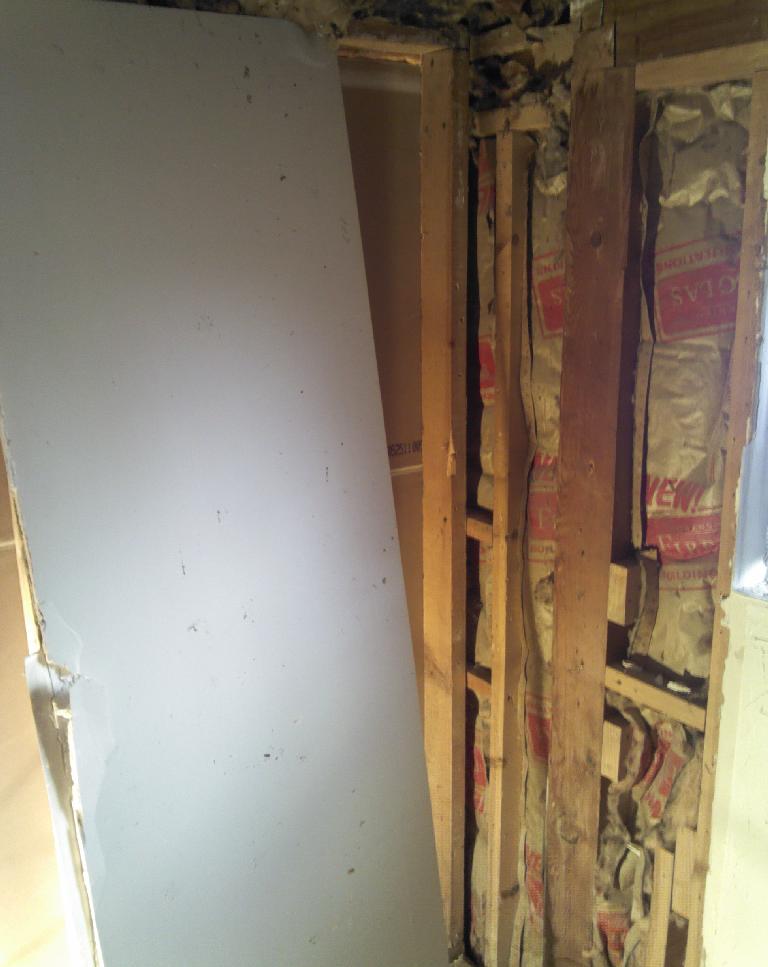
 Demo begins |
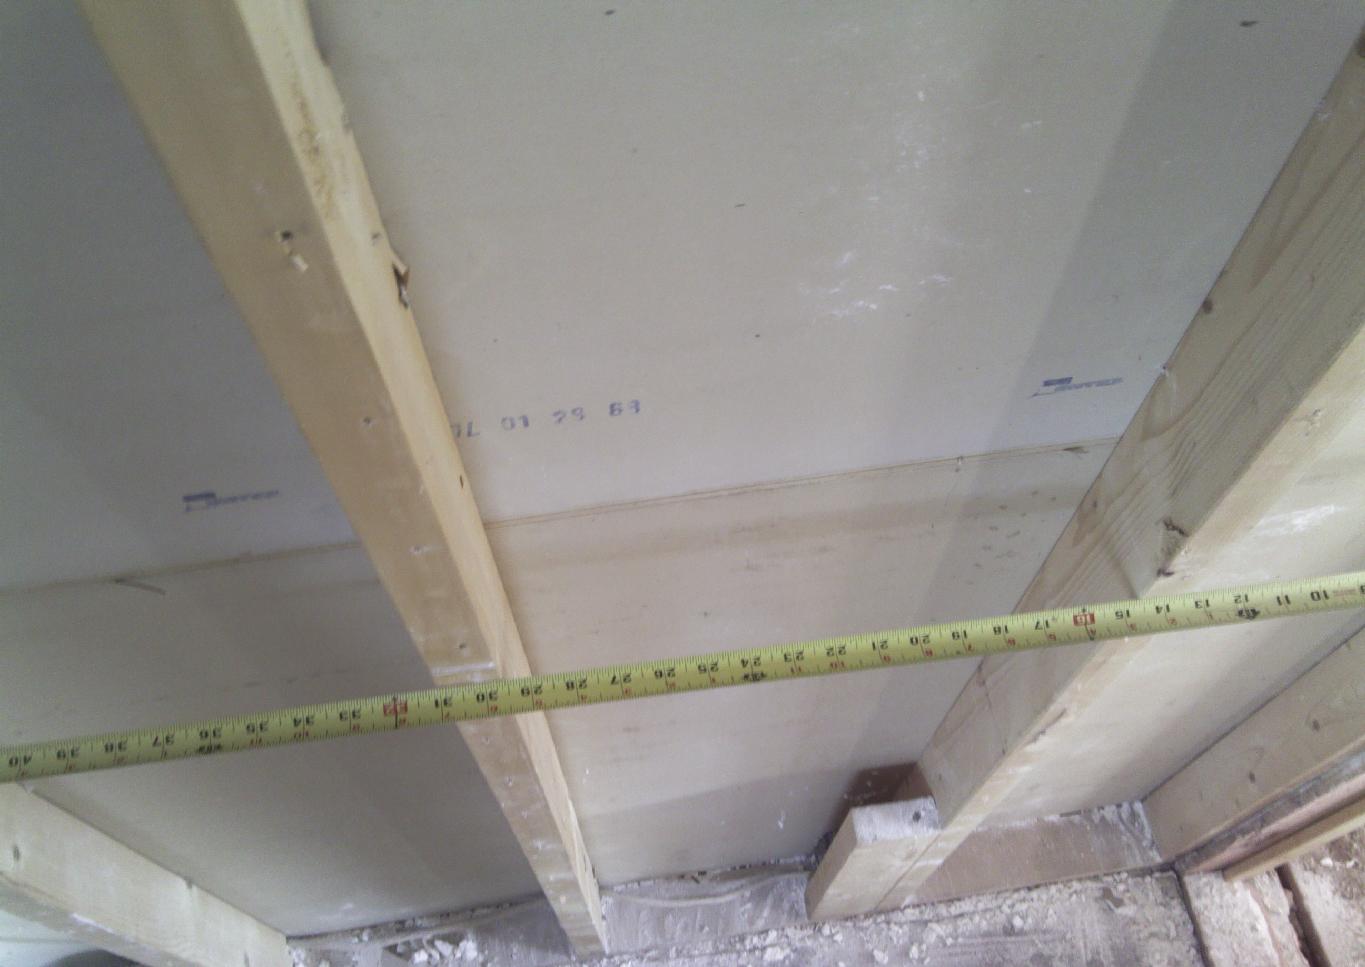
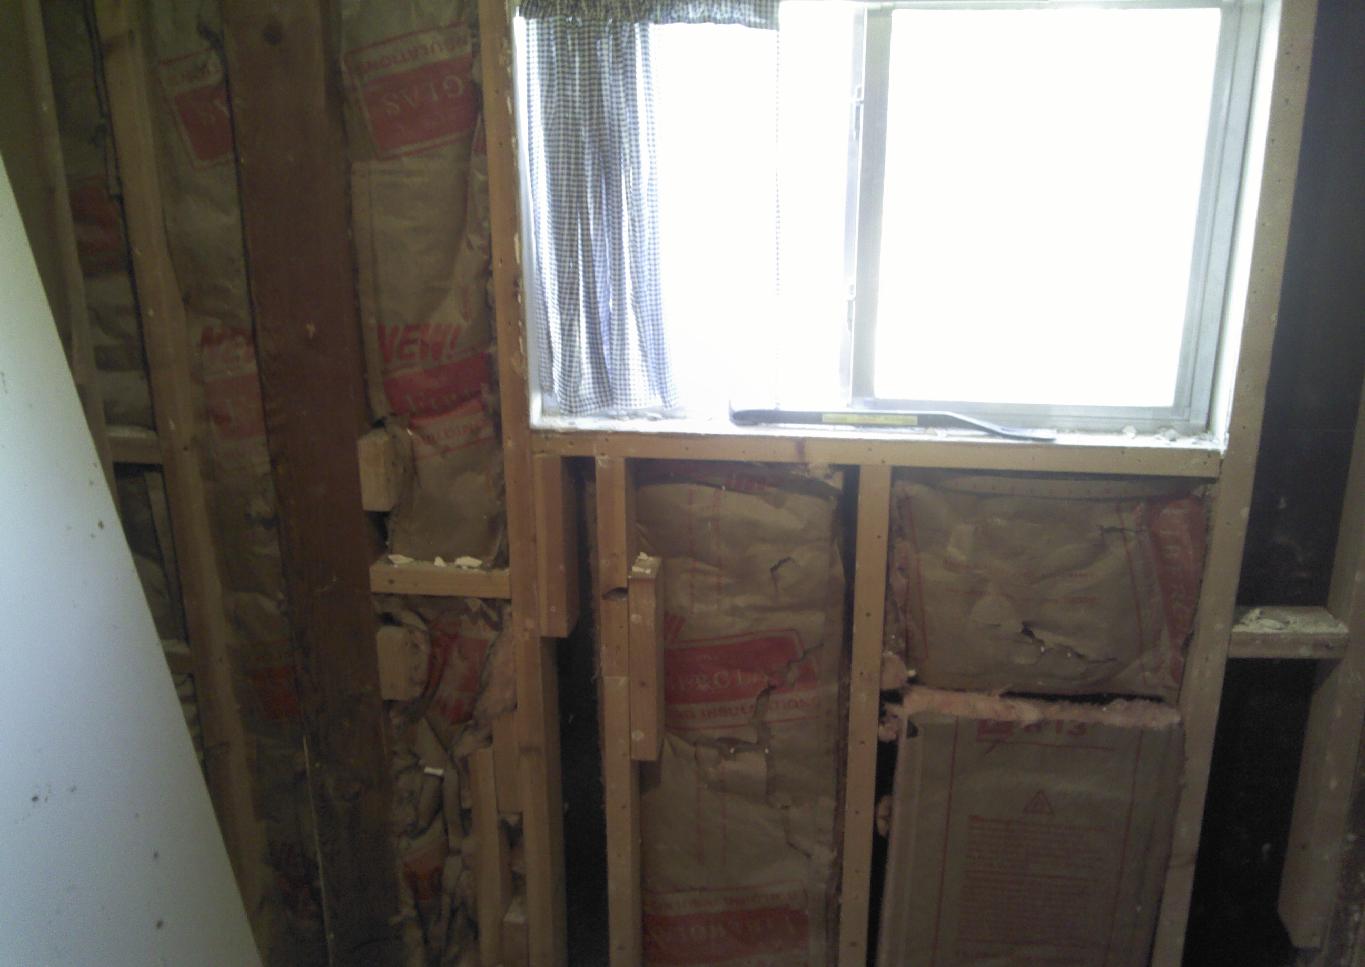
The next several pictures are exactly how I found things when I removed the drywall and plaster. Seriously! Duct taped insulation and 2x4s completly cut through. I'm not making this up.
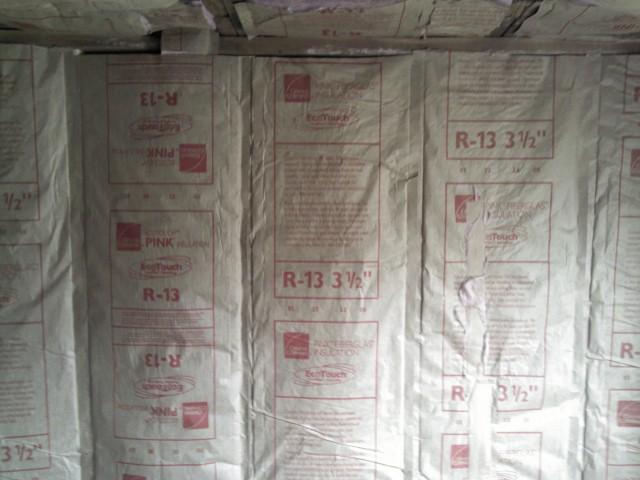
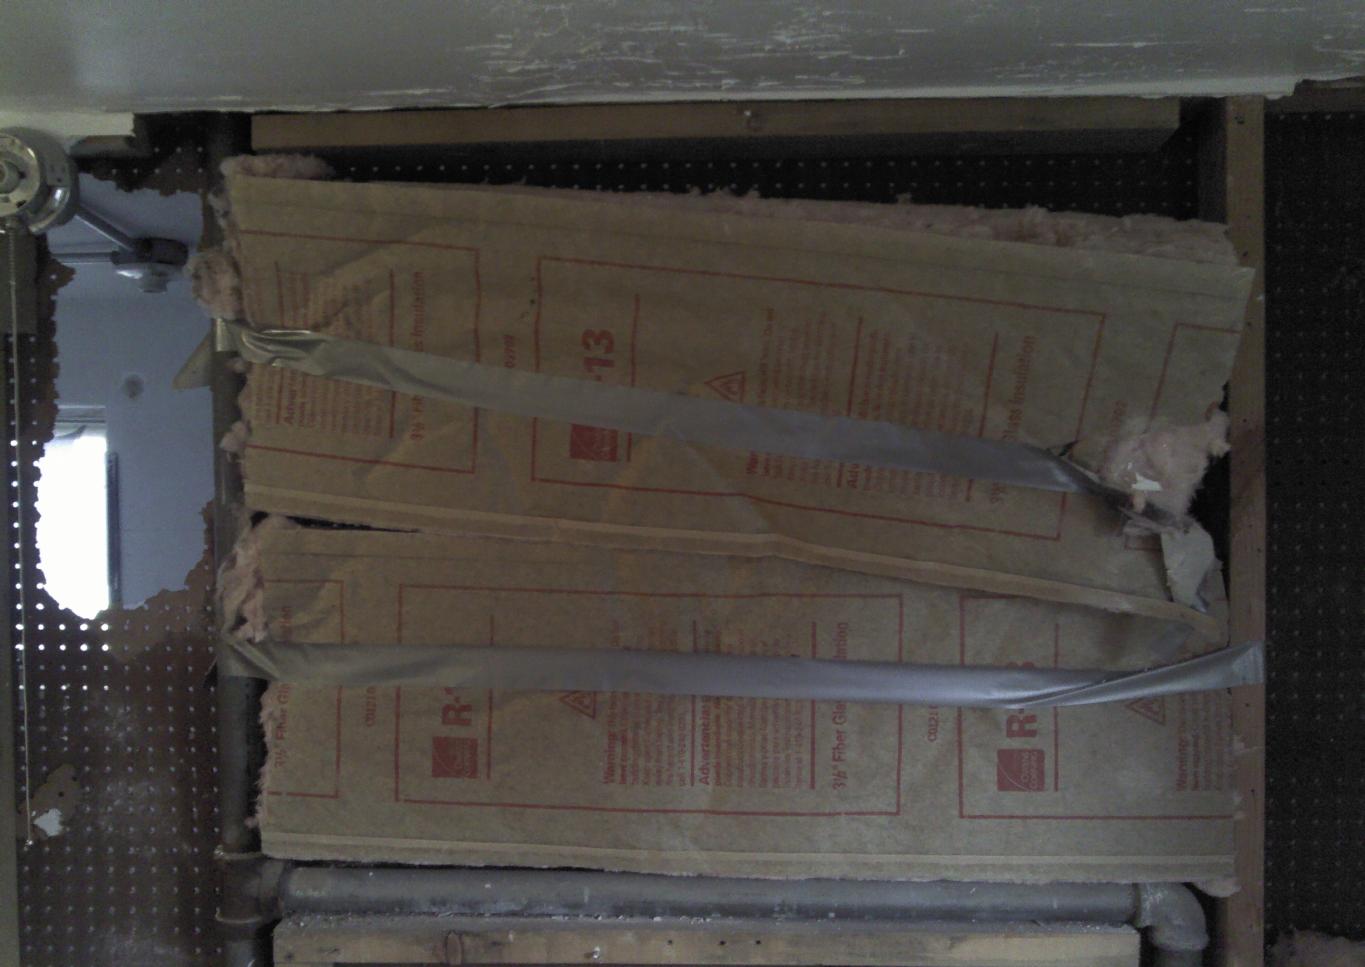 R13 Duct tape |
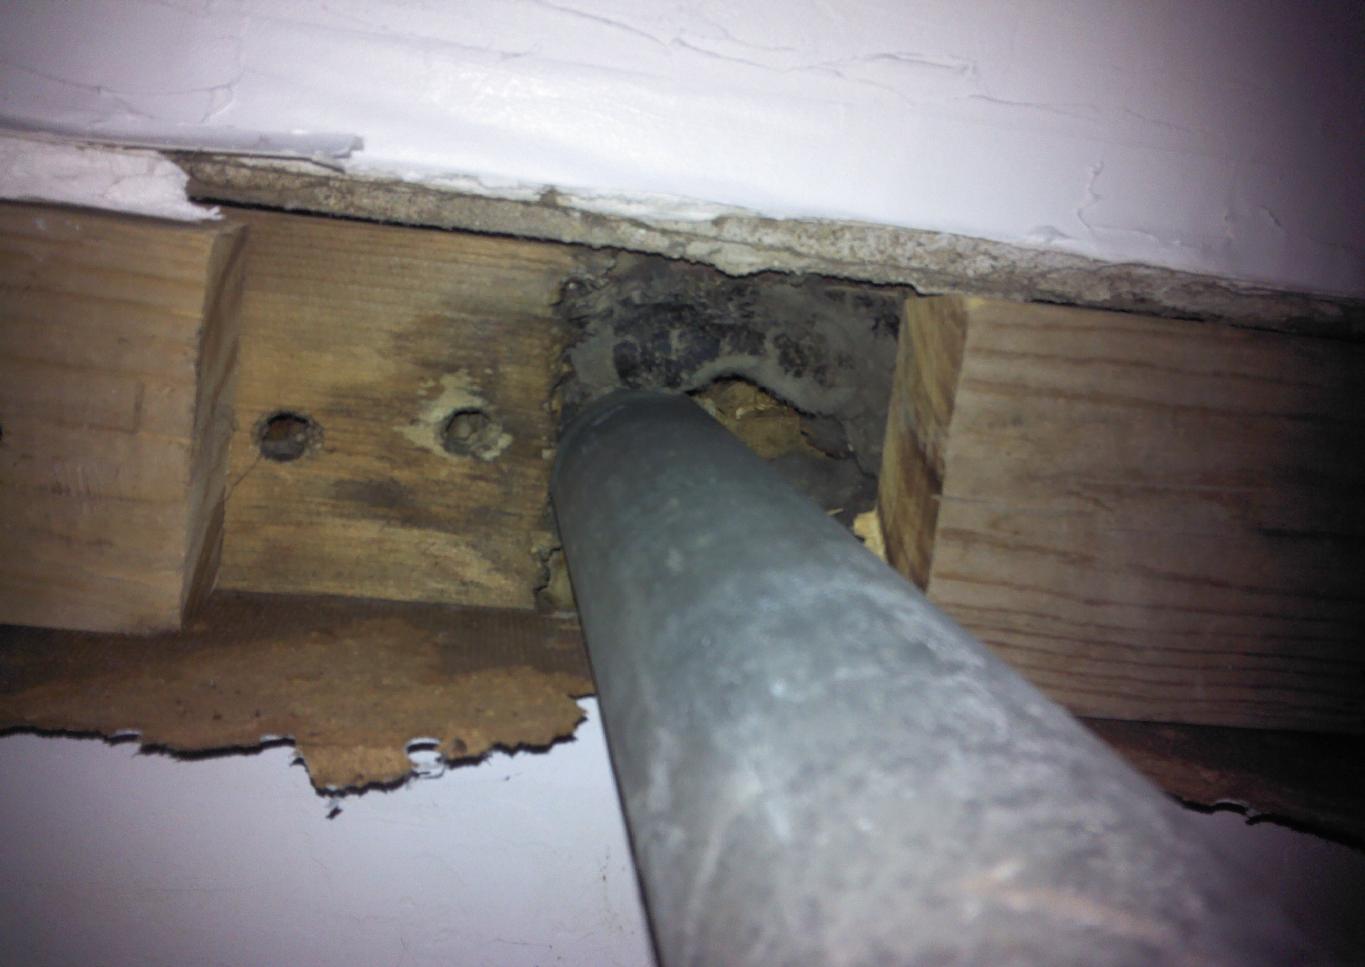 Cut top plate |
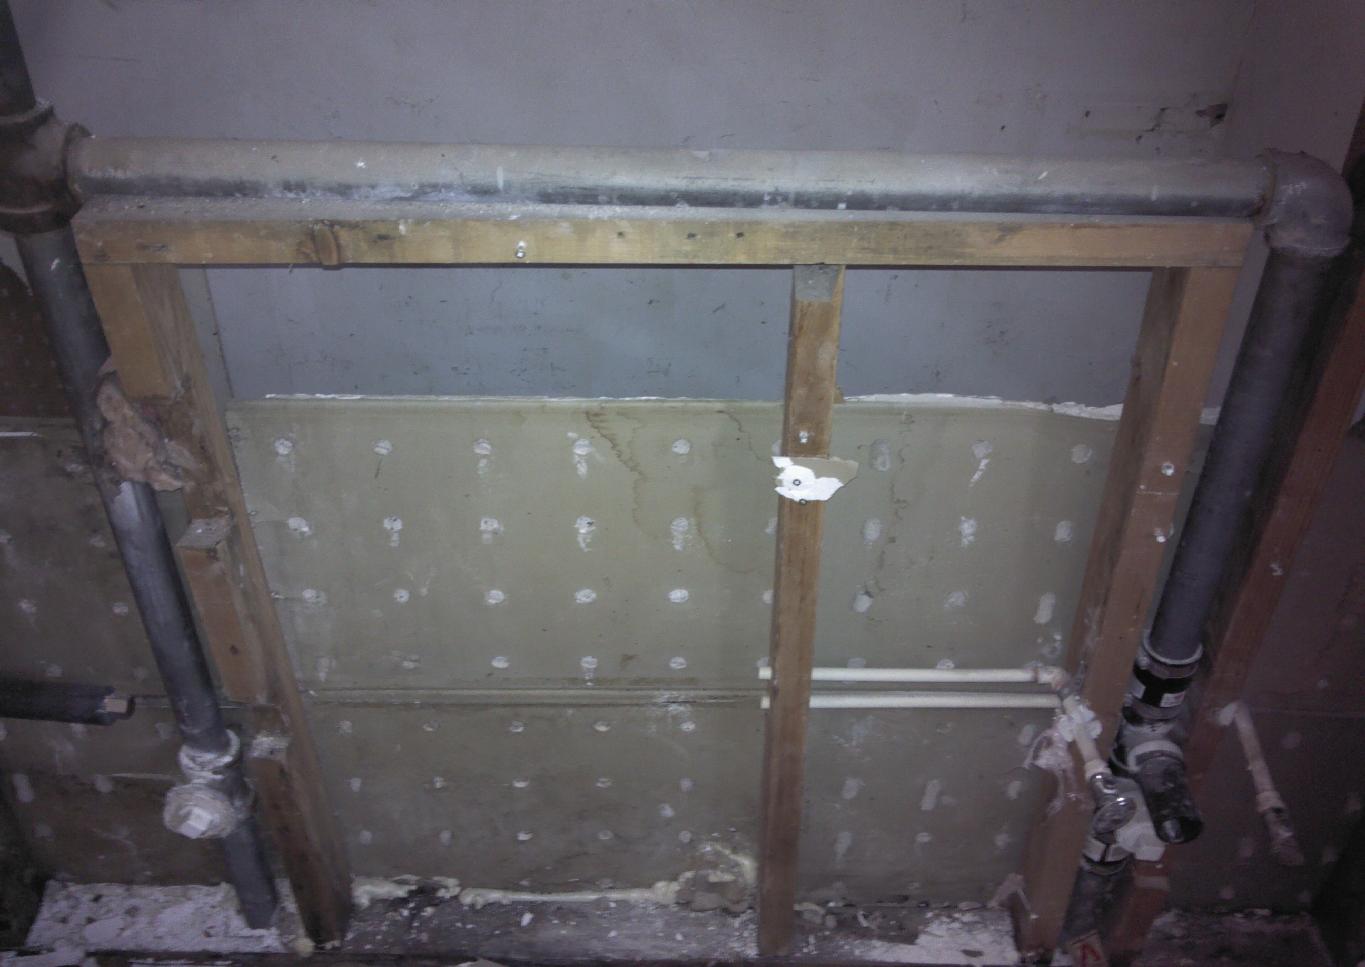 Vent stack? |
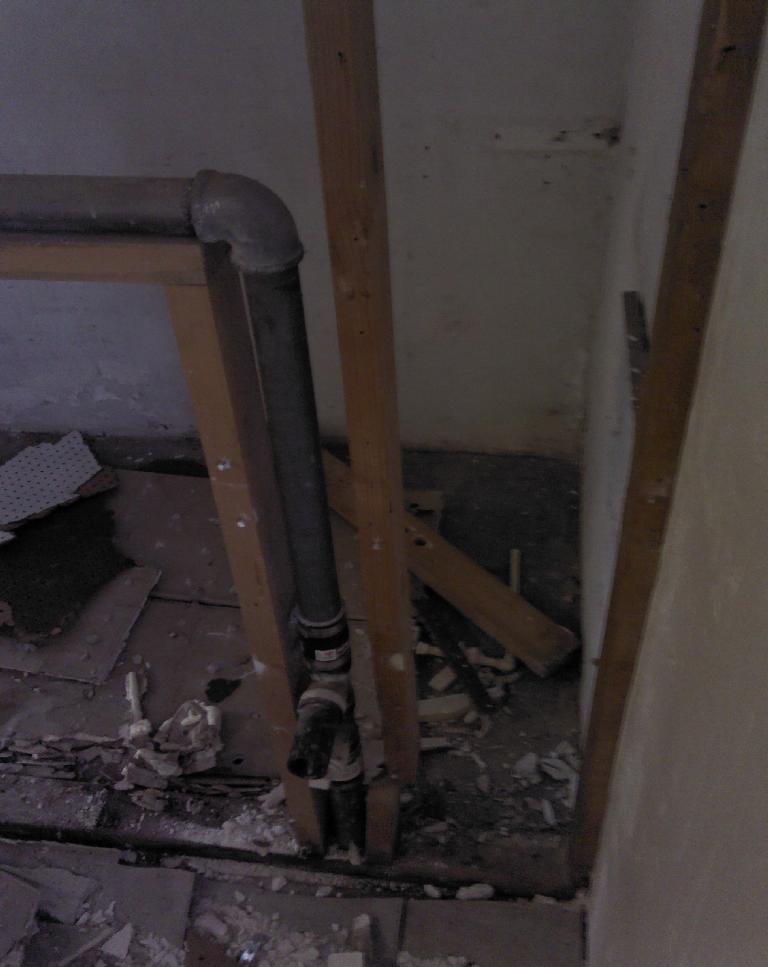 Cut stud |
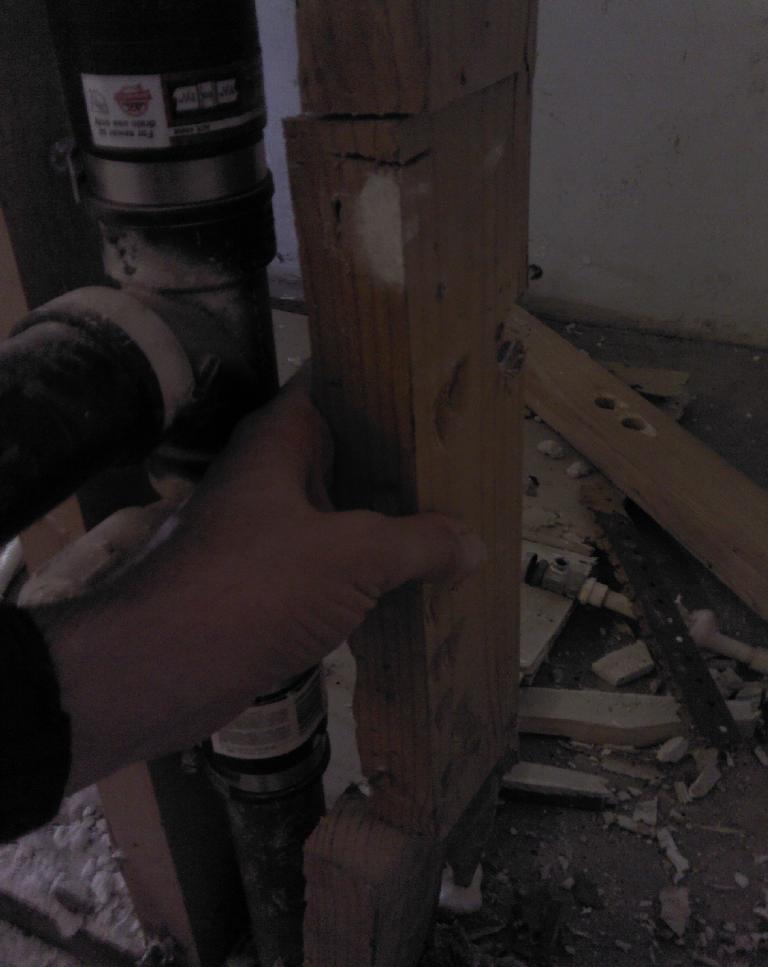 Really, I didn't do this |
 Drywall but |
 no insulation |
 But nails every 5in |
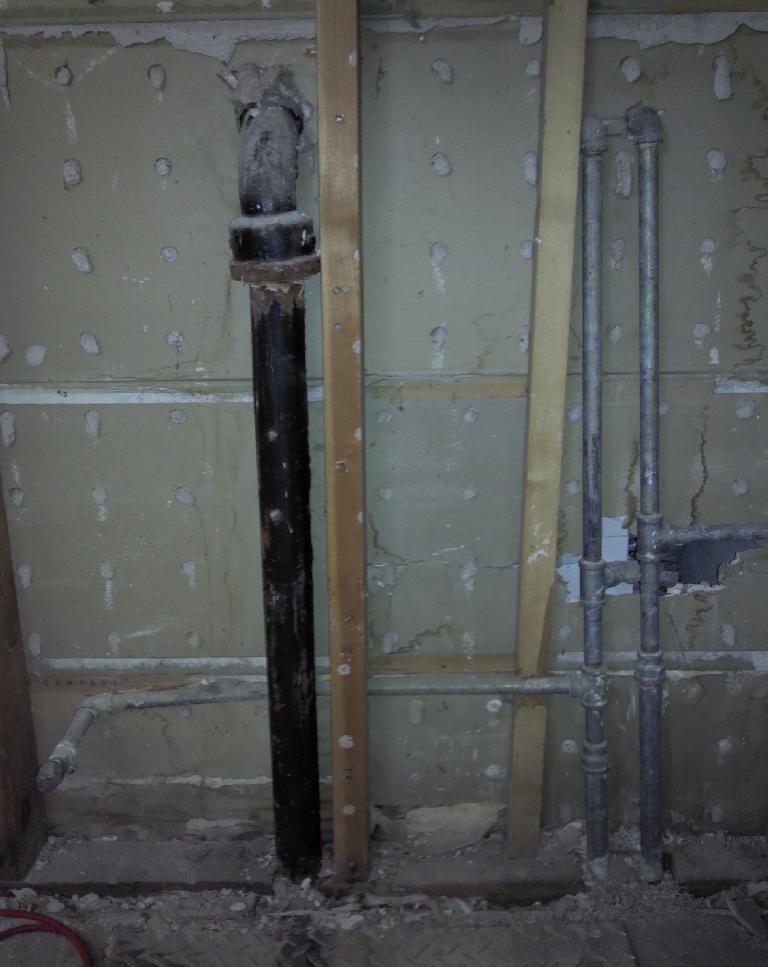 Washer drain/supply |
 close to 16in centers |
 Check the drill holes |
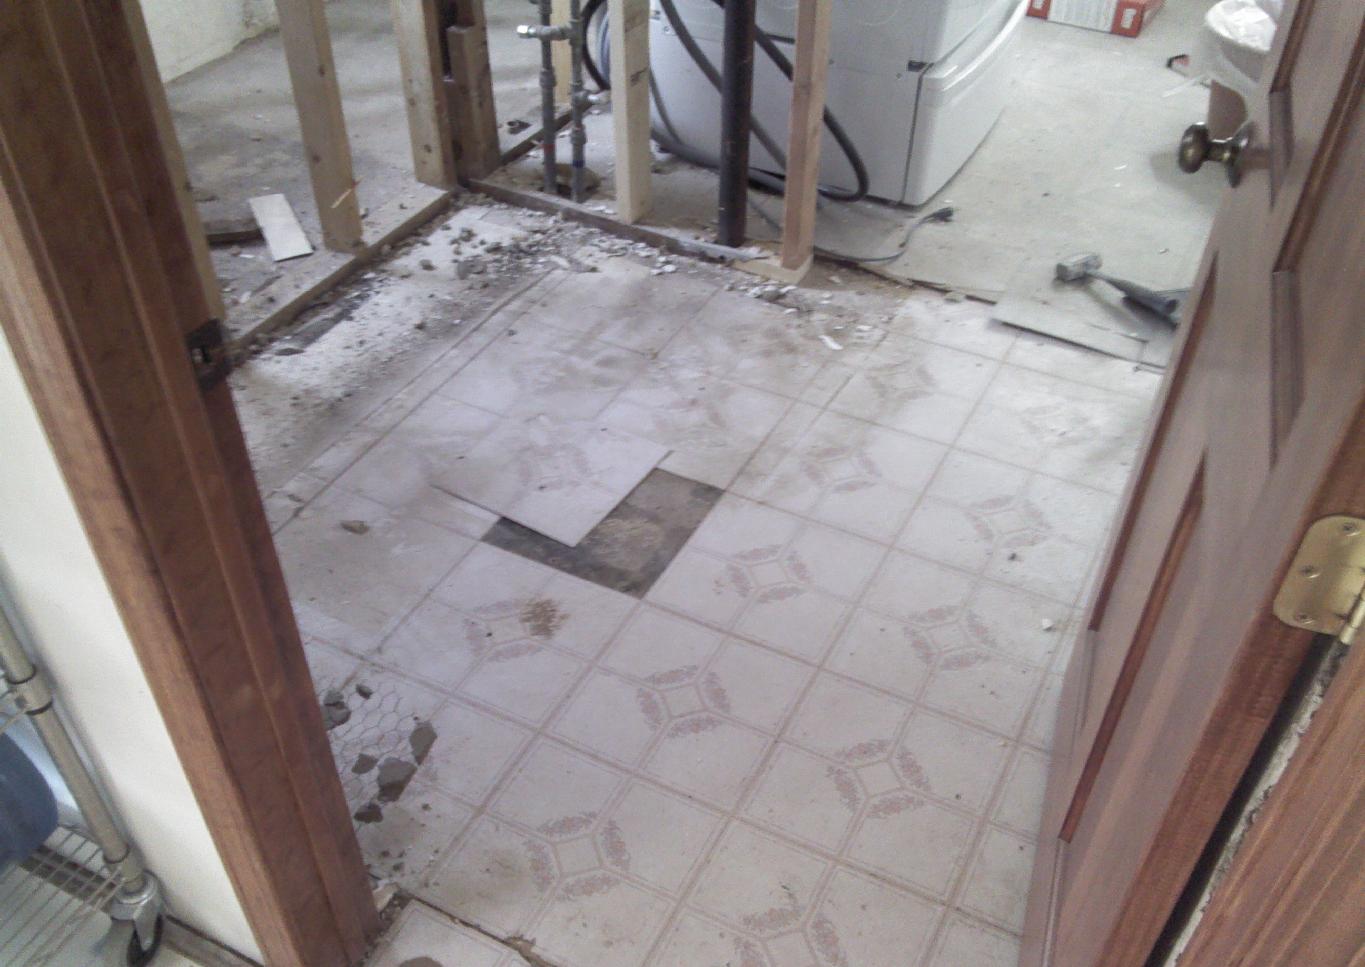 2 lenolium layers |
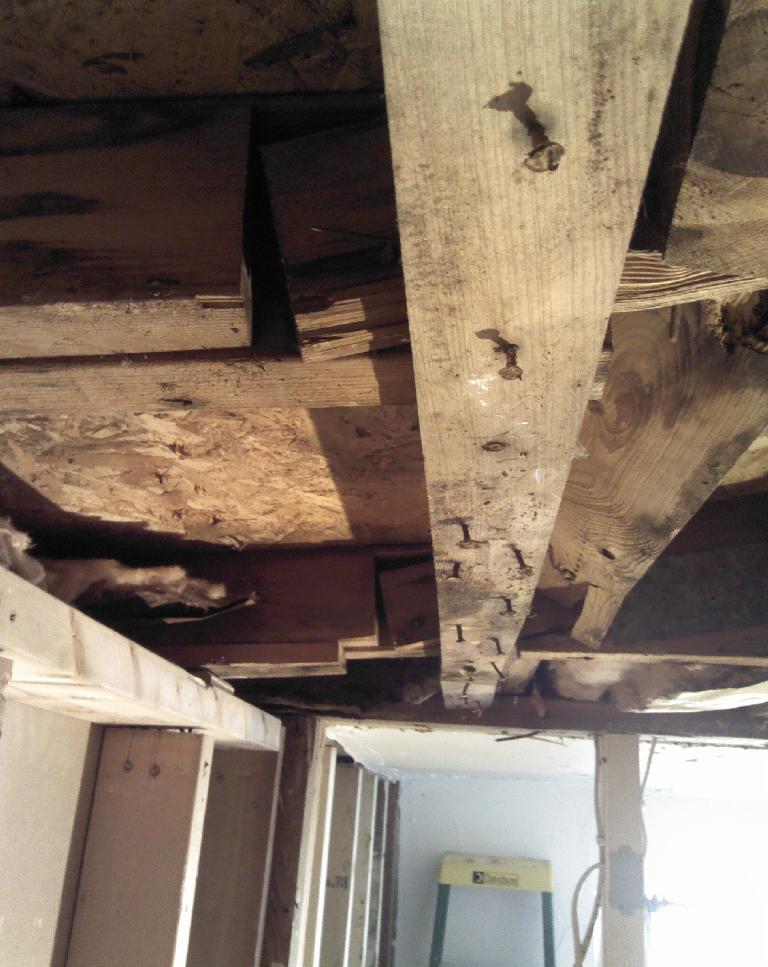 Cut rafters to bend roof |
 Removed Header |
 |
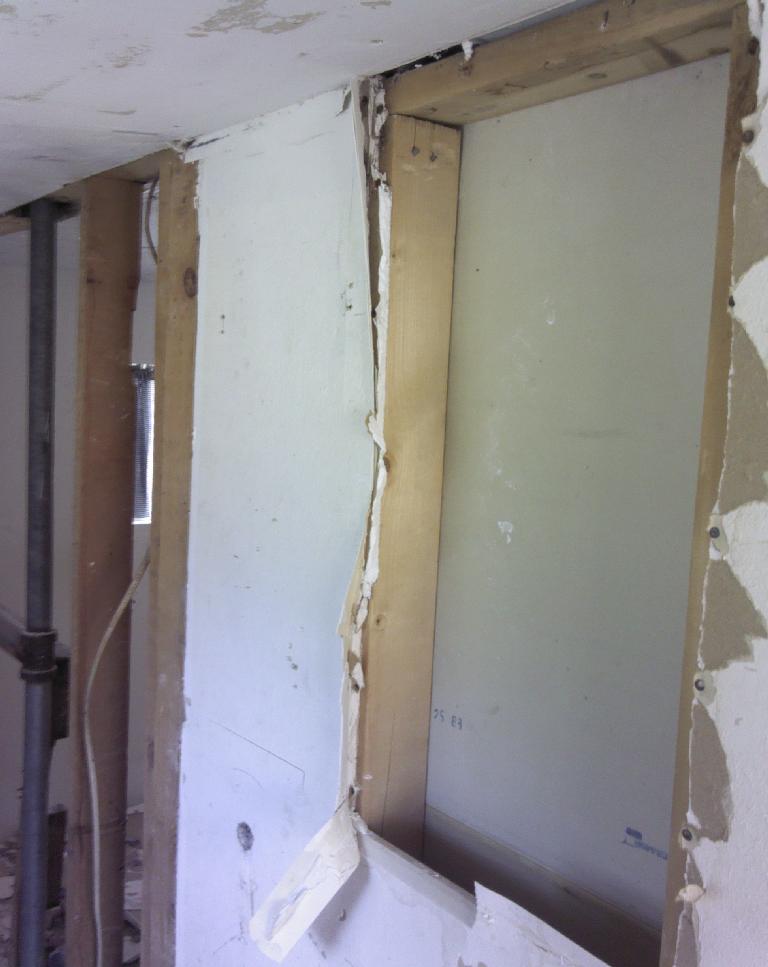
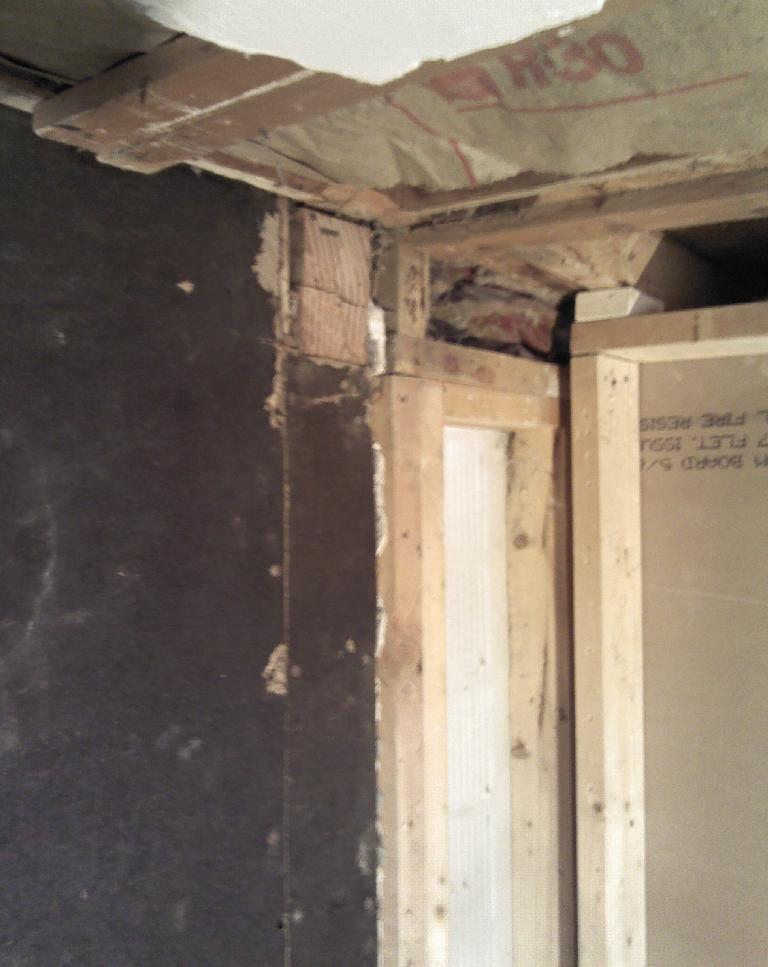
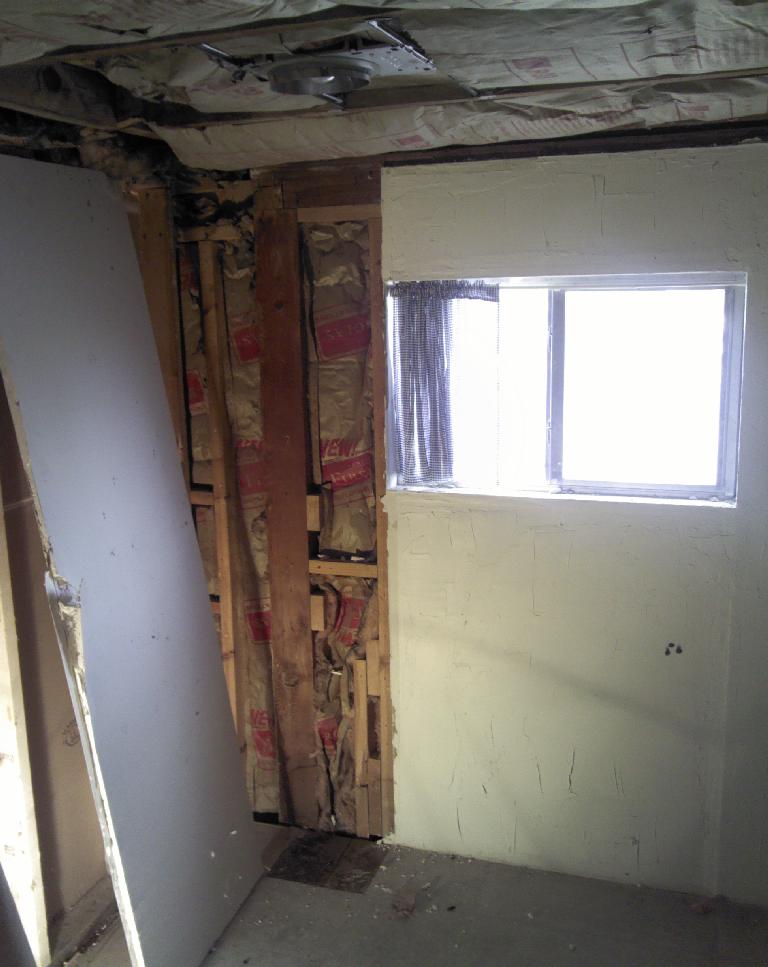
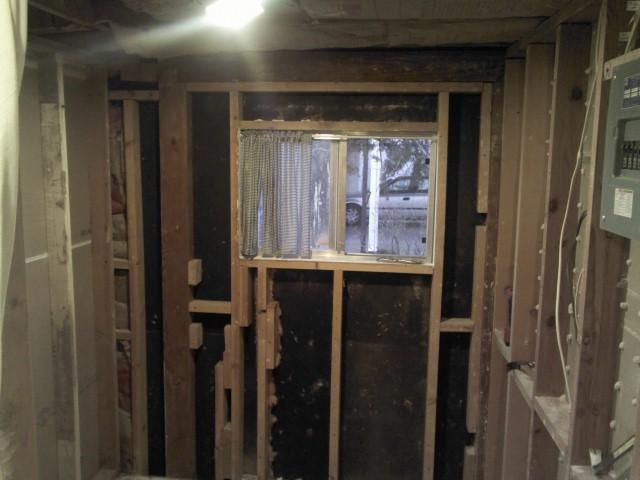
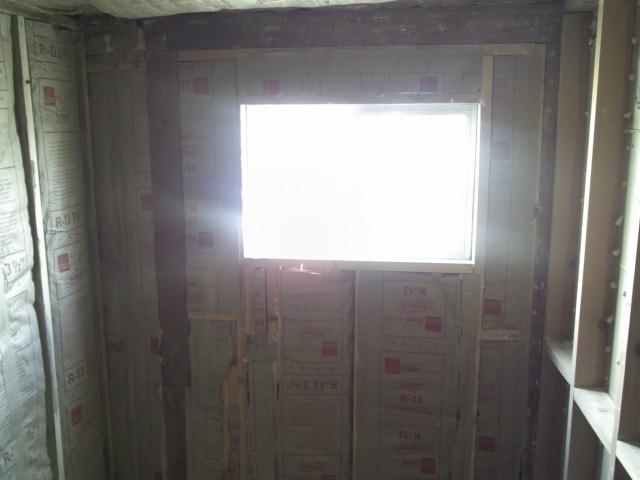
I had wanted to keep some of the drywall/plaster of the north part of the room around the window. But, it turned out better to replace it as well. I was able to remove an entire sheet of drywall with just my hands. I think there was like three nails holding it in place.
 It came right off |
 Mud to look like plaster |
 Insulation here and there |
 |
 insulation under 2x4? |
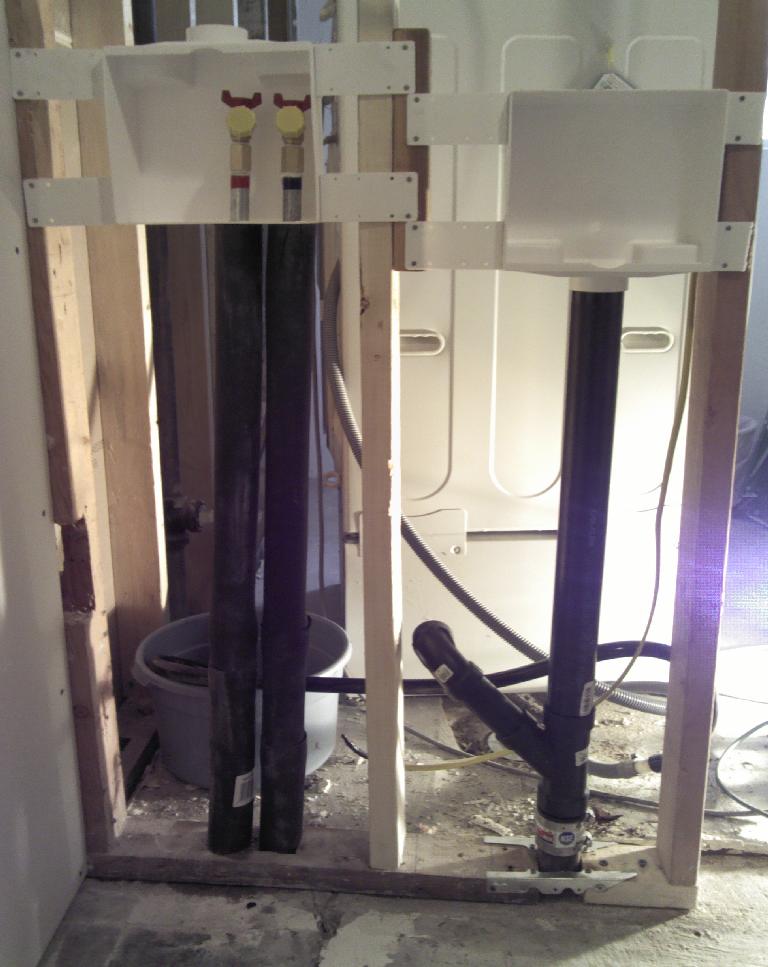
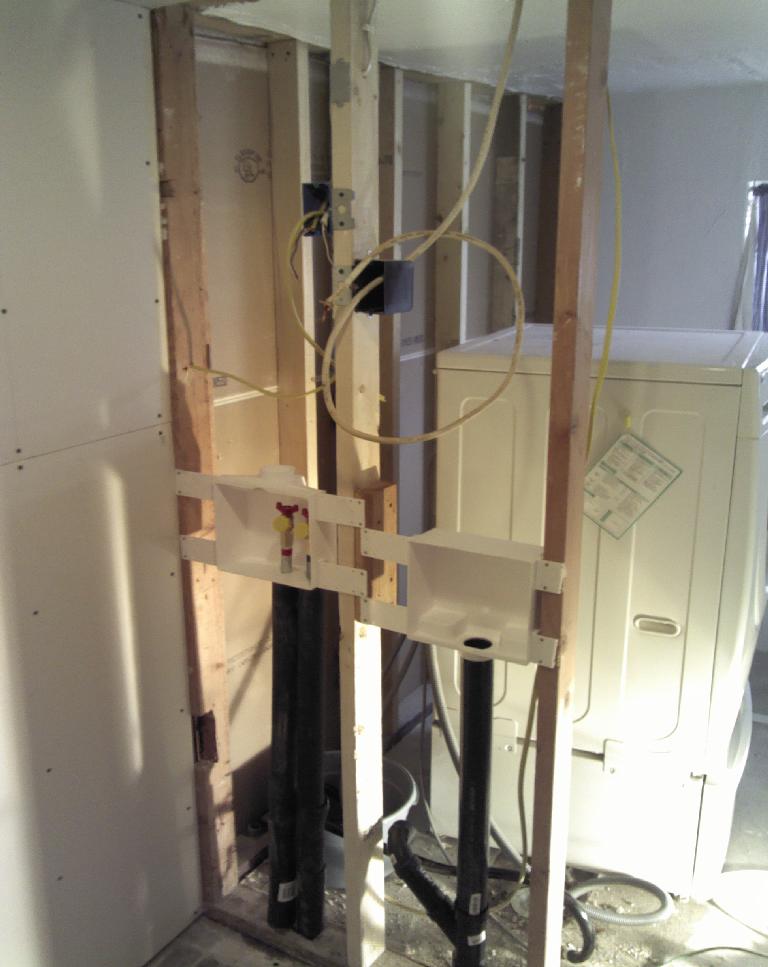
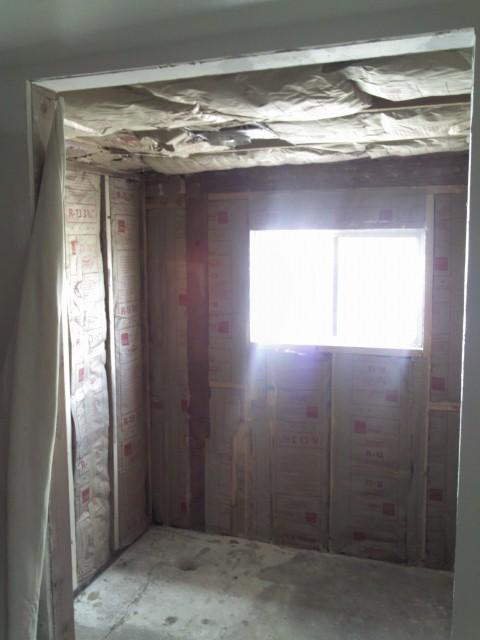
Now that the demo was finished, I could start renovating.
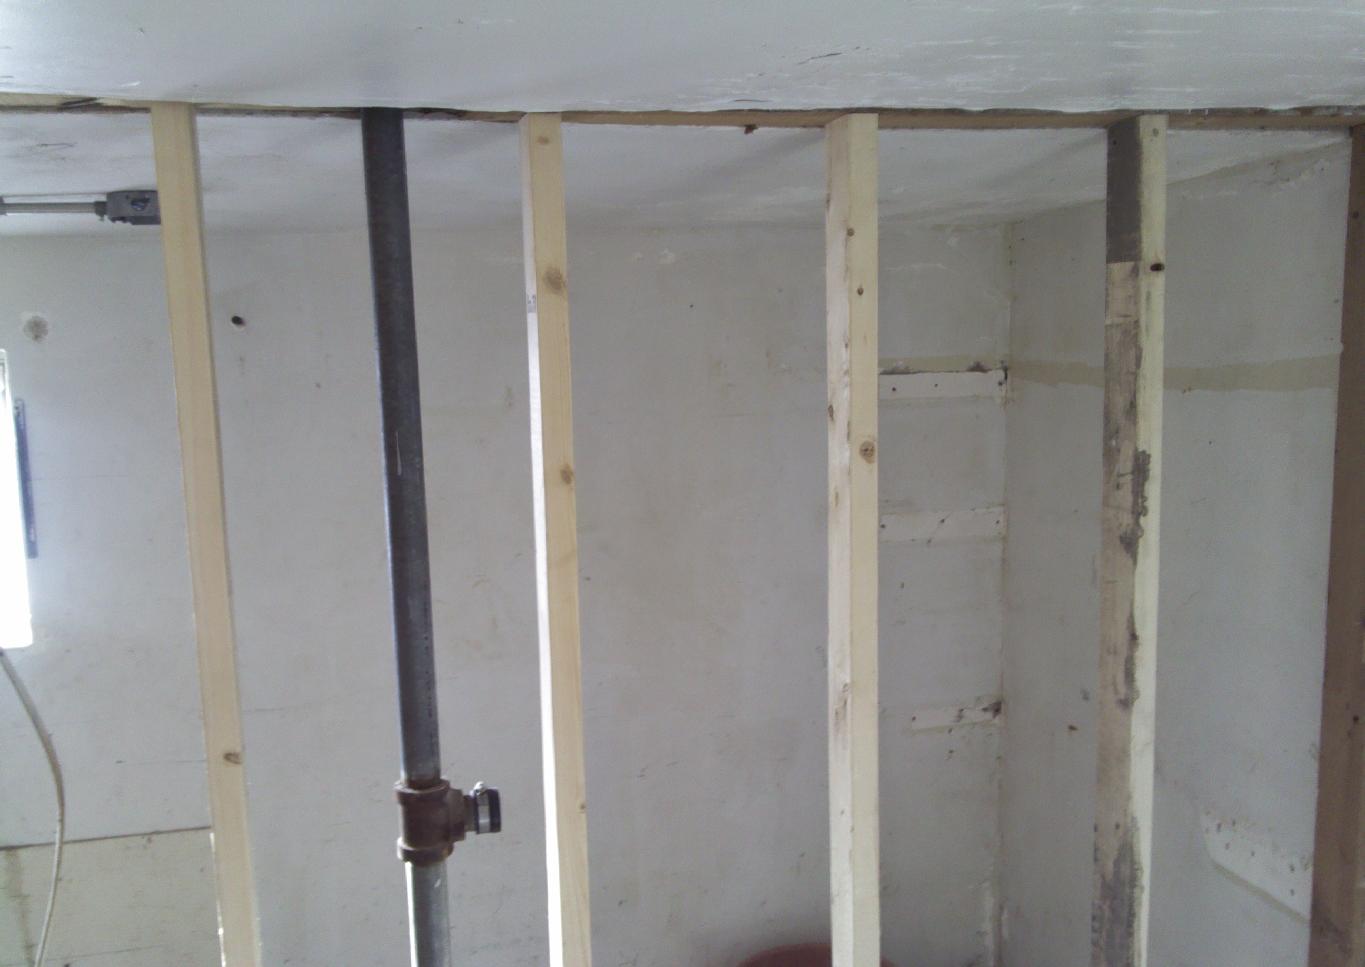 2x4 studs |
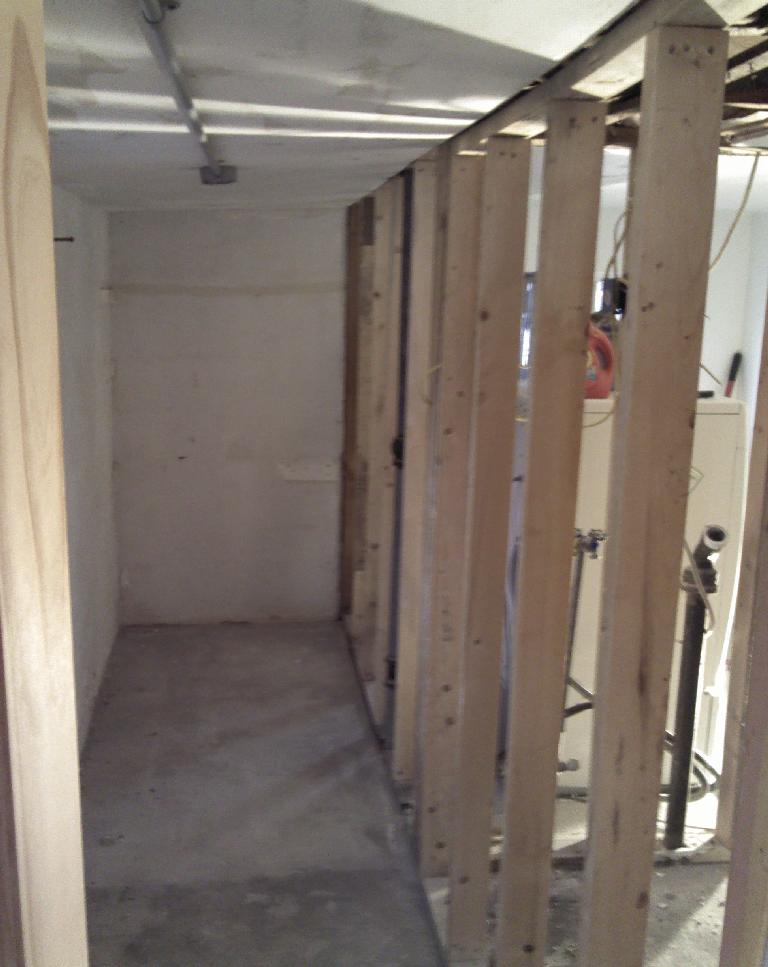 16in on center |
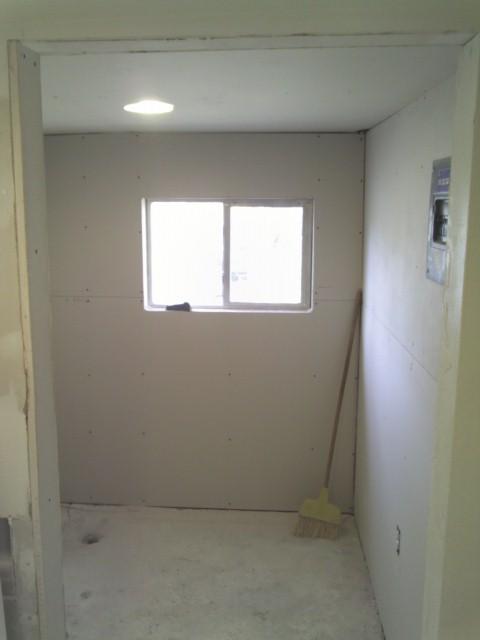
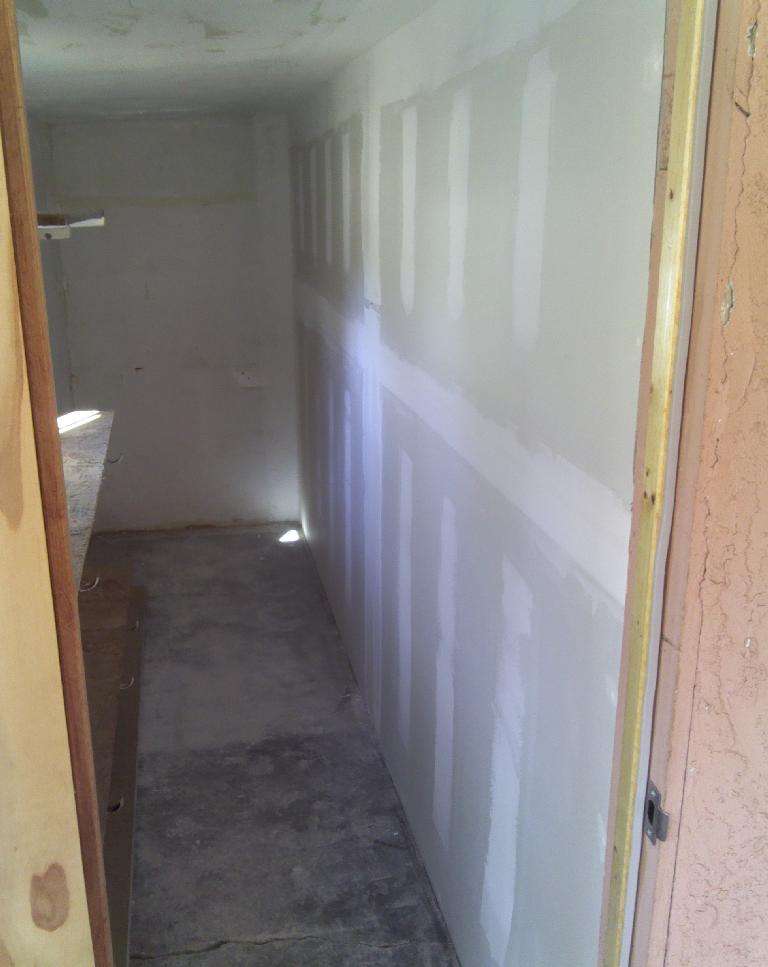 Drywall, tape and mud |
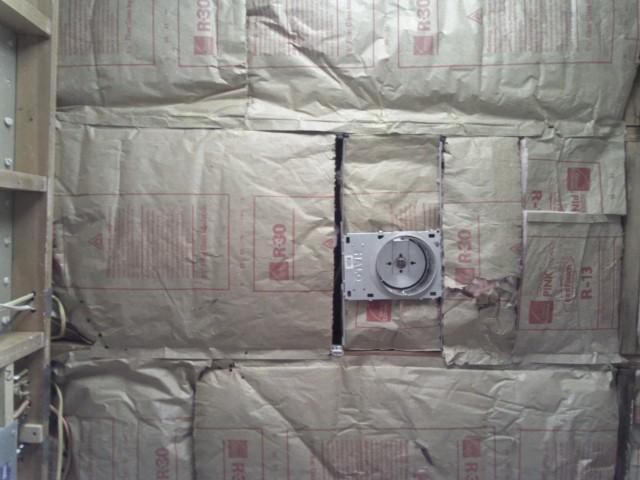
 R-30 ceiling |
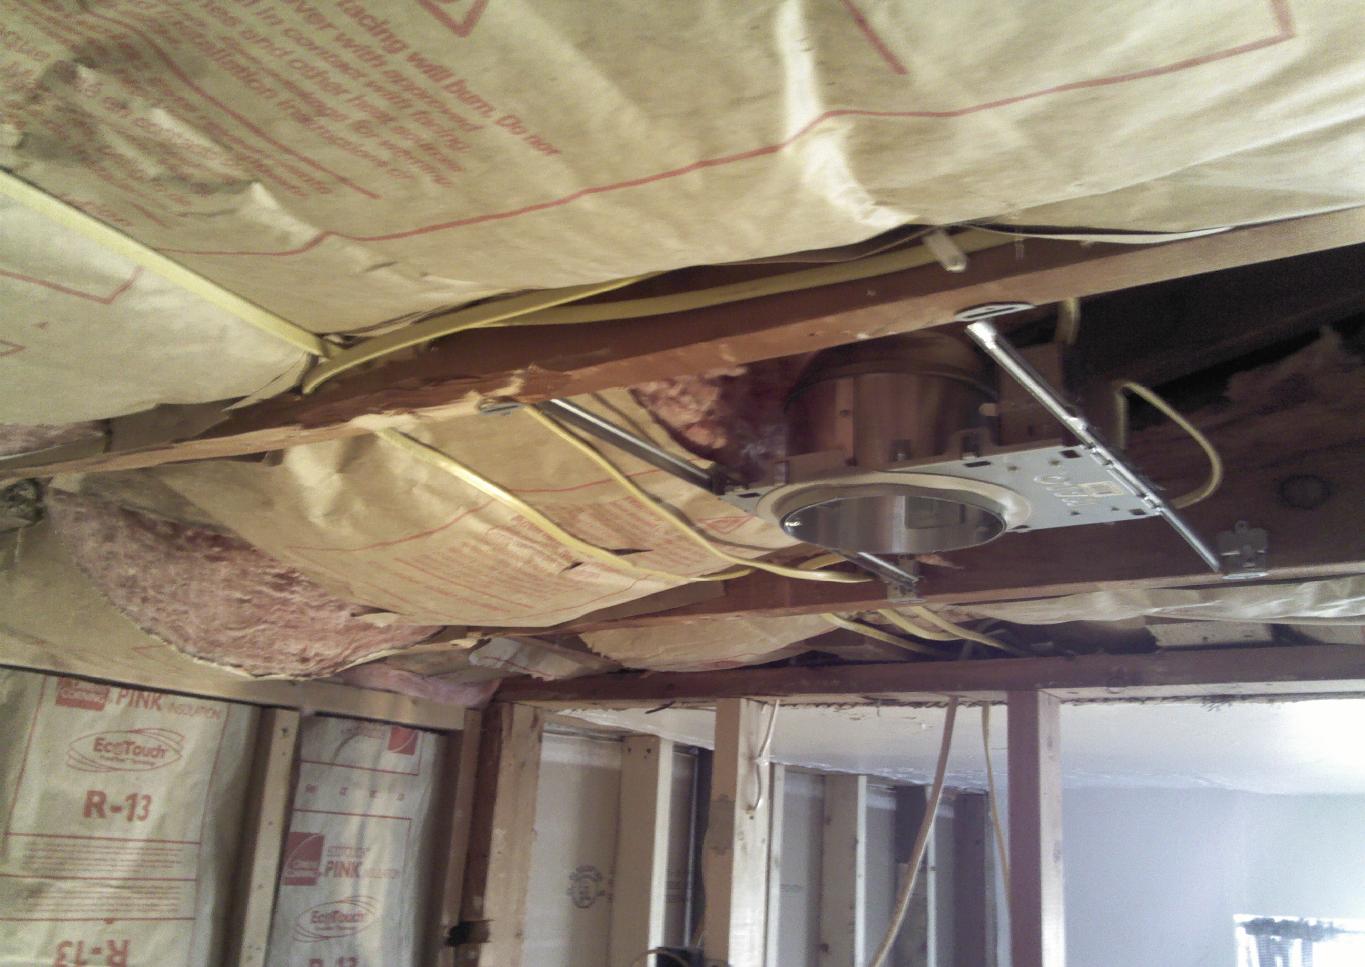 |
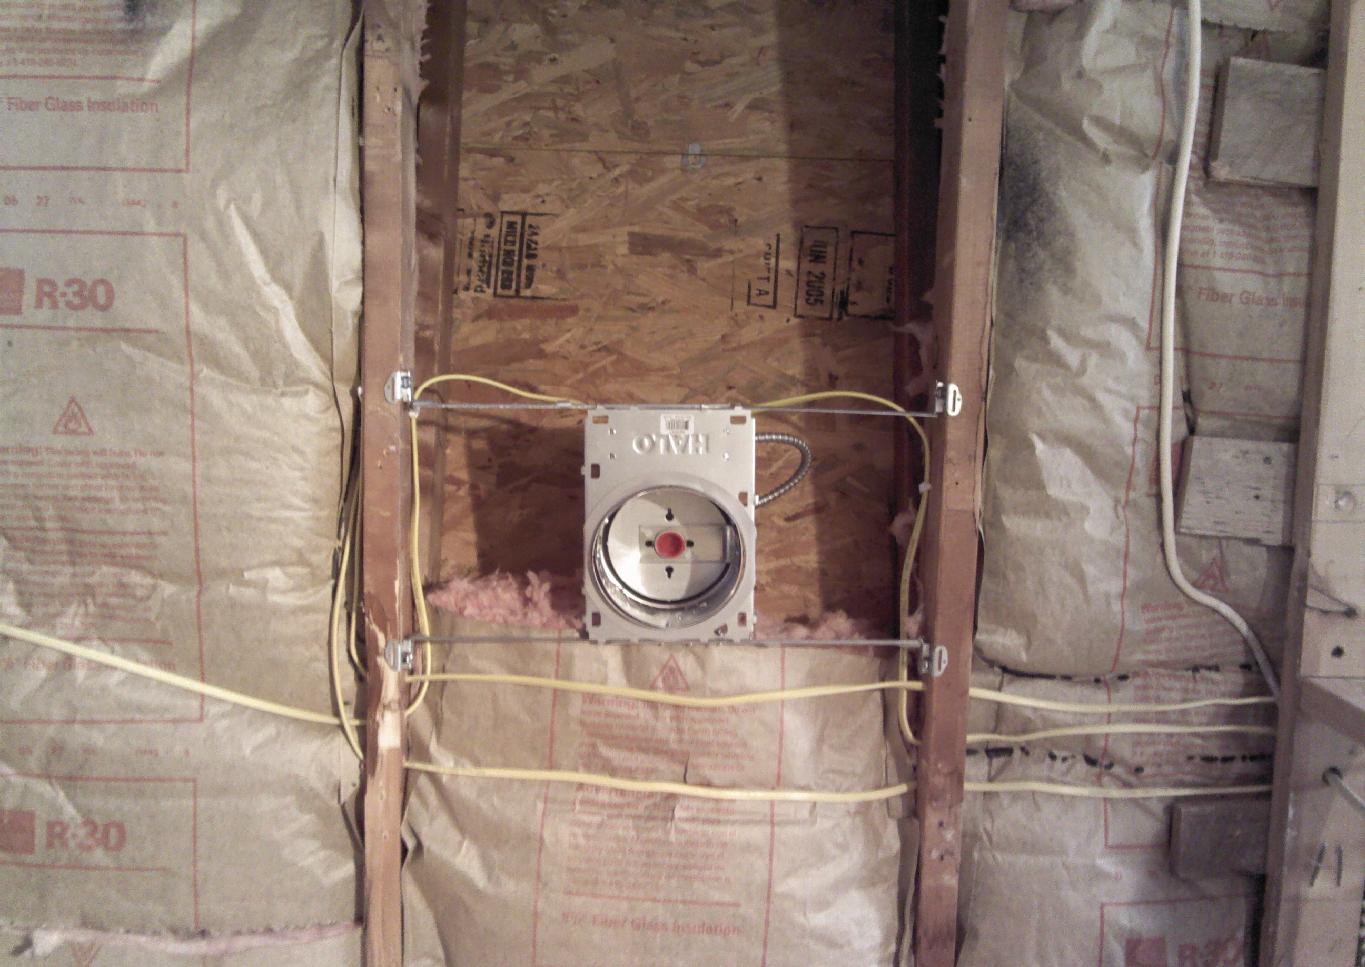
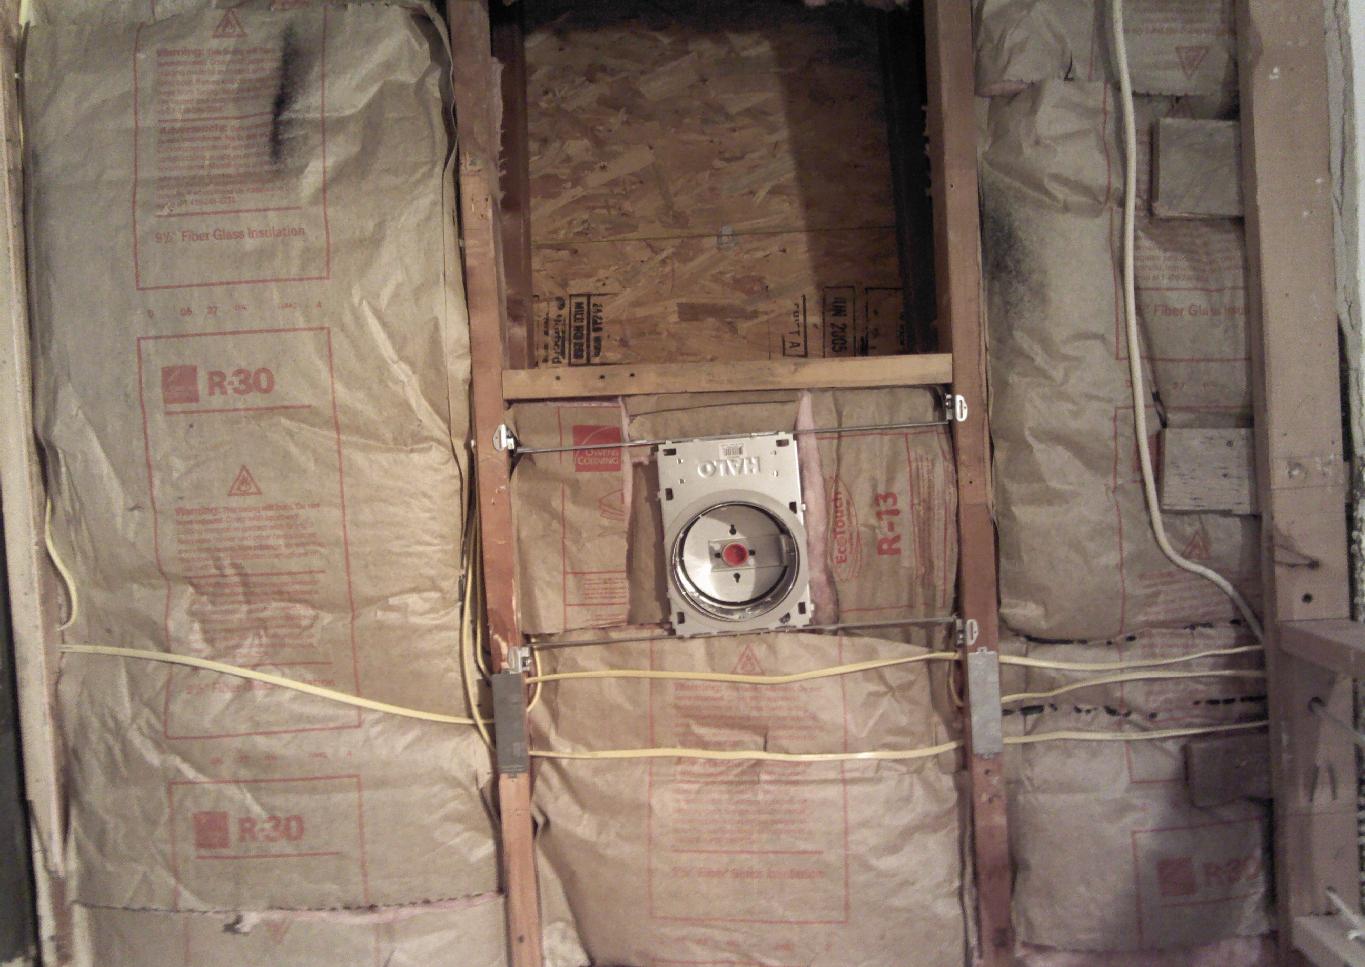
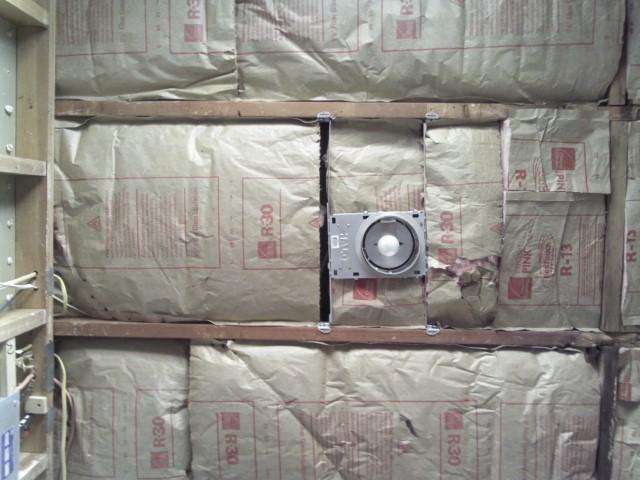
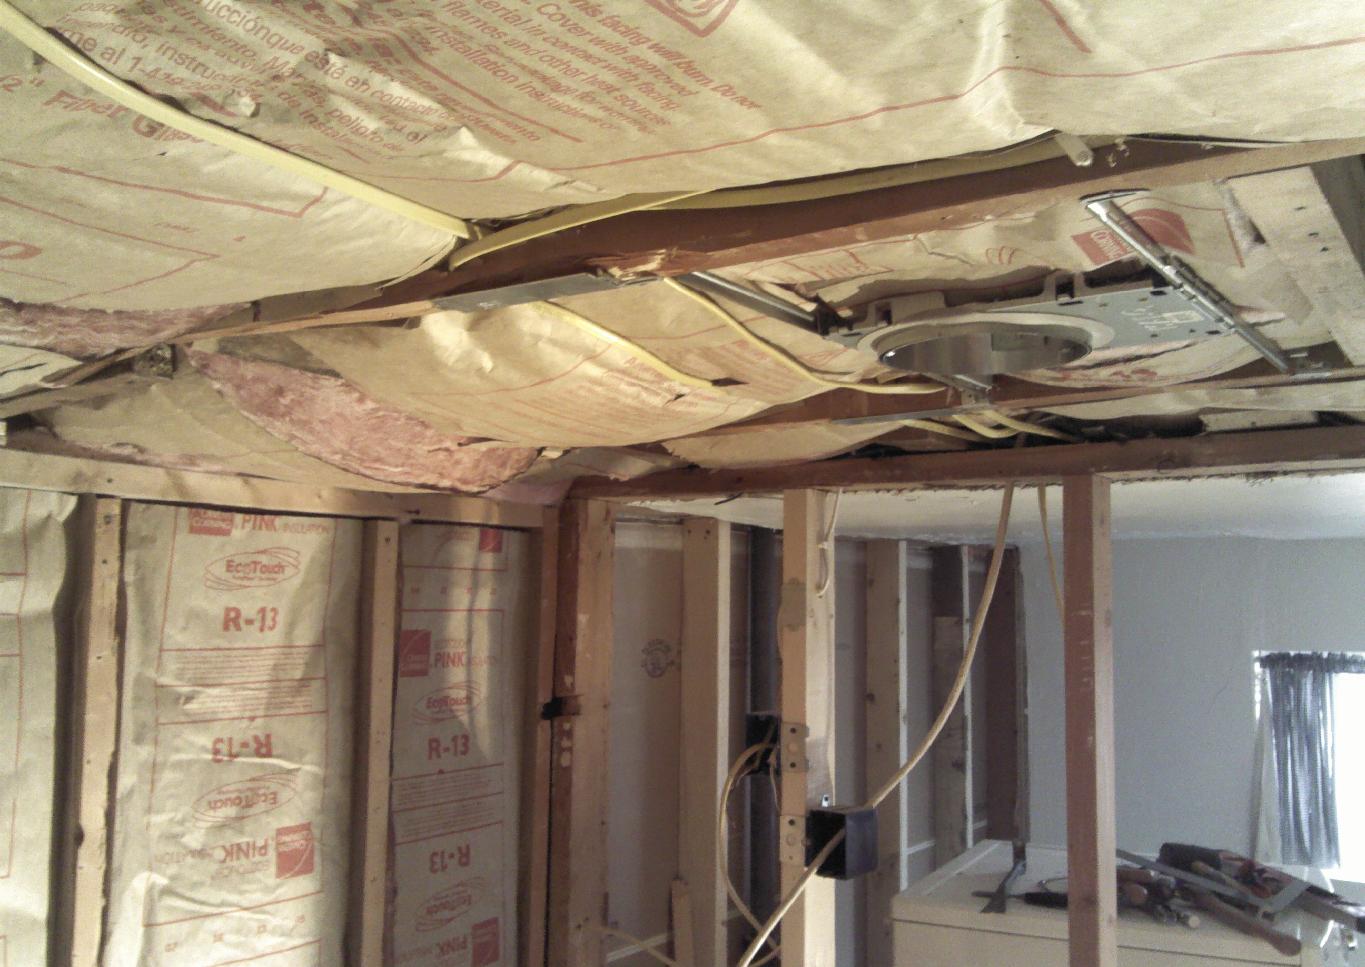 Recessed cans |
 Added nailer |
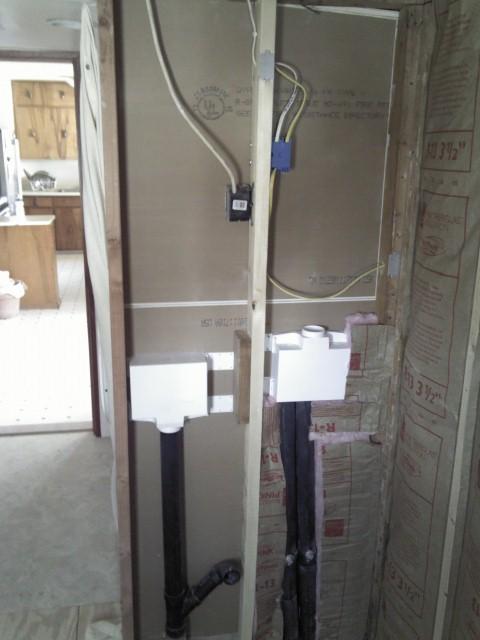
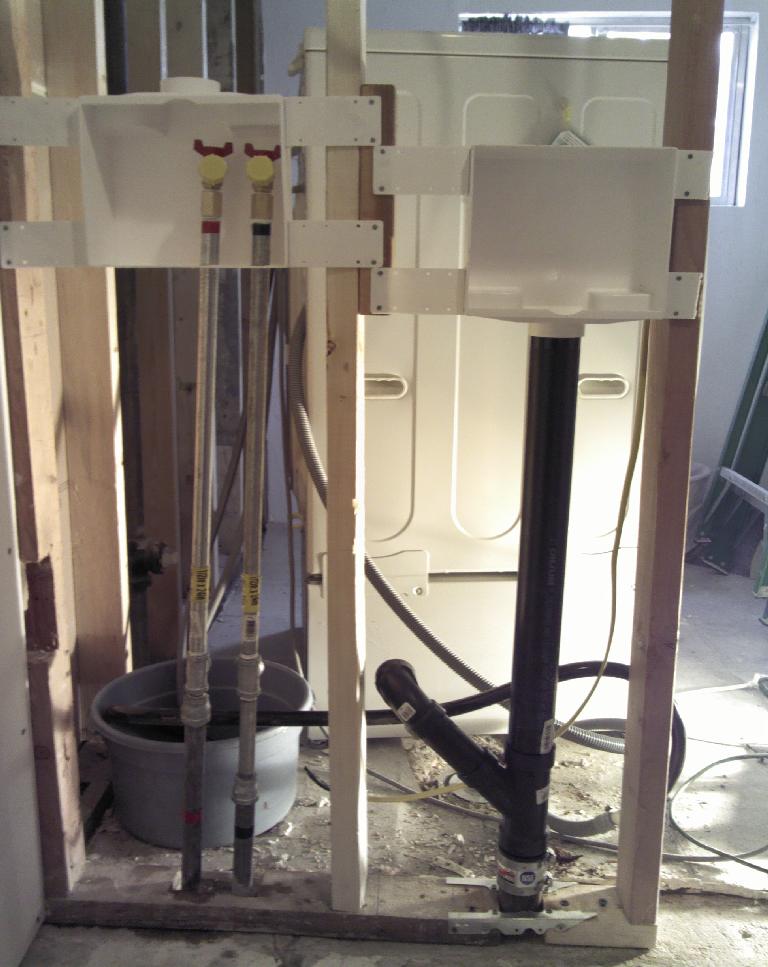 New galvanized |
 and PVC |
 insulated |
 220v for Dryer |
 |
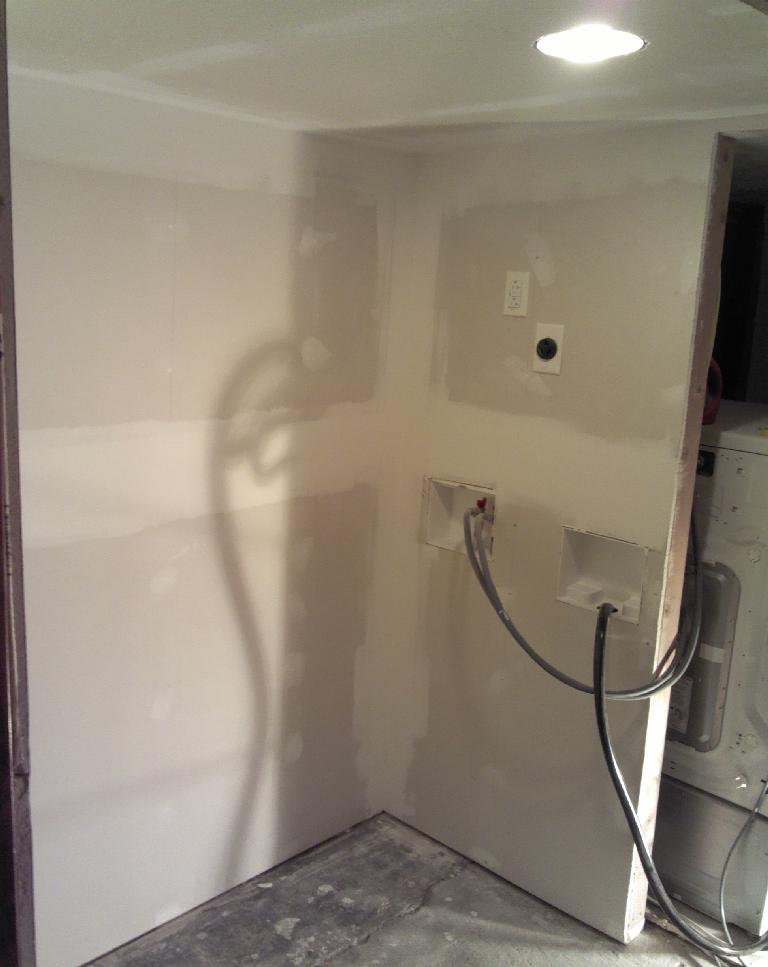 Tape and mud | ||
 Remove old insulation |
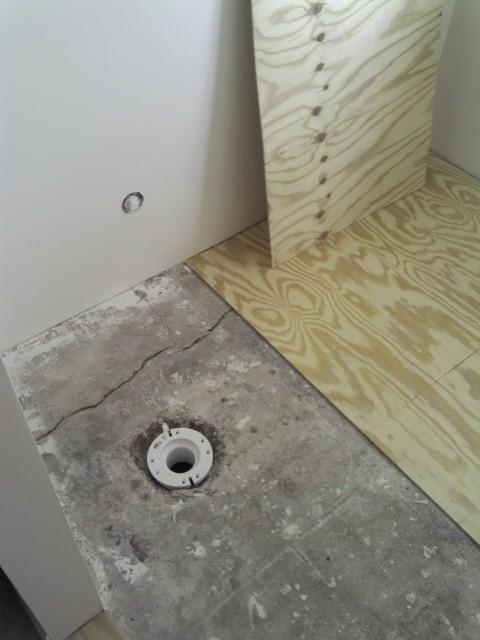
 This was once a shower stall |
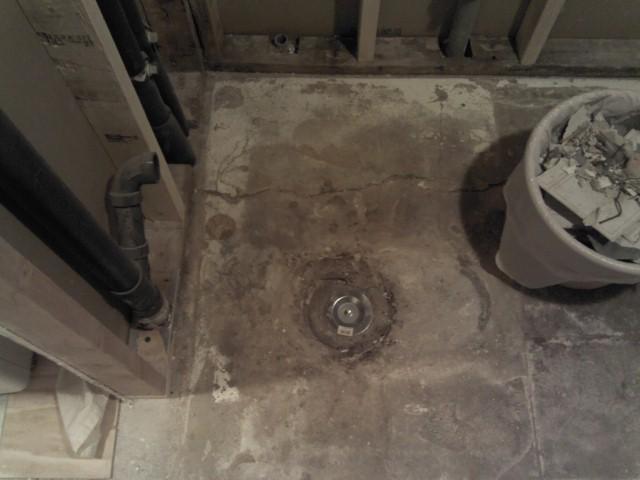 This was once toilet |
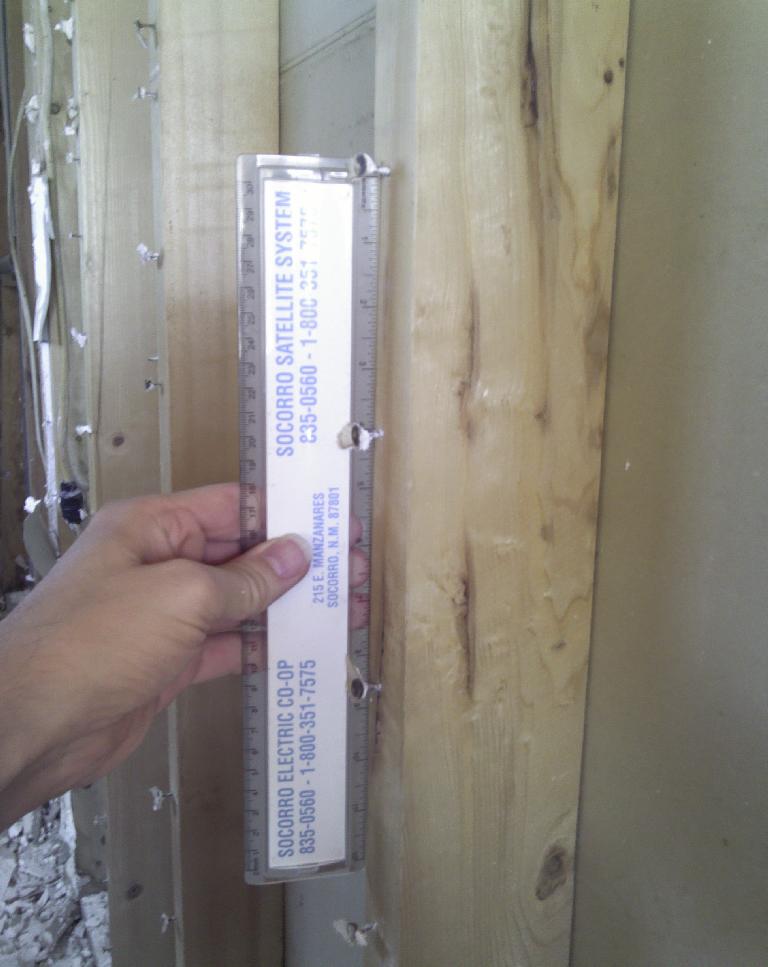
 Prybar for scale |
 New R-13 |
 |
 |
 Slab above living room |
 |
 |
 |
 Stapled in place |
 |
 Drywall over window |
 Then cut it out |
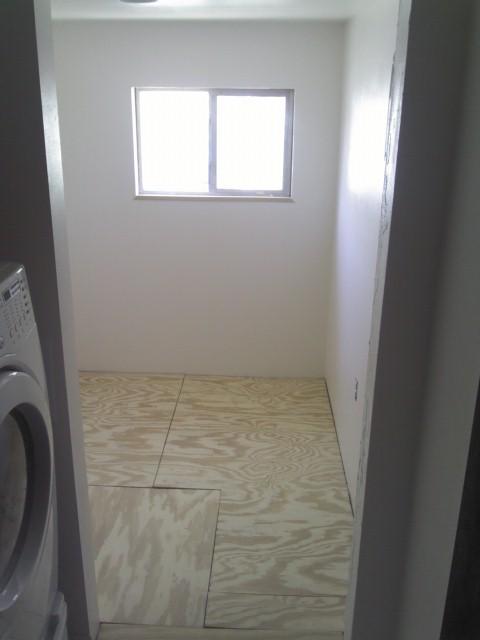 Underlayment |
 Toilet drain |
 I'll keep it |
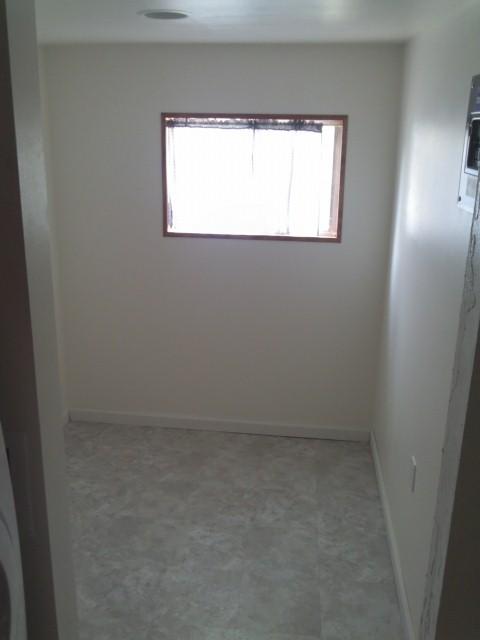 Finished |
 and clean |