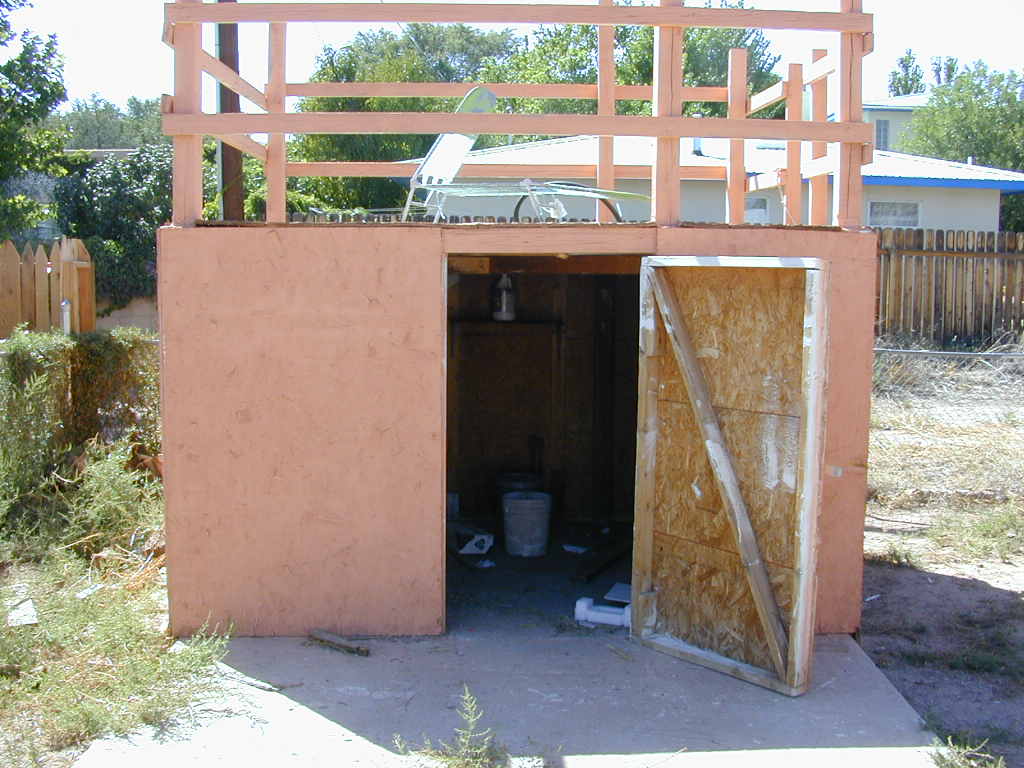
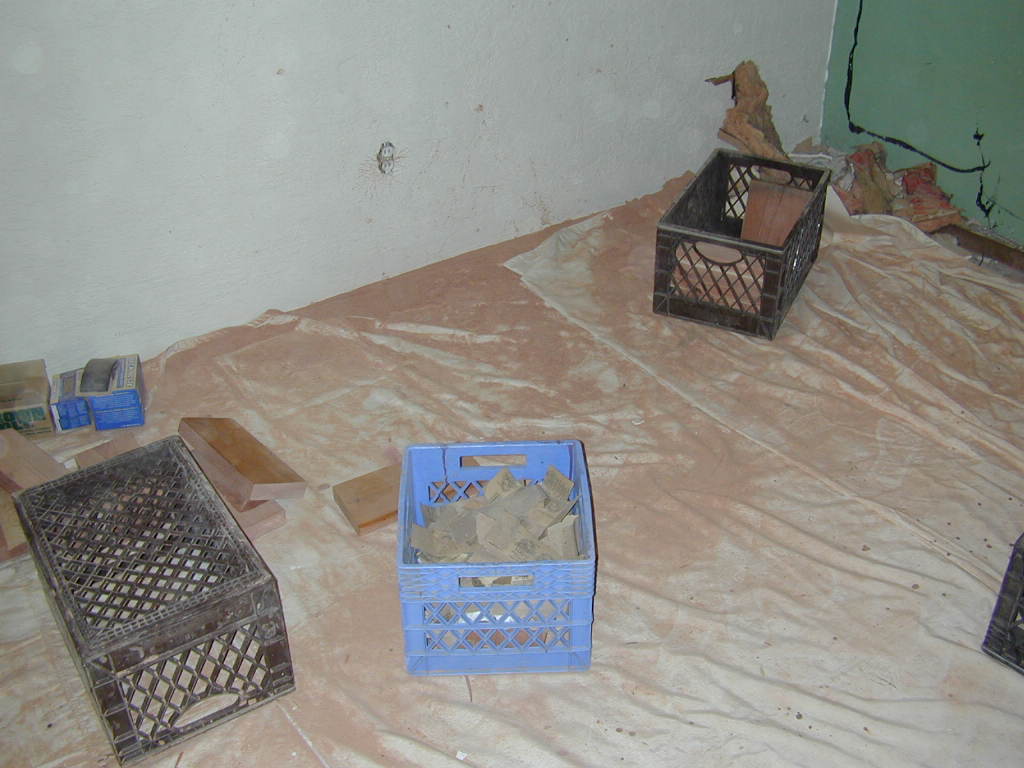
 This was the Pink Pagoda or play fort as I call it. The previous
owners called it a shed. Whatever. Well, it was a scary thing
that I wanted gone, so one saturday I invited some friends over
with sledgehammers...
This was the Pink Pagoda or play fort as I call it. The previous
owners called it a shed. Whatever. Well, it was a scary thing
that I wanted gone, so one saturday I invited some friends over
with sledgehammers...
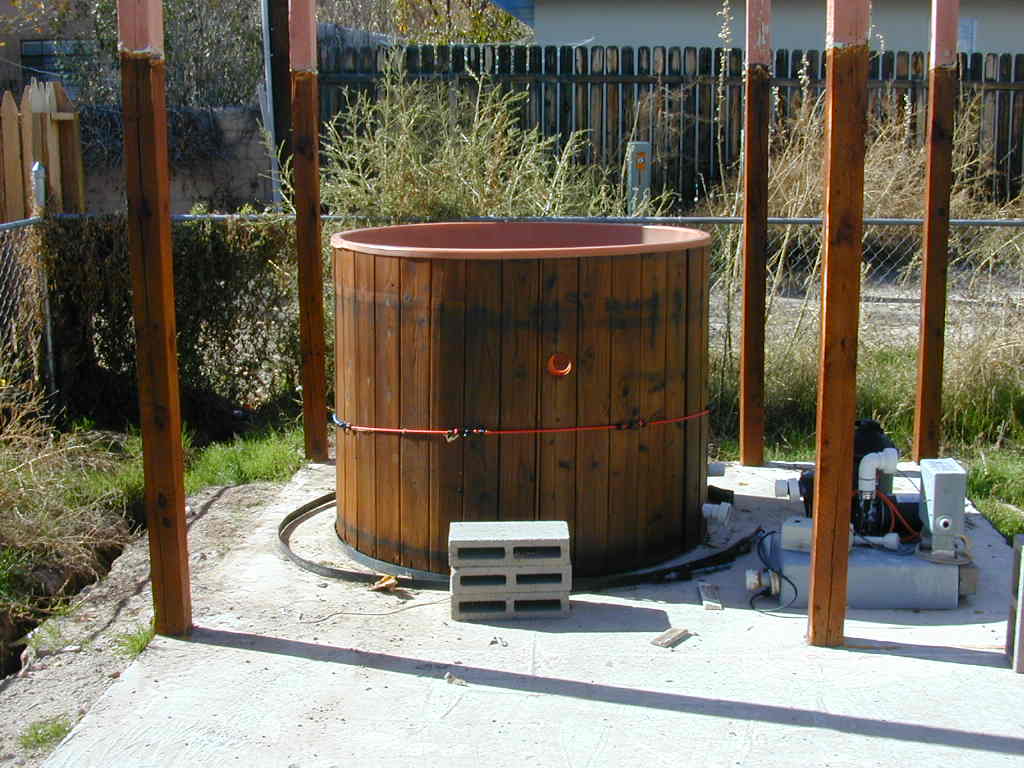
So I have moved to a new house and for some silly reason, I took the hottub with me. After a bit of neglect at the old house, just about everything needed to be replaced. This time, I am planning on the all-in-one solution instead of fixing one piece at a time. It's a much larger cash investment but should make life much less sucky.
This was the Pink Pagoda or play fort as I call it. The previous
owners called it a shed. Whatever. Well, it was a scary thing
that I wanted gone, so one saturday I invited some friends over
with sledgehammers...
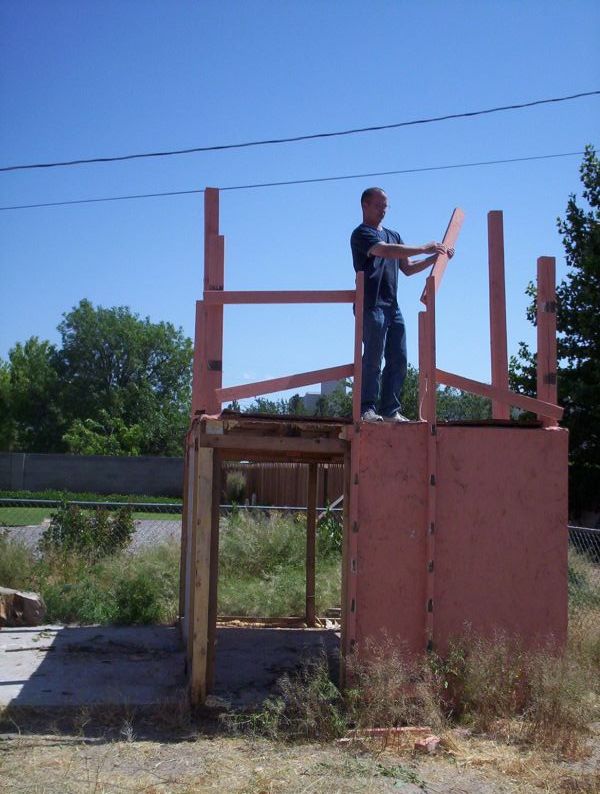 Earl assesses |
 Then he swings |
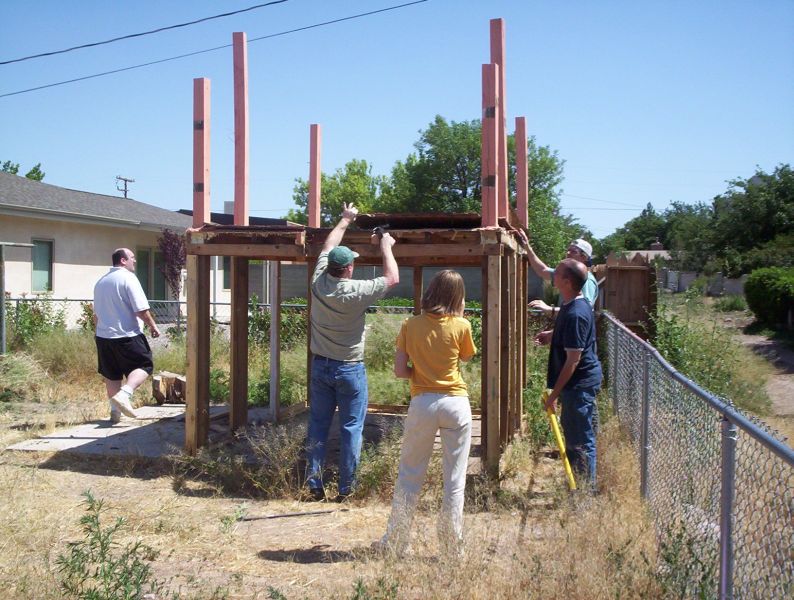 Patti supervises |
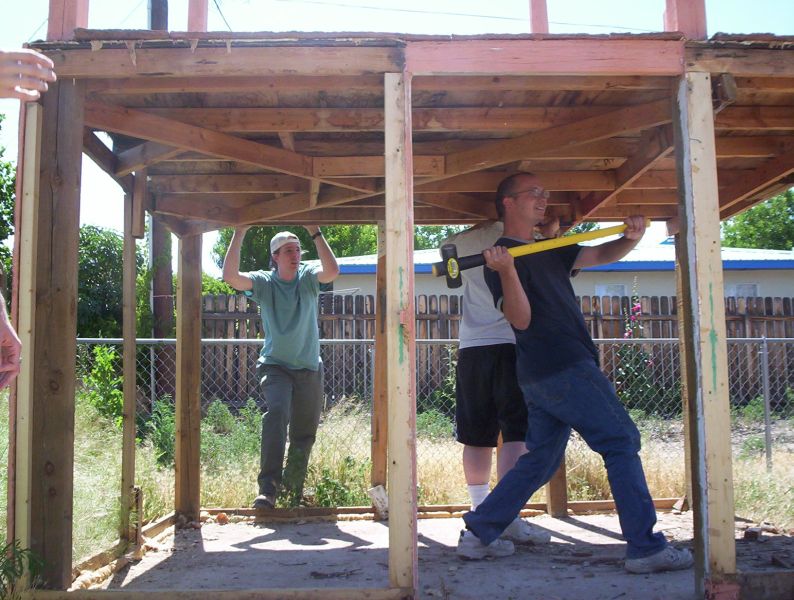
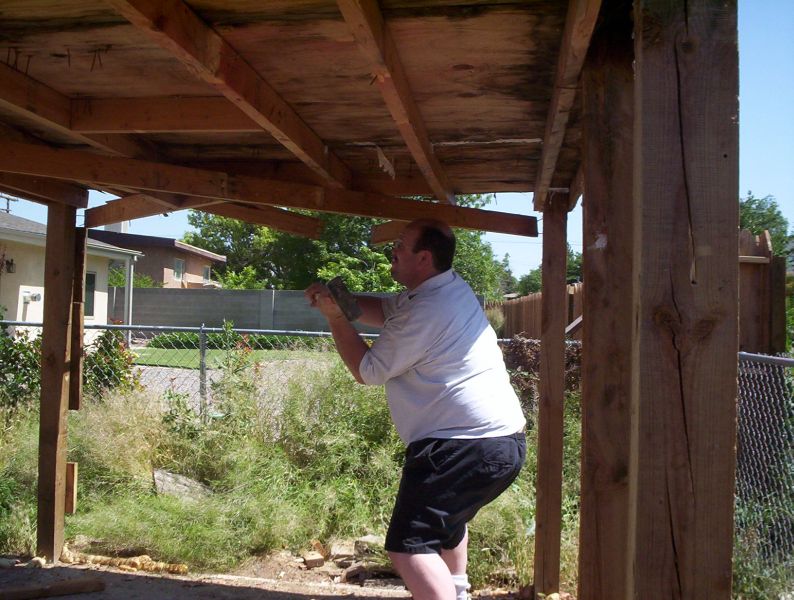 BRIAN IS CRAZY! |
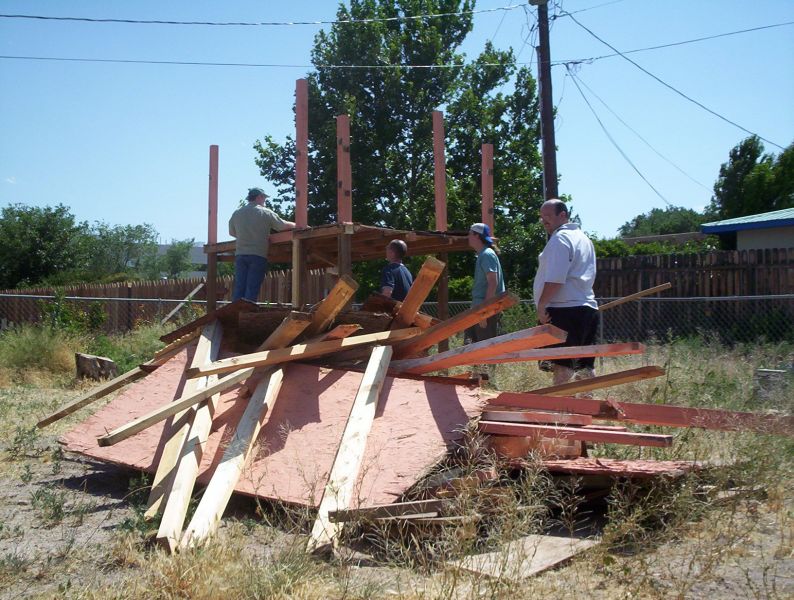 damn that roof |
 and down it came.
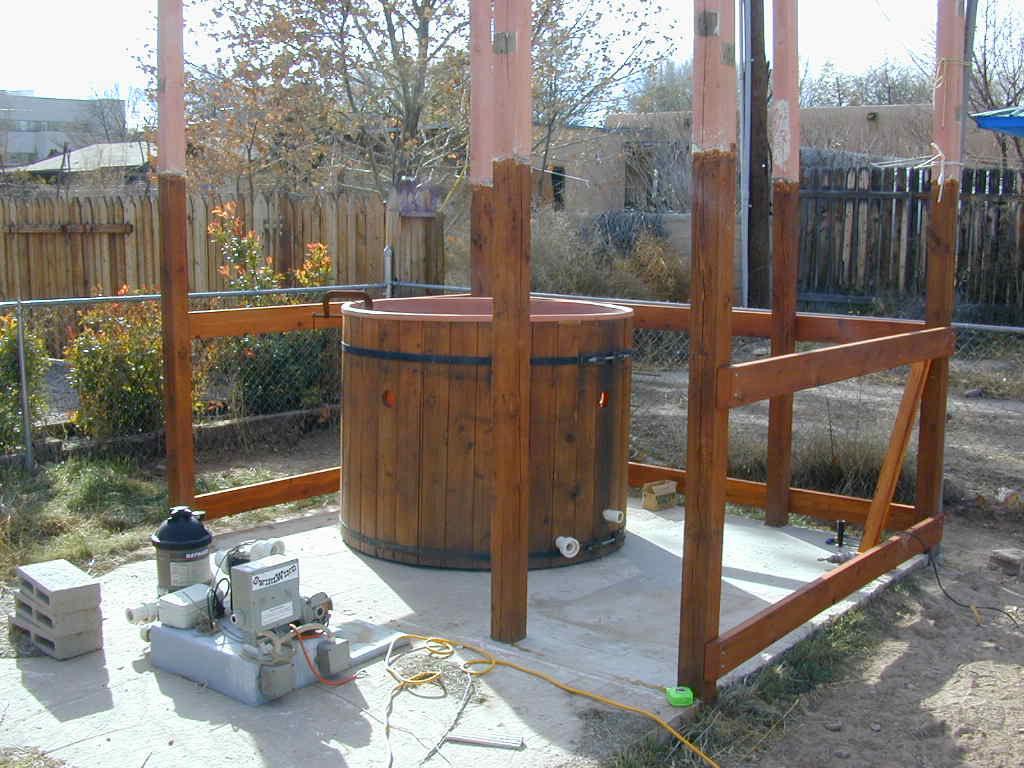
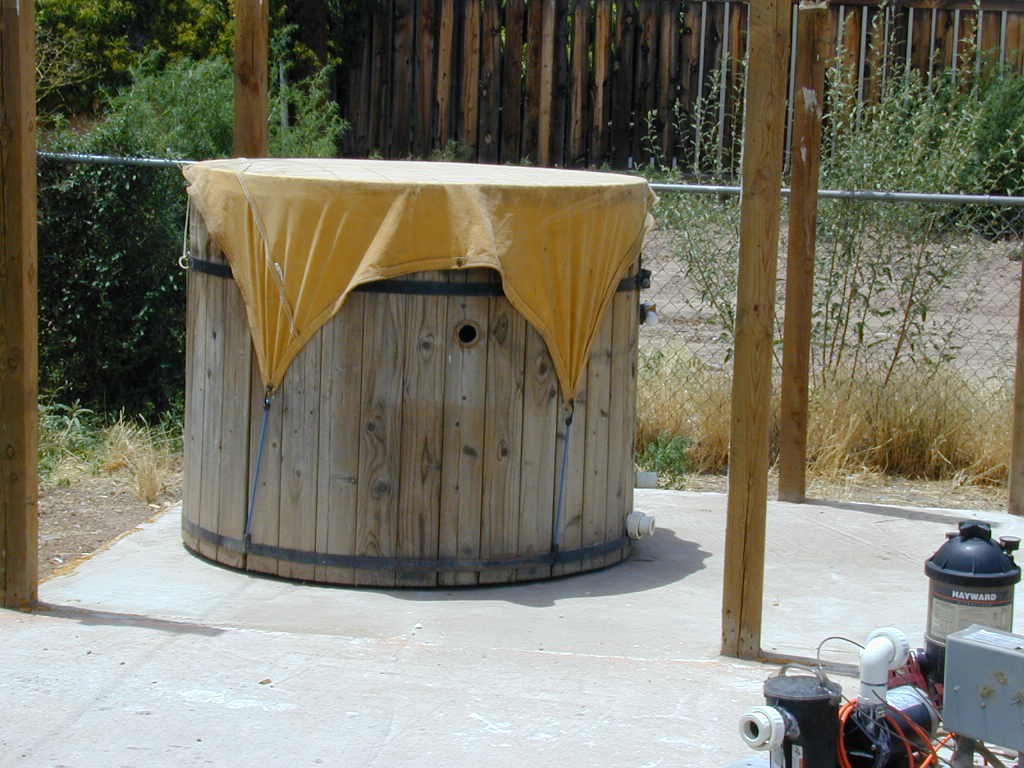 A little sweeping, and the tub has a new sexy pad. Now all we
need is power and equipment.
A little sweeping, and the tub has a new sexy pad. Now all we
need is power and equipment.
The old jets never worked when I had the tub. In fact I just had them plugged up. The new version will have new jets. Three different kinds in fact.
 old jet |
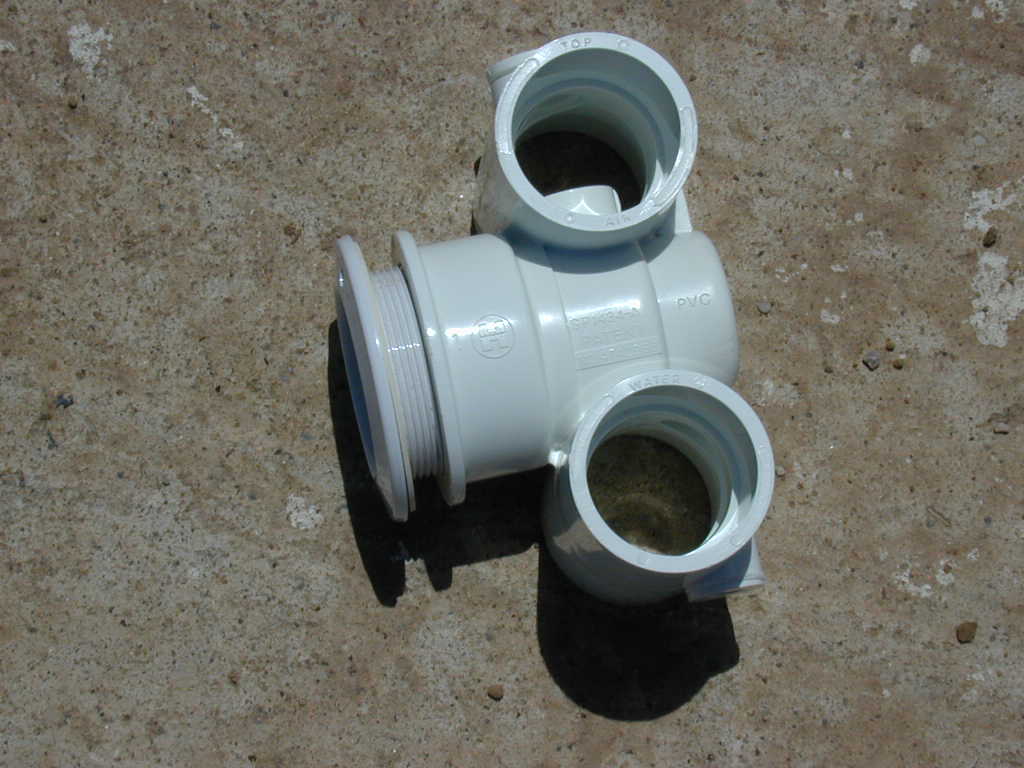 new jet |
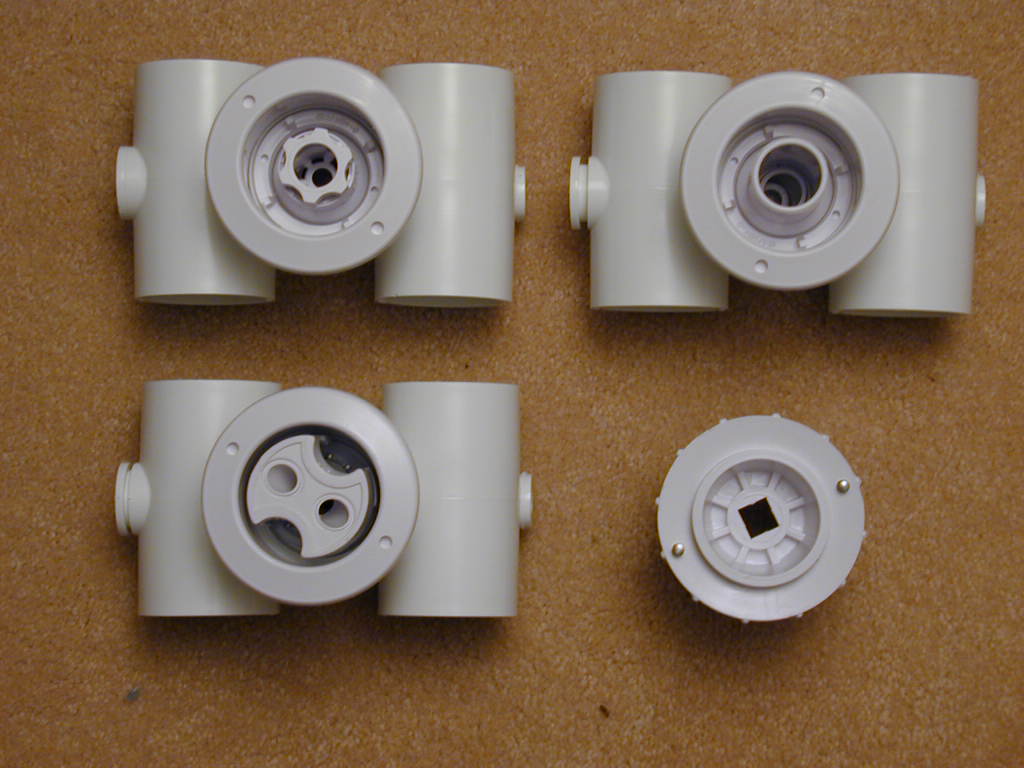 three kinds |
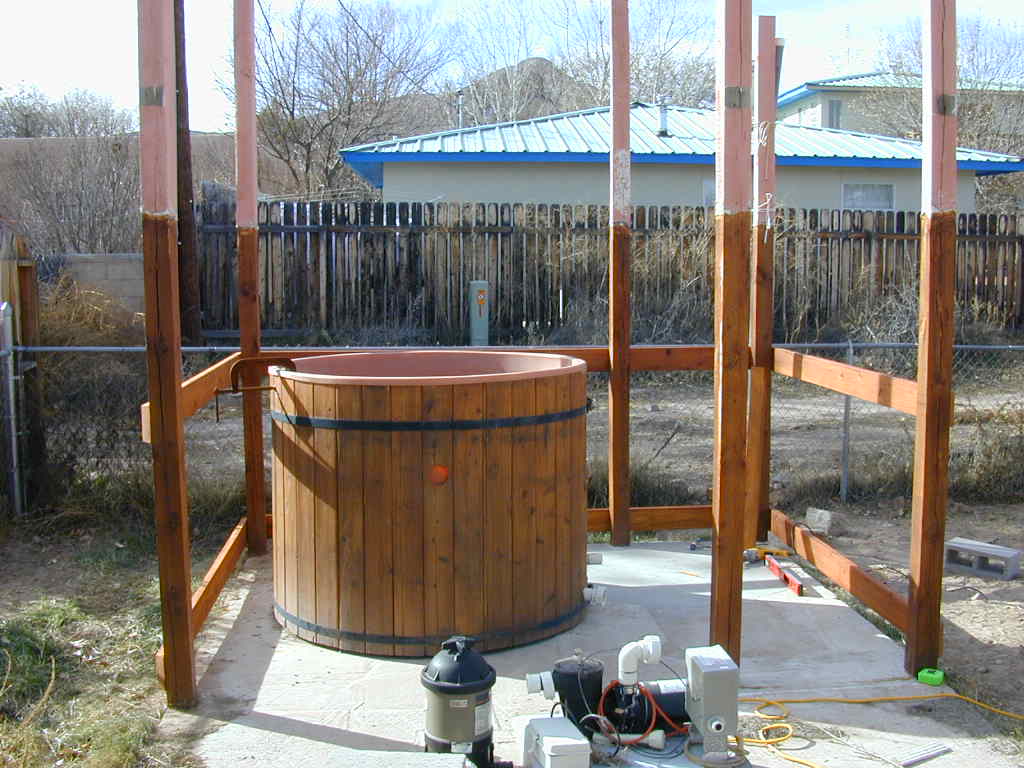
 I also stripped, cleaned and refinished all the wood on the tub as well
as insulated the inside a bit better.
I also stripped, cleaned and refinished all the wood on the tub as well
as insulated the inside a bit better.
October 2005 I stated on the electrical connection to the hottub. I had a 50amp breaker available in the main box and the 2inch conduit that I ran when I had the power put underground. Problem was that in all the time I was waiting for my underground power to be inspected, water had leaked into my conduit dissolving my pull line. So, after destroying two hair dryers trying to blow out the watter, I brought out the old reliable Kirby, used the lightbulb remover attachment, some duct tape and switched her from suck to blow. Bang! No more watter problem.
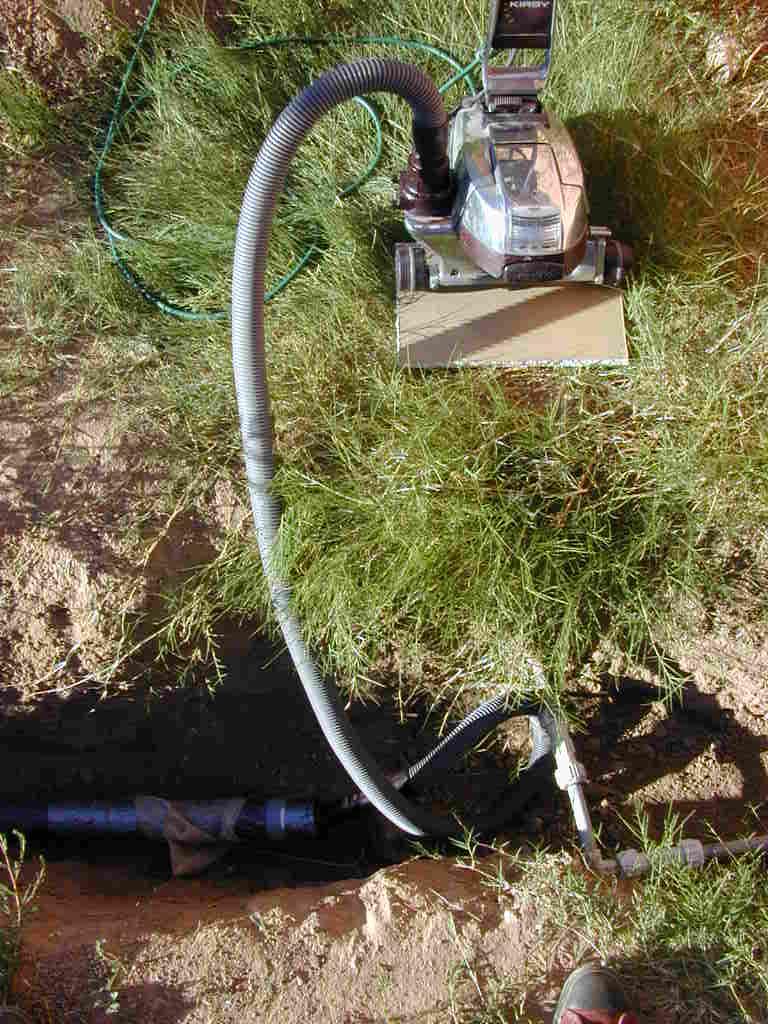 Hooked up the Kirby |
 Out came the water |
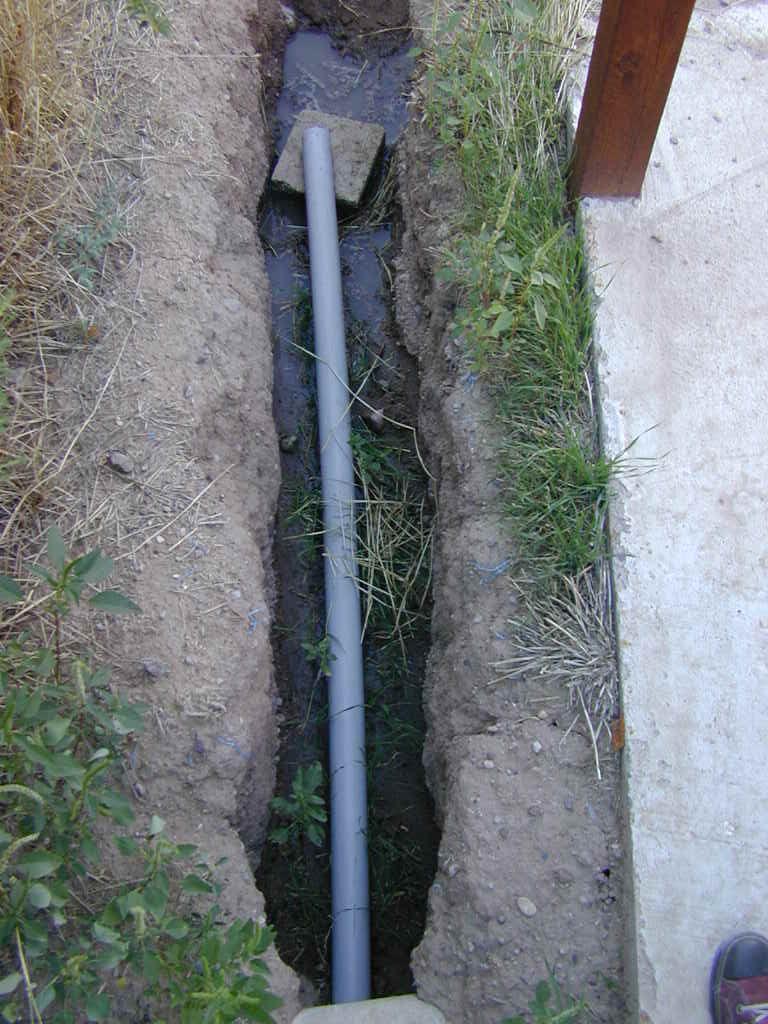
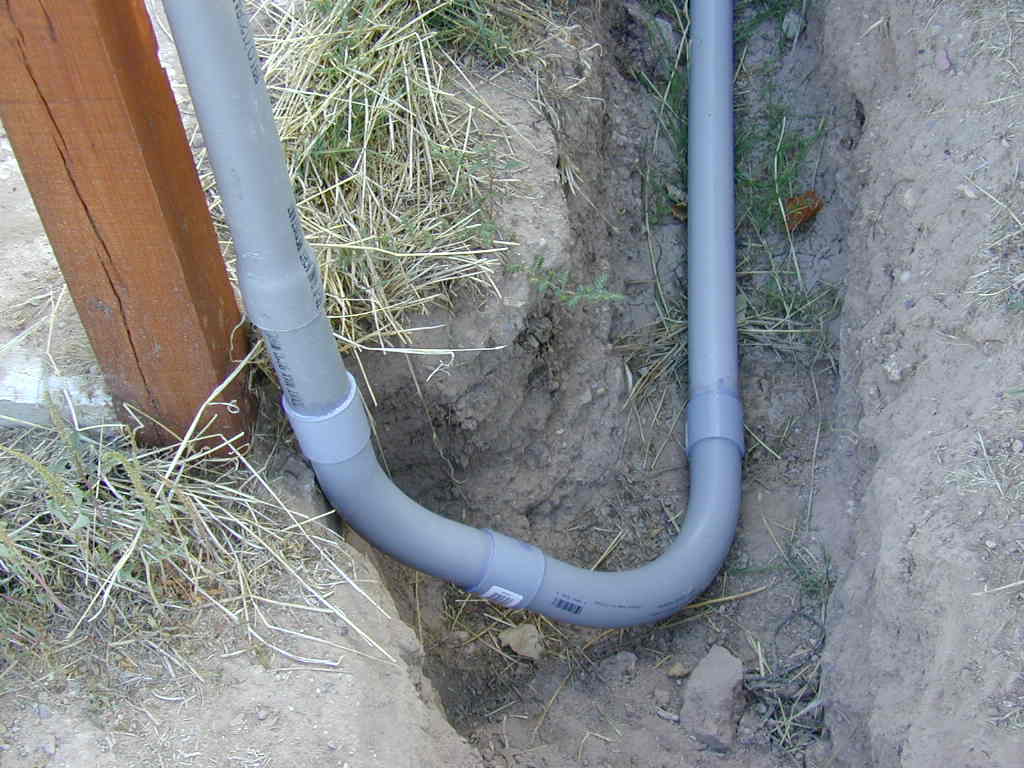
Then came time to fill the conduit with suitable electron conductors. I used 6Awg wire with an 8Awg ground. Since it was going in underground EMT I didn't use underground rated wire. However, since the water had decomposed my pull line, I once again employed the Kirby with some string and a ping-pong ball to pull a new line. Again the Kirby came through like a trooper. I only had a 1inch punch available in the main box so I had to run 1inch conduit to 2inch conduit.
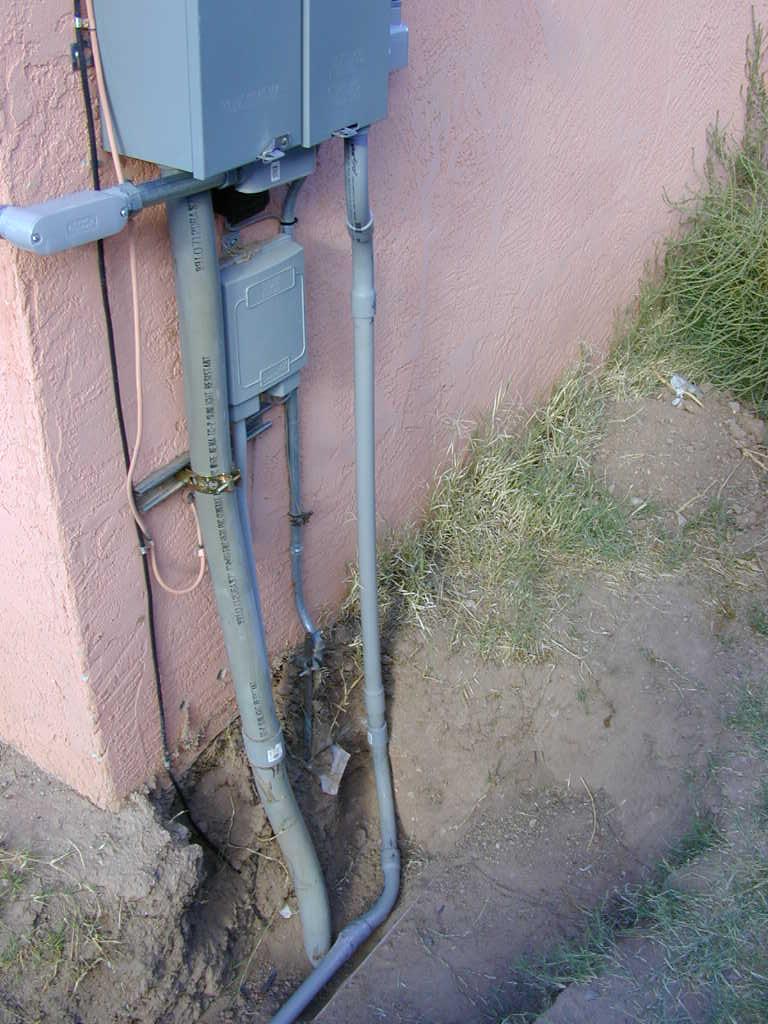 1inch conduit |
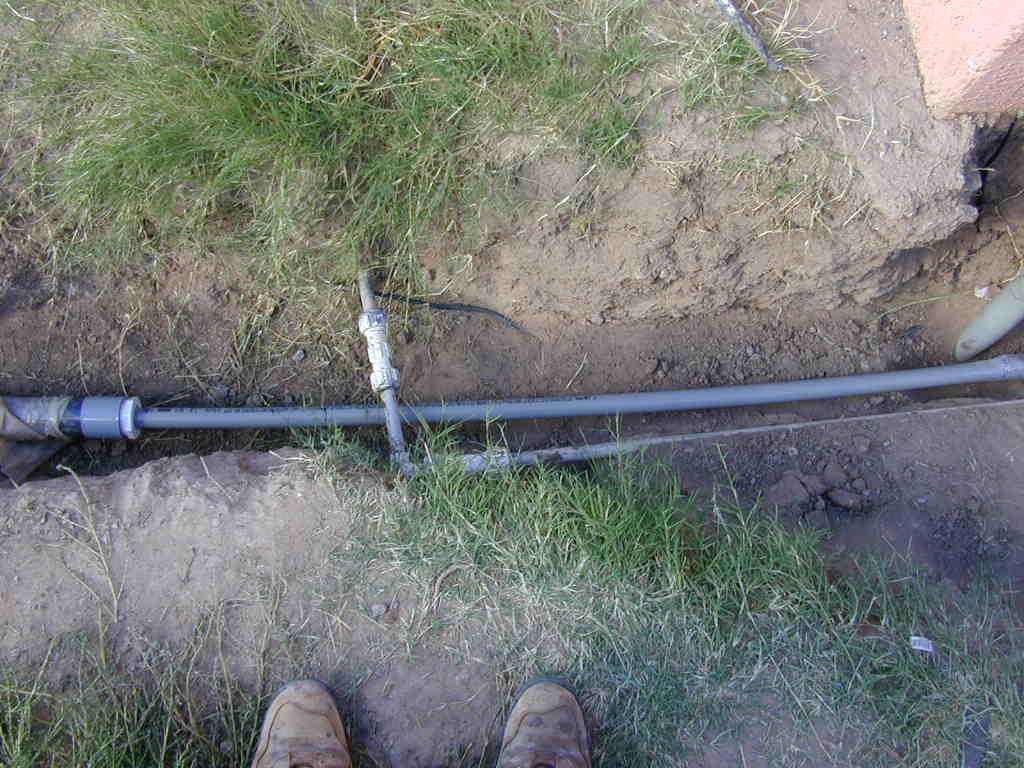 to 2inch conduit |
 to the tub |
 to the sub panel |
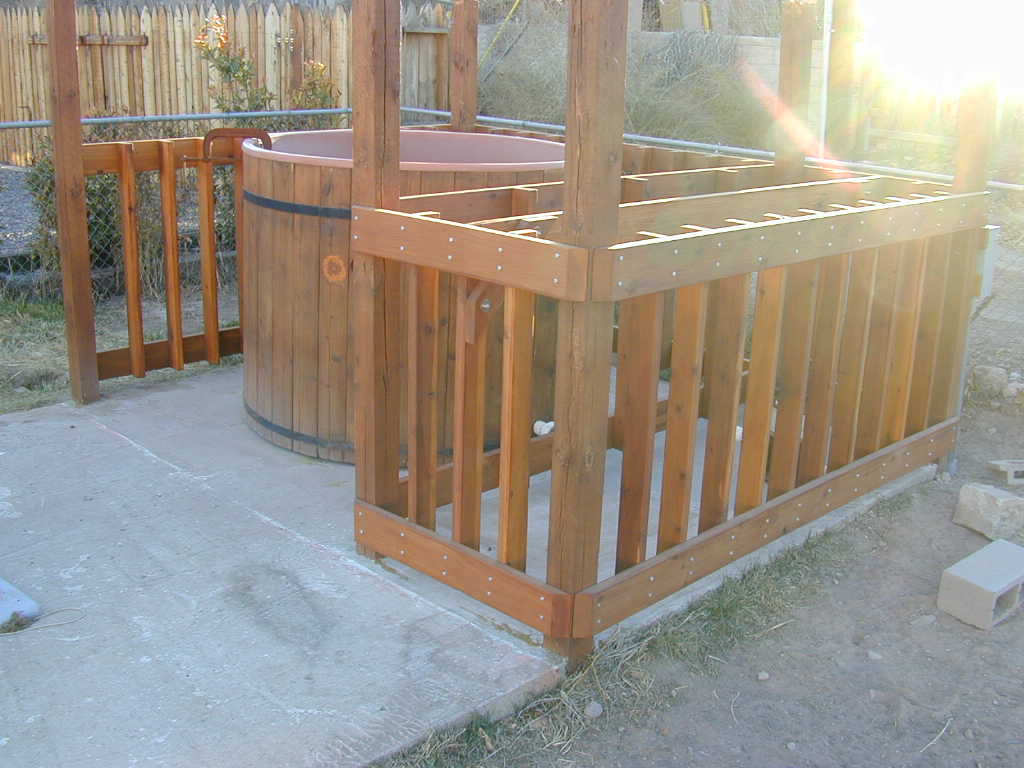
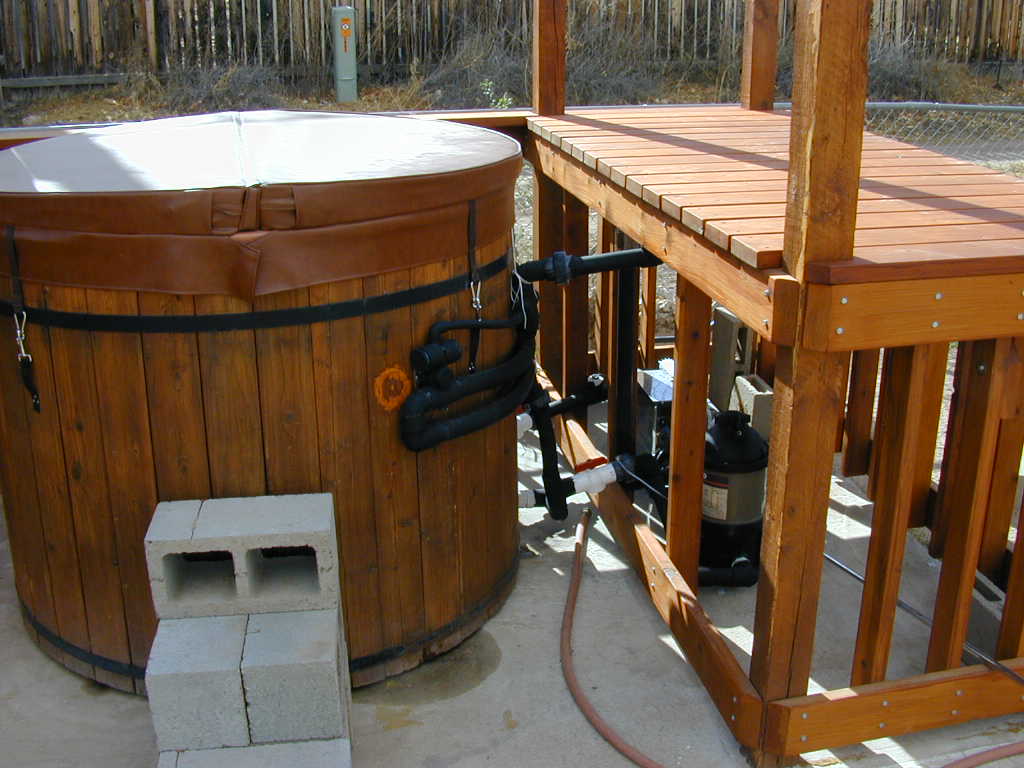
December 2005 Since the winter this year was so mild, I was able to start the decking project for the tub. This will eventually surround the tub on two sides with a 2x8 bench and a third with an actual deck of 2x6s for sunbathing, drinks holding, or cannon balling. As usual I overengineerd the design with 2x4 uprights, 2x6 cross members and 1/2inch lag screws. I am using redwood all around treated with Behr Premium Weatherproffing (501 Natural Cedar).
 2x6 cross members |
 2x6 cross members |
 2x4 uprights |
 where I sanded |
March 2006 It all started comming together. I received my insulated hottub cover, and my spa pak. Gone are the days of jerry-rigged parts and home-glued covers. We're all high-tech now baby. The only original equipment is the Hayward filter.
 insulated cover |
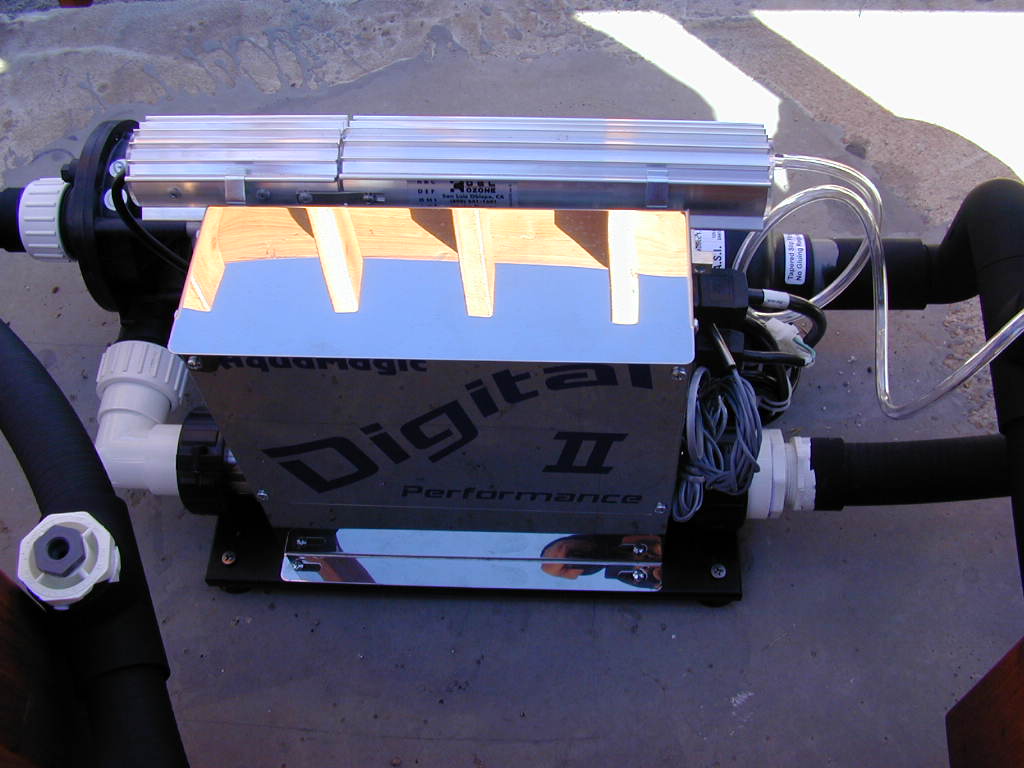 Aqua Magic II |
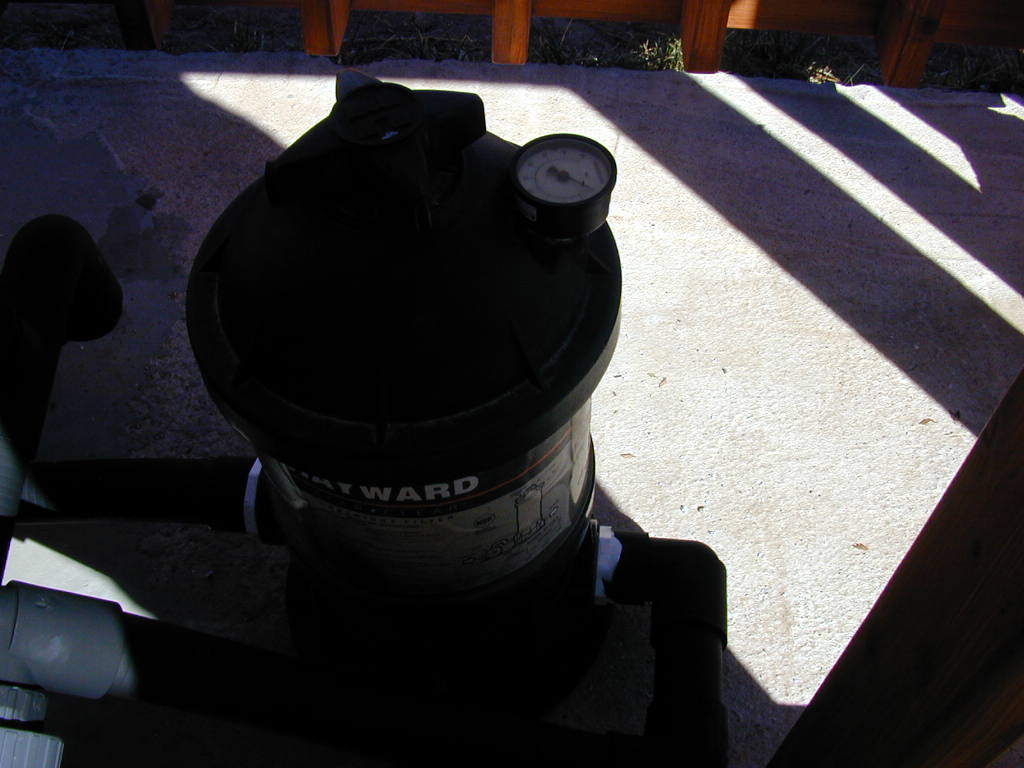 Hayward C-250 |
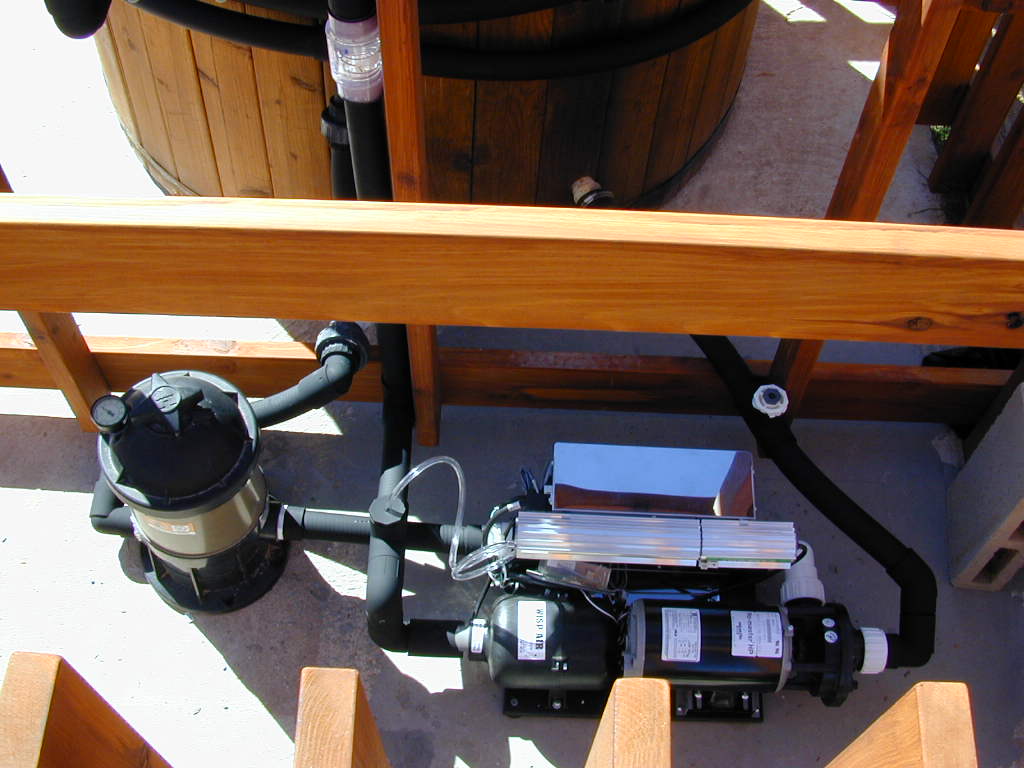 All Together Now |
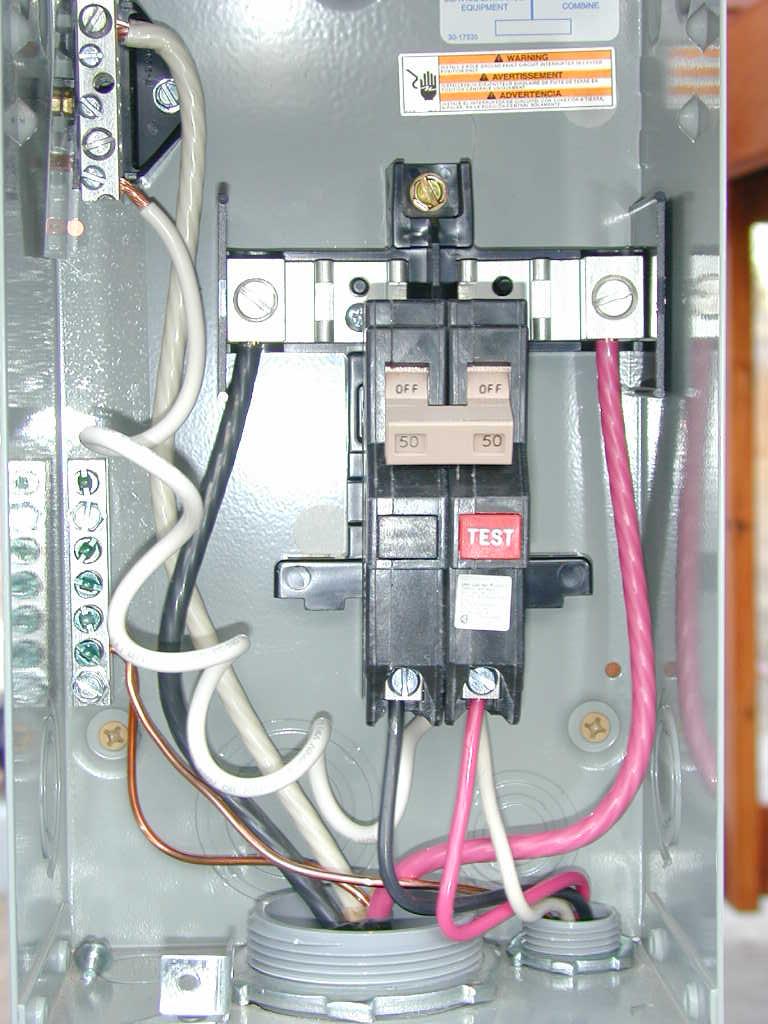
April 2006 Put the decking and railing on and replaced the scary 50amp breaker with a safer 30amp breaker. Since I was using 10 awg wire I figured it would be better for the breaker to trip then the wire to melt.
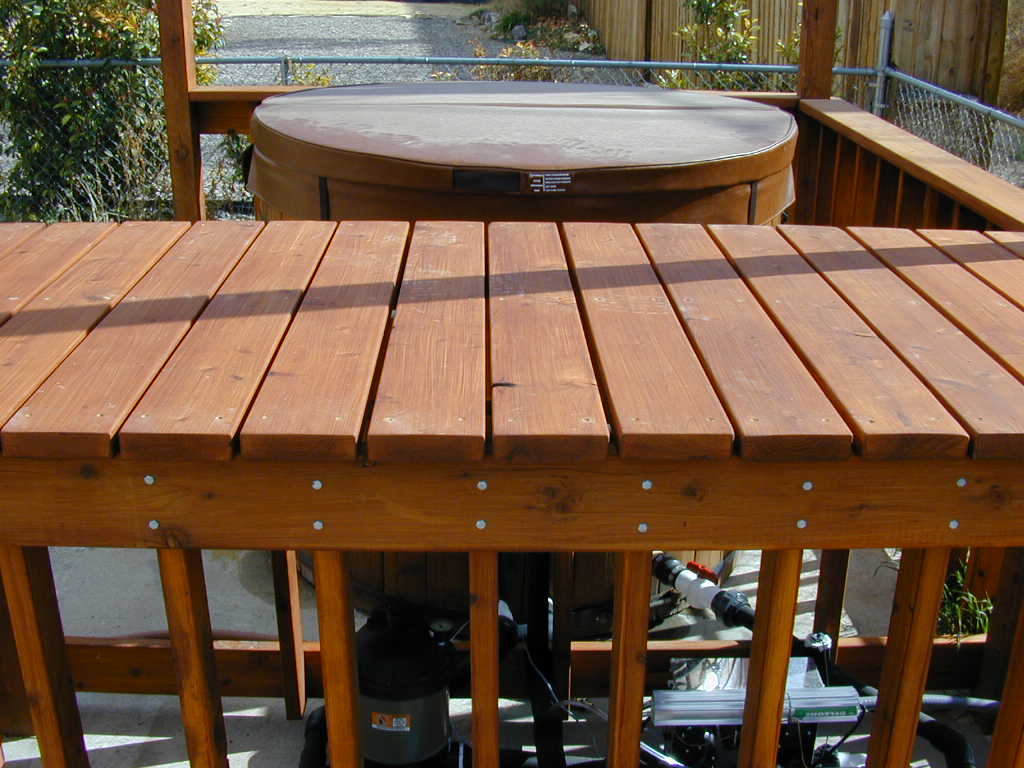 my 2x6 decking |
 my 2x6 decking |
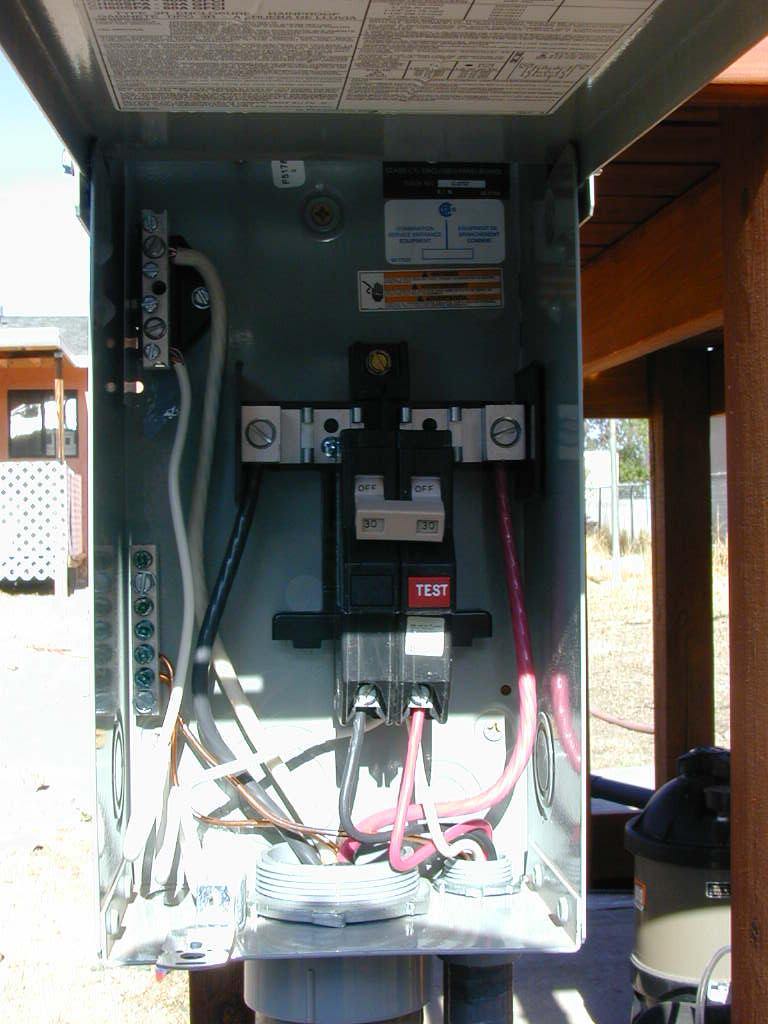 30amp breaker |
Mar 2008 Some time in 2006, I purchased nice redwood steps to replace the concrete blocks. Sadly I didn't take a picture until now.
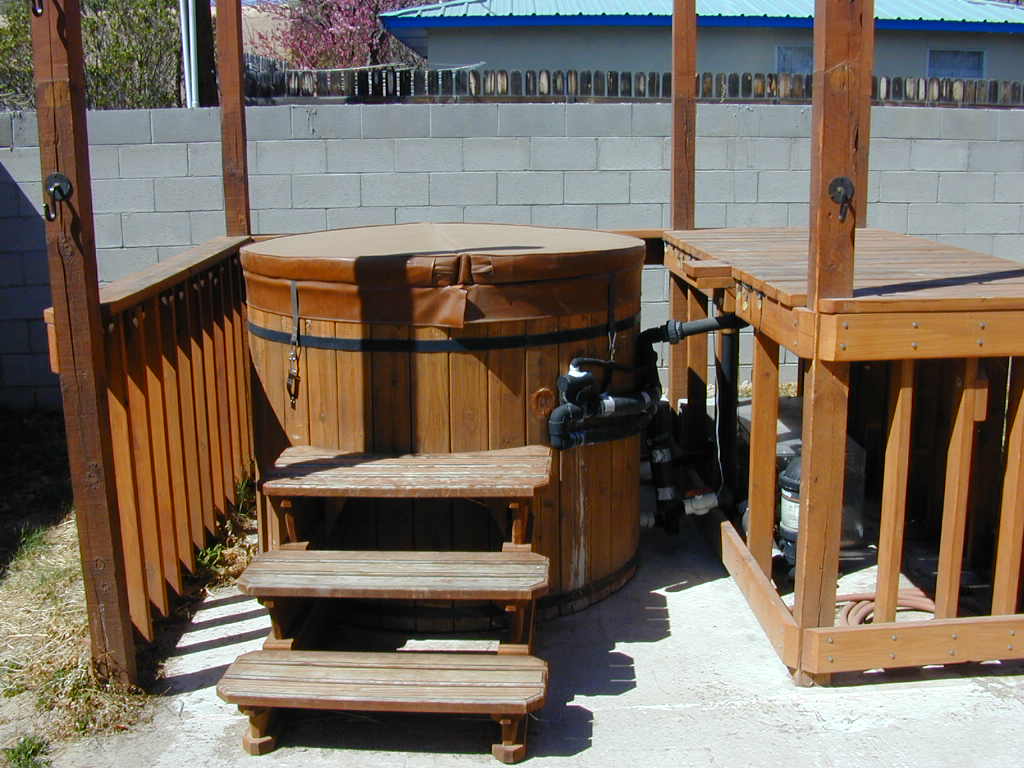 redwood steps |
Apr 2009 Purchased copper caps for the 4x4 posts. Sadly, the caps are for finished 4x4s not rough cut 4x4s, so I had to top the posts short with finished pieces of 4x4 and then attach the caps. It may look silly, but they are more to keep water out of the posts then for looks.
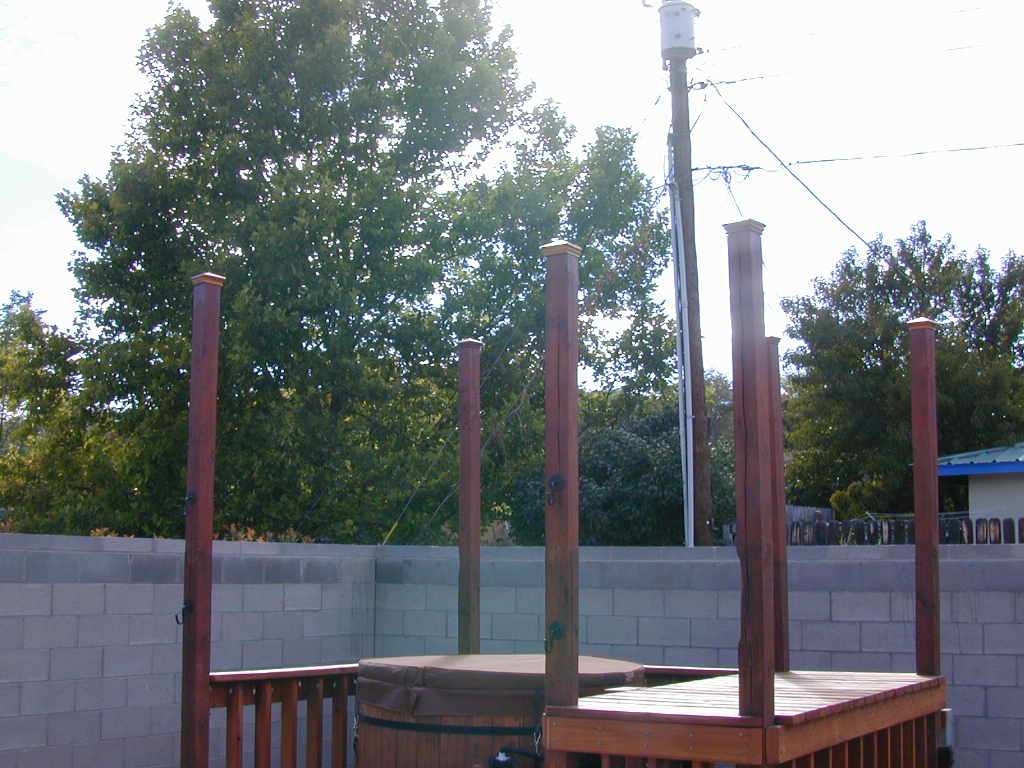 post caps |
Dec 2013 Sometime around Dec. 5, 2013 I noticed that the temperature of the tub was lower than 70 which told me that the heating element had finally failed. It lasted about seven years which is pretty good. I quickly ordered a replacement element and ozonator. But I didn't install the element for over a year.
Mar 2015 One Mar. 29, 2015 I revived the hottub with the new heating element and ozonator.
Feb 2016 On Feb. 21, 2016 after cleaning the tub I broke the cartridge filter by overtighning the brass spigot I had attached to the drain outlet. This kind of spiral fracture really can't be patched and the filter had worked well since 2002 so I just purchased a new unit (same make and model). It arrived and I had the tub back up and running a week later.
Mar 2016 Over the years, the hot tub cover has worn out to the point that I have been putting covers on top of the cover. I tried plastic tarps but the New Mexico sun distroyed those in about six months. I now get heavy canvas tarps then cut, hem and add grommets so they fit well. I should have been doing this ever since I got the hot tub cover. Live and learn.
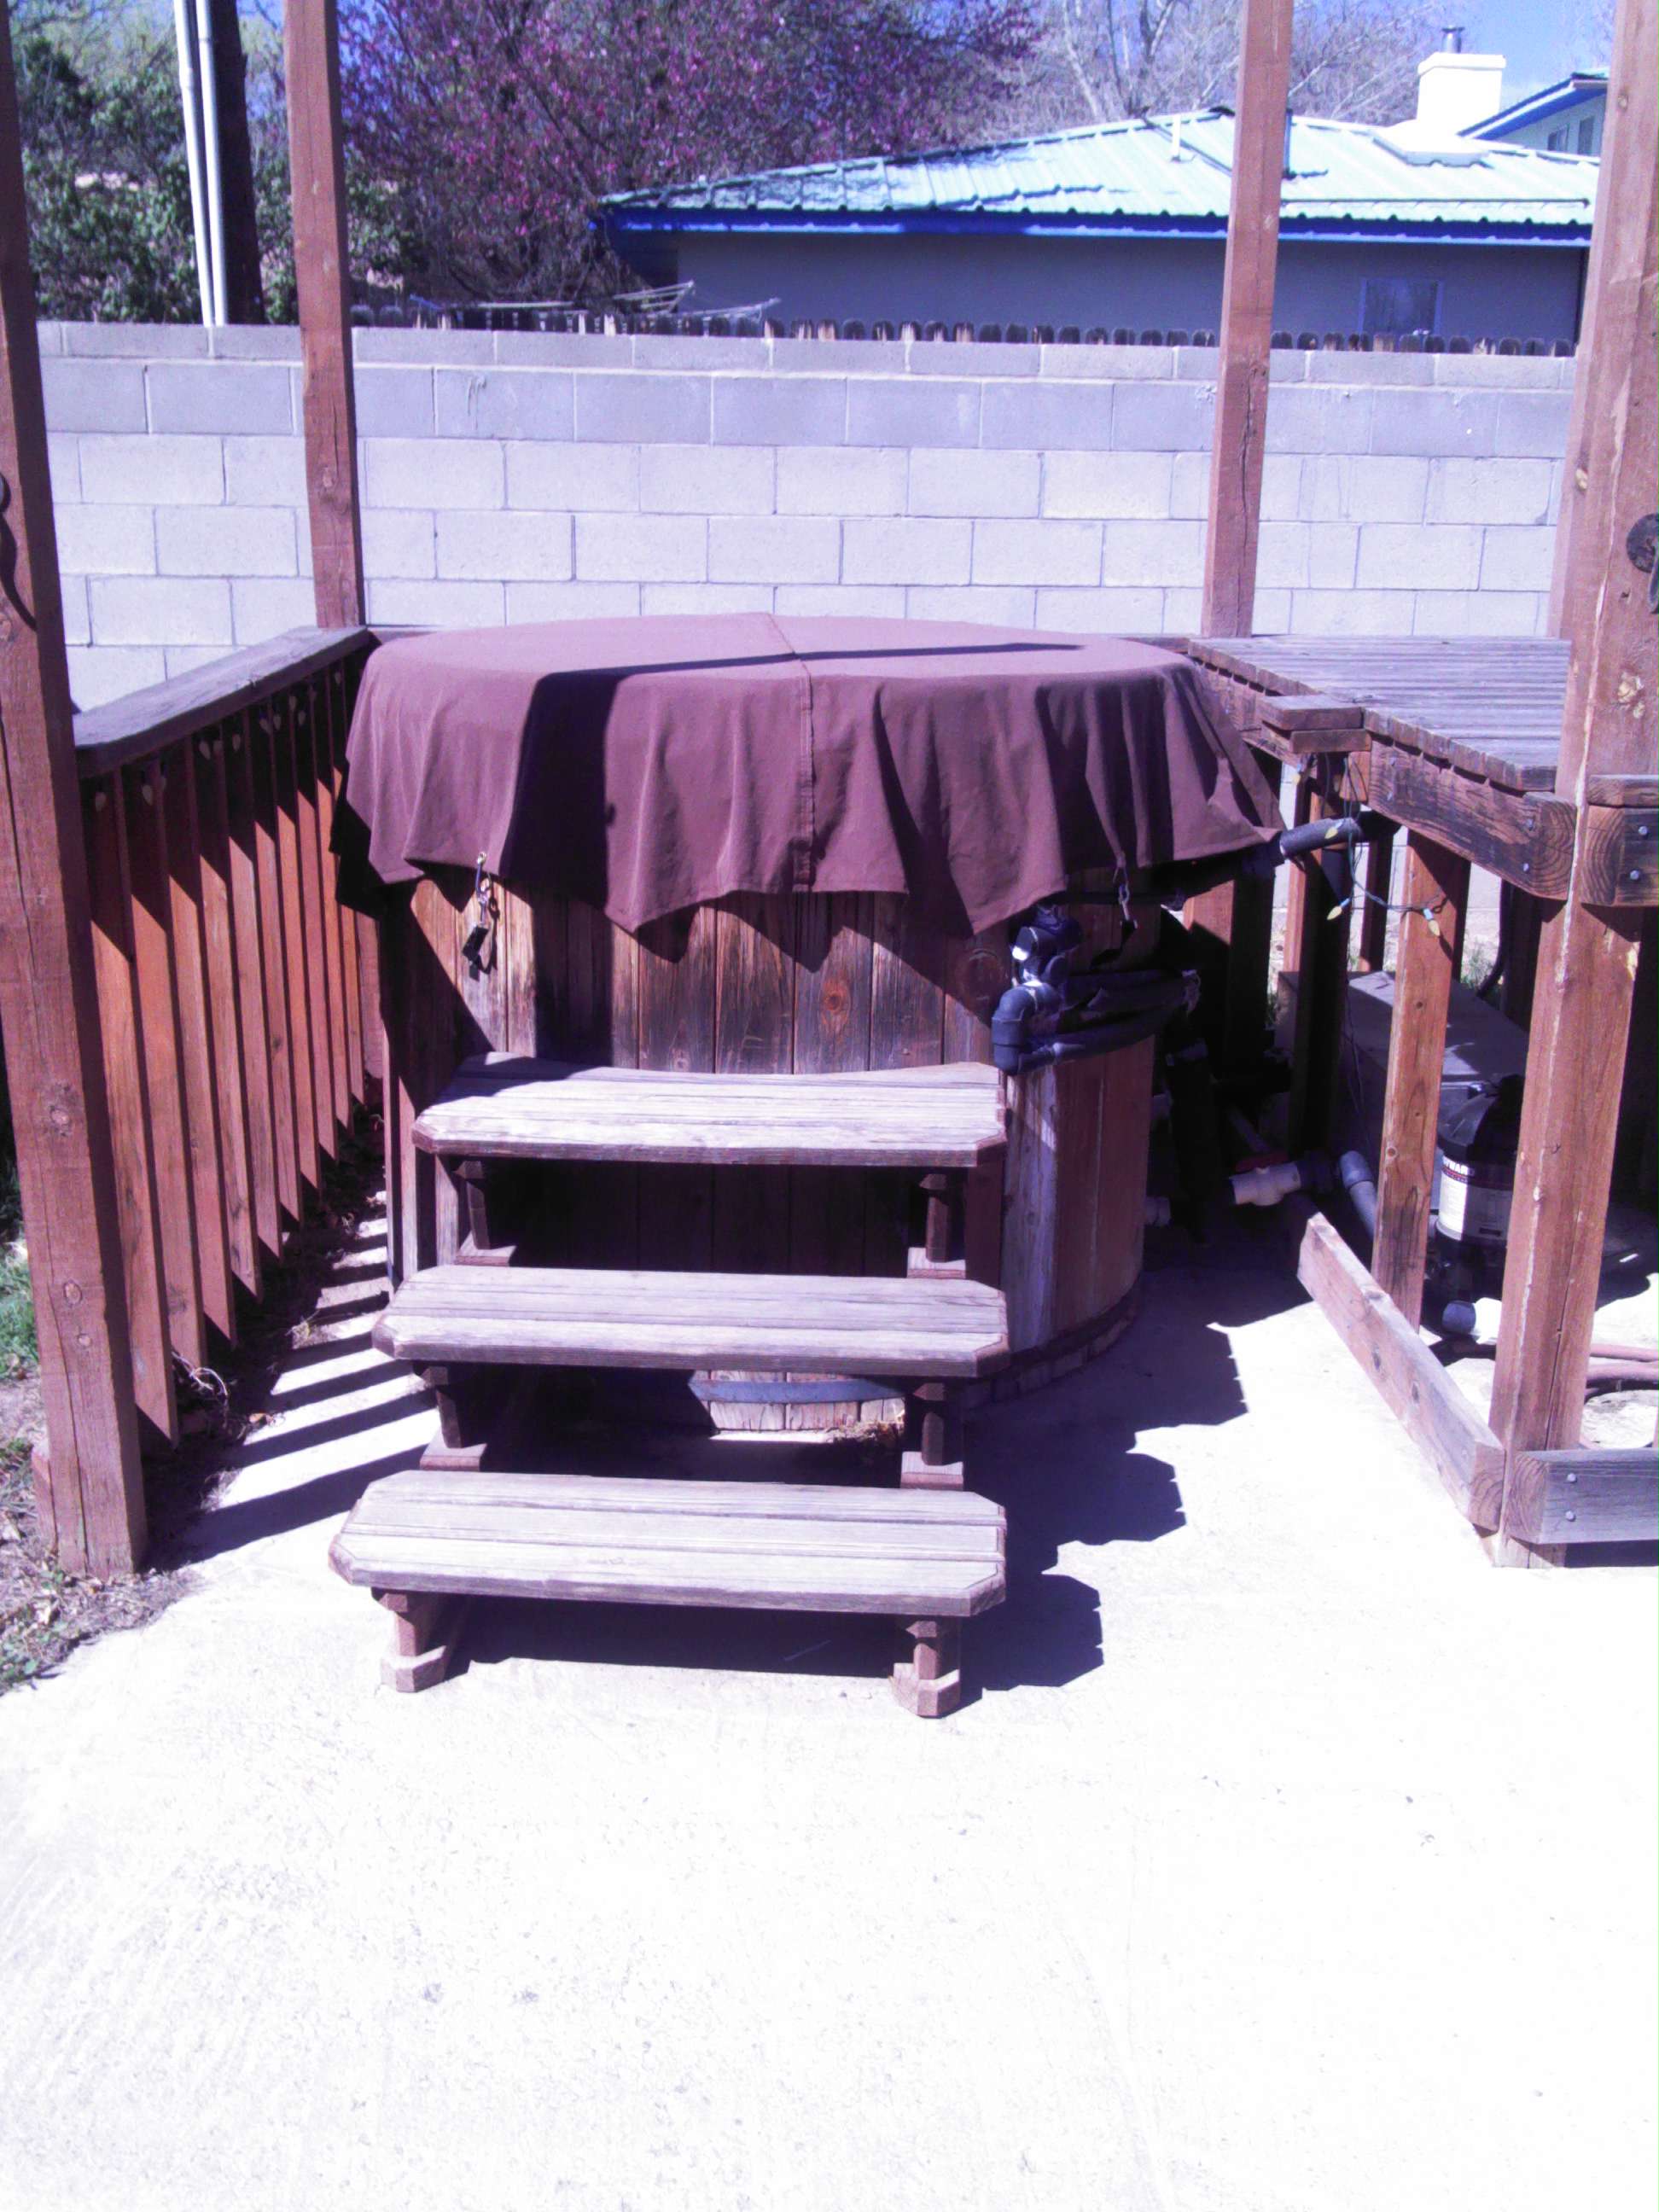 Canvas Cover |